
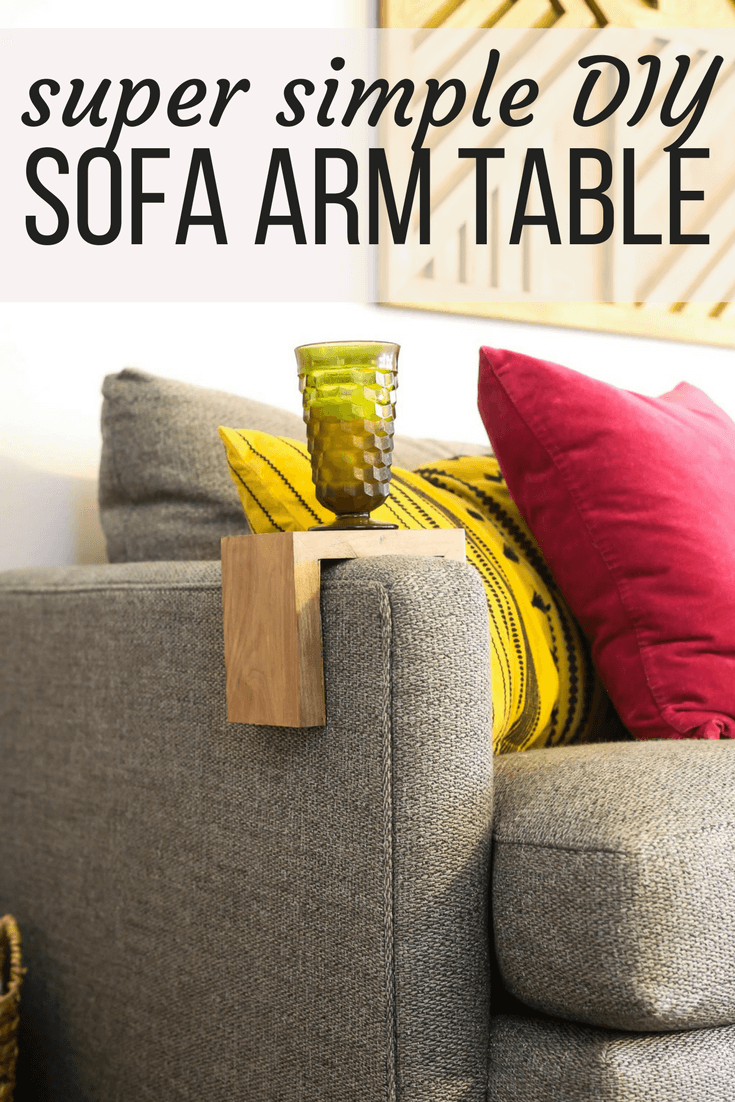
DIY Sofa Arm Table
Last updated on January 26th, 2021 at 11:09 am
Do you have any weird little conveniences in your home or your life that you sometimes take for granted? You know, those little everyday things that you don’t even notice anymore but actually make your life just a little bit easier on a daily basis? One of those things for us in our old house was the window seat in the living room. We never actually used it as a window seat, but we had our couch pushed up against it, and it made for a perfect place to plop drinks, snacks, or other random things while we were watching television.
And, of course, we didn’t realize how much we loved it until we didn’t have it anymore.
In this house, we have a side table on one end of the couch, but the other end has nothing – and since we have an ottoman for a coffee table, it ends up being a little awkward for anyone on the other end of the couch – especially if they have a drink. There isn’t enough space for a second table on that side, so for the last few months we’ve had to arrange our seating positions on the couch based on who has a drink and who doesn’t (and if we both have one, someone’s just gonna have to hold it the whole time). It’s a little thing, but it’s more annoying than either of us realized it would be. As dumb as it sounds, we really wanted to figure out a way to fix this tiny little problem.
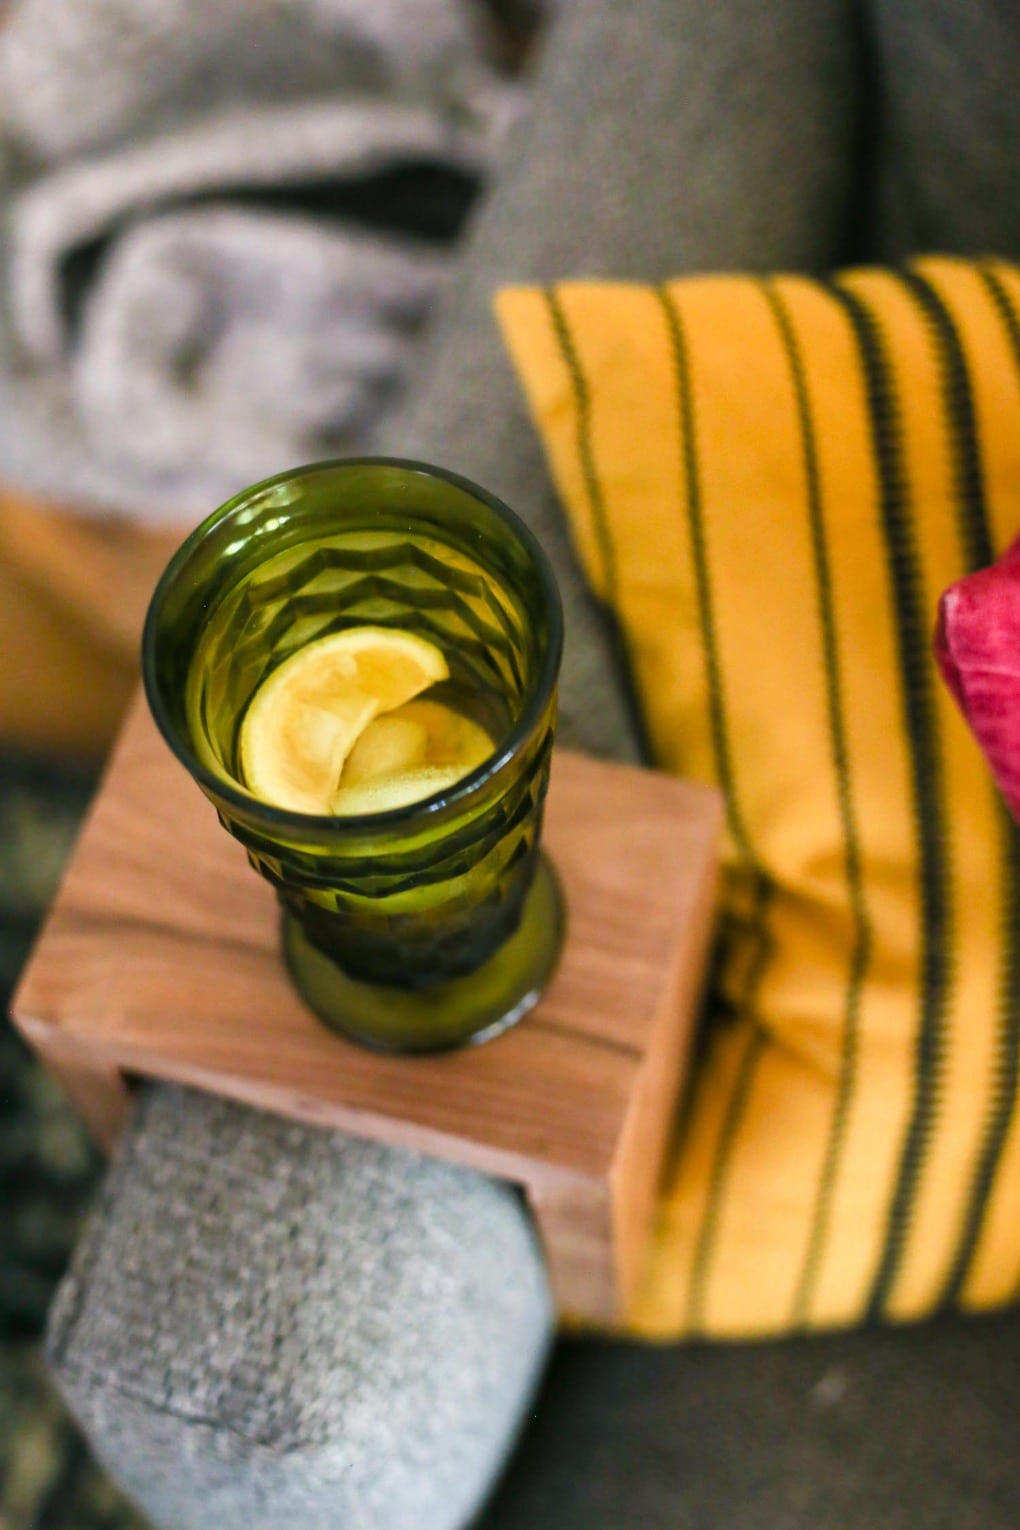
Enter the sofa arm table (also known as a couch sleeve).
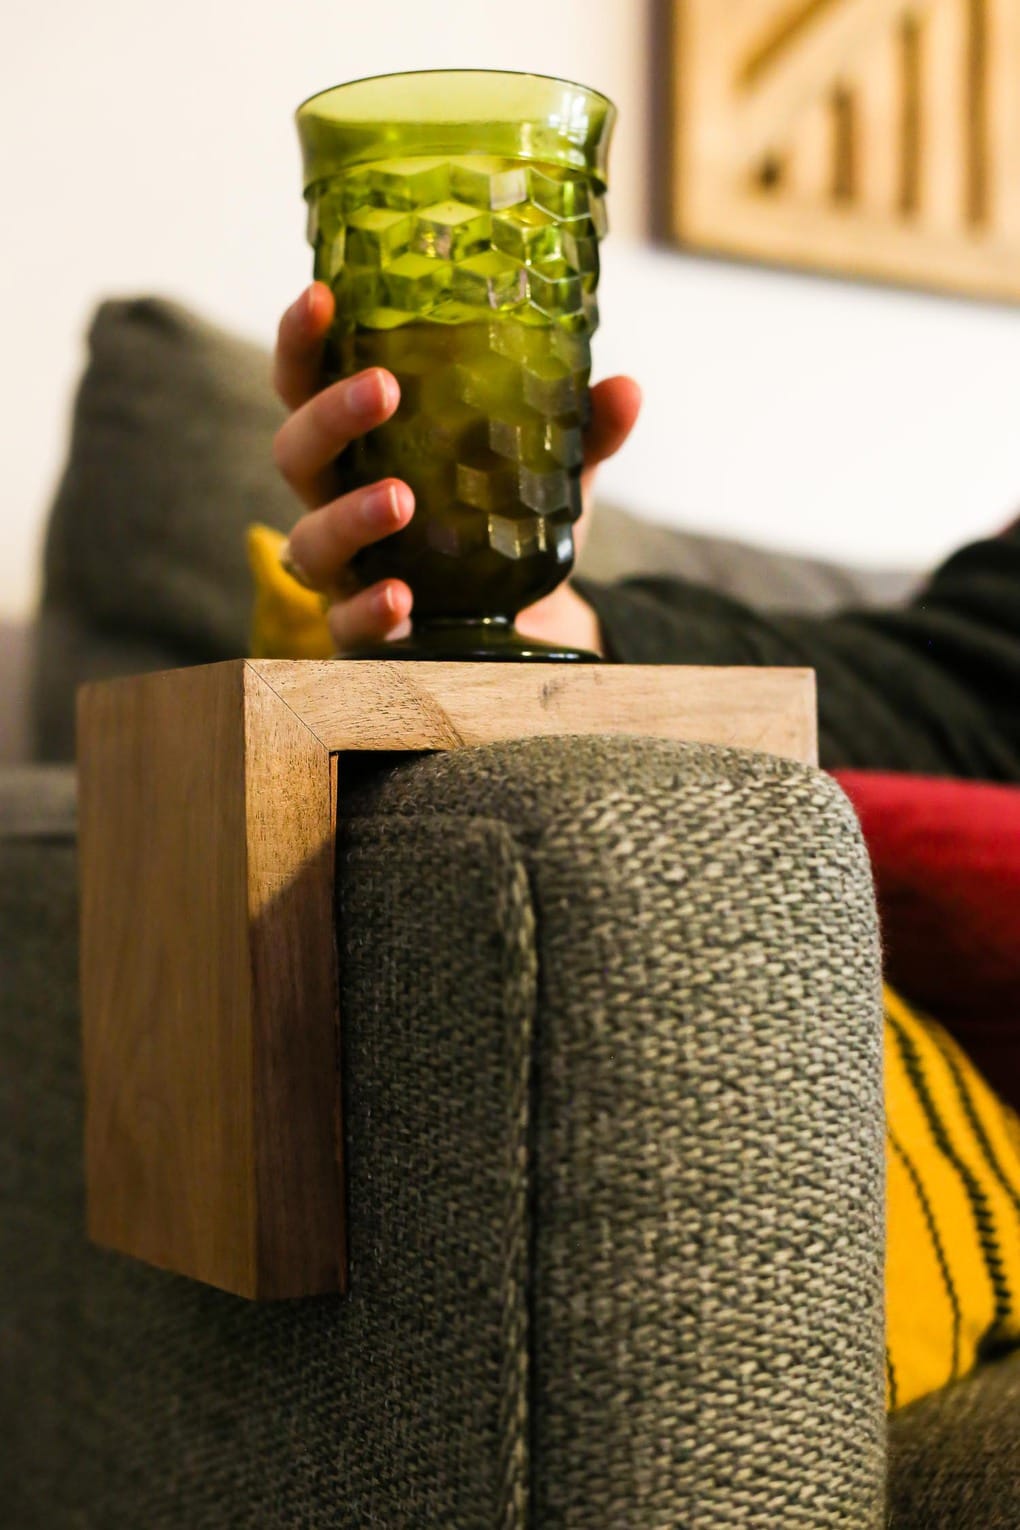
I’ve seen these little things in random stores and on Pinterest over the last few years, but I hadn’t ever put much thought into them. But, when we started to brainstorm solutions for our drink situation, I realized that a sofa arm table is the perfect solution for us. This little sofa arm table is so simple to make, and I love how it looks. It’s totally unobtrusive and takes up zero space, and it allows whoever is sitting on that side of the couch to set their drink down so they can actually get cozy while we’re binging our favorite Netflix shows.
This is one of the quickest projects ever – and I promise it’s so easy. I put together a little video to demonstrate the process, but if you aren’t able to watch there’s also a full tutorial below.
This post contains affiliate links. Click here to read my full disclosure policy.
DIY Sofa Arm Table
Materials:
- 1 piece of 1×6 wood (we used walnut) – you only need about 2 feet or so
- Miter saw (you could use a miter box if you don’t have one)
- Painter’s tape
- Wood glue
- Leather (this is optional, but a fun touch)
- Polyurethane (this is what we used)
Start off by measuring your sofa arm to see how large you need to make your table. You’ll want to make the top of the sofa arm table about 1/2″ wider than the arm itself so you have plenty of room to slide it on. It’s up to you how far down the sides of the sofa you want your table to go – we did about 6″.
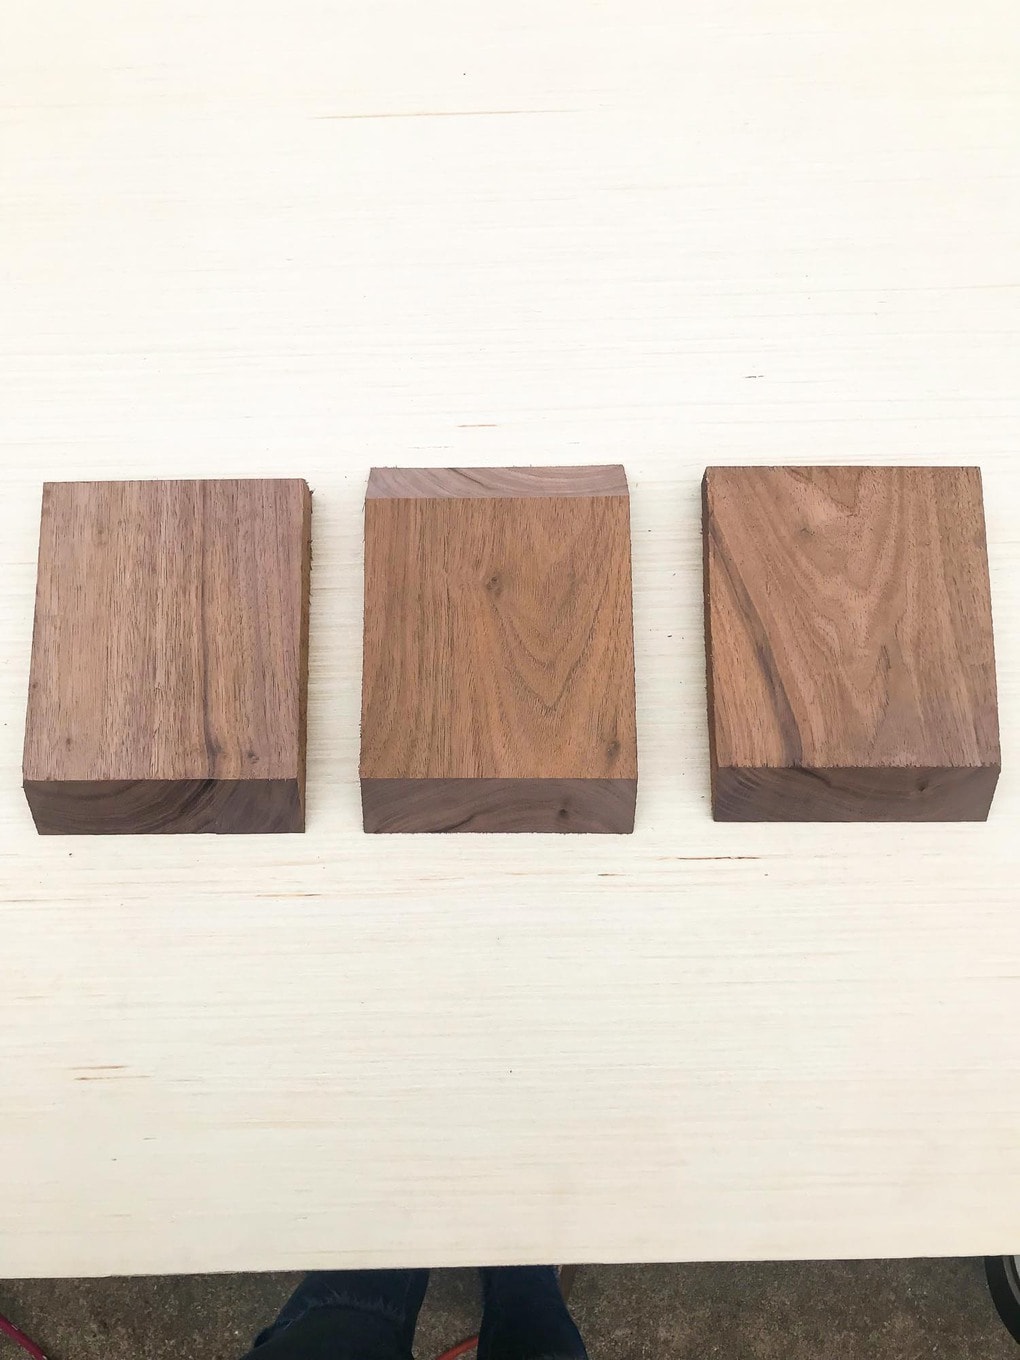
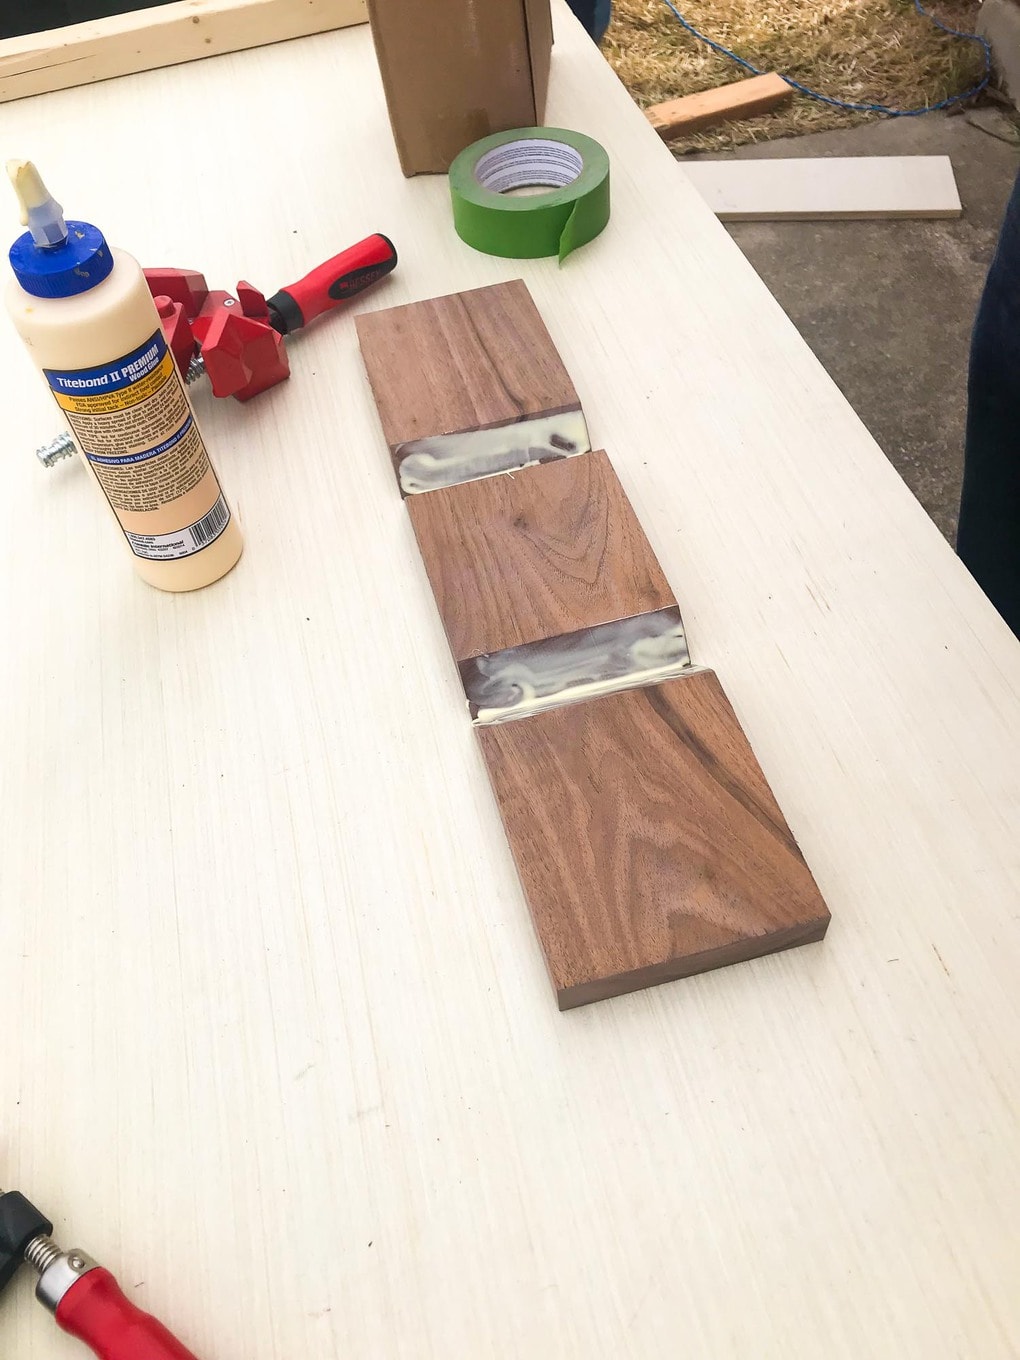
Once you’ve got your measurements, use your saw to cut three pieces of wood, with the pieces that will fit together cut at a 45-degree angle. You’ll want to alternate the angles so they can fit together in a U-shape (like in the photo above), and you need to be sure to leave the edges straight.
Sand your pieces thoroughly – since this will be on your sofa you want to make sure not to have any splinters or sharp edges that could snag the fabric.
Line the pieces up next to each other and flip them so that the flat part of the wood is facing up. Use your painter’s tape to tape the pieces together (this just makes it easier to glue it all up – you can see what this looks like in the video). Flip the entire thing back over and add glue to the mitered edges.
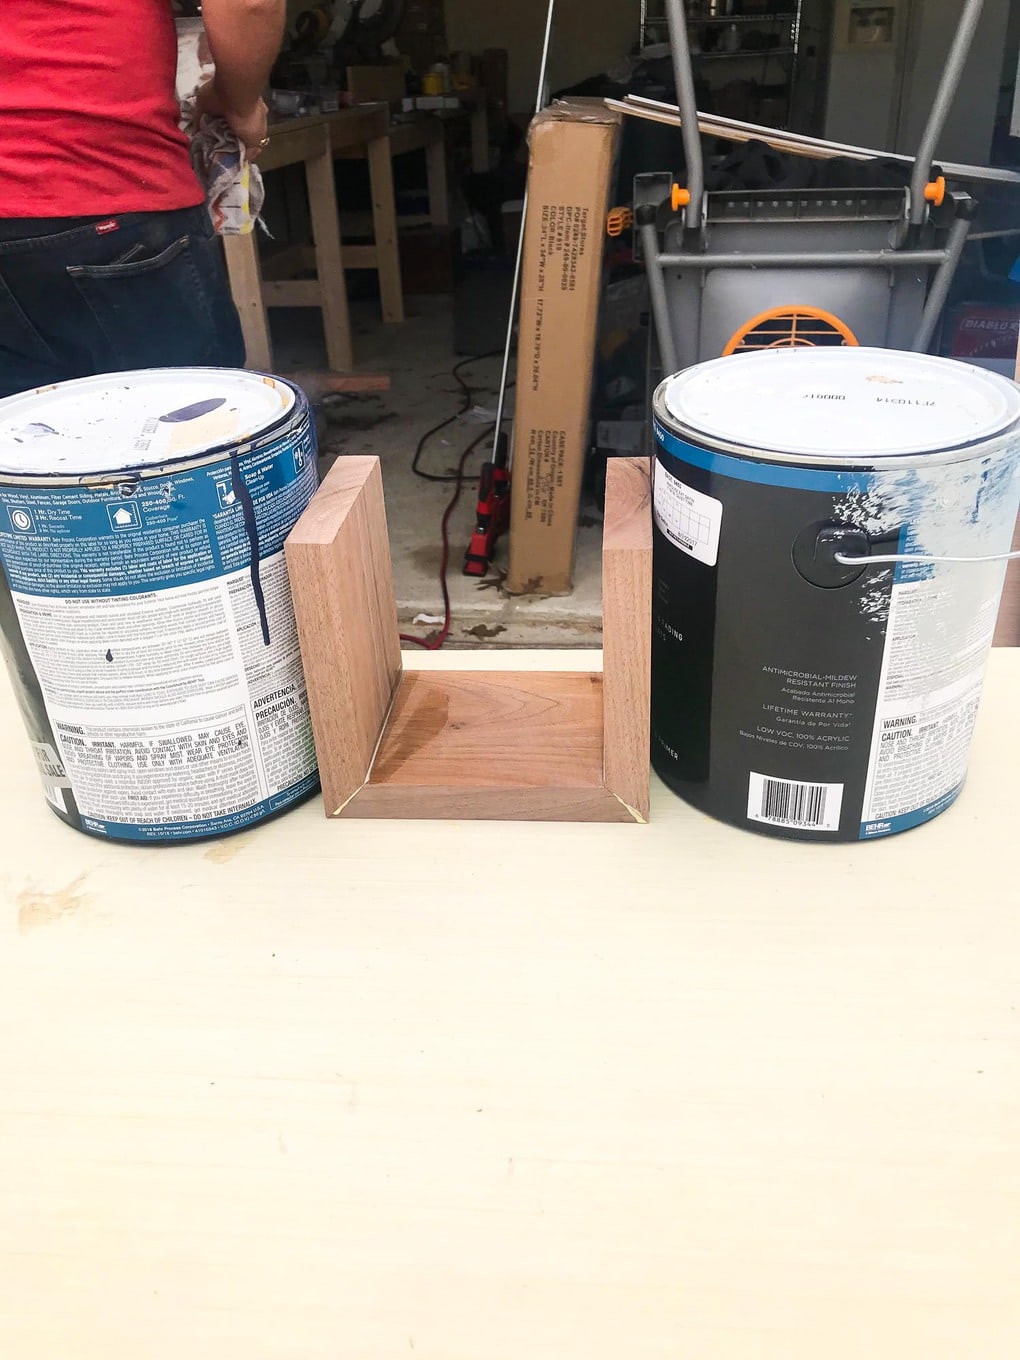
Then, fold the sides up to create your table and set something heavy on either side (we used paint cans) to hold everything in place while it dries.
Once everything is completely dry, you’re ready to add your leather. This step is totally optional, but we thought it was a fun detail and it will help protect the fabric on the sofa from the edges of the wood (it also provides a slightly tighter fit and will hopefully prevent any slippage while you’re using the table). We just used some contact adhesive (we like this one) to attach the leather, then clamped it on while it dried. This isn’t visible at all in the finished product, but gave us some peace of mind to know it would be a little softer on the fabric of the couch as we shift the table around on the arm.
Finally, once the leather is all done, you’re ready for your top coat. We used this polyurethane since the walnut is so naturally gorgeous, but you could obviously also stain it or paint it if you prefer (I’d recommend doing this before adding the leather if you’re going that route).
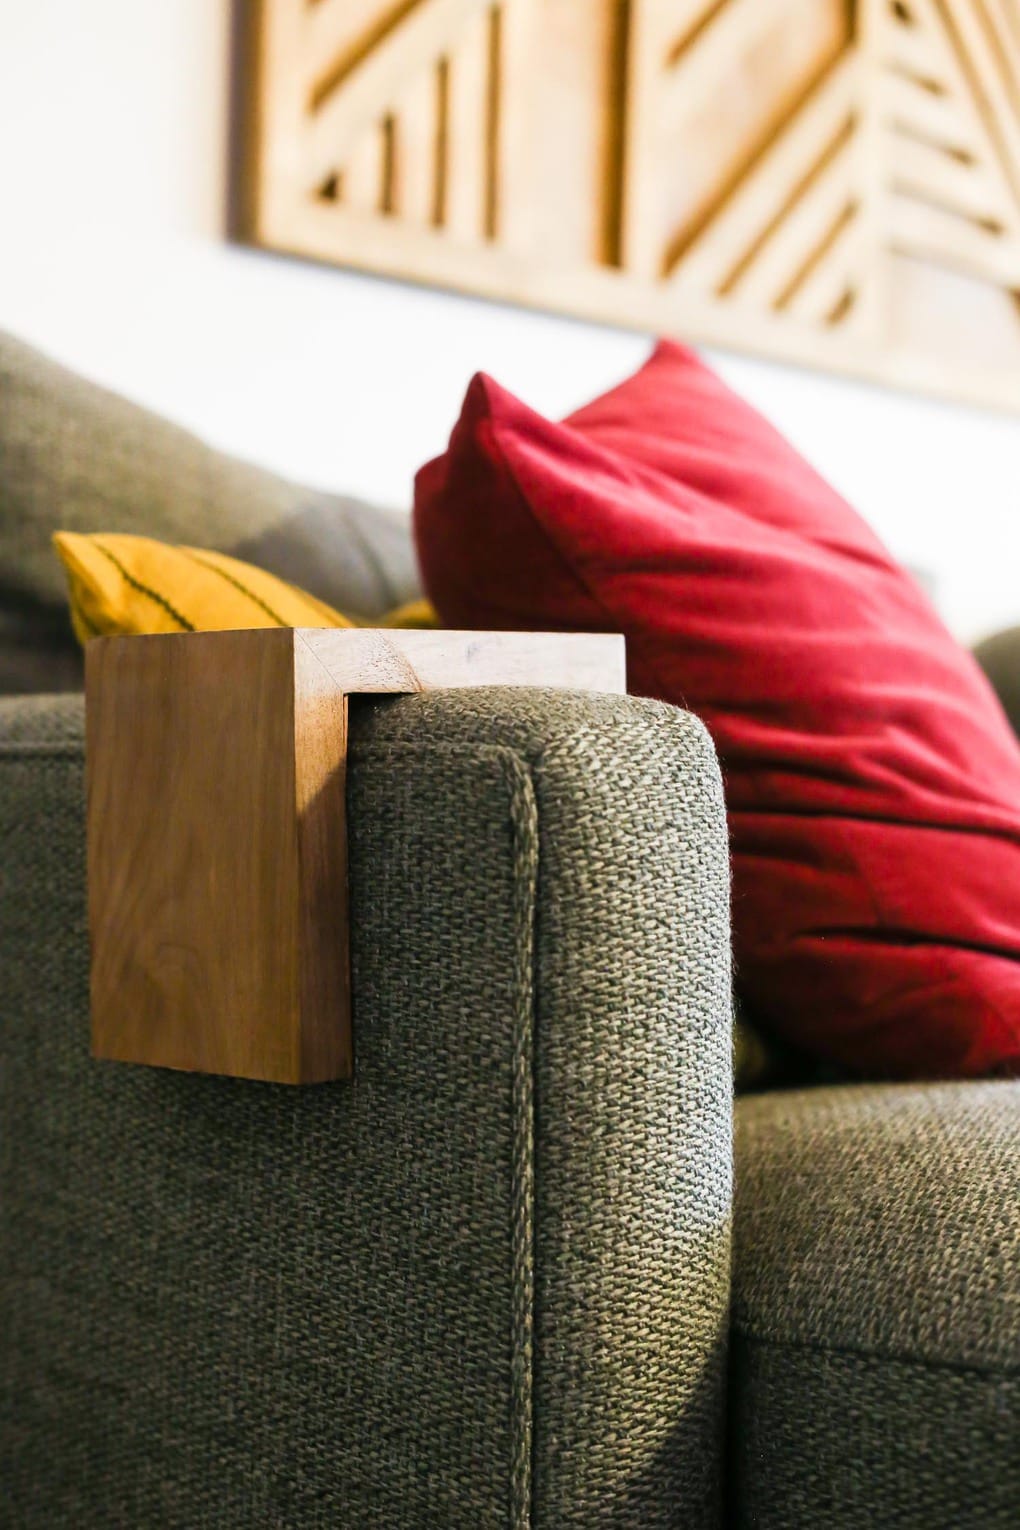
Once your top coat dries, you’re ready to use your sofa arm table! Just slip it onto the arm of your couch and enjoy.
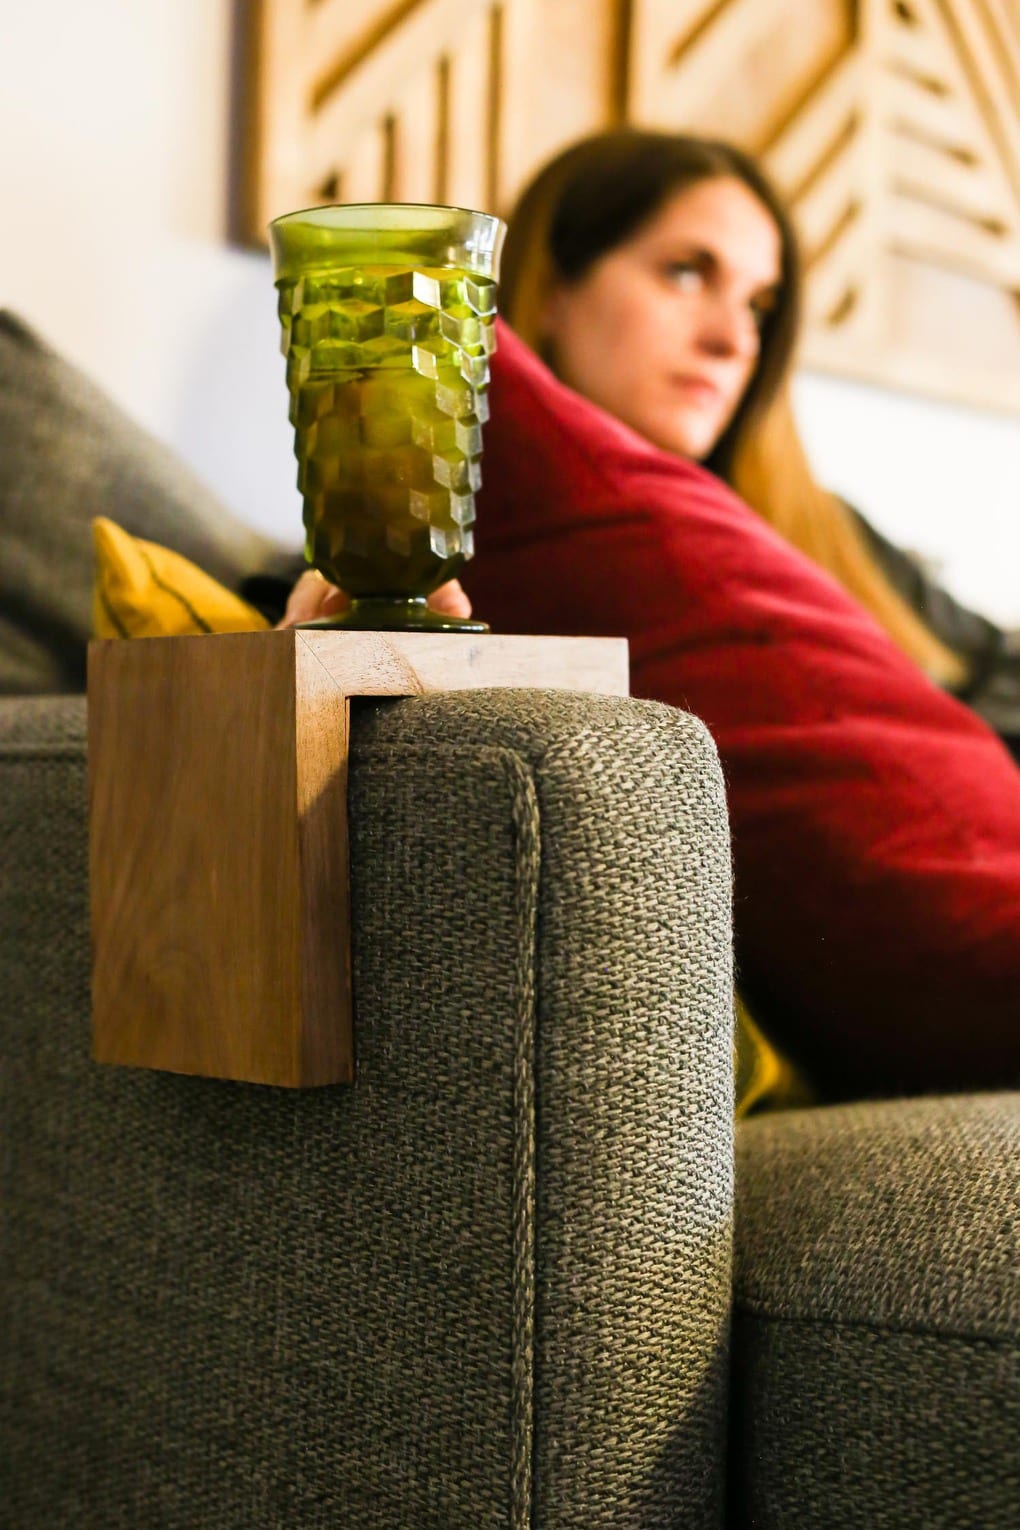
It’s a super simple little project, but I have to say it’s making our lives just a little bit easier (which, really, is half the reason we do this whole DIY thing in the first place!).
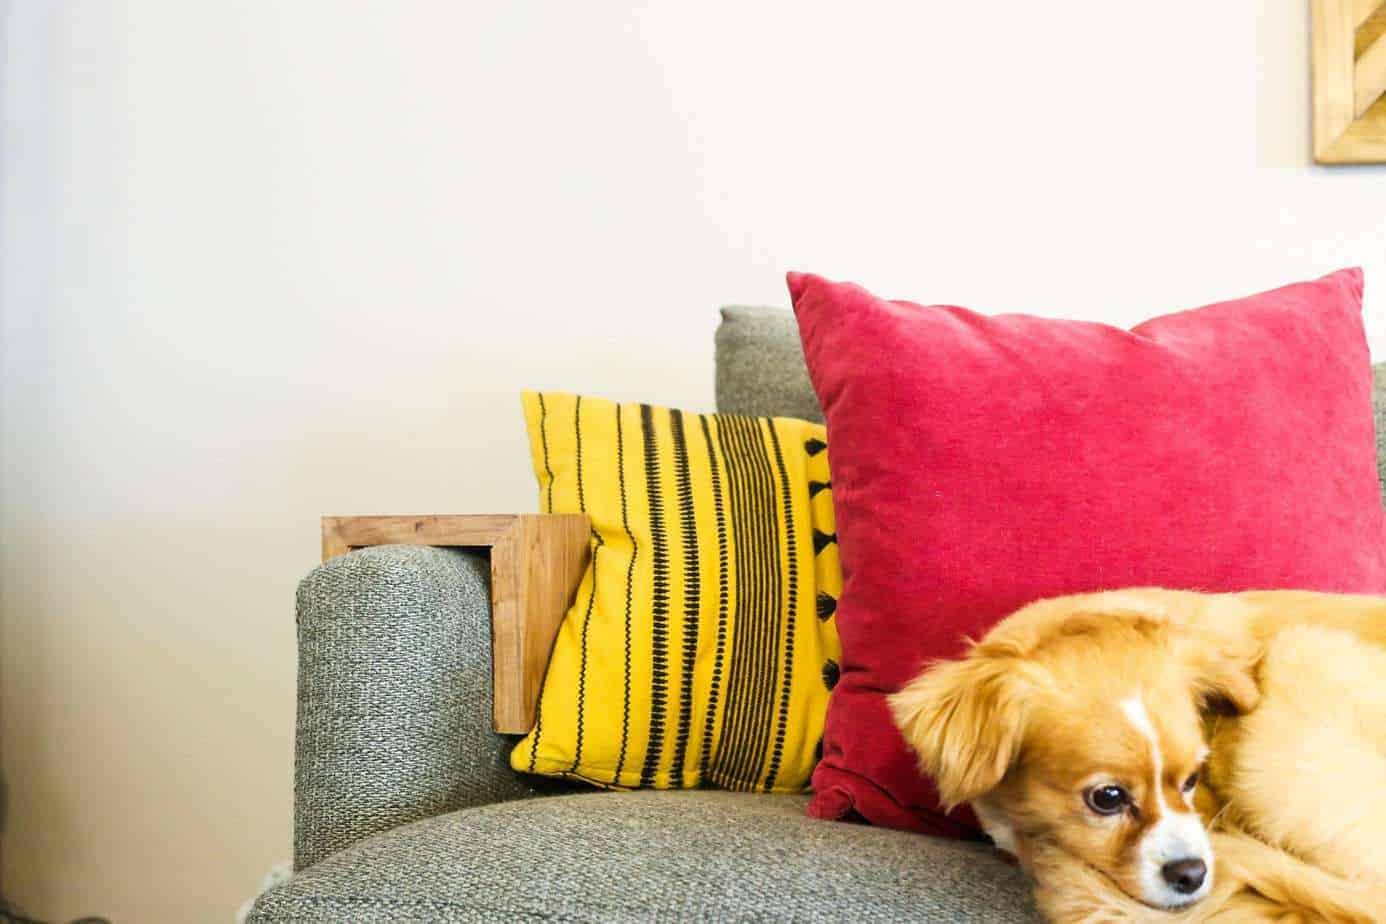
I also love that it’s easy to take off and stow away somewhere if we don’t want it on the sofa. If we’re curled up and want to be able to lean against that arm without something poking us in the side, it just takes a second to pull it off the arm and it’s small enough to tuck away in a nearby basket.
Who doesn’t love a DIY that’s pretty, solves a problem, and can easily be stored when you don’t need it?!
Next up on the agenda is actually filling in the side table on the other side of the couch. You may have seen a sneak peek in my Instagram stories recently, but I have to admit that I still haven’t put a dang thing on that table. Part of the problem is that I’m waiting on a lamp I ordered to come in, but the rest of it is that I just don’t know what I want to put there yet!
Sometimes you’ve just gotta live with an empty table for a week or two (or three or four) before inspiration strikes, you know?
I REALLY love the sofa arm … we too are in the middle of an entire house re-do and, while I hadn’t thought about it, we really would NEED something like this to make sitting around more comfortable for our old bones. Thank you so very much.
I’m going to try this for my rocker arm
While I was watching this video,my thoughts went towards making the board just s bit longer,so if a person wanted to use it for a place to write on a piece if paper instead.
Just a small expansion onto your idea.
Great idea! 🙂
I looove your idea! It looks easy enough for me to make it and is just what I need for complete comfort at my couch!
I think this also ties very nicely into the wood art behind your couch!