Easy DIY Blanket Ladder
Ever wonder how to make a DIY blanket ladder? Today, I’m going to show you how – and give you some simple ideas for how to style it!
Blanket ladders are one of the most versatile pieces of home decor you can have. Sure, they’re great for holding blankets and quilts, but did you know they’re also great as plant trellises? And for holding stuff on your patio? Or even by the pool?
I know, I know. I’m blowing your mind. We’ll get there in a second. But first of all, let’s chat about how to build a DIY blanket ladder. Because, while they’re often associated with a farmhouse style, I might argue that every house needs one. And I think you’ll agree once we’re done here today!
Video Tutorial
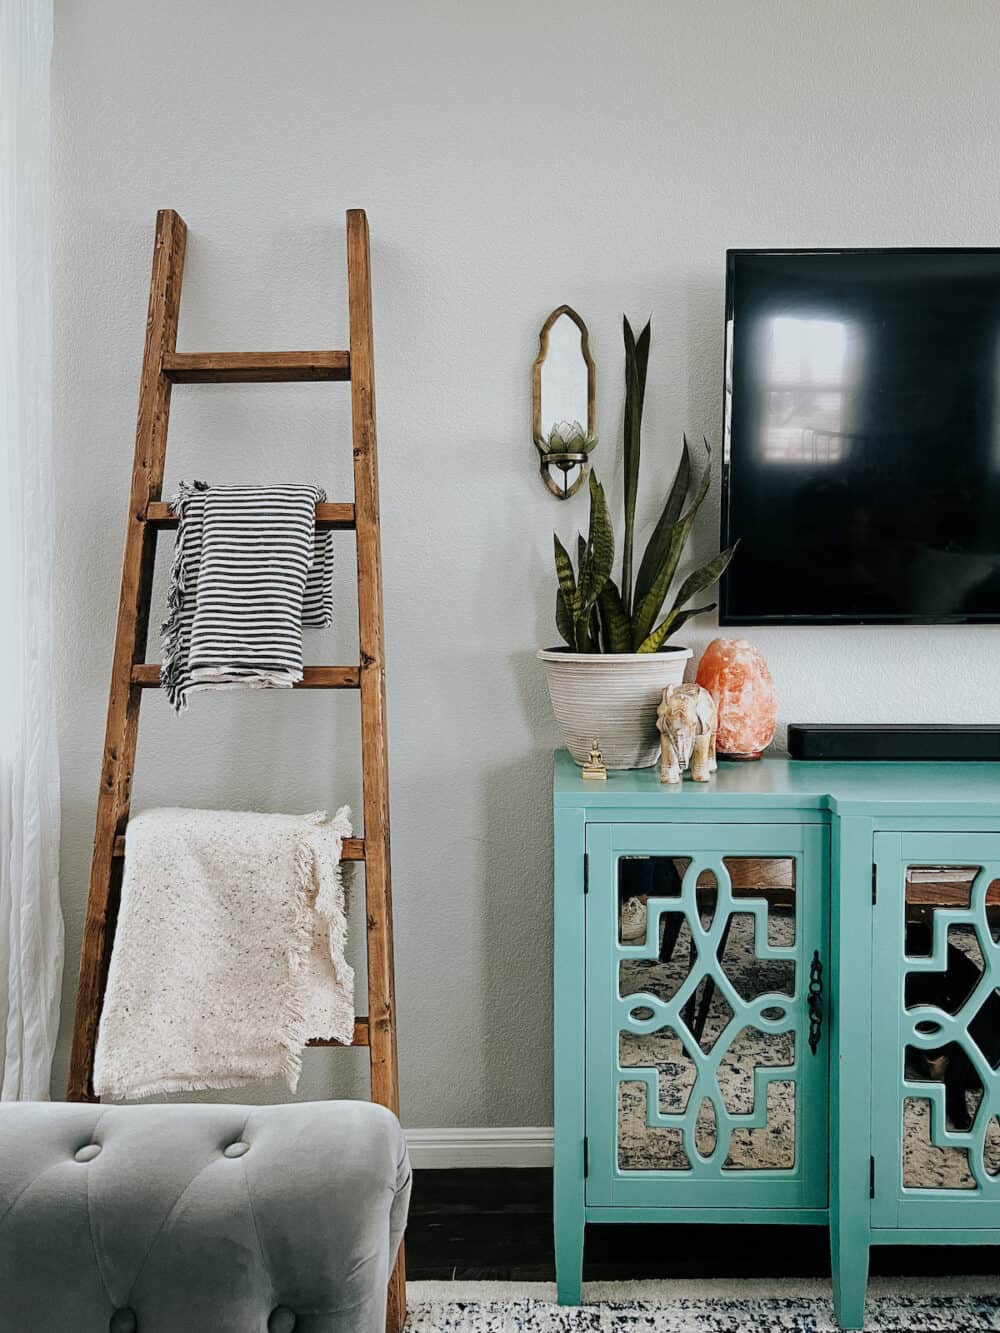
When I made the DIY plant trellis for my living room, I made this little video tutorial. It’s detailed and thorough, and is basically exactly what I’m showing you today! So, if you want some visual aids, check out this video for more info!
Supplies Needed for a DIY Blanket Ladder
Shopping List
Assuming you have a few basic tools on hand, you can build a DIY blanket ladder for under $20!
How to Build a DIY Blanket Ladder
Before you get started on your blanket ladder, you’ll need to determine what style you’d like for it. You can make it with 2×3’s exclusively, like I’m outlining here, or you can make it with 2×3’s on the side and wood dowels for the rungs. You can see what that would look like here!
I’ll be detailing how to make a ladder that is slightly tapered. I prefer that look to a straight line on the sides – but, you could easily just cut all the rungs to the same size, and it’ll be straight!
Step One: Cut Wood
First up, you’ll want to cut the wood down to your desired size. Generally speaking, 6′ is a great height for your blanket ladder.
I would recommend making the following cuts:
- Two pieces to 6′
- One 18″ piece
- One 17″ piece
- One 16″ piece
- One 15″ piece
- One 14″ piece
Again – this is creating a tapered style to the ladder, so the top part will be narrower than the bottom. But, if you’d prefer straighter lines, I’d go down the middle and cut them all to 16″.
Optional: You can cut the ends of your long pieces at a slight angle (I like a 5 degree angle) to help it lean against the wall a little easier. This isn’t totally required, but makes it look a bit more polished!
Step Two: Sand and Stain Wood
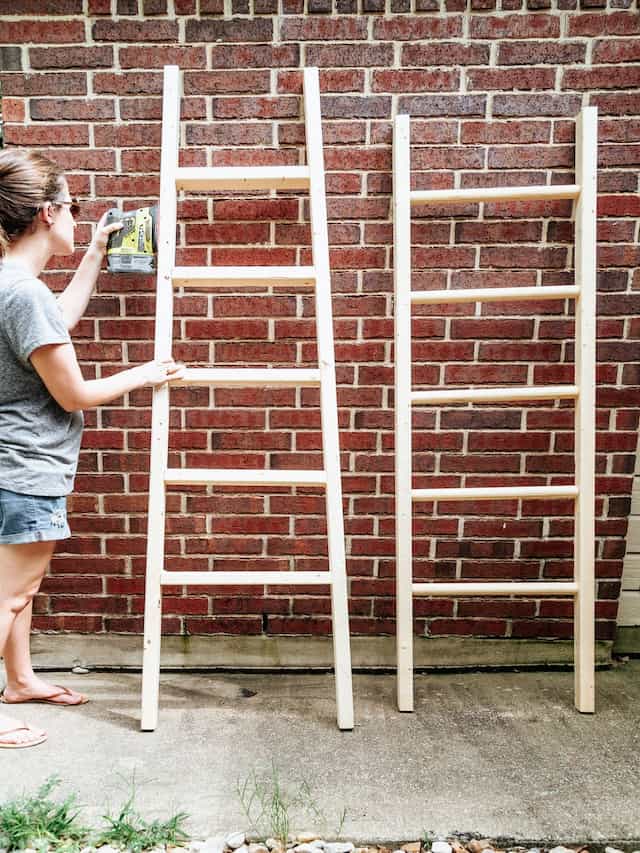
I find it’s much easier to sand and stain the wood for something like this before you assemble it. It can be tricky to reach all of the sharp edges and crevices if you wait until it’s assembled! Do as I say, not as I do.
When sanding, I recommend starting with a lower grit sandpaper (like 80 or 120), and slowly working your way all the way to 400-grit. This method gets you a really smooth finish, ensures no splinters, and will look really professional!
You can stain or paint your blanket ladder – it’s all about what works best for your style. You can also distress your wood with a hammer, if you want a more rustic blanket ladder!
My go-to wood stain is a Dark Walnut stain – I know it’s available in both Varathane and Minwax, and it’s pretty classic! You can use a brush, old rags, or staining pads to stain the wood.
Step Three: Drill Pilot Holes
Now, it’s time to drill the pilot holes in your side pieces. This is going to make it much easier to assemble and reduce the risk of the wood splitting!
What’s a Pilot Hole?
A pilot hole is a hole you drill in the wood where your screw will go. You should use a drill bit that’s the same size as (or slightly smaller than) the screw you’ll be using. It prevents wood splitting and makes your job a lot easier!
You’ll need to determine the spacing you want for your ladder rungs before you start. I generally like to keep about 10″-12″ between each rung. Try laying it all out on the ground and playing around with it until you’re happy with the spacing! I generally shoot for 14-18″ of spacing at the bottom, and 6-8″ left up top!
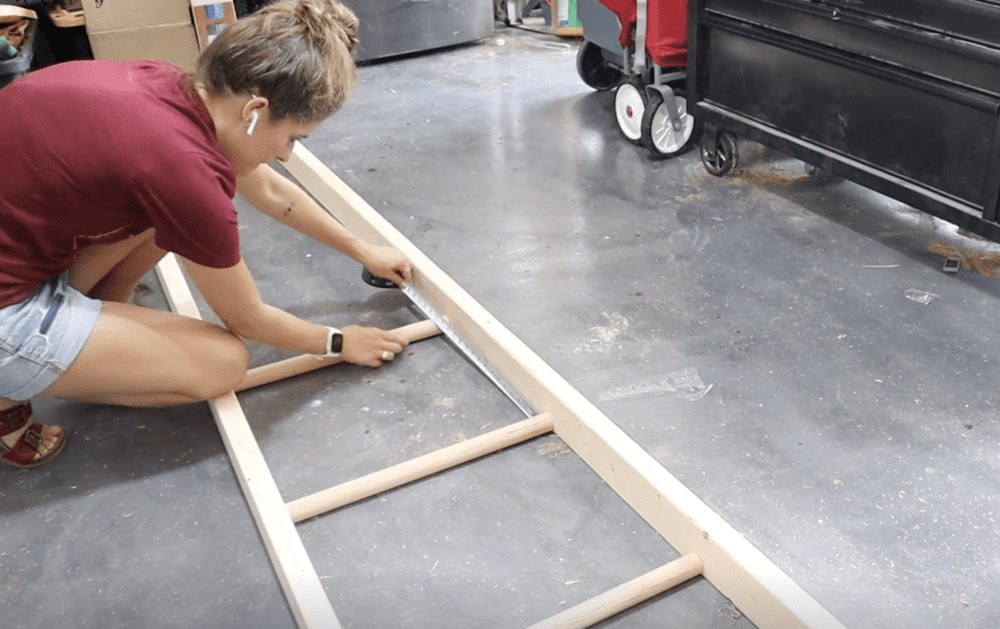
Use a pencil to mark where your holes need to go on your side pieces. You’ll want them to be centered on the 2×3, and you’ll want to make sure they’re the same on both pieces of wood. Otherwise, your rungs might be wonky!
Step Four: Assemble Blanket Ladder
With your pilot holes drilled, it’s time to assemble!
Add some wood glue to the ends of your rungs, then drill them into place. Start with the longest piece at the bottom and have them get increasingly shorter.
You may find that using some clamps to hold things in place while you work makes things a little easier!
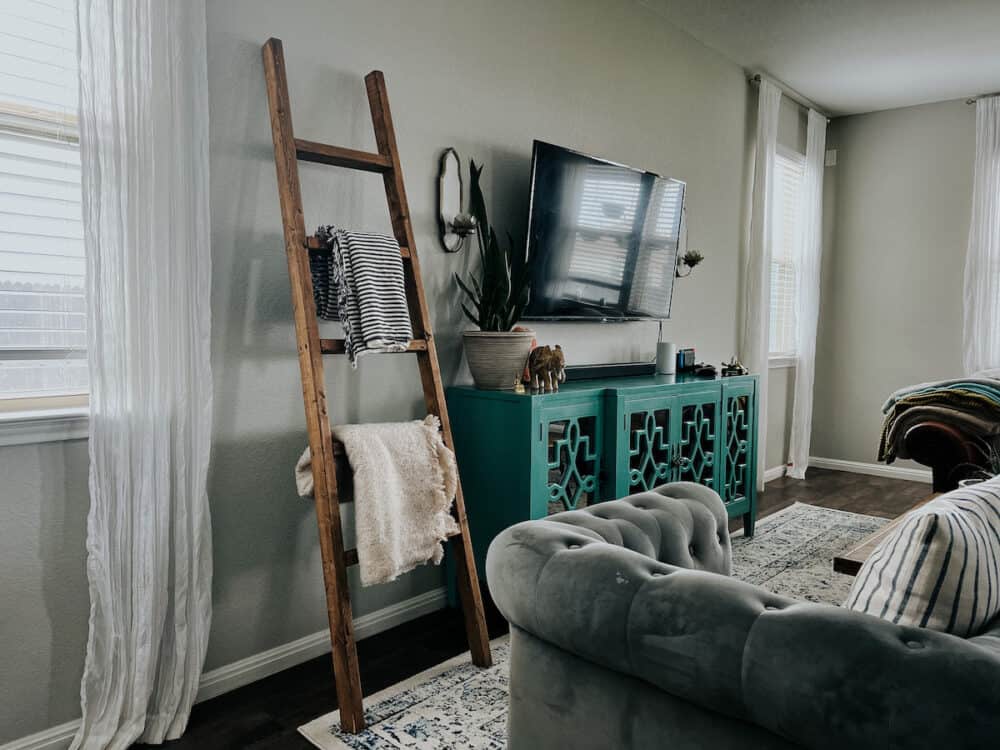
When you’re done, it’ll look a little something like this:
How to Style Your Blanket Ladder
Blanket ladders can do a lot more than just holding blankets! In fact, a few years back I made a couple of blanket ladders and played around with different ways to style them.
Here are three gorgeous (and simple) options for styling your blanket ladder outside
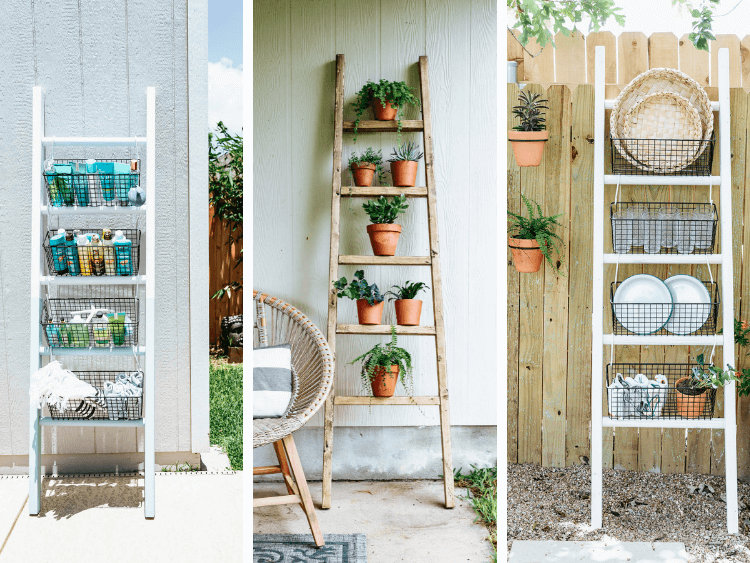
Idea One: Make a Serving Station
Materials Used:
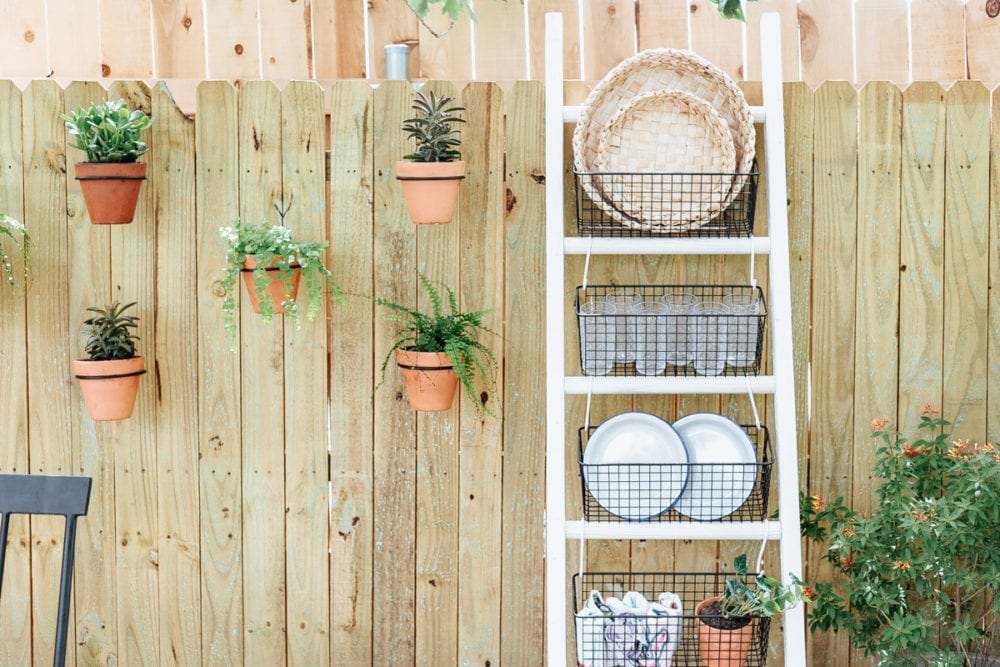
For this option, I grabbed some large S-hooks and wire baskets to turn the ladder into a great place for storage. NOTE: If you purchase your S-Hooks online, be sure to pay close attention to their sizing. I didn’t think about the fact that they’d all have different openings, and ordered ones that were way too small the first time around. Whoops!
When the ladder isn’t full for a party, you could use the baskets to hold just about anything! You can display plants (hint – see the next idea!), kid toys, gardening supplies, etc. Or, you could just pull the baskets off when they aren’t in use and leave the ladder out as a cute decor piece!
Idea Two: Fill it With Plants
Materials Used:
- FINISH: Varathane Stain in Dark Walnut, sealed with Varathane Spar Urethane
- Terra Cotta Pots
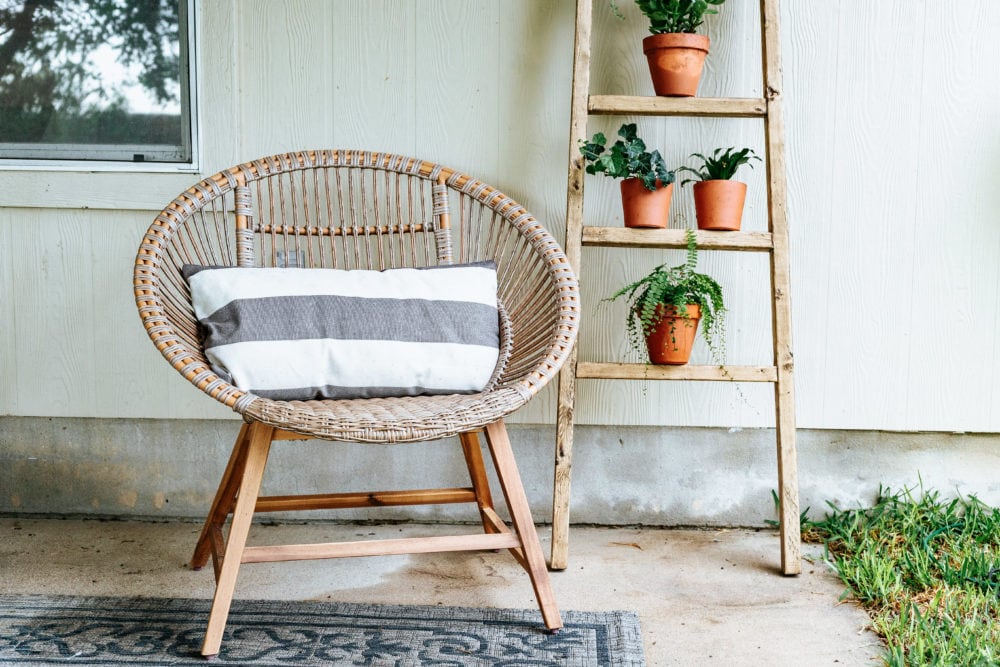
This one might be my favorite way to style a blanket ladder, simply because I’m a sucker for a corner filled with plants.
Obviously, I’ll note that this is purely decorative. If you really want to use this full-time to hold plants you’re going to want to make sure it’s in a spot where the wind (or wild children) can’t knock the plants off the rungs. I stuck to mostly smaller pots on the ladder, to ensure they were sturdy on the rungs. If you wanted to be able to place wider pots, or if you don’t have an area where it can be protected from wind, I’d simply use slightly wider boards for the rungs to provide a more stable shelf.
Idea Three: Use as Poolside Storage
Materials Used:
- FINISH: Rust-Oleum Chalked Paint in Linen White and Serenity Blue, sealed with Varathane Spar Urethane
- Extra large S-Hooks
Wire baskets
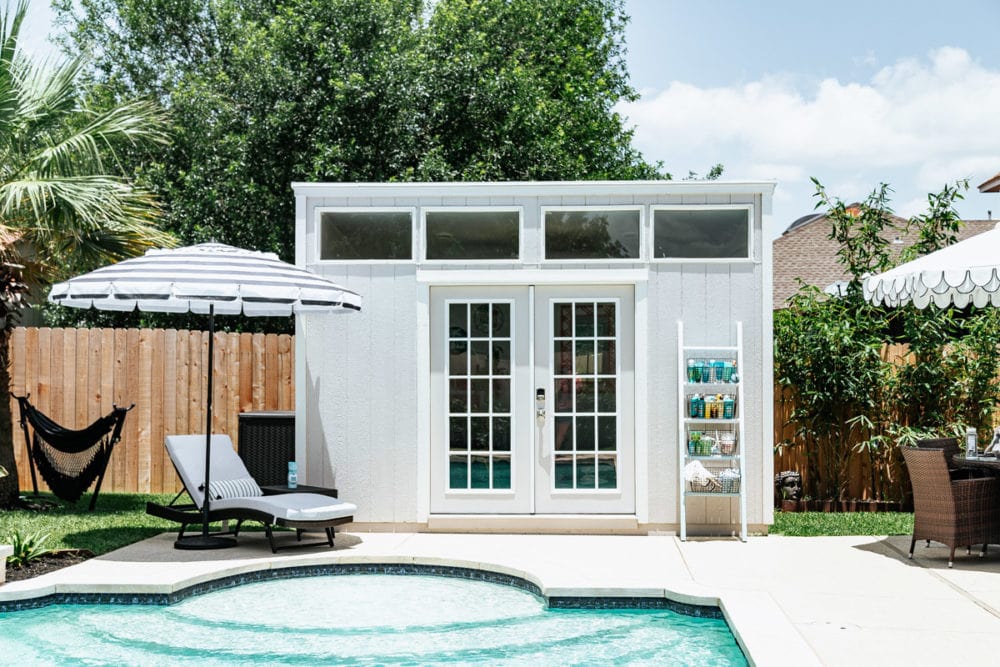
For this final idea, I had to take a field trip to my sister’s backyard to show off how one of these ladders could be used as a functional piece of storage (and decor) poolside!
I took the same S-hooks and baskets from idea #1 and styled this ladder as storage for an outdoor shower area. Filling the basket with some soap and shampoo, along with sunscreen, towels, and a few other little supplies allows it to do double-duty as storage for both the pool and a poolside shower. And it is way cuter than basically any other storage option.
And those, my friends, are three simple ideas for how to use that cute blanket ladder in your outdoor decor. I could keep going with ideas for days, because this is such a functional little easy DIY project.
