
Painting Contrast Trim in My Office
Looking for tips on painting moulding and trim a color other than white? I just finished some contrast trim in my office and I’m here to share all of the photos and what I learned along the way!
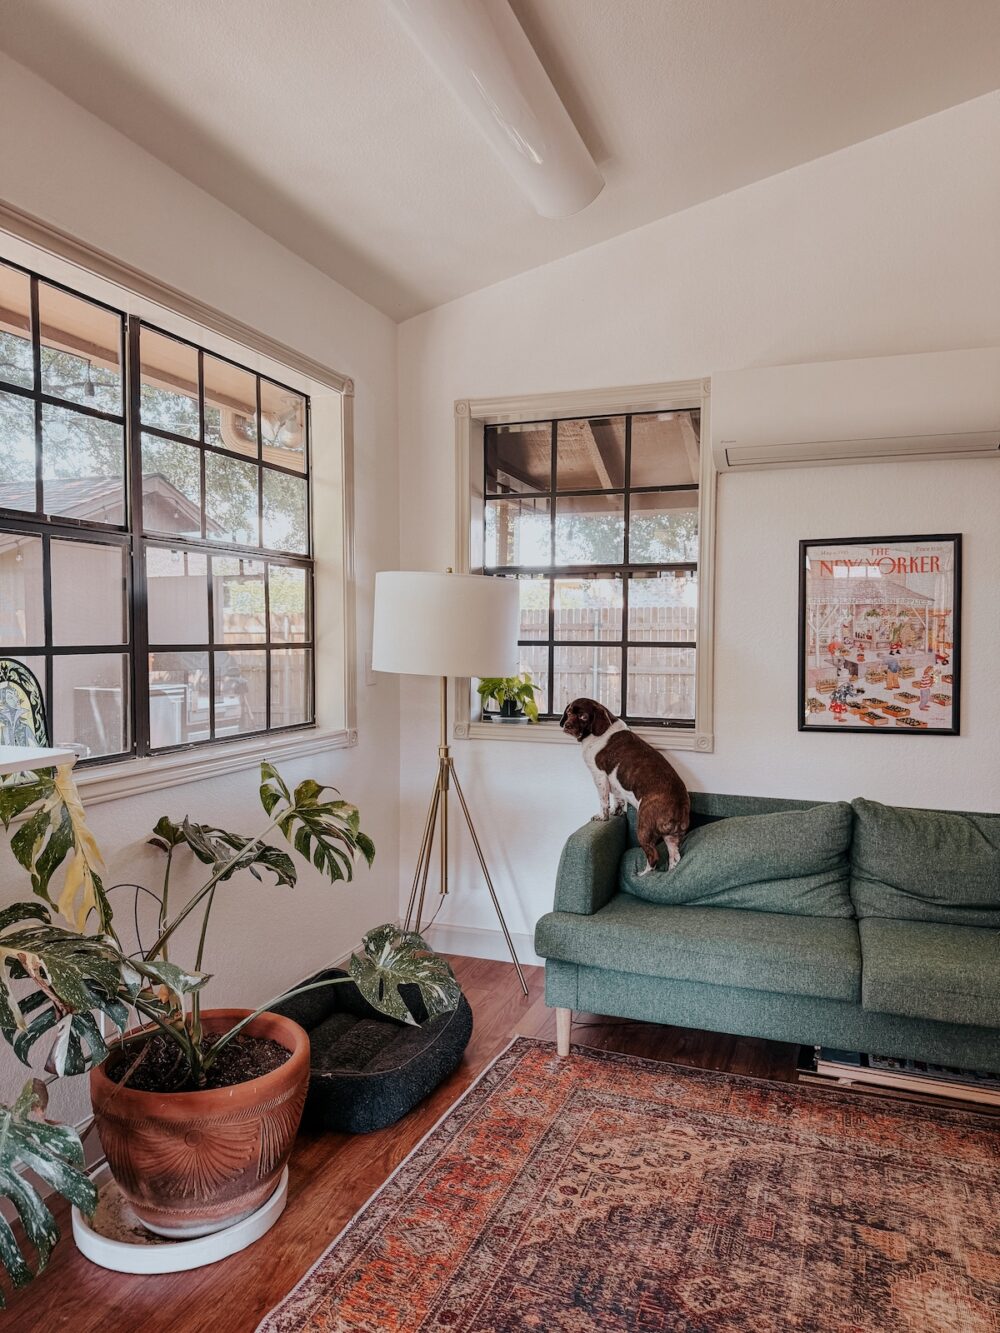
There are some things in this house that I’ve just known I want from the moment we signed the contract to purchase it. I knew I wanted a diamond trellis on the side of the house. There was no question I wanted our dining room to be dark and moody and full of trim + wallpaper. And, I knew I would be painting contrast trim in my office!
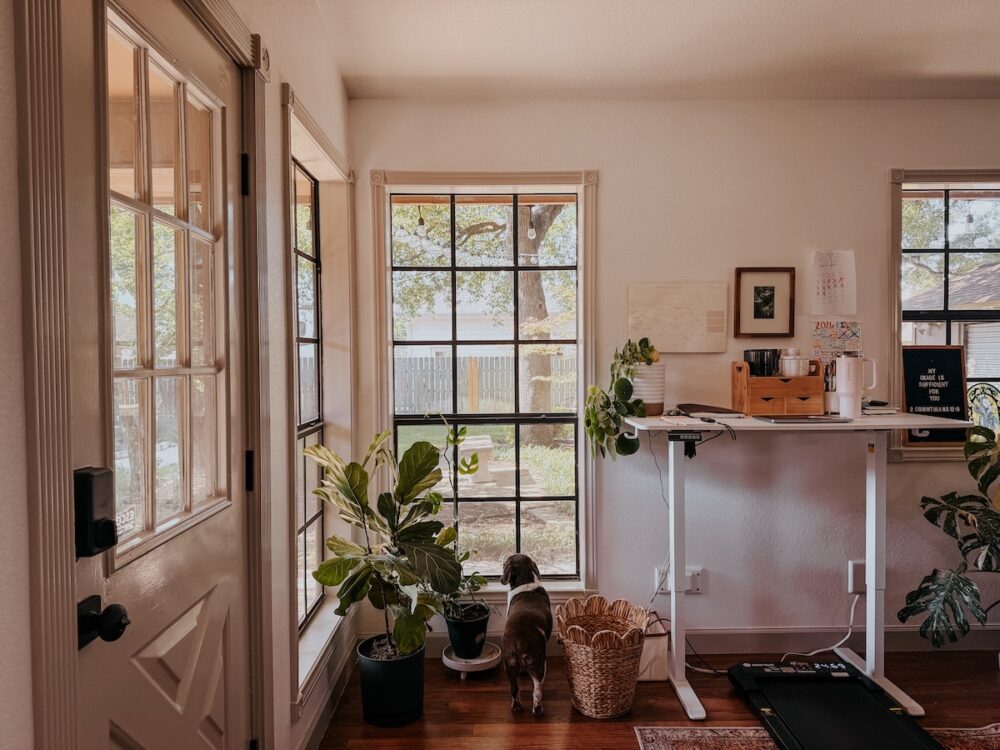
With all of the window in my office that look out onto our gorgeous backyard, it felt almost wrong to paint the room anything other than white! I wanted all the trees and flowers out there to shine, and I didn’t want my walls to be a distraction.
But, I didn’t want the whole room to feel boring, either. Enter contrast trim! Painting moulding and trim a color other than white is a really fun way to add some personality to a space while still having neutral walls. The before and after of this painting project is a subtle one, but it feels so much fresher and cleaner now, and so much more ME!
Painting Contrast Trim – The Video Walkthrough
If you love to watch it come together in a long-form video, I’ve got you covered! In the below video, I walk you through my thought process for this space, some tips and tricks for painting trim, the best paint to use, and more. And, of course, there are a few super-satisfying painting montages!
How to Paint Your Moulding + Trim
First of all, let’s talk about why I chose contrast trim for this room in the first place. I had a couple of people message me on Instagram while I was sharing the process and say, “you know, it would be a lot easier to leave the trim white and just paint the walls that color!”
Obviously, painting your trim is relatively labor intensive and can be a tedious job. Sometimes you have to do it because the current paint is old or chipped, but sometimes, like in this case, it’s just what you want to do!
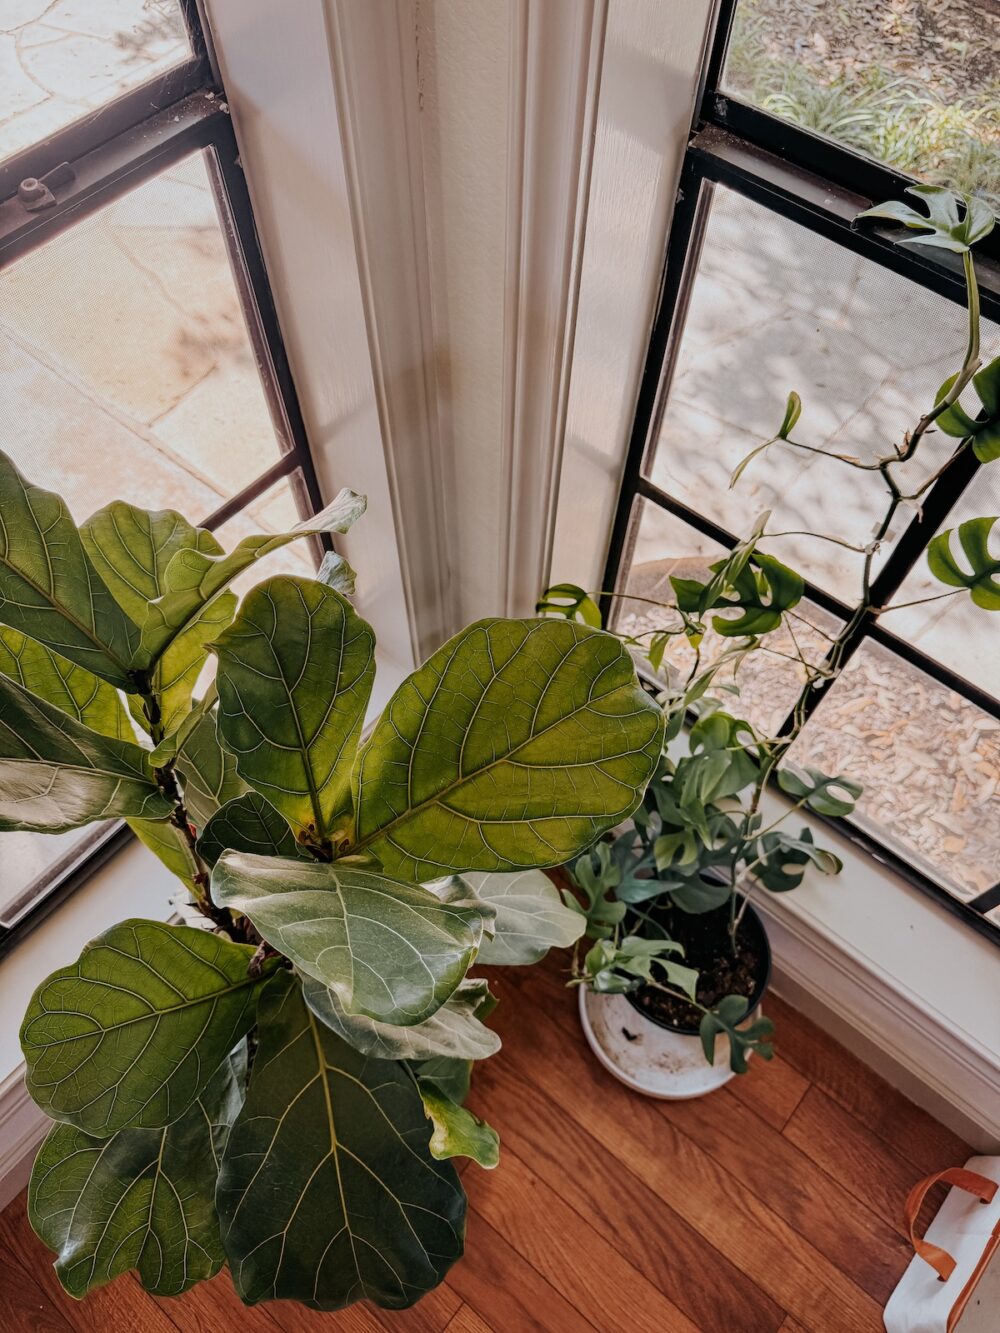
For me, the windows in this little room are easily the most special part of the entire room. It feels like a little sunroom and when I’m working in here I regularly pause to just gaze outside. When I was planning what I wanted for this space design-wise, it was really important to me to make the windows a feature. I’m also lucky enough that the windows are already trimmed out all the way around with some really beautiful moulding. It wasn’t super noticeable before, and I wanted to really highlight it.
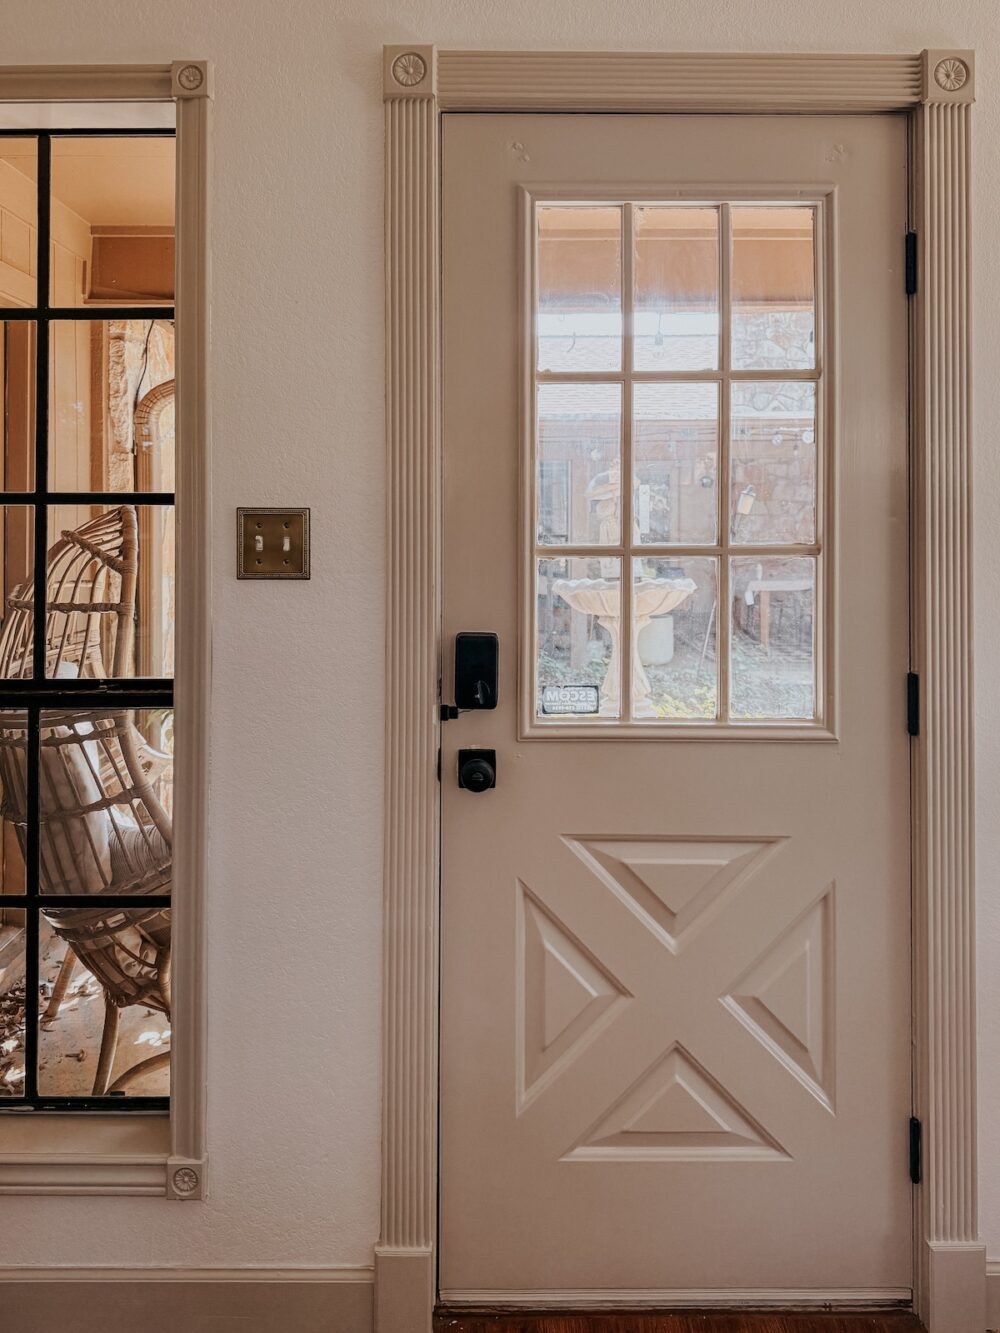
So, given all of that, it was a no-brainer to paint the moulding and trim in here a contrasted color, and just paint the walls white!
Choosing the Right Color
I always preach against playing what I like to call “paint roulette” and just picking a color at random from the store. But, I have to admit that’s exactly what I did here. I had some paint on hand that I thought was a beige-y taupe. However, when I went to use it I realized it was plain ol’ white! I was determined to get the painting done that day so I went to the store and chose a color based on the paint swatches alone.
This can be dangerous if you aren’t really confident with your color-picking-ability. Paint is pretty much guaranteed to look different in your space than it will at the store! But, I know many of us are impatient and sometimes we just decide to go for it. If you’re like that too, I recommend spending a second to Google the color you’re considering. It can be really helpful to see images of that color in real-life houses!
I ended up using On Point by Clare Paint for the wall color (which leaned greige in my old house but looks absolutely white here, thanks to all the bright natural light!). Then, I grabbed a quart of Vintage Pewter by Behr for the door and trim. It was a risk to get the paint without testing it, but I’m so glad I did because it was exactly what I was looking for.
My Must-Have Tools
You don’t need a ton in order to paint the moulding and trim in your house. But, here are a few things I do recommend using:
- A small drop cloth, for your paint and supplies
- A high-quality paintbrush
- Cabinet and trim paint
- Cleaning wipes (for quickly wiping up mistakes!)
- A paint pail
Tips & Tricks for Painting Trim
I’ve already written a whole blog post on how to paint baseboards, so I’ll guide you there if you want a full tutorial for that portion. But, here are a few of my best tips for making this project as easy as possible:
- Be sure to use a cleaning wipe or damp cloth to clean off any dust or dirt before you get started.
- Using a quality brush made of nylon or polyester will make a huge difference here. If you go with a cheap brush, it’ll be much harder to get a good finish! They often leave brush marks or even drop bristles as you work.
- If you’re working with really old paint or unpainted wood baseboards, you’ll want to do a coat of primer on the trim before painting. A high quality primer can hide a multitude of stains and ugly places on your trim, and it’ll save you a lot of time and effort in the long run!
- If you have damaged areas on your trim, grab some spackling and a putty knife to patch it up before you paint. Be sure to use a fine grit sandpaper to sand it down smooth before painting, so the finished look isn’t lumpy.
- It can be helpful to remove the doorknobs from your doors if you’ll be painting the door and door frames as well!
- The first coat will look like a hot mess. It’s just a rule of painting – even when you’re painting drywall. Just trust the process and know that the second coat will look much better. 1-2 coats is standard here, but you may need to do touch ups or a partial third coat too.
- If your caulk is old or cracked, grab your caulk gun and apply some fresh caulk before painting. Learn more about how to caulk here.
Frequently Asked Questions About Painting Moulding and Trim
Should you paint the walls or the trim first?
I painted my walls prior to painting my trim – generally speaking, I recommend tackling the easier part first! Painting your trim is more delicate and requires more precision, so knocking out the walls first will make things easier.
How many coats of paint do you need when repainting trim?
1-2 coats should be fine! I did have a few spots on mine that required a third coat, but definitely not everywhere.
Do I need to use tape when painting trim?
That totally depends on your confidence level with painting! I never tape when painting trim, because I have good control over the paint brush and am highly confident in my steady hand. But, if you’re nervous, you can definitely tape off the trim prior to painting!
Just be sure to firmly press the painter’s tape into the wall to make sure it’s properly sealed, and I recommend lightly running a razor over the edge of the tape before you pull it up, to avoid peeling any of your fresh paint back off!

Should I use a brush or a roller?
I highly recommend using a brush when painting molding. It can be hard to properly get into all of the cracks and crevices when you’re using a roller, and a brush gives you far more control. Yes, it’s tedious, but it’s worth the effort!
What kind of paint should I use to paint trim?
The best paint for trim, doors, and moulding is cabinet and trim paint! I like this one from Behr.