
The Easiest Patio Plant Wall
One of my very favorite ways to add some visual interest to an outdoor space is with plants. Hanging a little plant wall has been a go-to for me for a long time now, and I did it again! See how to hang the easiest patio plant wall ever!
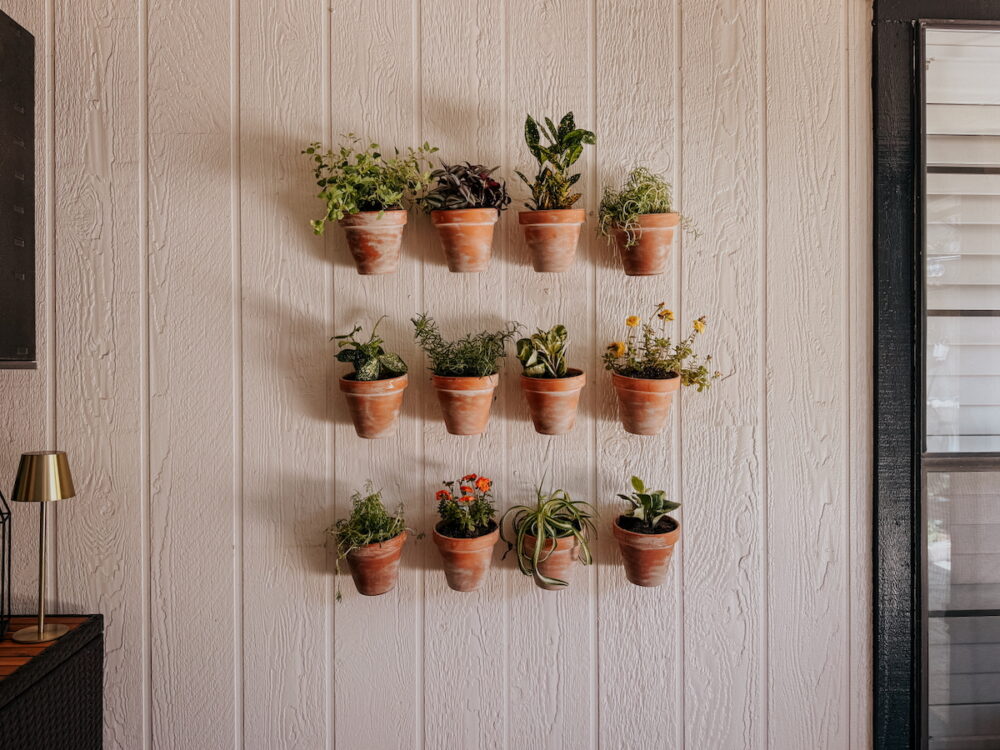
I’ve been working on updating our back patio for a few weeks now and one thing I kept circling back to was this empty expanse of wall behind our table. I knew I wanted to fill it but I wasn’t sure how. At the same time, I really wanted more plants out there. I decided to solve both problems at once with something I’ve actually done a few times before – a plant wall!
I first tried out this project on the patio in our second house. It was one of my very favorite things I did the entire time we lived there, and I knew I’d probably re-create it someday. In our second house, I didn’t attach the pots directly to the wall but made a base for them first. But, it was the same idea!
So, this is officially the third house I’ve done something like this in, and it still makes me so happy. I love that it’s so versatile (it has looked so different at every house). You basically can’t go wrong with plants.
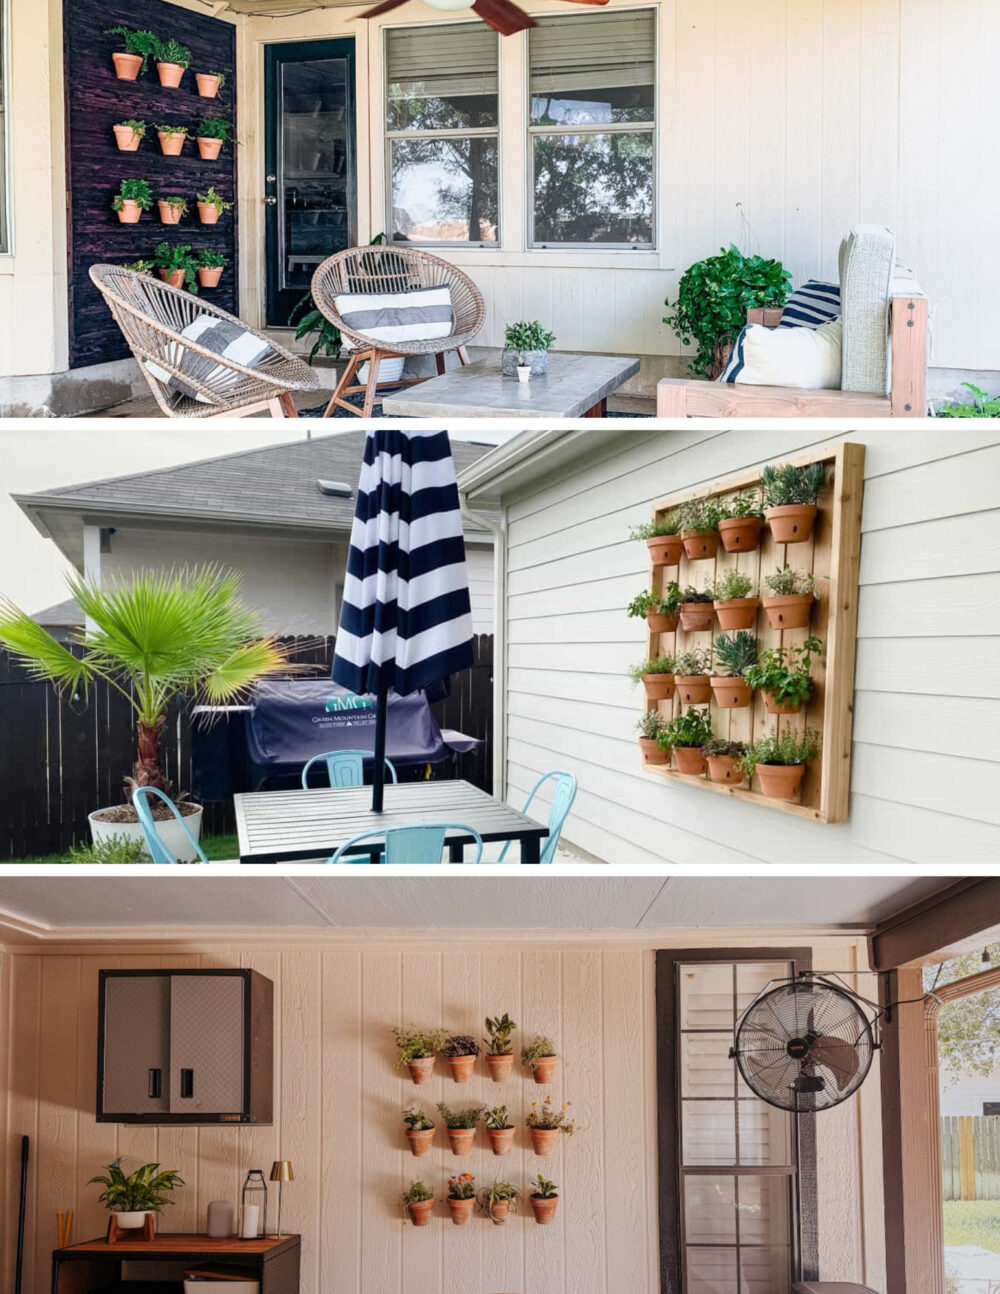
Easy DIY Plant Wall Using Pot Clips
I did a full tutorial for this project the first time I did it, so if you want something a little more elaborate like that one, that post has you covered! This time around, I went with a really simple version of the plant wall. It took me about 30 minutes to hang from start to finish, which, honestly, is the best kind of project. Here’s how to make it happen.
Materials Needed
- Terra cotta pots (see how I aged mine here)
- 12 Pot clips
- Drill
- Level + tape measure
Video Tutorial
Want to see it come together in real time? I put together a quick video showcasing how I aged the pots and how I hung the plant wall all at once. If you’re a visual learner, this video covers the project from start to finish.
Step One: Plan + Measure
The first step of any project like this is to figure out where you want to hang it and how you want it to look. I decided on 3 rows of 4 plants each, because that felt like the best way to fill the wall. Since I was placing the pots directly on the siding, I decided to just center each pot on a siding board to keep spacing super simple.
To determine height, I just held up a pot for the middle row until I found I height I liked, then measured how tall it was. I wish I had better advice here, but I think it’s a good reminder that it doesn’t have to be complicated! My middle pot clip ended up being 55″ off the ground, and the other two rows are each 11.5″ inches from that one.
Step Two: Hang Your Pot Clips
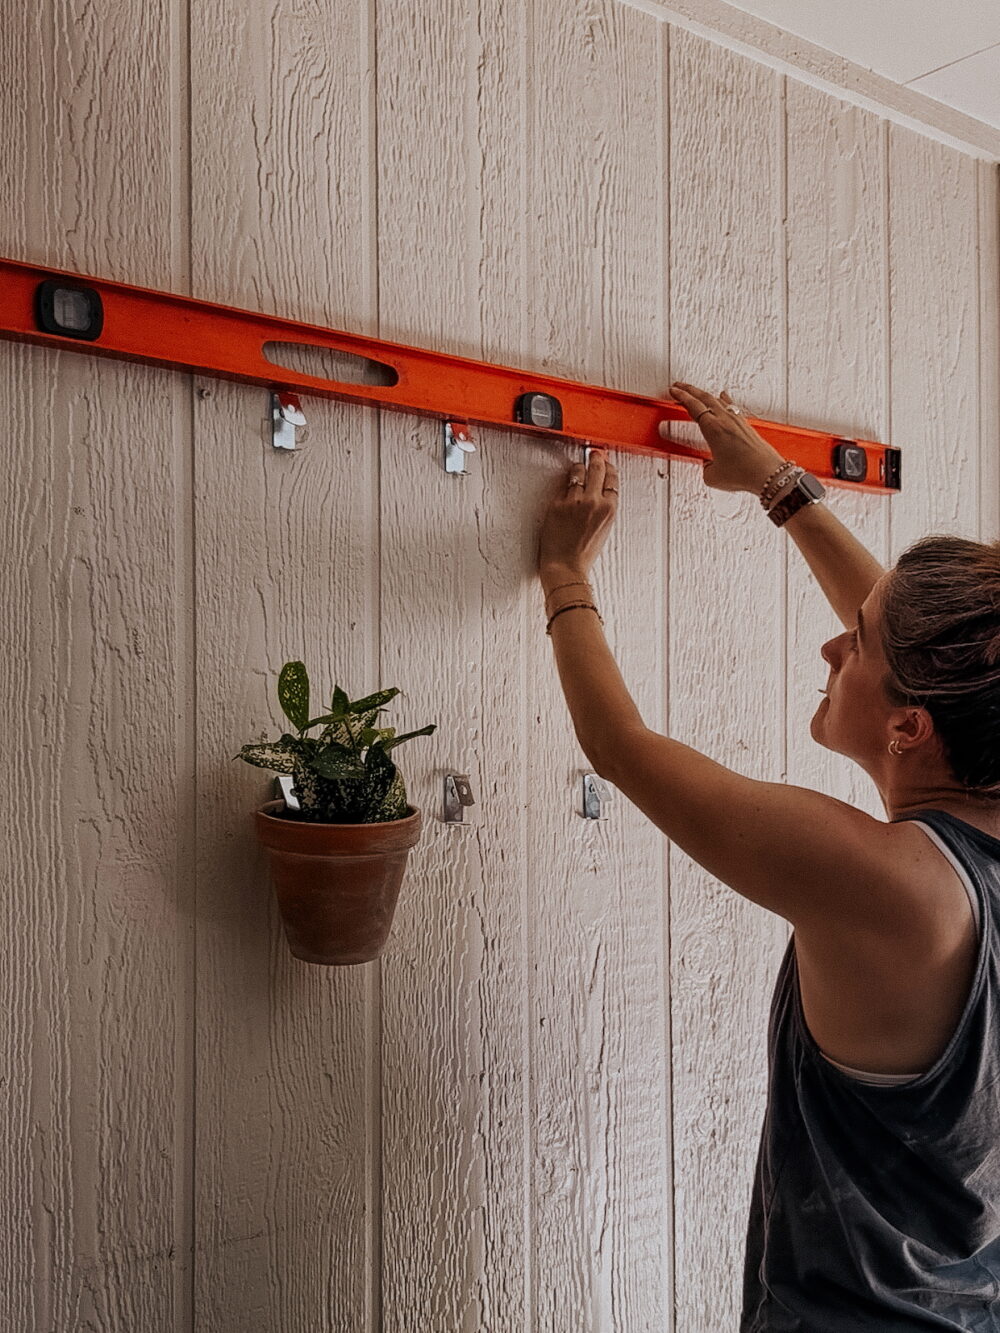
Hanging the pot clips is incredibly easy – just drill directly into the wall through the holes in the pot clip until it’s secure! You can add anchors if you want to be extra safe, but since these pots aren’t very heavy I skipped them. Your mileage may vary here and I’ll be sure to update this post if I have any issues. But, I’ve never used anchors before when hanging these and it’s always been perfectly fine.
I used a level to help me make sure I was hanging my pot clips at the same height all the way across the row, and then to make sure that they were lined up top to bottom. After I got the first one on each row hung, I didn’t even need to measure. I just eyeballed the center of each siding board, then used my level to make sure it lined up. It was super fast!
Step Three: Hang the Pots!
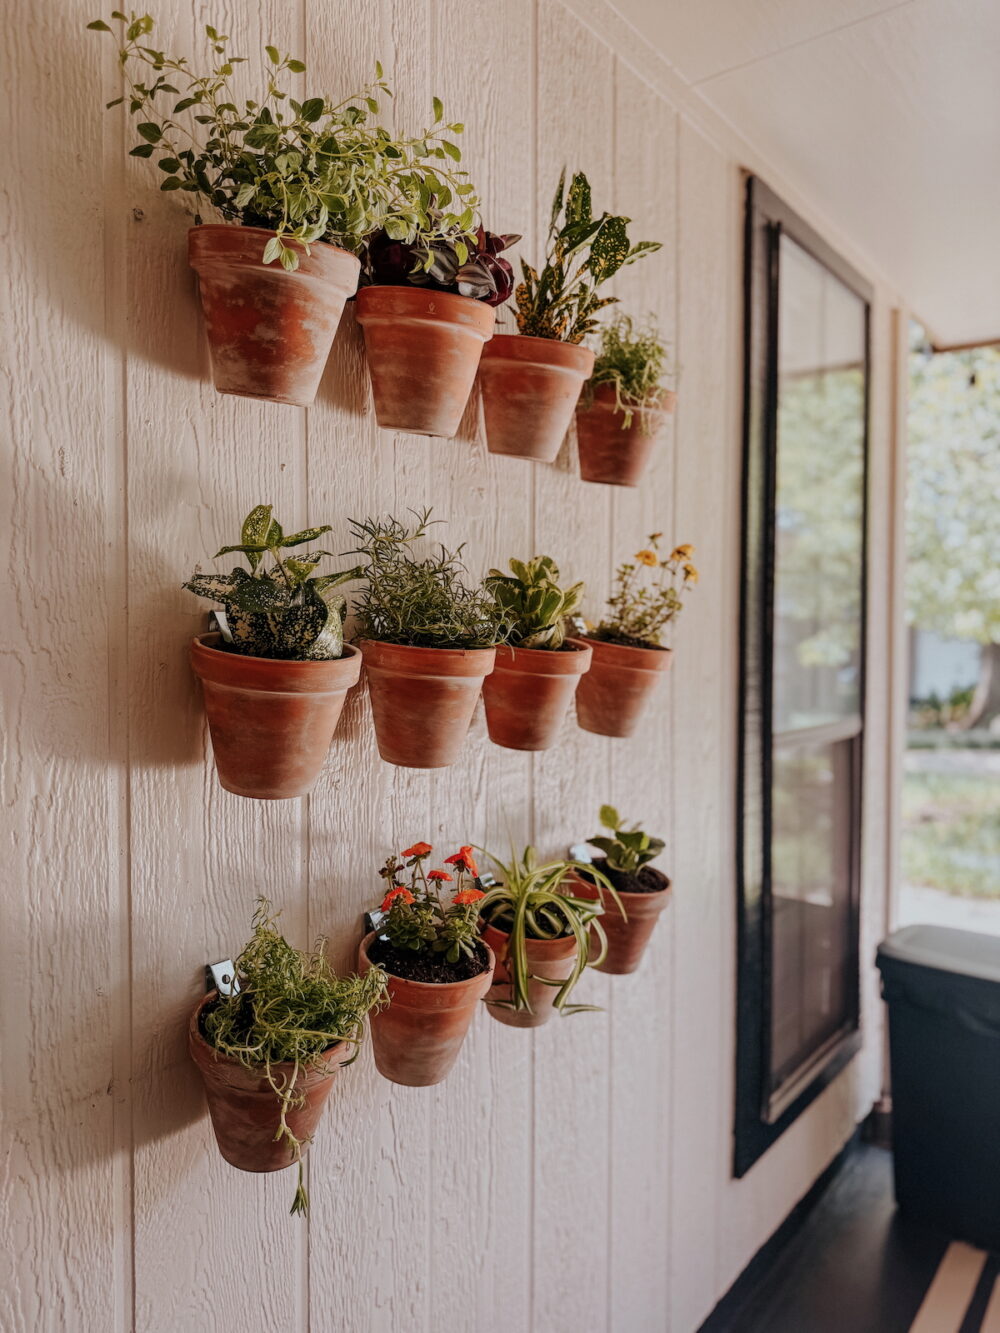
Literally, that’s all there is to it. Once you’ve hung all of your pot clips, you can slip your terra cotta pots onto the hook and you’re done! Just like that, you’ve got a custom plant wall that you can change out whenever you want.
What Size Pots Can I Use?
The pot clips that I use are compatible with pots from 5″ to 8″. The key is the pot has to have a lip for it to grab onto – you can’t use the ones that are smooth at the top!
How Secure Are the Pot Clips?
This is the number one question I get anytime I share these things – and it’s fair. It doesn’t look like they’re actually all that secure! Here’s what I’ll say – I’ve never had a pot fall out of these clips unless it was due to someone fully running into it. When the kids were younger I think there may have been a time that they knocked each other into a pot and it fell. But, we’ve never had one fall due to wind, moving around the space, or anyone touching the wall near them. They’re shockingly sturdy and they really do hold up great over time.
What Did I Plant?
You can plant pretty much any small plant that enjoys shade for something like this. I scoured a few different local stores and grabbed some things that were on sale or caught my eye. If you want specific suggestions, though, here are a few to get you started:
- Basil
- Oregano
- Mint
- Rosemary
- Spider plants
- Inch plants
- Creeping Jenny
- Pothos
I also grabbed a couple of annual flowers in hanging planters that were on sale at the grocery store. I was able to split them up among multiple planters, which can cut down on costs!
What About Watering?
This is another common question, and I’ll be honest – I don’t overthink this one. I just water the plants as I normally would a few times a week, and let the water drip down. The drainage holes from the top two rows actually allow the water to drip directly onto the plants in the bottom two rows, which is a perk! The ground does get a little wet on watering day, but it dries quickly!
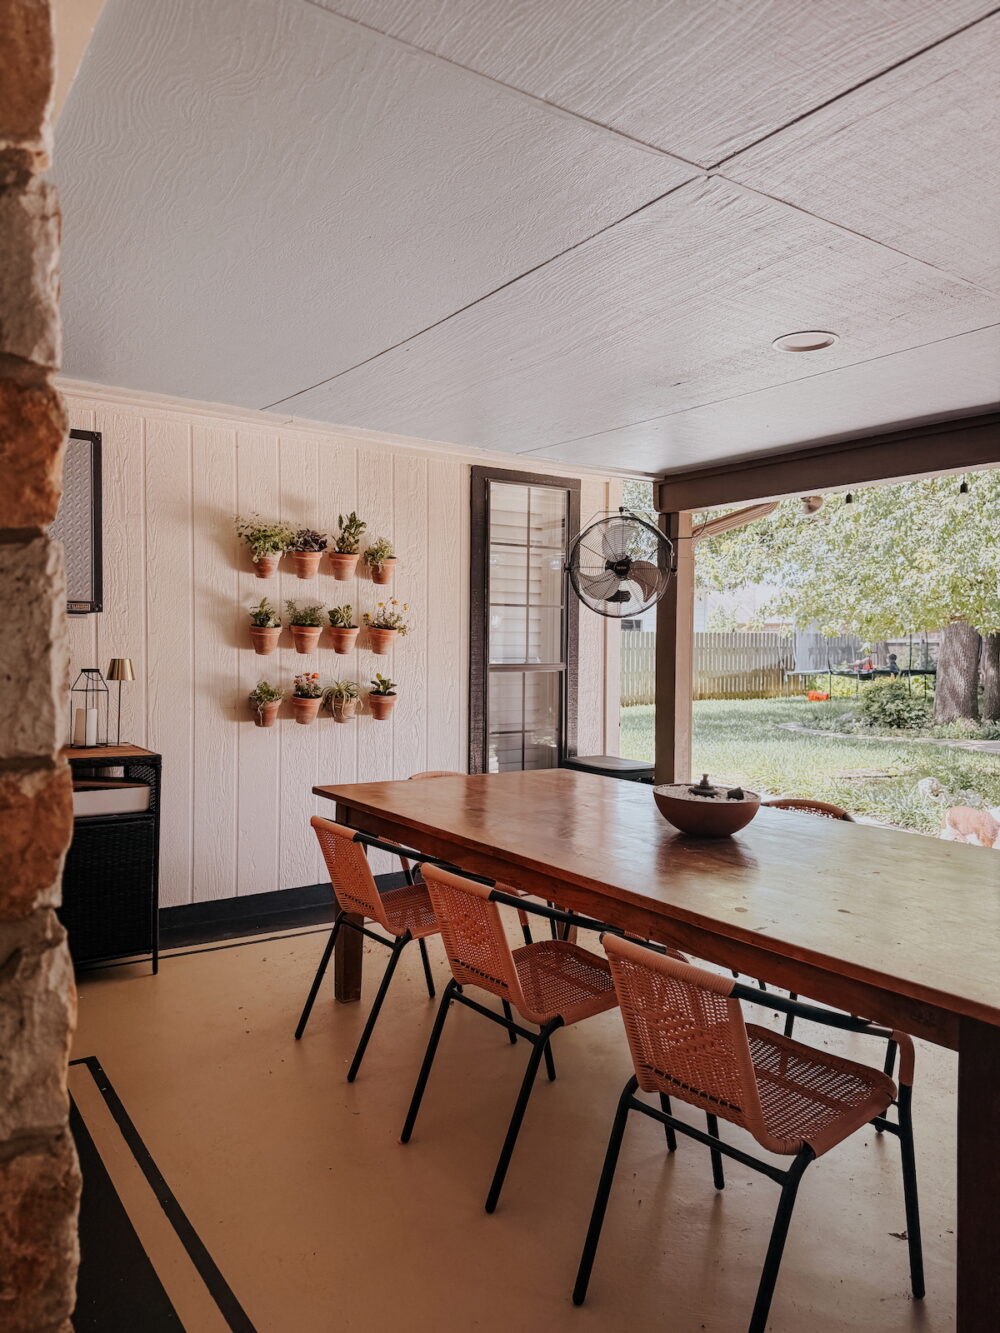
The fact that I’ve done some version of this project at three houses now should tell you everything you need to know about how much I love it. It’s one of those things that just works no matter your style or the space. If you’ve got a big blank wall on the side of your house, let this be your sign to try a patio plant wall!