Using the Rockler Adirondack Chair Plans!
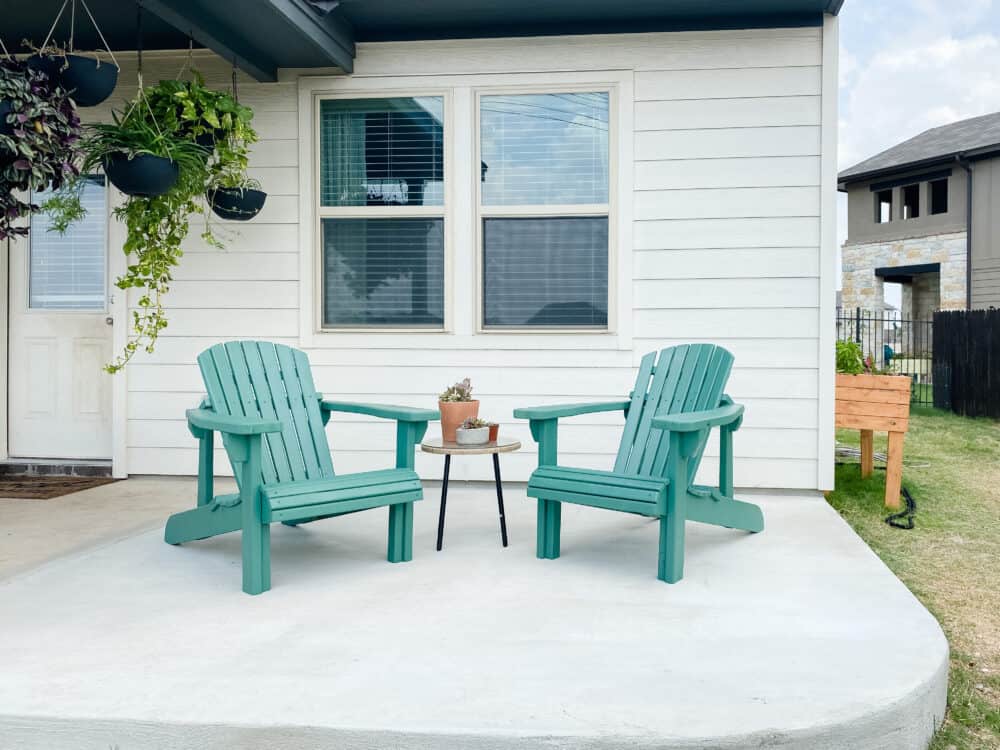
I built these beautiful DIY Adirondack chairs using the Rockler Adirondack chair plans! This super easy-to-use template was so fun. Today, I’m sharing all of the details and answering all of your questions about this fun project!
This post is sponsored by Rockler Woodworking
If you would have told me a couple of years ago that I would be building my best friend a set of Adirondack chairs for her backyard entirely by myself with my own hands, I likely would have laughed at you.
I’m not a woodworker! I don’t know what I’m doing!
But guess what? I DID IT!
Last week, I built these absolutely beautiful DIY Adirondack chairs all my myself. I’m still kind of pinching myself over the whole thing! I never thought I’d be able to do something like this on my own. But, this project was surprisingly straightforward and, dare I say, easy!
Many of you closely followed this fun project as I shared it on Instagram stories last week. I’ve been promising a big post with all of the details – and here it is!
Let’s start with the most important part – the thing I wouldn’t have been able to do this project without: the Rockler Adirondack chair plans and template!
Rockler Adirondack Chair Plans & Template
I used this set of Adirondack Chair Templates (and detailed building plan) from Rockler for this project. It walked me through every single step of the process. I can honestly say my chairs wouldn’t look nearly this professional or high-quality if I hadn’t used this template! In fact, they probably wouldn’t exist.
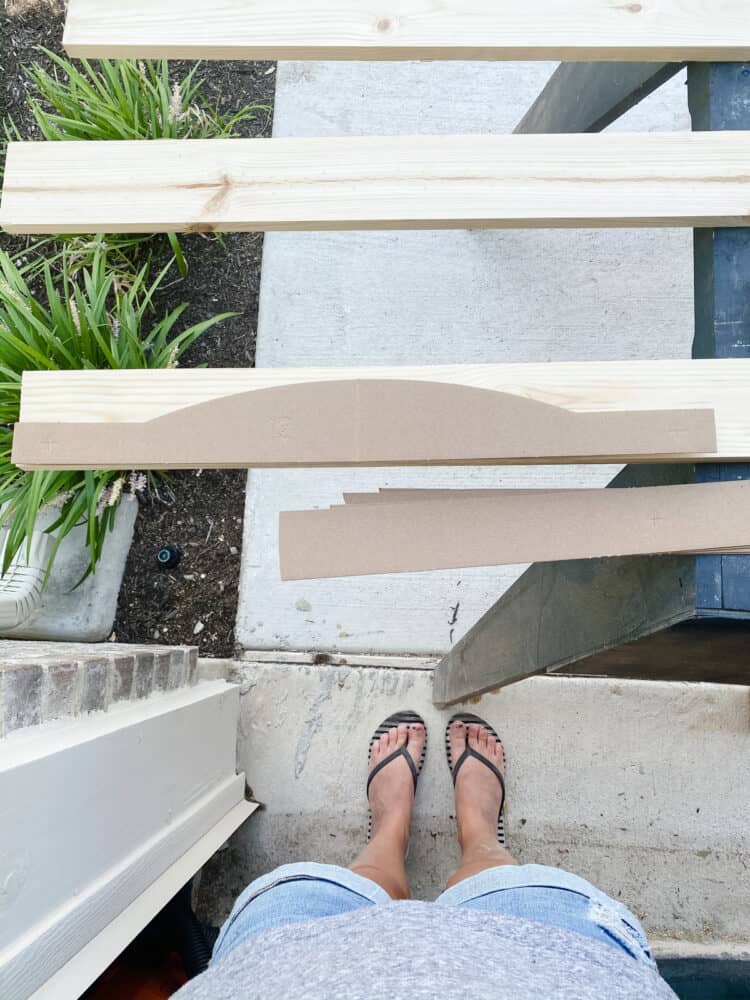
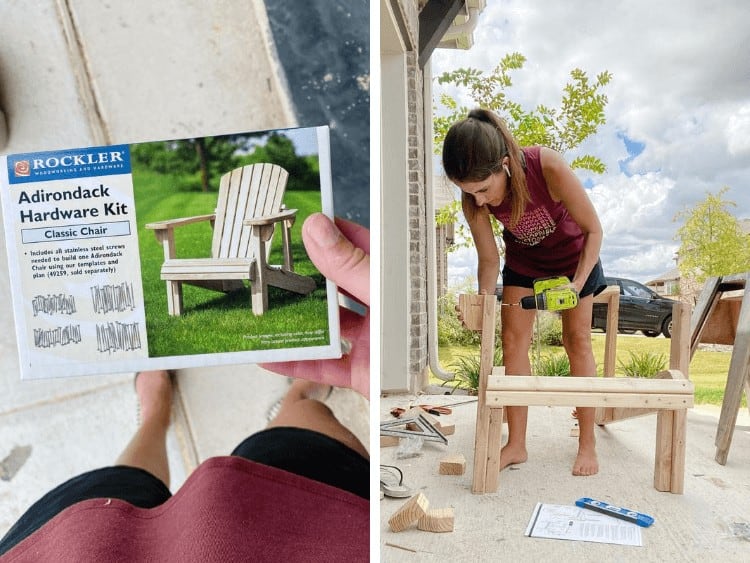
The Rockler Adirondack chair plans are incredibly detailed and helpful. They walk you through every step of the process, from tracing the templates onto your wood to assembling the chairs.
To make things even easier, Rockler also has a hardware pack you can purchase. It has every single screw that you need to put the chairs together! If you use this pack, the only thing you’ll need to make sure you have on hand (other than a drill) is a square bit and some wood.
The templates even have holes marked for you where you should pre-drill holes and drill pilot holes for screws to go into. It makes it totally foolproof, and I was surprised that even I didn’t make any mistakes when it came to prepping everything!
While you’re at it, click here to see aaaaaaaall of the project plans and templates that Rockler has on their site – it’s way more than just Adirondack chairs.
It took me about five days worth of Grant’s nap times to get these fully knocked out.
Here’s the breakdown:
- I spent one day tracing and cutting the pieces
- Another day drilling all of the pilot holes and routing the edges
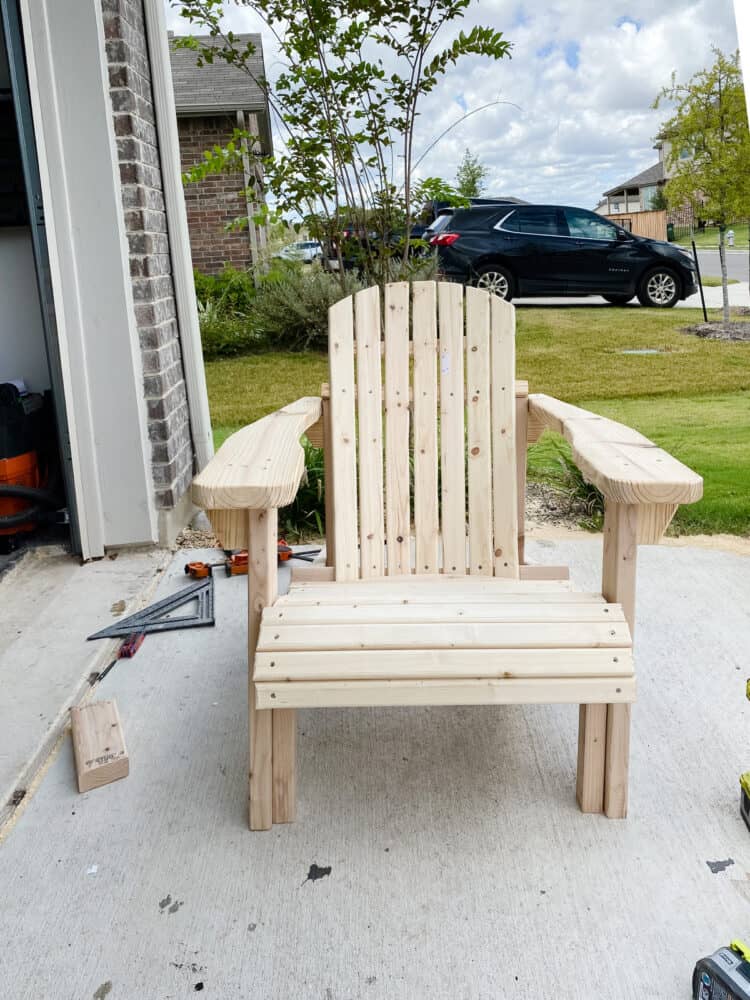
- A third day assembling the chairs
- A day fully sanding and prepping the chairs for paint
- And finally, one last day to paint and seal them
I used my paint sprayer to paint the chairs since I was painting them after assembly. Though, it is important to note that the official recommendation from the Rockler template is to disassemble the chairs before finishing. You’d certainly do a more thorough job that way! But, I’m really happy with how they turned out, so I’m not complaining!
Cost Breakdown
With any woodworking project like this, the first thing to consider is what tools are necessary and if you have them on hand. Obviously, any tool can be used for a ton of different projects. So, I’m not counting them in the cost breakdown. But I do want to do a quick rundown of what you’ll need to have on hand to make this project happen. I’ve linked a recommended tool for each one for you!
Tools needed:
- Jigsaw or bandsaw
- Orbital sander and a variety of sandpaper
- Router with a 1/4″ rounding over bit
- Drill and drill bit set
Materials
- Template + Plan: $21.24
- Hardware Kit: $21.24
- Wood: About $65/chair (I used pine, since I’d be painting and sealing it. This would be more expensive if you used cedar or other pricier wood.)
- Paint: $25/quart (I used Behr Marquee. Other lines are cheaper, but this is the paint I trust!)
- Spar Urethane: $17/quart (I already had this on hand)
Total cost: $149.48 for the first chair, less for subsequent chairs, assuming you re-use the template, paint, and Spar Urethane!
I think there are a few important considerations when it comes to a project like this. First of all, the templates are re-usable, so while you are a small additional cost upfront, they can be used to make as many chairs as you want!
Secondly, if you have a relatively well-stocked supply in your workshop, you may already have the hardware, paint, and spar urethane on hand, which would reduce the cost of the project to just the cost of the wood.
And finally, I always think it’s important to consider quality here. Sure, you can probably find a pre-made wood Adirondack chair for about $100 at most stores, but the quality of the construction and wood won’t be able to match what you’ll get when you build it yourself. These chairs are really solidly constructed and will last for a long time – and I’d argue that these would sell for a lot more than $100 if they were being sold in a store!
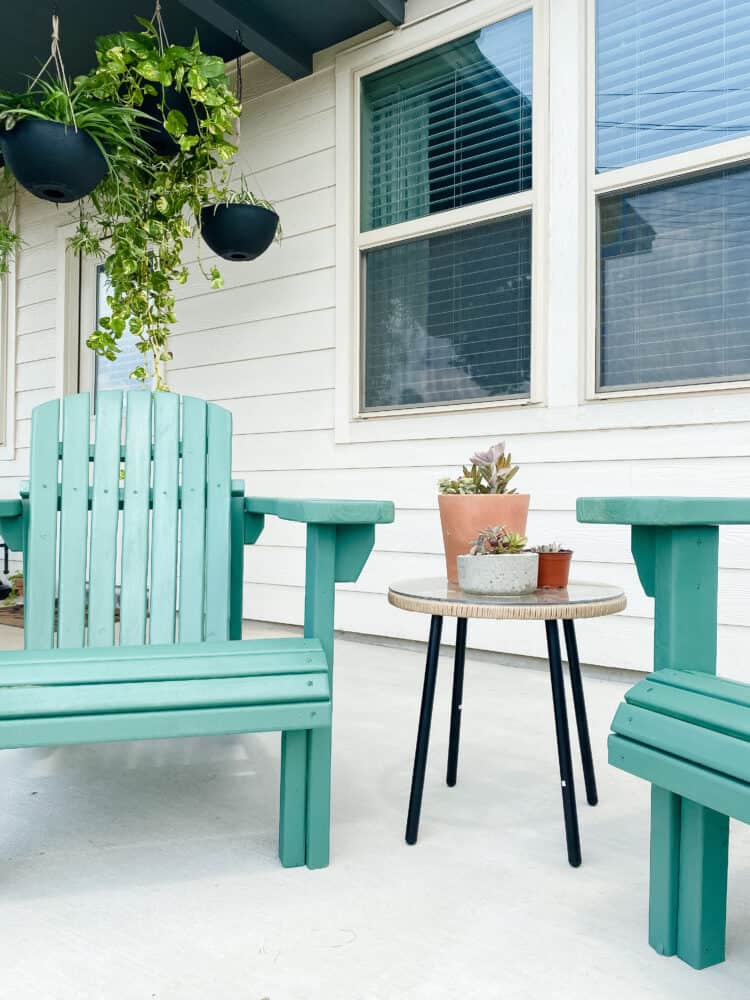
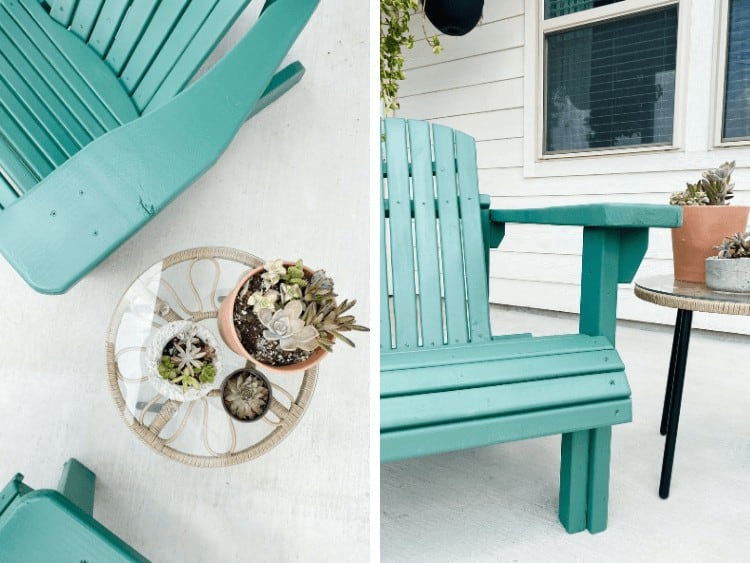
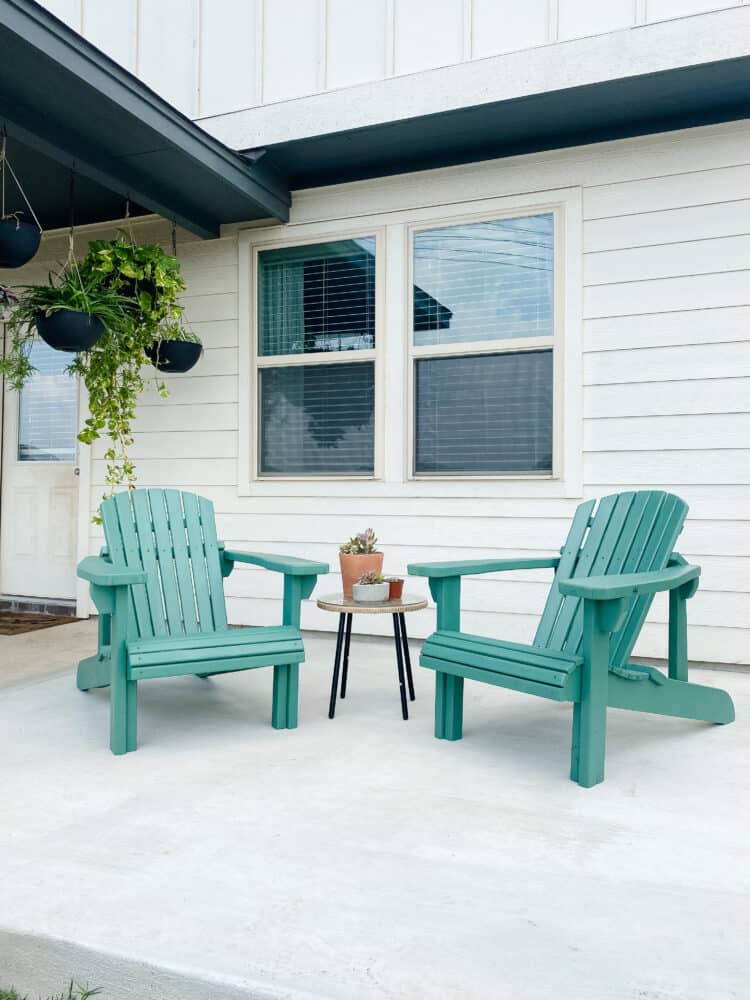
I’m so happy with how these chairs turned out, and it was such a good project for me to get some good practice in on. I had many people ask while I was working on this if I thought it would be a good project for a beginner, and my official verdict is YES, as long as you have a basic understanding of how the tools work and some familiarity with them. I 100% consider myself a beginner (maybe an intermediate-level beginner? Still in the beginner range!), and I found it to be a really satisfying, just-challenging-enough project.
You can click here for the Adirondack chair template + plan, and click here to see more of Rockler’s woodworking plans and templates!


What Behr Marquee color did you use on the chairs?
What type spray gun for painting? Text me.
Beautiful chairs! And such great inspiration. I’m also eyeing those black hanging planters in the background – do you know where they’re from?
They’re from Amazon! Here you go: https://amzn.to/3hcTSAc
These turned out amazing!