Super Easy DIY Sofa Table
Y’all, this DIY sofa table is a project that has been on my mind for years. You know how that goes? You think to yourself, oh man, it would be nice to have this thing. I should do it. And then you just…don’t. For a long time. And then you start questioning if you really need it and it turns into a whole spiral.
Is that just me?
Regardless, I’ve been thinking about building a sofa table behind our couch for ages. We have a really large sectional, and we don’t have an end table by the sofa, just a coffee table. Depending on where you are sitting it can be tricky to find a spot to put a drink! In addition to that, I often work from the couch or need to charge my phone, and that can be a bit of a thing. Currently, we just have a power strip tucked into one of the cushions for easy access. Seriously, that was our solution.
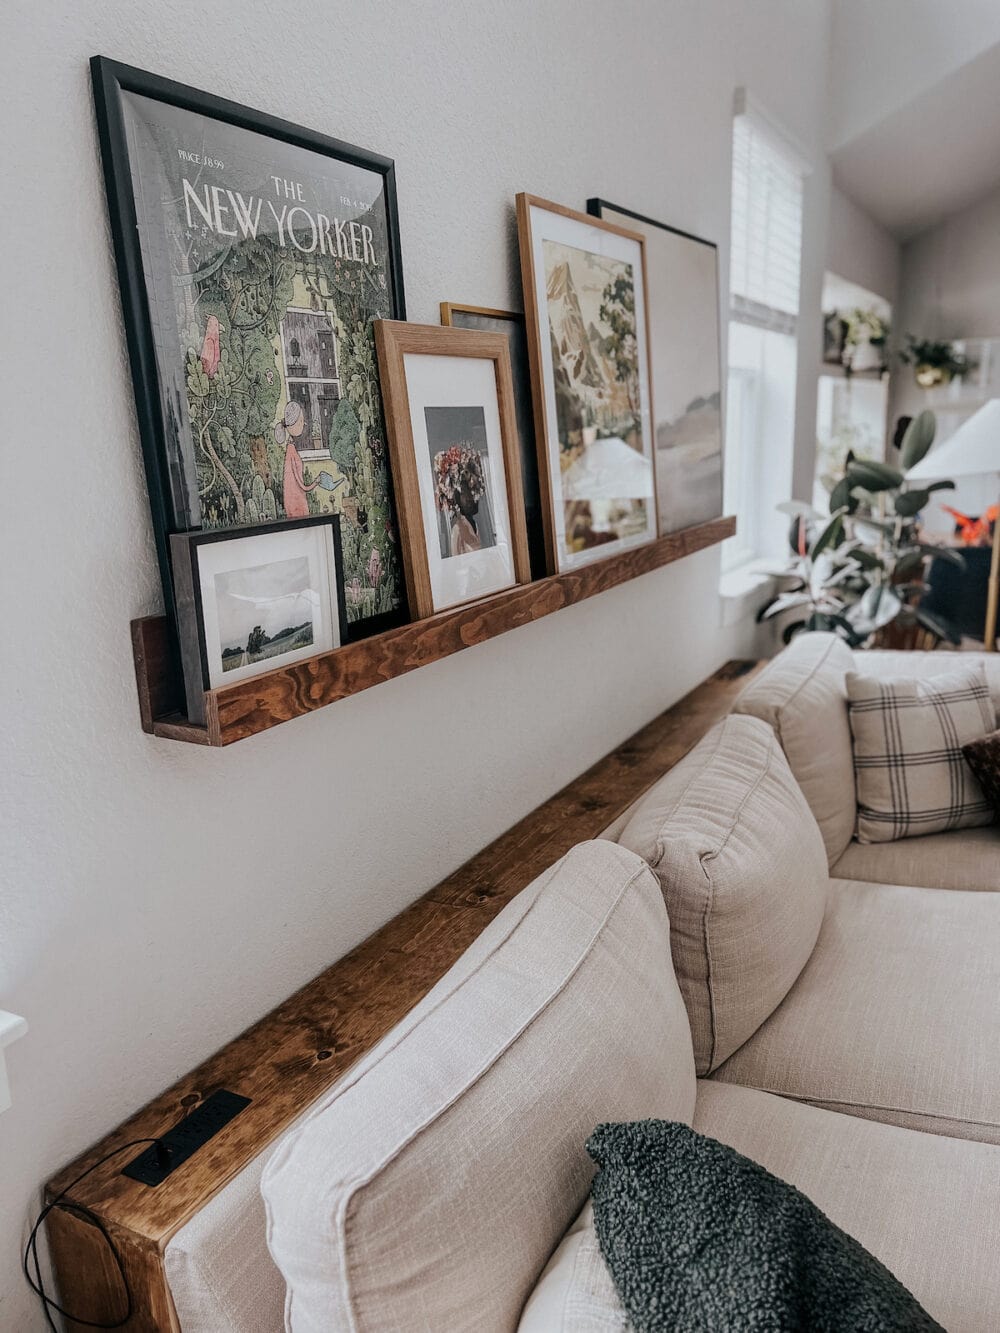
It’s obviously time for an upgrade. So, let’s chat about how I build the simplest, straightforward DIY sofa table. It has built-in plugs (!!!), gives plenty of room for drinks, and looks pretty darn cute, too.
How to Build a Simple DIY Sofa Table
I always like to kick things off with a little video when I can. I know many of you are visual learners and like to see things come together. So, I put together some footage that shows how it all went. Watch this before reading on if you like to have a good visual in your head while you’re reading!
Video Tutorial
Materials Needed
This post is sponsored by DAP, my very favorite brand for all things wood glue, caulk, and wood repair!
Step One: Measure + Cut Wood
First up, you’ll need to decide the sizing for your table. I wanted mine to fit perfectly behind my sofa and cover the length of the back (not including the arm on one side). As for the height, I wanted it to align with the back of the sofa, not the back of the cushions. A lot of this will depend on personal preference. So, play around with a few measurements, hold the tape measure up, and see what you like for your table dimensions.
I used pine boards for this project, but if you want to use some nicer lumber, that’s always a great option! Oak or poplar would be a beautiful option if you want to spend a little more.
Once you’ve measured you’ll need to start with…
- (1) 1×8 board cut to the length of the back of your sofa
- (2) 1×8 boards cut to the height for your table, minus the thickness of your first board (should be about 3/4″)
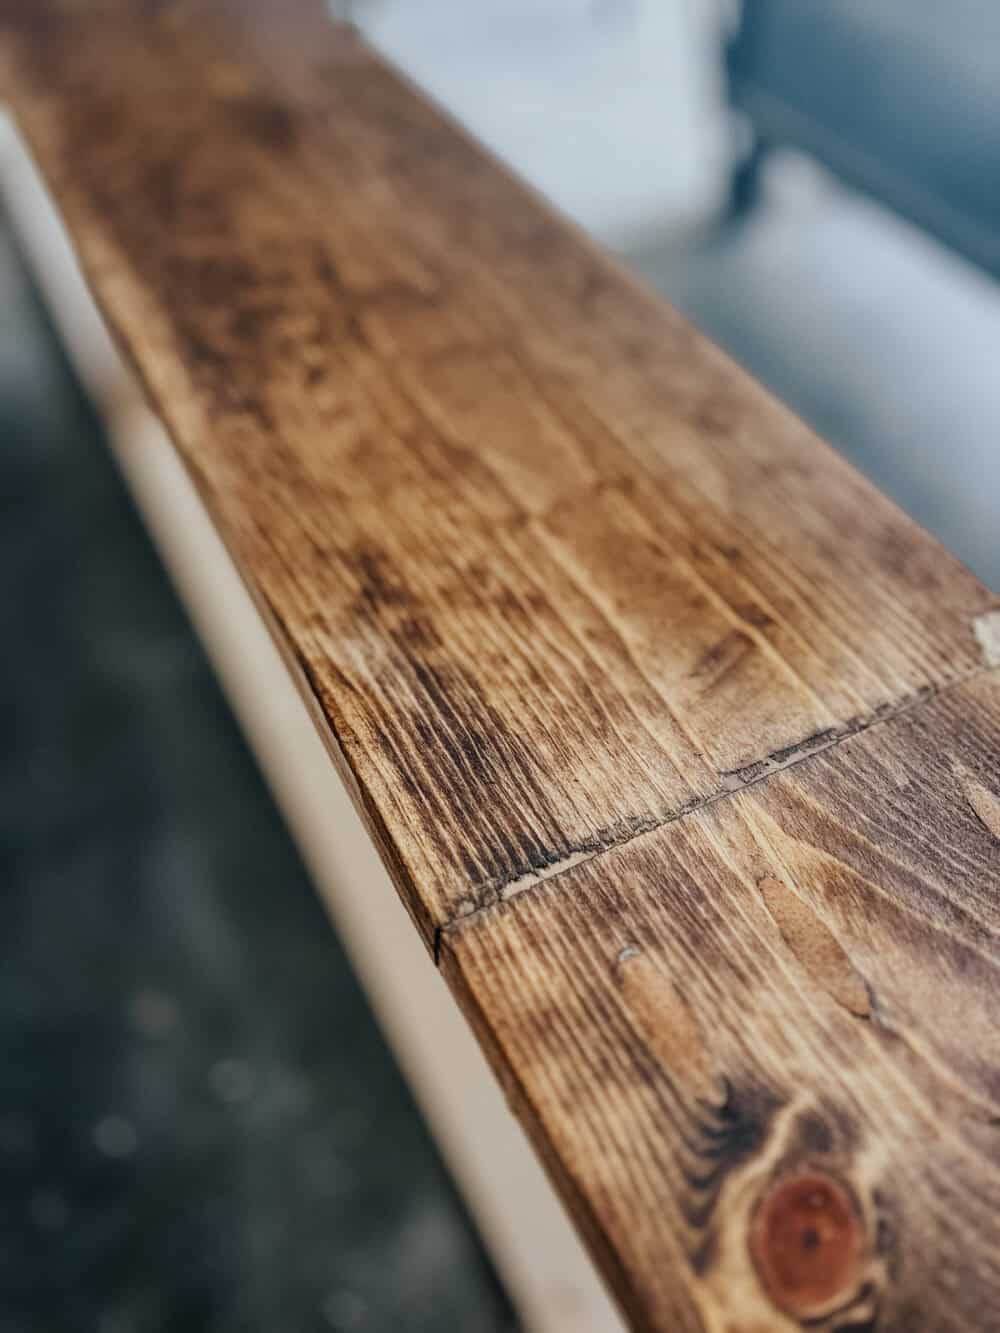
One thing I’ll note about my particular table is that I had to attach two pieces together for my top. I could have just grabbed a 10 or 12 foot board (my table is 9′ long), but I already had the wood on hand. So, I just cut a little extra off and used pocket holes to attach them together. You’ll see in a minute how that seam looked when I was done!
Step Two: Attach Legs to Table Top
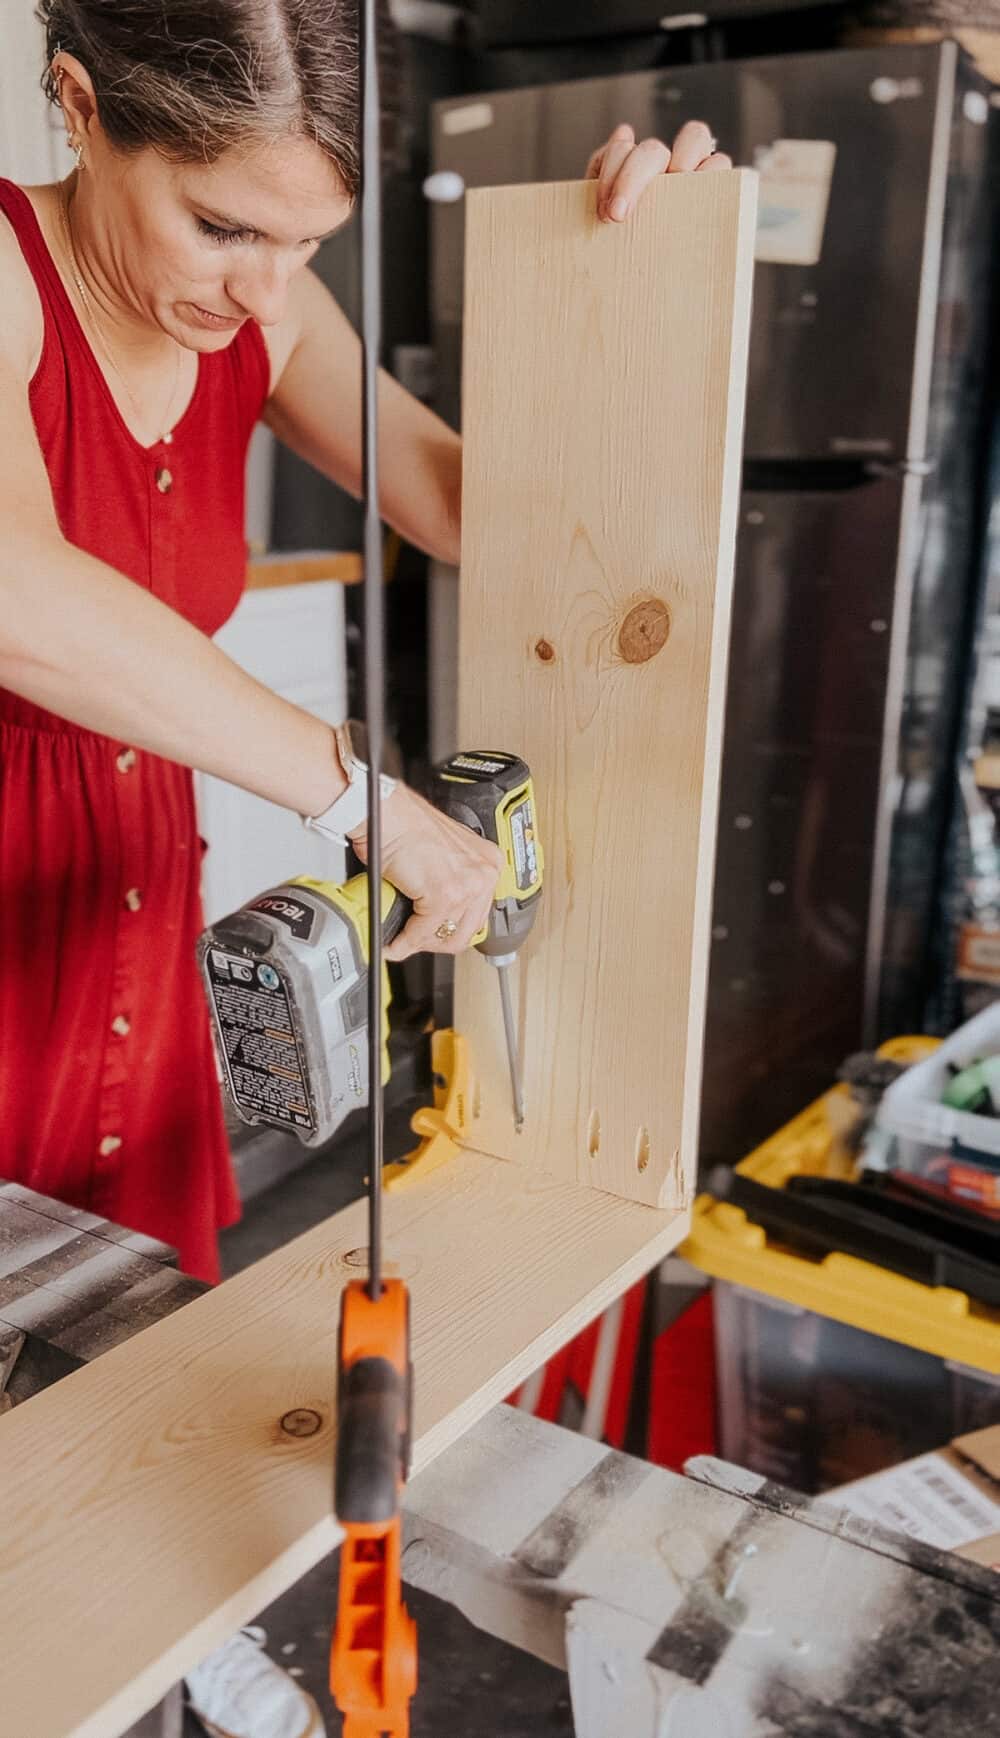
With your first few pieces of wood cut, you’re ready to start assembling! There are a dozen different ways you can do this but I wanted to keep it simple. I drilled pocket holes in one side of each leg, then attached them to the table top using wood glue and pocket hole screws.
I highly recommend grabbing some corner clamps if you don’t already have them for this part. It makes it a lot easier to make sure everything is aligned!
Step Three: Add Supports
Again, there are dozens of ways you can add some support to make your table more sturdy. And, honestly, if you’ve got a really short table you might not need to do much. But, mine is looonnnnng so I wanted to be sure to add something.
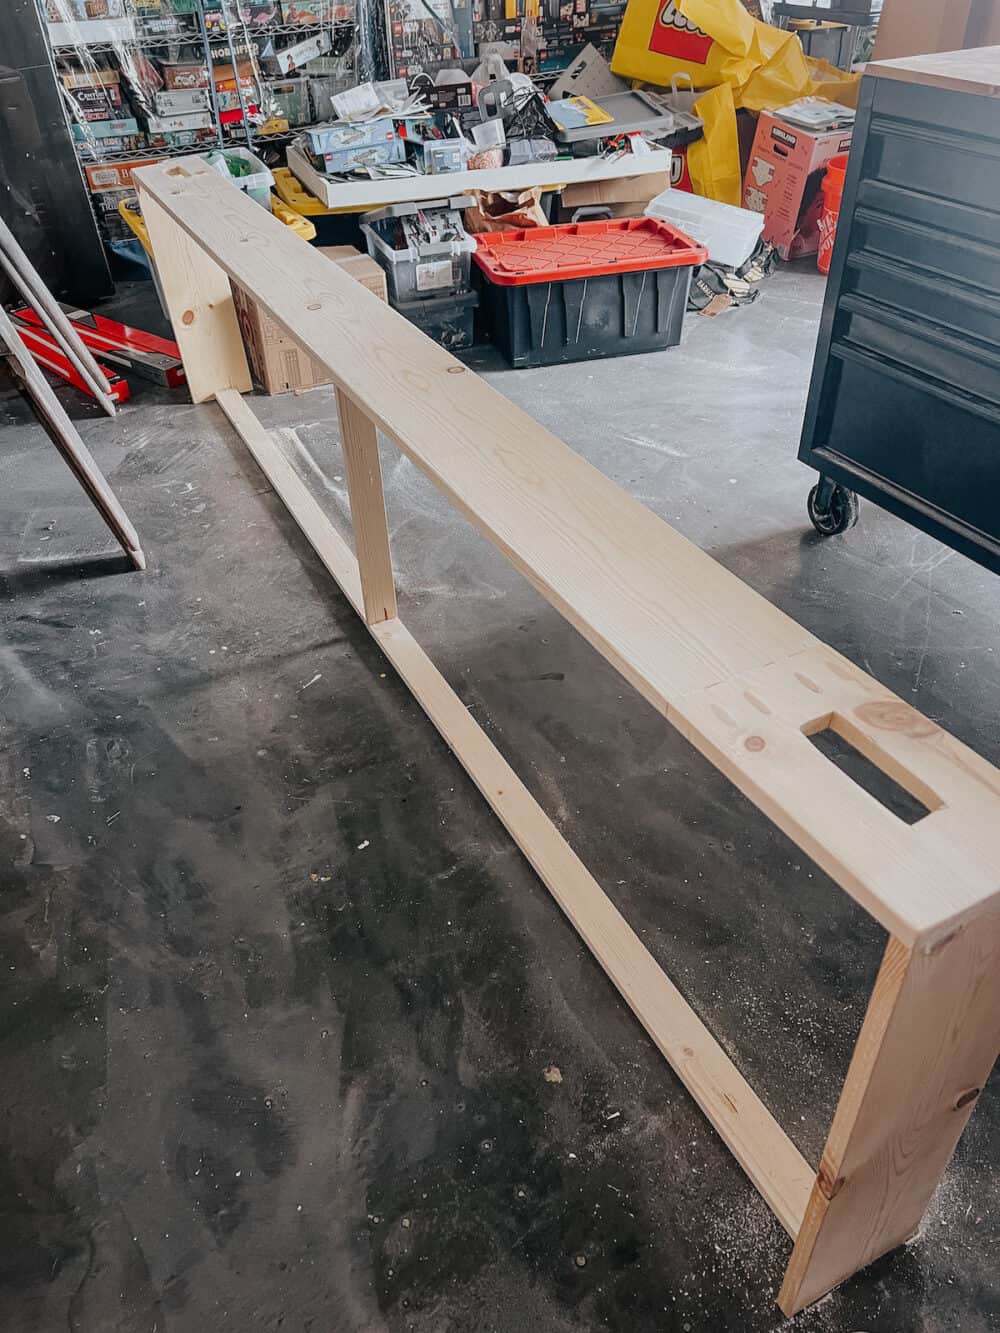
For my supports, I just cut one 1×3 board the same length as the legs and attached it to the middle of the table from underneath. I used wood glue and pocket holes once again here.
Then, I cut a piece for either side that connected from the middle piece over to the legs. I attached those using pocket holes as well. Once all was said and done it looked like this:
Step Four: Patching + Prep for Outlets
Next up, it was time to patch all of my seams and get ready for the recessed outlets. I used DAP’s Premium Wood Filler to patch the seams where my two top pieces met, and also the seams where the legs meet the top of the table. This is always my go-to product for any wood seams, wood repair, or anything of the sort. It does such a great job of hiding imperfections and I genuinely don’t even know what I’d do without it.
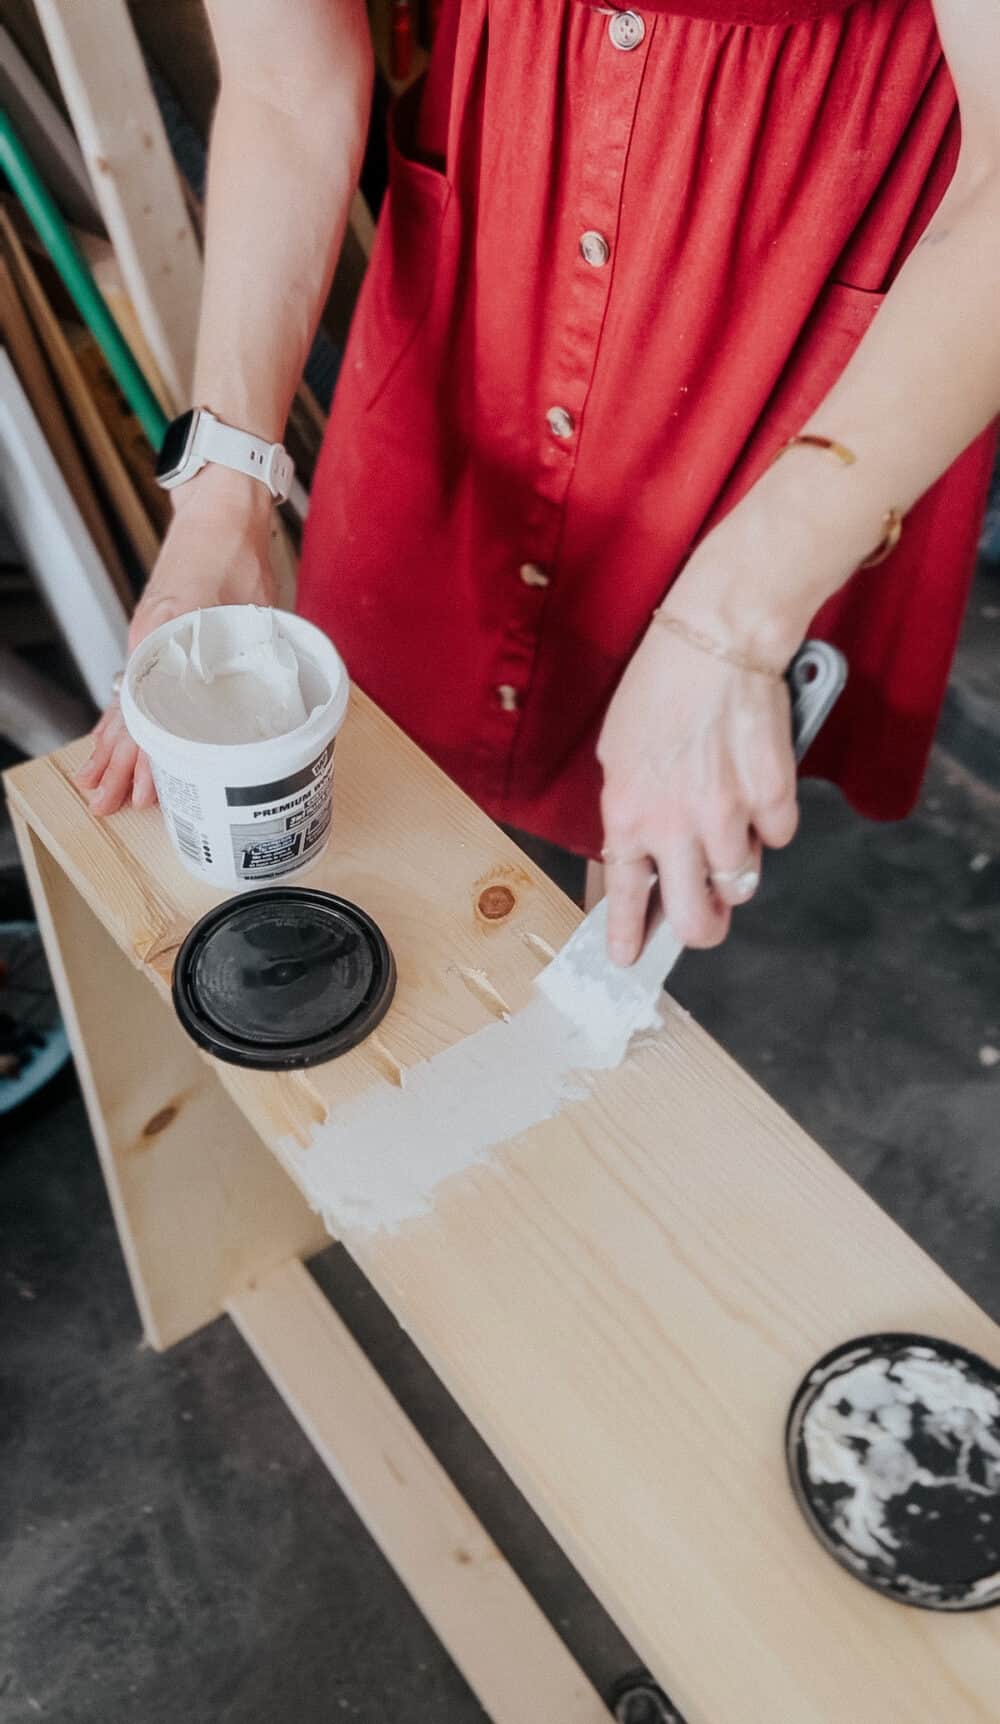
You may notice that I also made the (incredibly ridiculous) mistake of attaching the table so my pocket holes were on top. This is genuinely just me not paying close enough attention, and I felt so dumb when I realized it. Thankfully, with some pocket hole plugs, Weldwood wood glue, and my DAP wood filler, it was an easy fix and they’re barely visible.
After patching everything, I cut the holes for the outlets while it was drying. I was using these recessed outlets, and all I needed to do was cut a hole they could slide into. I did that with my jigsaw and it only took a few minutes.
Step Five: Sand + Stain
Now, it’s time for the finishing touches! Taking the time to really thoroughly sand your DIY sofa table will make a huge difference in the final product. I recommend starting with 80- or 120-grit sandpaper and slowly working your way up to 220 or even 400 grit. The more you sand, the smoother than final surface will be!
Once it’s all been sanded, it’s time to add the finish. I chose to stain my table, but paint would look great, too! It all just depends on your home’s style and decor! The stain I used is Varathane’s Dark Walnut. It’s a go-to for me when I want a darker tone, and my living room has it multiple times throughout. After adding the stain, I also sealed the table using this triple-thick polyurethane. It’s a go-to for me because it only requires one coat and does a great job!
Once the stain has dried, it was time to add the recessed power strips to either side! It’s incredibly easy – I just slipped them into the holes I cut and plugged them in behind the couch. Now, we’ve got plenty of plugs on both sides of the sofa, which is going to make a huge difference functionally.
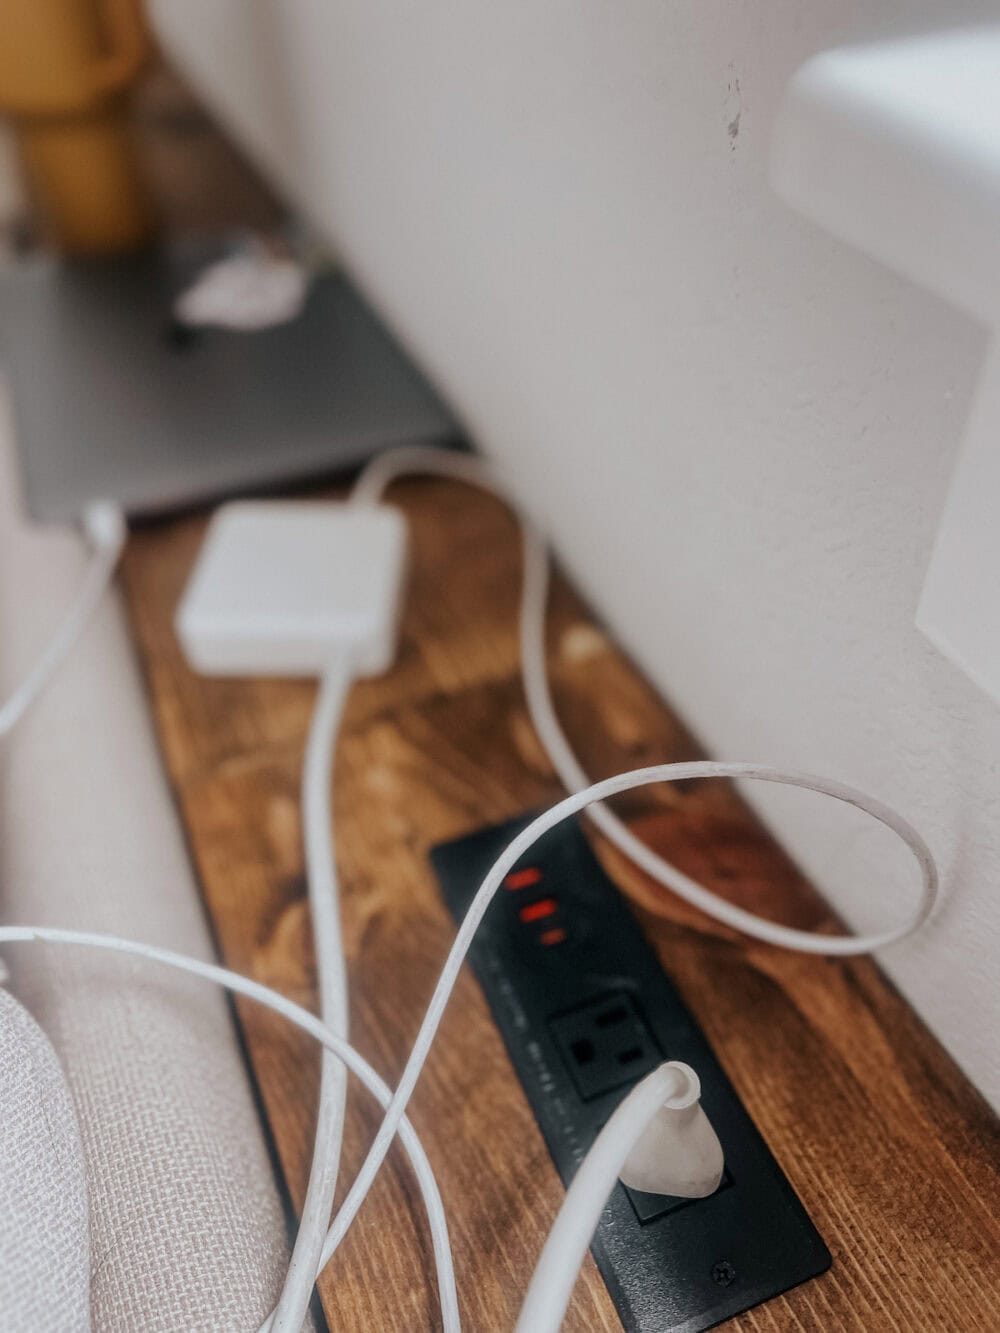
Step Six: Style and Enjoy!
Truly, this little table is the perfect solution for our living room, and I’m in love with how it looks! If you had a little more room than me, you could add some cute lamps, a plant, or other decor to your table. I’m keeping mine largely empy because the sole purpose was plugs and a drink spot!
I’m so happy with how little DIY sofa table turned out and it was such an instant upgrade to the living room. It was one of those projects that immediately felt like it was always meant to be there, and I’m so glad I added it!
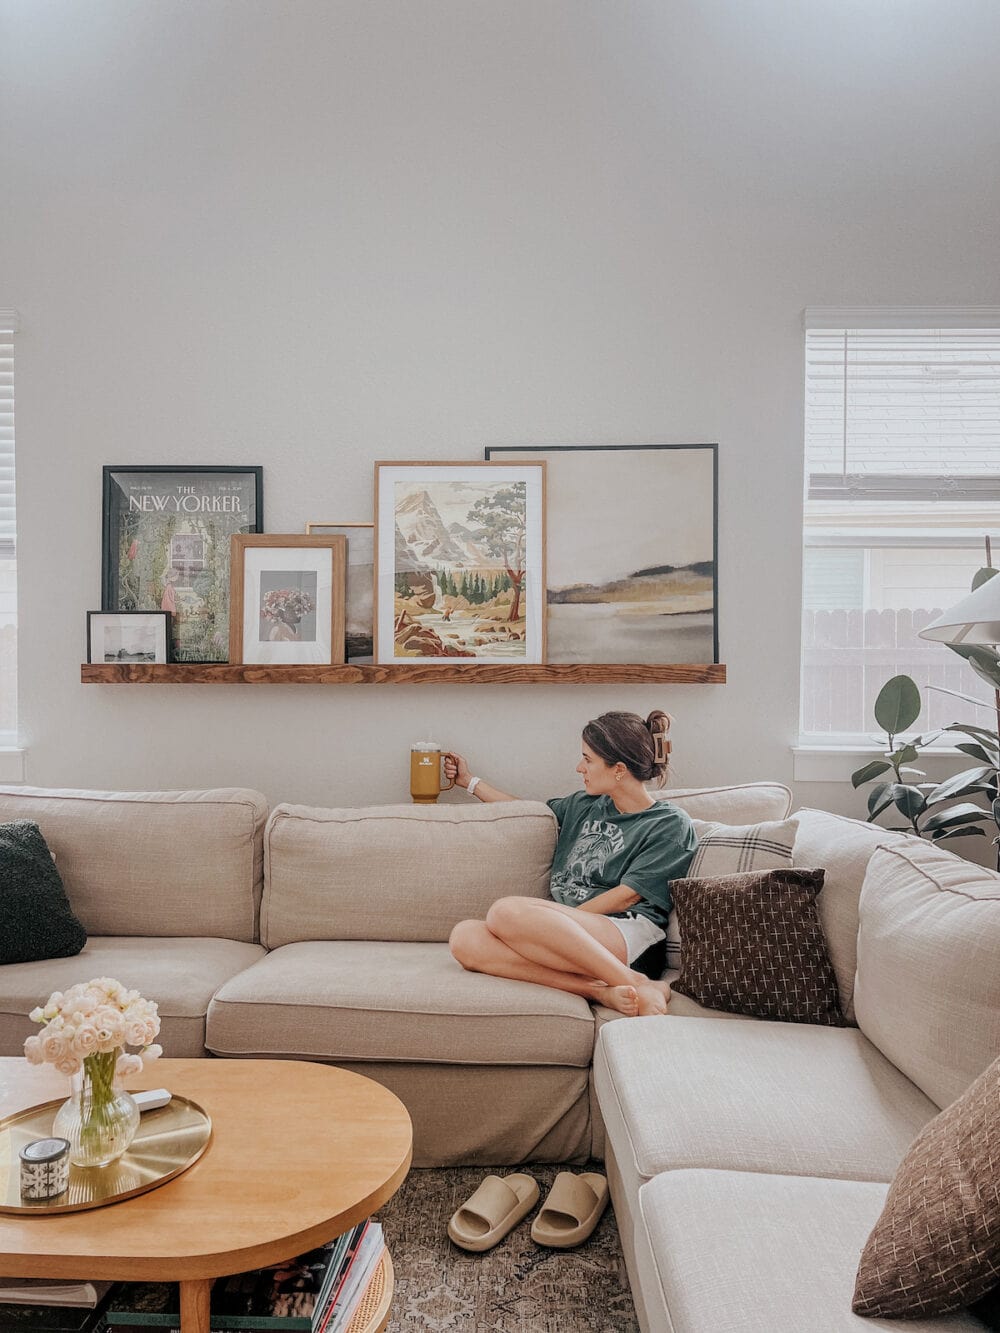
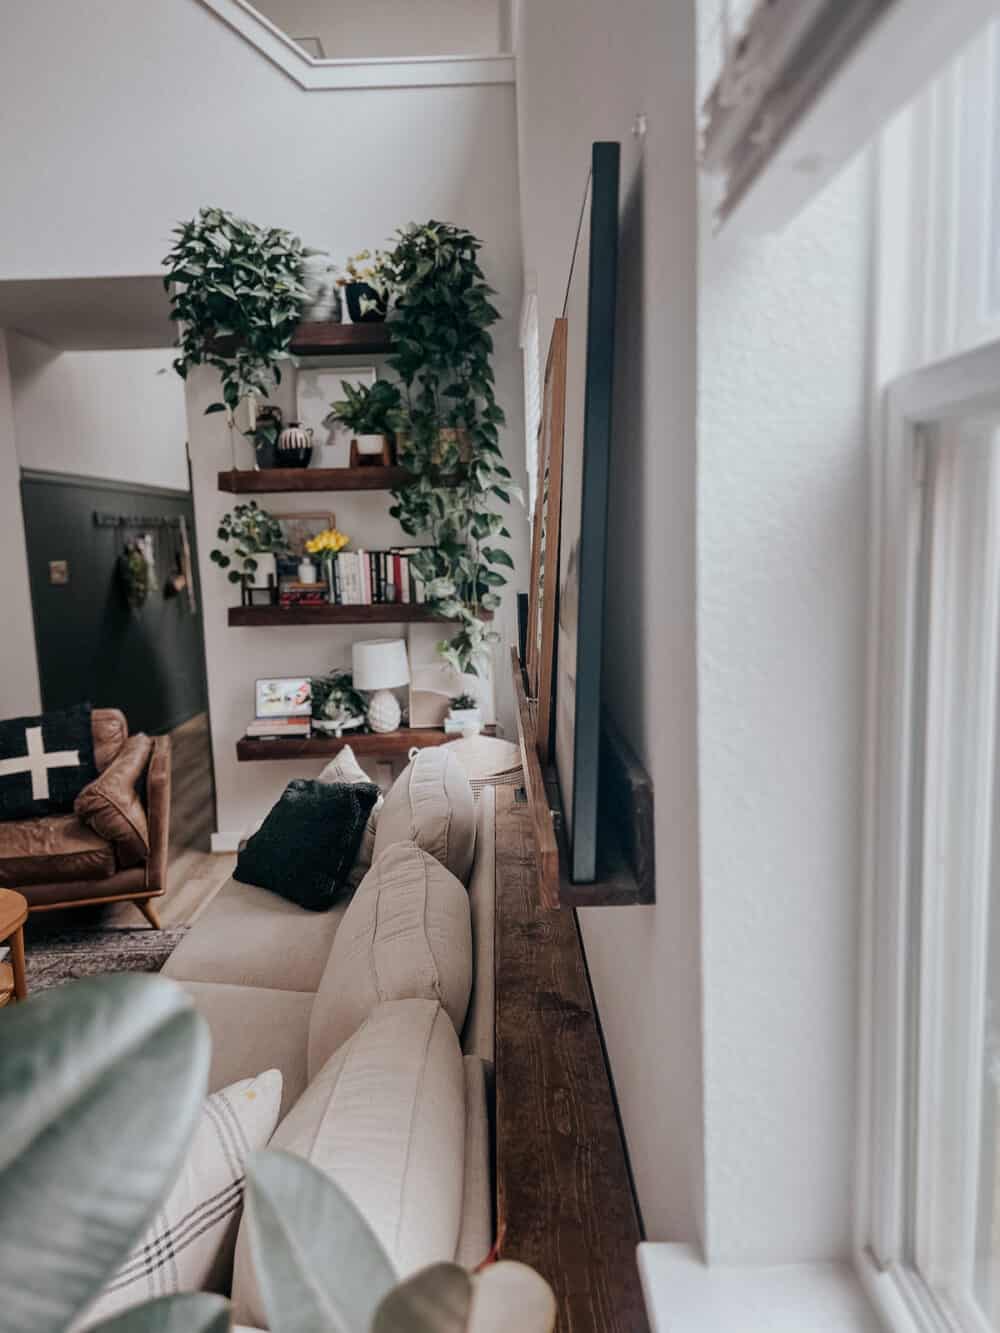
Also, I can’t even begin to tell you how satisfying it was to be able to get rid of that power strip tucked into the couch cushions. Seriously, that one had me doing a little celebration dance.
