DIY Board & Batten NurseryWall
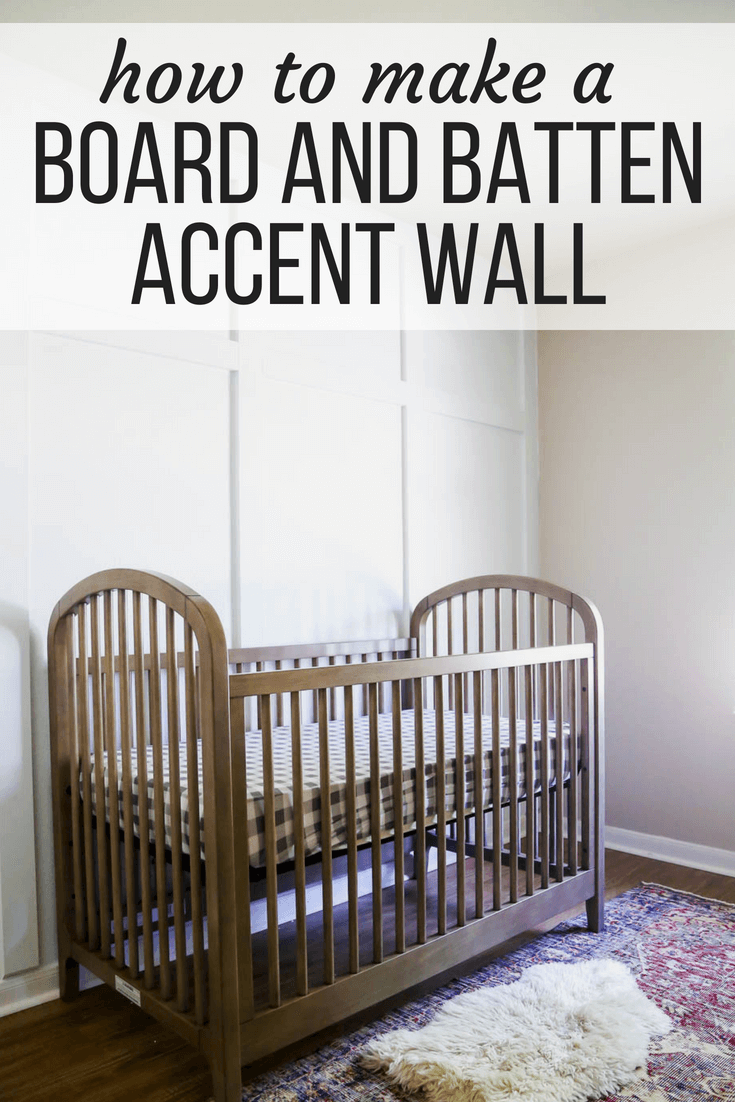
We’ve been talking about adding a DIY board and batten wall to the nursery for as long as I can remember, and it’s finally done! This project was so incredibly easy and it makes a giant difference in how the room looks. This post will give you all the details on how it looks and how I did it!
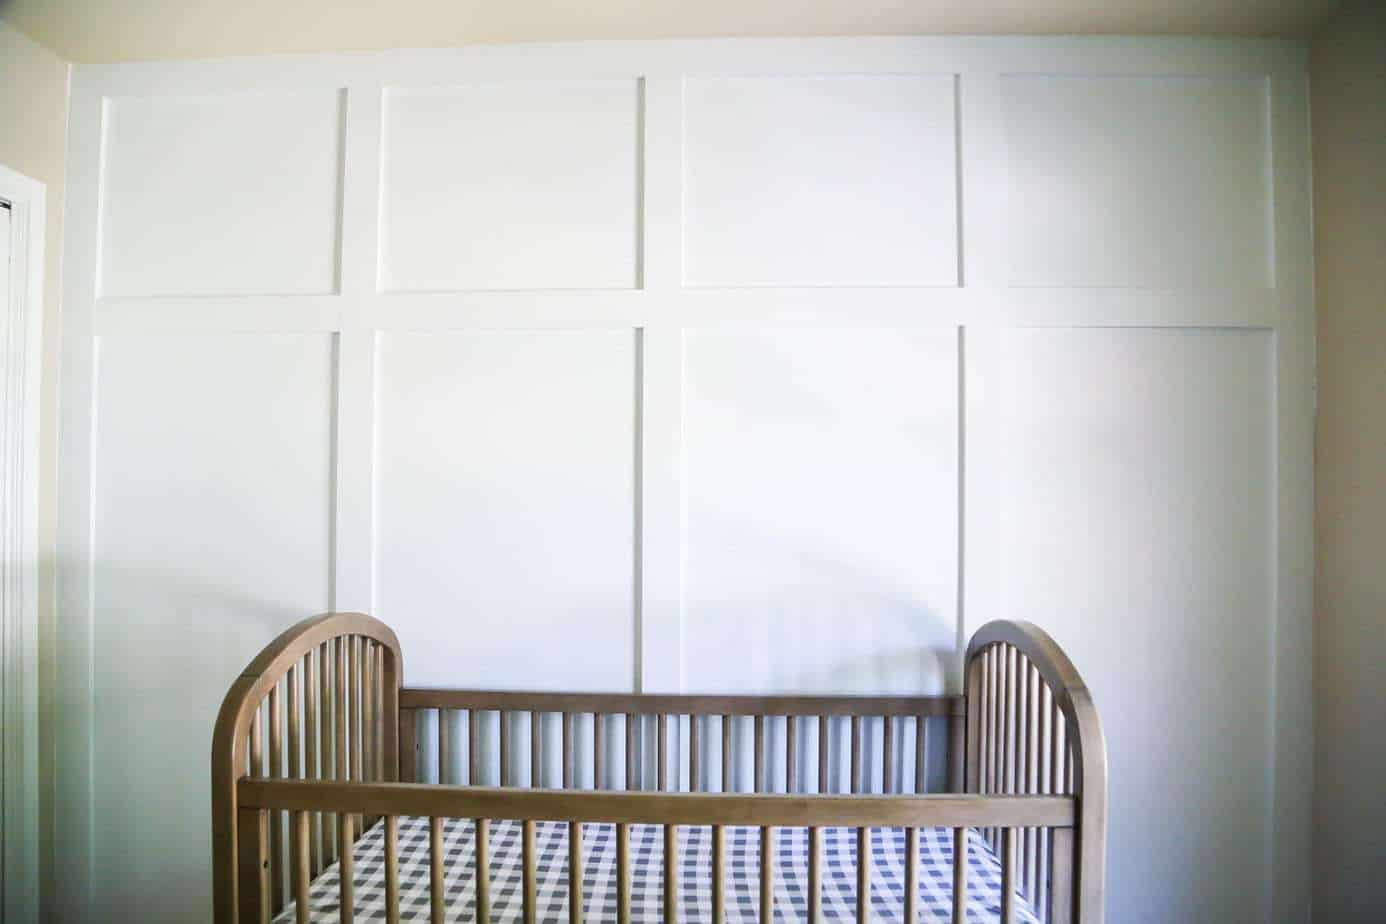
Are you ready for some more nursery progress? I know I may have been lagging with getting started on the nursery (I’ve got less than 2 months to go!). But now that I’ve gotten started, I can’t stop! The room will be done before you know it!
Those of you who follow me on Instagram have probably already seen sneak peeks of this wall (and the process of creating it) over in my Stories. But, I wanted to write up an actual tutorial for this simple DIY board and batten wall. I was honestly surprised at how quickly and easily it came together!
What did not surprise me was how much I love it. I knew it would be perfect for this room, and I can’t stop swooning over it.
Maybe that’s just the pregnancy hormones talking, though.
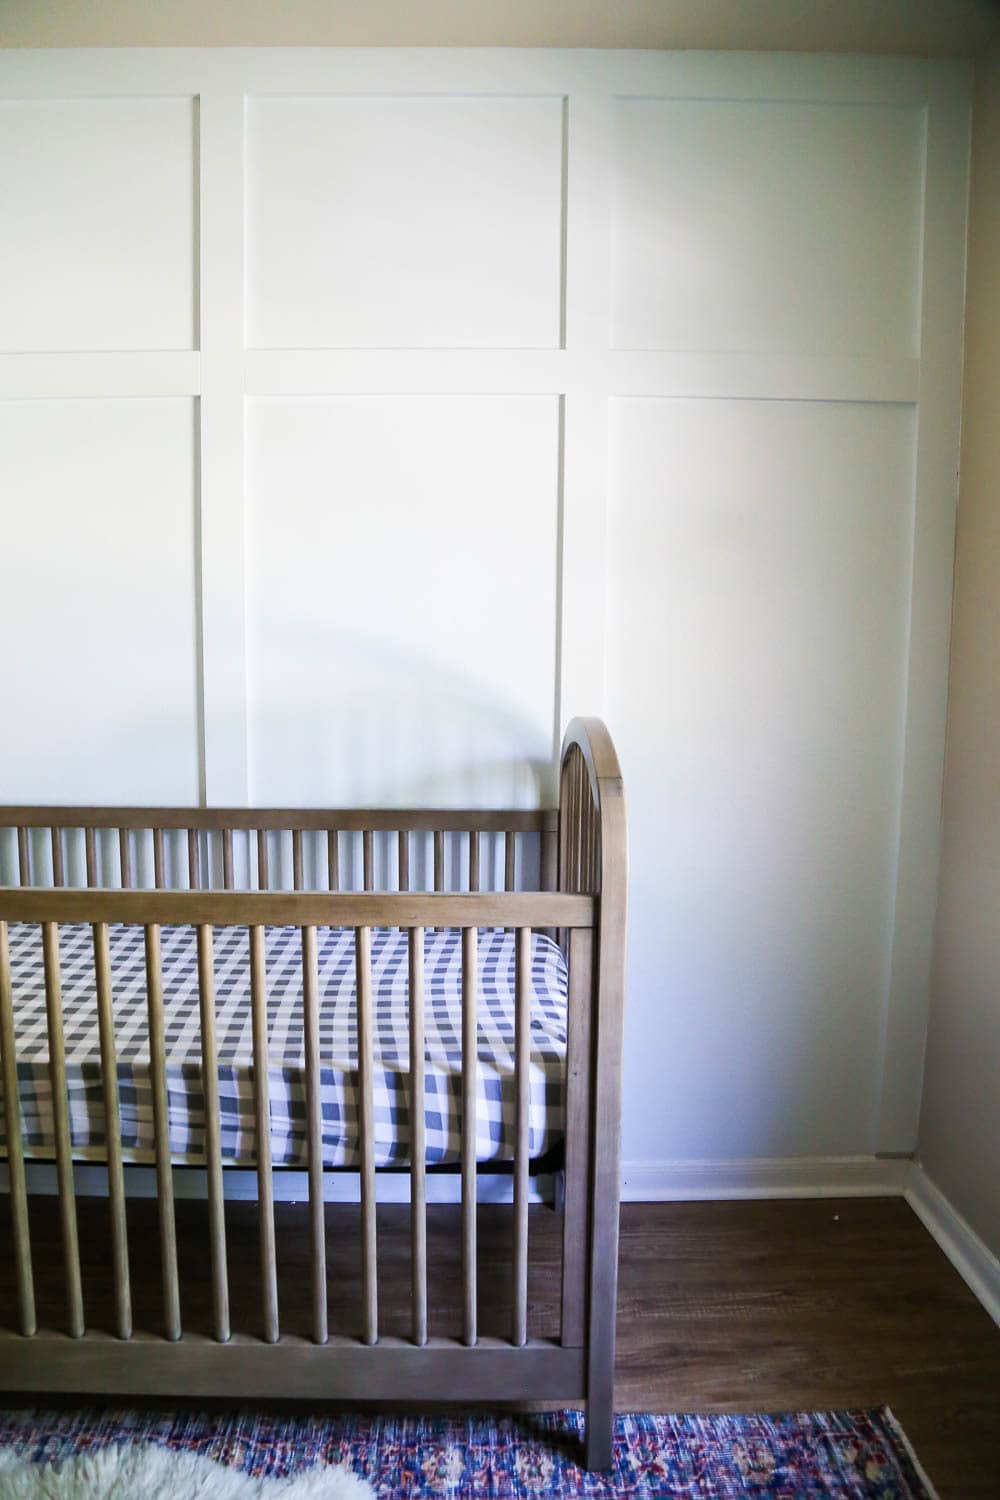
If you haven’t seen all of our nursery progress so far, allow me to help you catch up.
related posts
Grant’s Nursery
I’ve still got quite a few other nursery-related posts up my sleeves, but today let’s focus on the focal point of the room (ha!) – the board and batten wall.
DIY Board and Batten Nursery Wall
Now, before I dive into the tutorial, let me clarify: this is really a faux board and batten wall. If you want to get technical. Board and batten walls typically have some sort of smooth board laid over the drywall (hence the “board” of “board and batten”). Then, the strips of wood are installed on top (the “batten” part). However, our walls aren’t too terribly textured and we wanted to save some money. So, we skipped the board part and just did the batten! This is a pretty common approach to board and batten walls in the DIY world. But if you want to go all out and do the real thing, by all means – go for it!
Materials Needed
Note: this is for a wall that is 10-feet long by 8-feet tall. You’ll need to adjust the material amounts for larger or smaller walls.
Step One: Prep Work
I started by painting the entire wall white. It’s much easier to get the wall underneath your board and batten painted before you add any wood to it. Once the wall was painted, I was ready to get started.
I’m going to be detailing how I did the particular pattern that we used for our board and batten wall. But, don’t forget that there are about a zillion different ways you can do it! You could do two horizontal lines instead of just one, you could create squares, you could just do the vertical boards…get creative with it! If you want to see some other examples of board & batten walls I’ve done, be sure to scroll to the bottom of this post!
Step 2: Install Corner & Top Boards
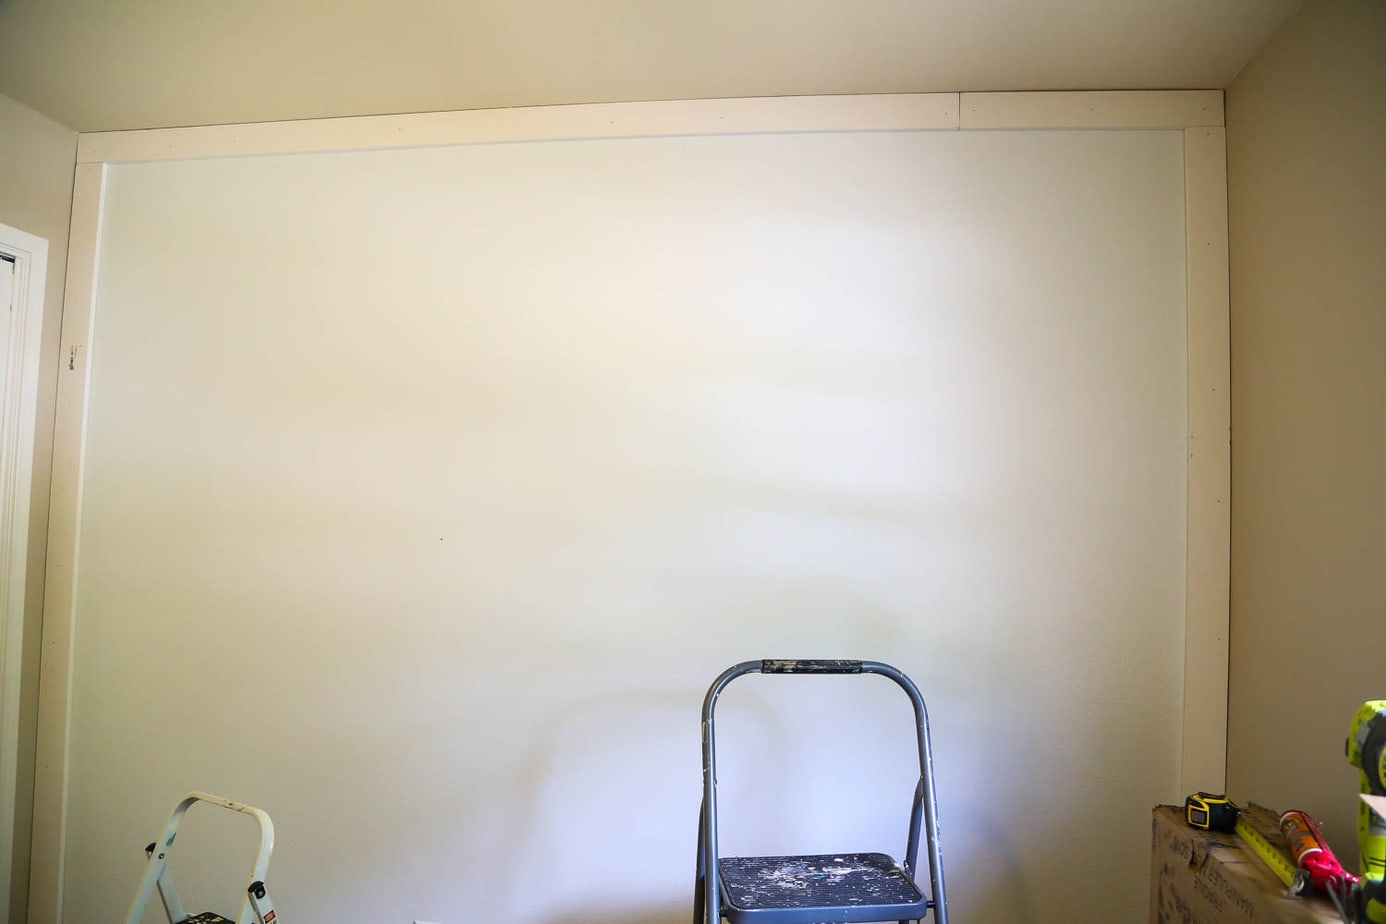
The first step for me was to install the batten pieces that will go on either side of the wall and along the top of the wall. This helps frame out your board and batten wall a little more and gives you a good starting point.
One thing a lot of people struggle with is what to do where the vertical boards meet the baseboards.
here are a few different options:
- You could remove the baseboards and install a piece of batten (using the same wood you’re using for the other pieces) as baseboards on that wall.
- You can install a piece of trim or molding upside down on top of your baseboards. Typically, most baseboard or door trim has one side that’s thicker than the other. If you install it upside down, the thicker side will be on the top and your batten will not overhang the baseboards! The downside here is that unless you install it throughout the entire room, you’ll have one section of baseboard that’s taller than the rest of the room.
- You could simply install the vertical pieces on top of the baseboard and allow them to hang over a bit. It isn’t very noticeable when the room is finished, but it will create an overhang that might be kind of sharp if you manage to bump into it.
- And finally, the options we chose: you can cut the ends of the vertical batten pieces at a 45-degree angle where they meet the baseboards. This reduces the appearance of the overhang and eliminates any sharp edges.
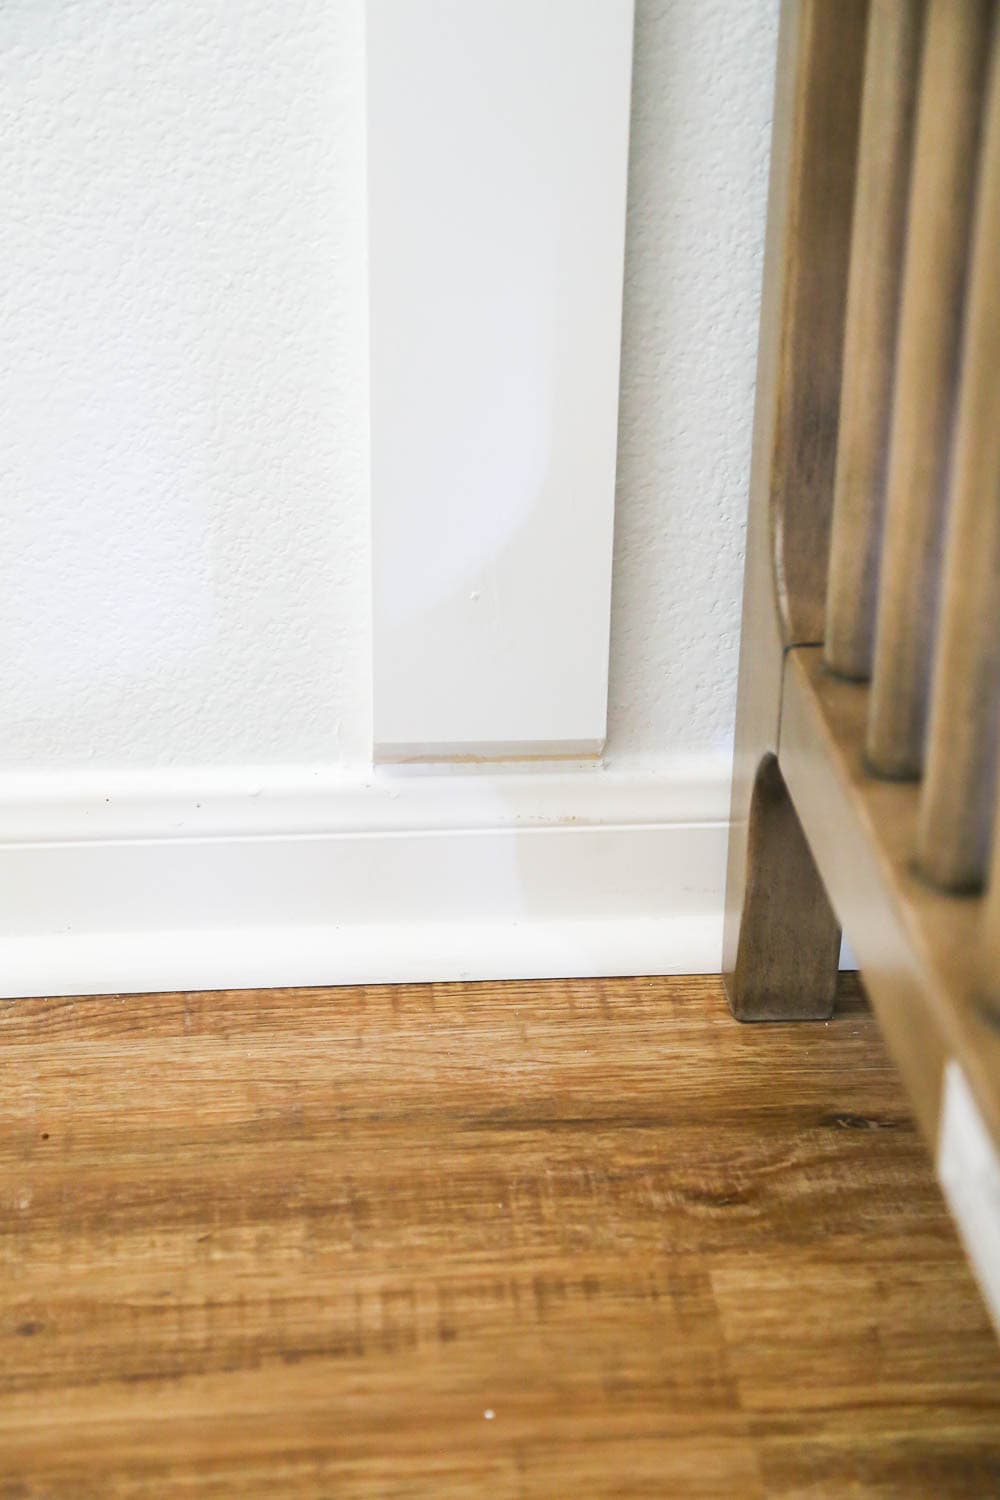
Whoops. Clearly, I missed a sliver of paint on that mitered end. I blame my giant pregnant stomach. I can’t see my toes, much less this weird little edge of wood.
Thank goodness you can only see it from this angle.
Shhhh. Don’t tell anyone.
Annnnyways, there really isn’t any “right” way to do it, it’s just a matter of personal preference!
To install the boards, I just added a line of construction adhesive to the back of my board. Then, I used my nail gun to attach it to the wall. The reason for using construction adhesive in addition to the nails is that you likely won’t be placing all of your boards directly onto studs. So you’ll need some extra adhesive power to be sure the boards don’t pull away from the wall at all. Or, you know, fall on your precious baby while they’re sleeping. Be sure to use your level to ensure that the boards are straight and level as you work!
Step 3: Install a Board in the Middle of the Wall
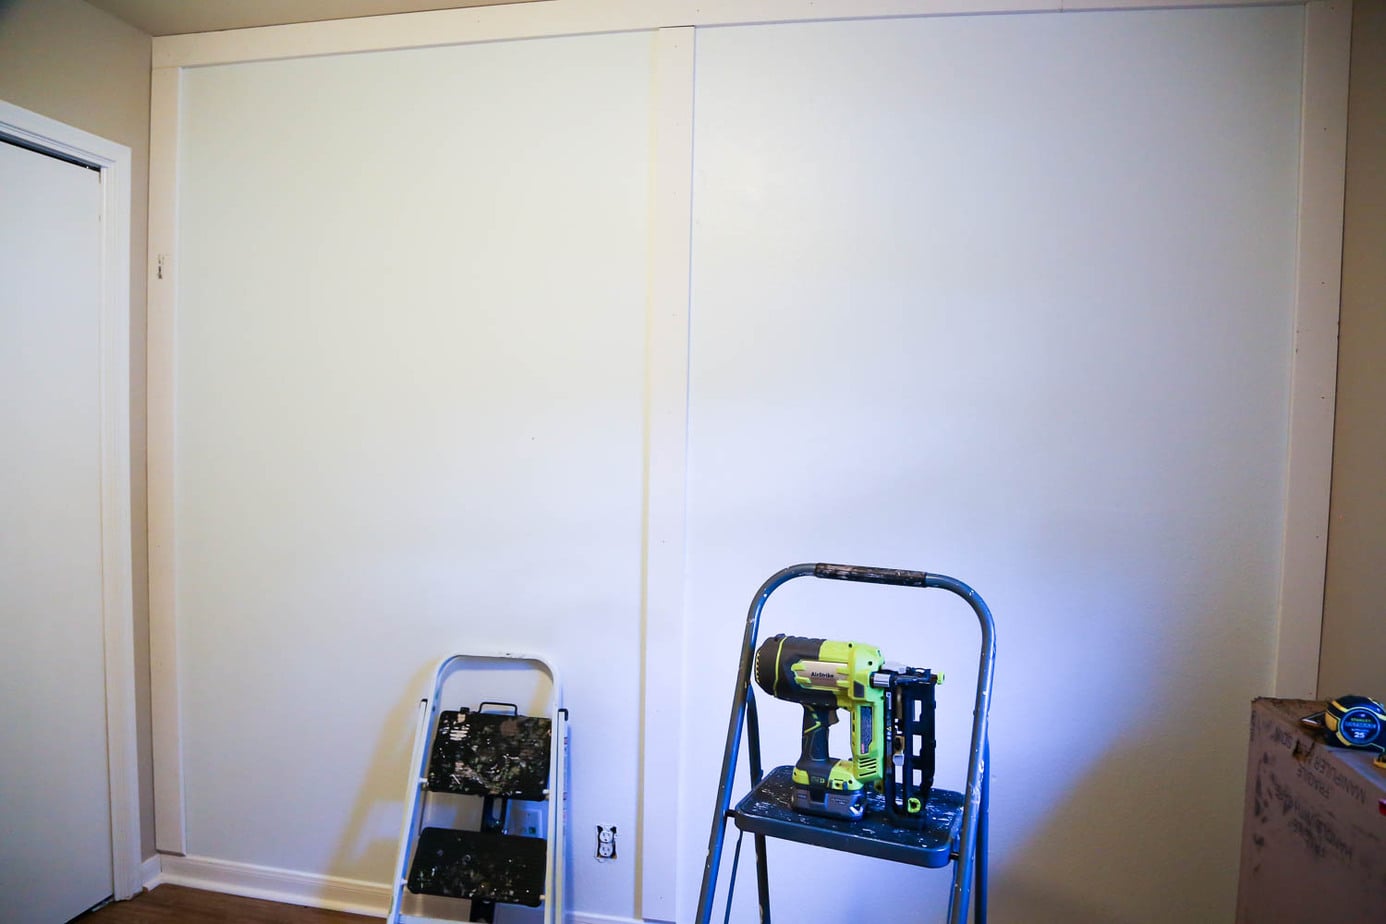
I highly recommend taking a minute to pre-plan before you start here. This wall is 10-feet long and Corey and I decided ahead of time we’d be doing 5 vertical boards on the wall. The math gets more complicated if you have a longer wall or want to space things differently. So, take the time upfront to think about spacing!
To place this board, I simply measured the space between my two boards in the corners and then placed the board so that the middle of the board was in the middle of the wall. Again, use the construction adhesive and nail gun combo.
Step 4: Install the Final Two Vertical Boards
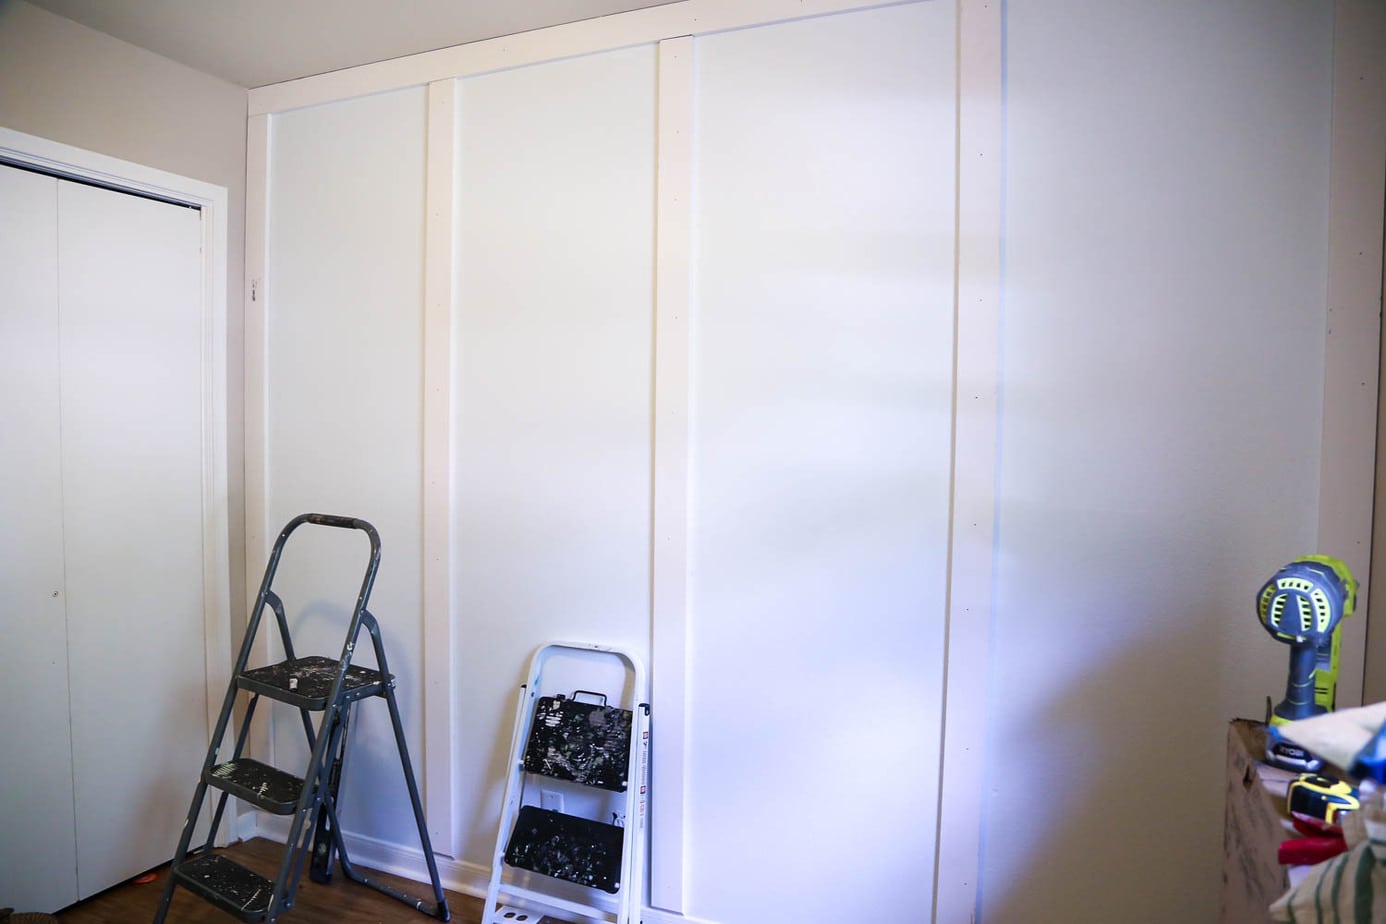
Now, you’ll just repeat the process again! Measure the space between the middle board and the left corner board, and place one in the middle of that. Do the same thing for the right side. Again, with 5 boards the math is really simple! You may have to do a bit more calculating if you’re working with a different number.
Step 5: Install the Horizontal Pieces
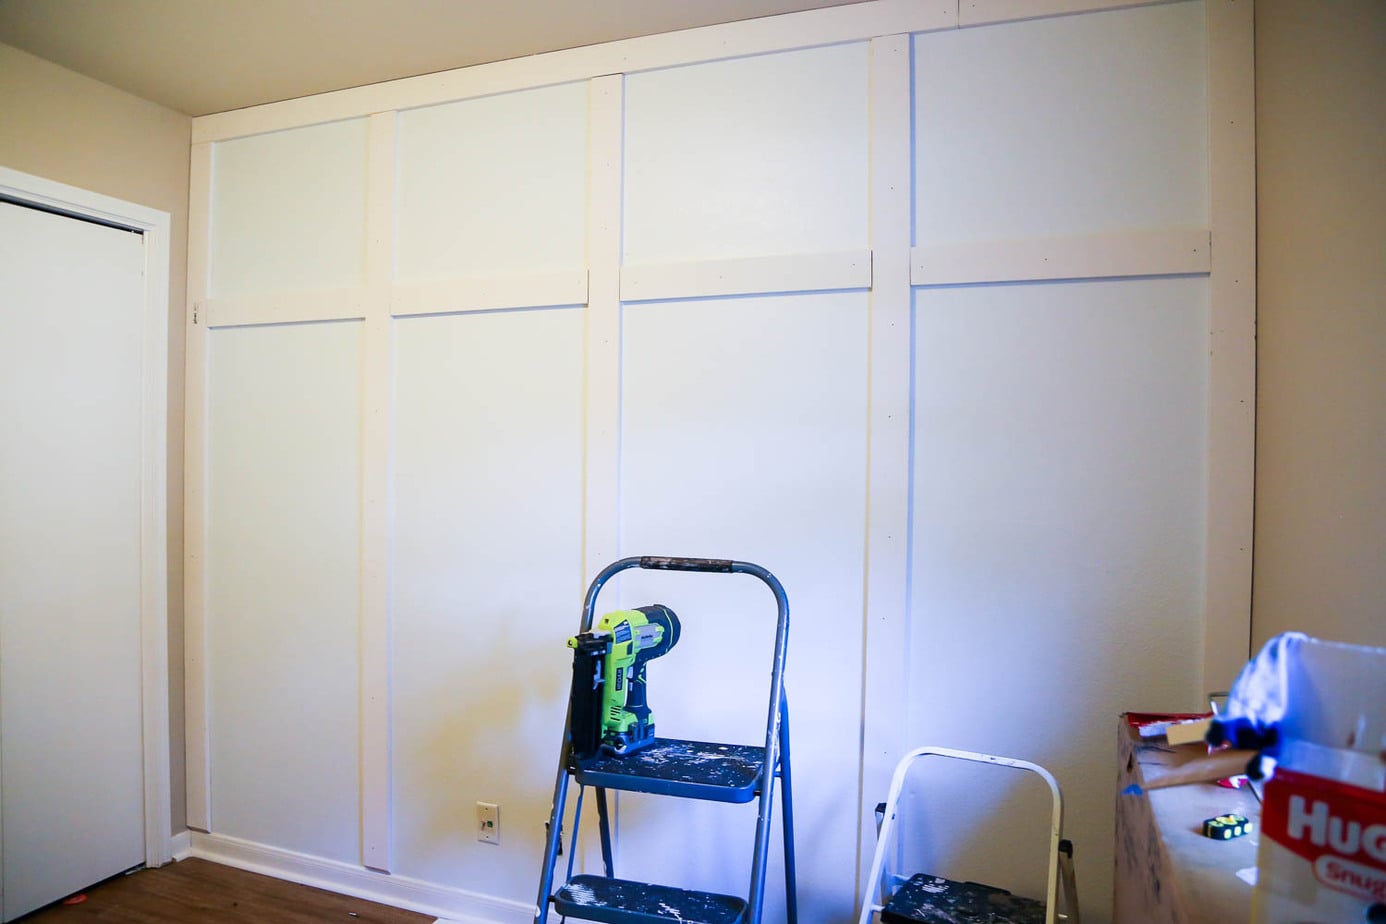
Next up, it’s time to install the horizontal line. I wanted mine to be approximately 3/4 of the way up the wall. So, I simply found the appropriate measurement and installed horizontal pieces in-between each vertical piece. Once again, using the same construction adhesive and nail gun method. Be sure to use your level to ensure that the pieces are straight. Also, measure carefully to be sure they don’t slope down the wall as you go!
Step 6: Caulk and Paint
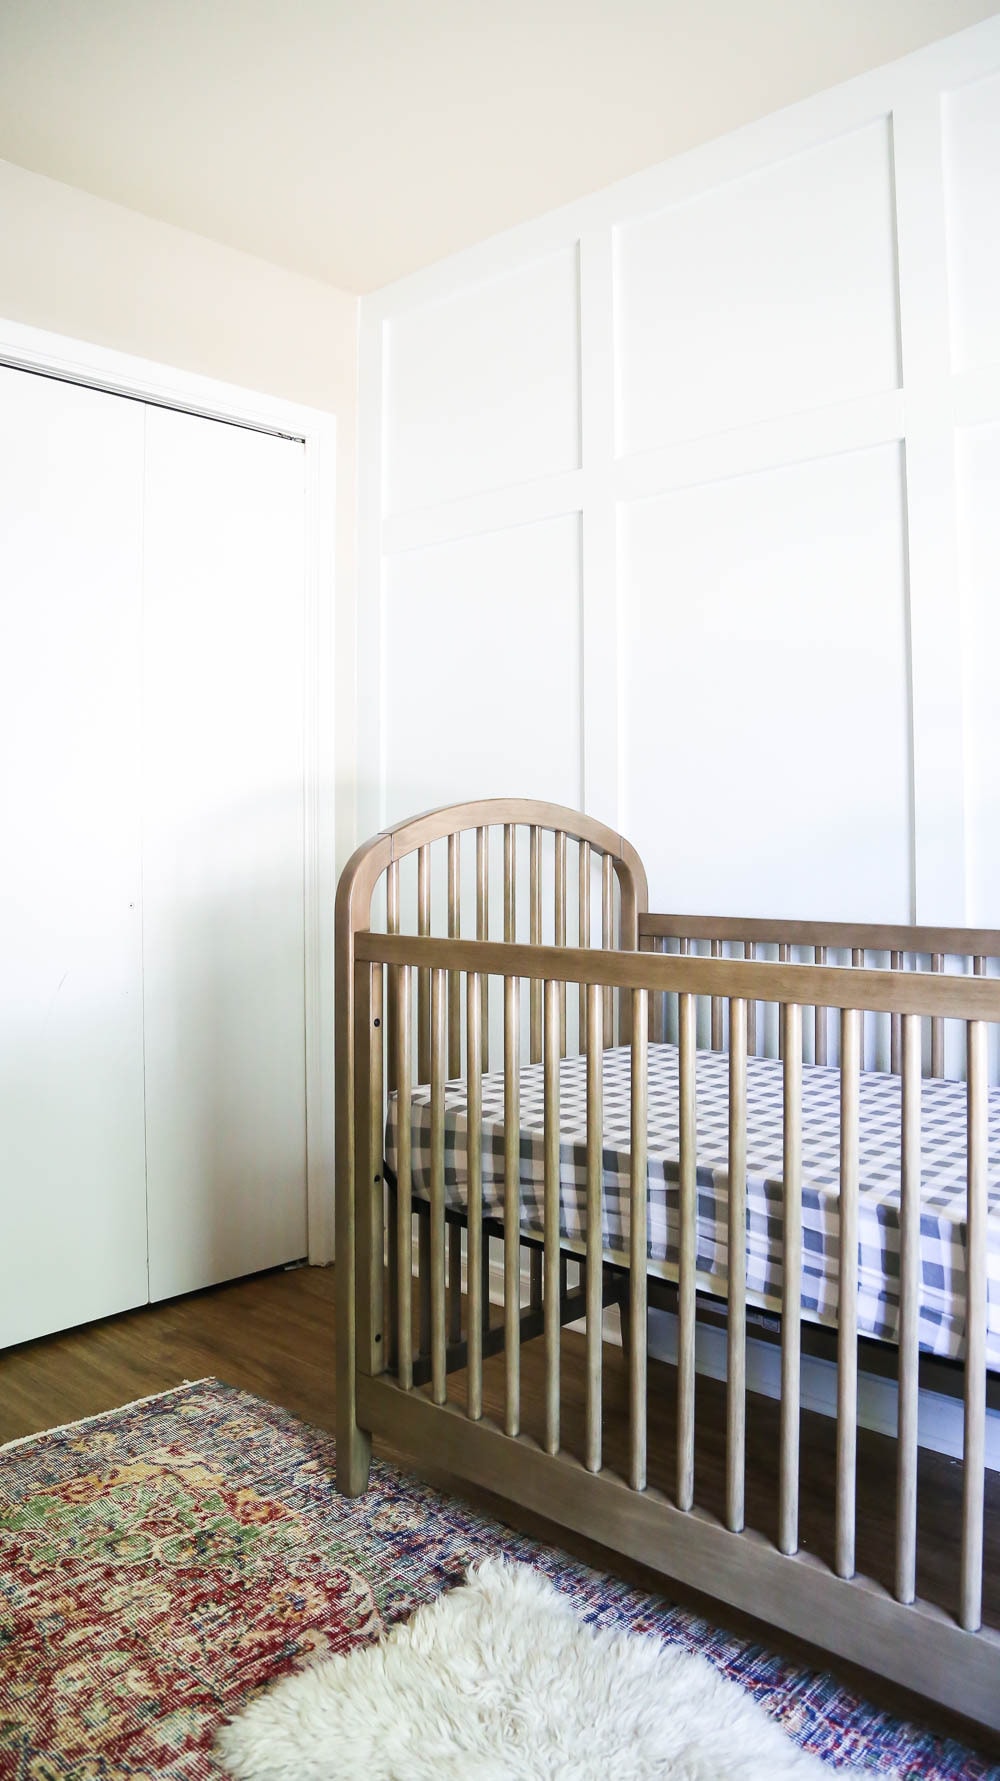
Finally, it’s time to caulk and paint! This last little step is the one that makes aaaaaaaall the difference, so get excited. I caulked all of the nail holes, where boards meet each other, and where the boards meet the wall. Spoiler alert: it’s a lot of caulking! Once it dries, give all of the boards a couple of coats of white paint to match your wall, and you’re done!
I’m so excited about how this wall turned out. I really feel like it makes this tiny little room feel a little more special. The whole project only took me a few hours from start to finish. I’m pregnant and slow, so I spread it over two days. I installed the board and batten one day then caulked and painted the next. But, I could easily have completed it in just one day if I wanted to. It’s really starting to feel like a nursery – finally!

is this okay to put nails straight into drywall and not studs? I’m just concerned about it falling/ripping out our drywall
Yup, it’s fine! Just angle the nails as you put them in the wall to help hold them against the drywall, and hit studs anytime you’re able!
Love it and Looks amazing. I have been searching for weeks for a DIY board and batten but haven’t had much luck finding directions that fully layout how to do it. So thank you for actually explaining the steps!!!
Hi there! I love how this project turned out! I was wondering what size nails you used? Do you think finishing nails are sufficient could with the construction adhesive? Or perhaps go up a size to 16 gauge?
Thanks so much for the inspiration for my next weekend project!
I used 16-gauge nails!
The wall looks great! I really like it.
Thank you, Kristie!
So, you just did this right over the textured walls? It looks really good! I’m always worried about these stupid textured walls when I think about doing board and batten or stencils. But you really can just act like they’re regular walls? We moved here (I’m in Cedar Park!) from the midwest 5 years ago and we had never encountered textured walls before. It’s still throwing me for a loop. I want to do a board and batten wall in our entry way, but I was concerned about the textured walls. I’ll have to give it some more thought now that I see how good it looks! Thanks!
Hi, neighbor! 🙂 Yes, I did this right over the textured walls – ours are more of an orange peel texture (which is common for homes built after 2000 or so in this area – older ones, like our old house, have a much heavier texture), so it’s not that noticeable. I definitely would go for it! I even stenciled a wall in our old house with HEAVILY textured walls.