
How to Build a DIY Fireplace Mantel
Last updated on March 5th, 2024 at 02:37 pm
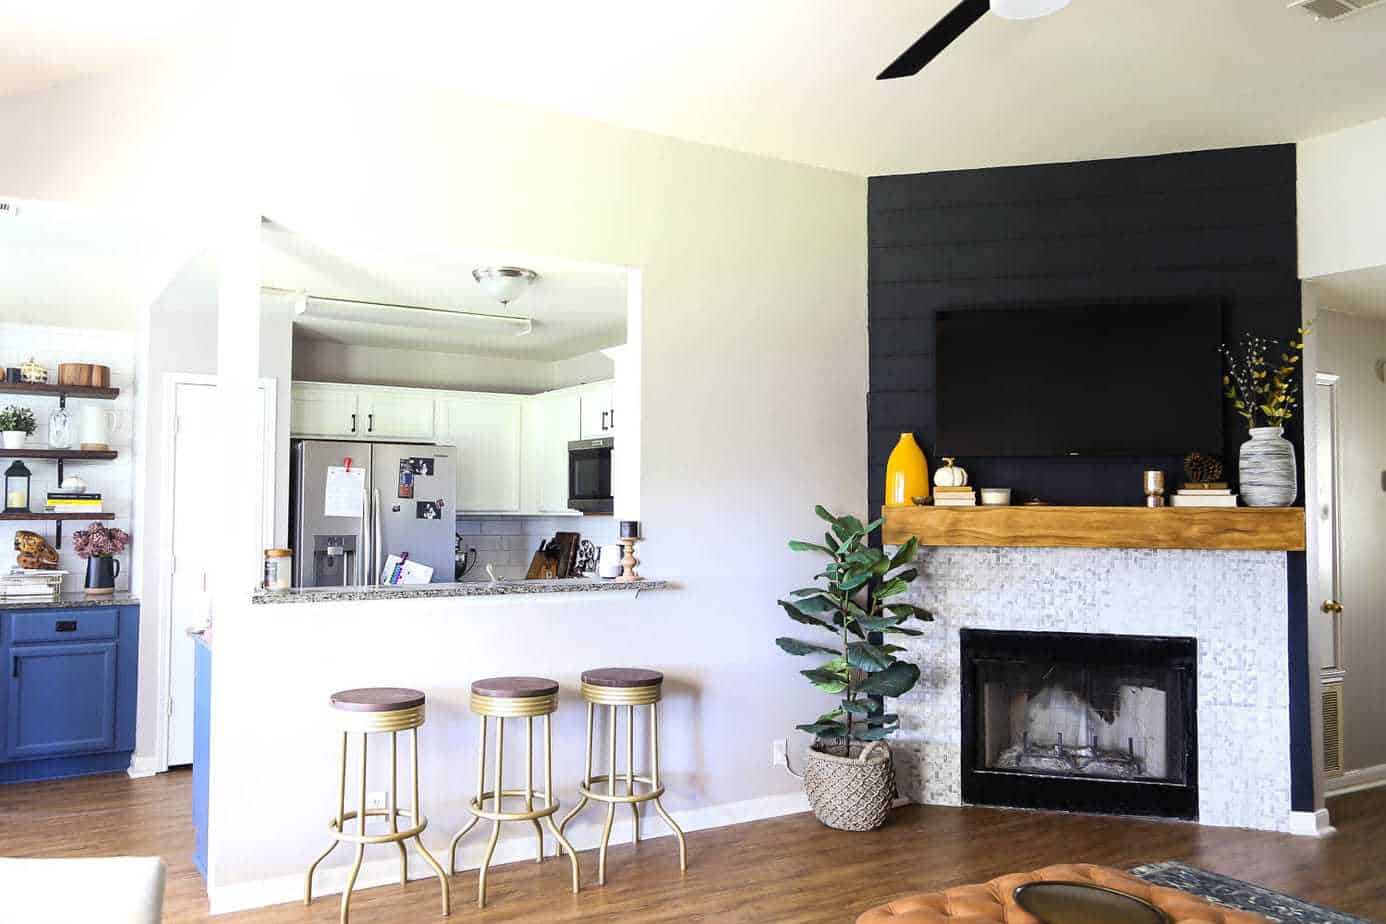
In every house we’ve lived in, I’ve renovated (or added) a fireplace. And, for ever fireplace I’ve ever done, I’ve created a new DIY fireplace mantel!
I think the mantel is definitely one of the most important parts of any fireplace makeover. The mantel is what you get to decorate for all the seasons, and it makes a huge impact on how the entire fireplace looks. A fireplace mantel can set the vibe for the decor of your entire house, so don’t overlook it!
With my first fireplace renovation, we used some reclaimed lumber from a tree to create a gorgeous, rustic DIY mantel. I would love to do that again someday, but it was a hugely challenging project, so the next time around we decided to simplify things.
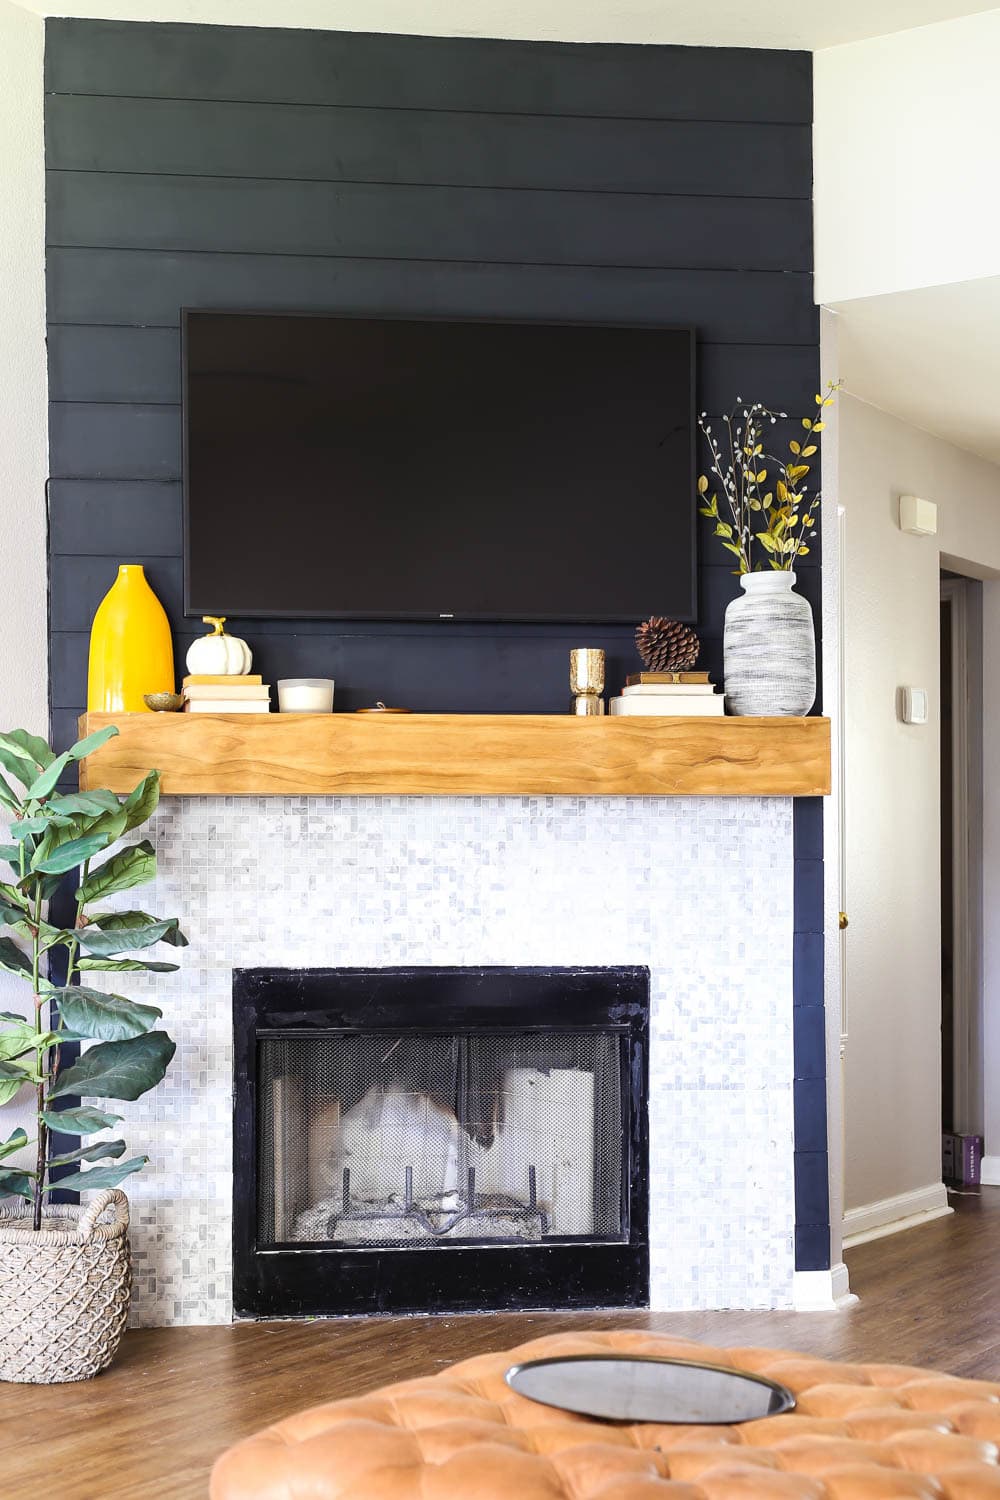
I’ve now used this basic blueprint for two different fireplaces, and I love the look! So today, let’s dig a little deeper into how it’s done. I’ve got a full tutorial for you on how to build and install this simple DIY wood mantel. It’s guaranteed to entirely change the look of your entire fireplace surround!
How to Build an Easy DIY Fireplace Mantel
Materials Needed
Step One: Cut Wood to Size
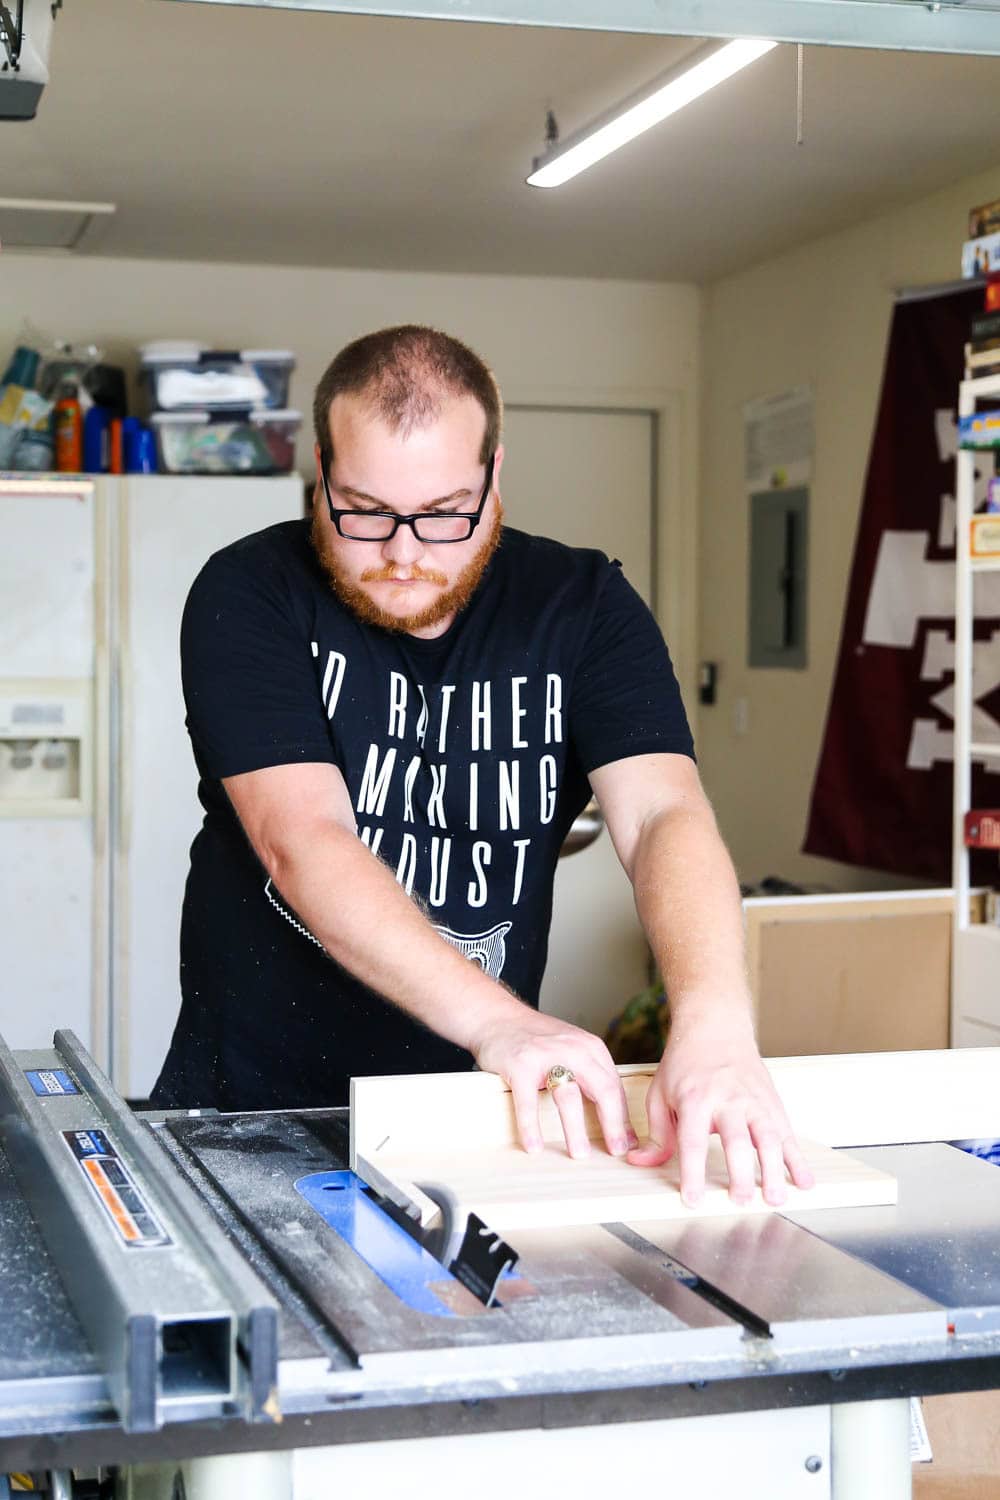
First, you’ll need to cut your wood pieces down to the right size for your mantel. This will obviously vary for each individual home. We wanted ours to be nice and wide – it covers almost the entire wall.
You can cut your wood to length using a miter saw or your table saw. You’ll need:
- Three long cuts for the front, top, and bottom (these should be cut to your desired length)
- Two short cuts for the sides (these should be cut at 7.5″, to create a square)
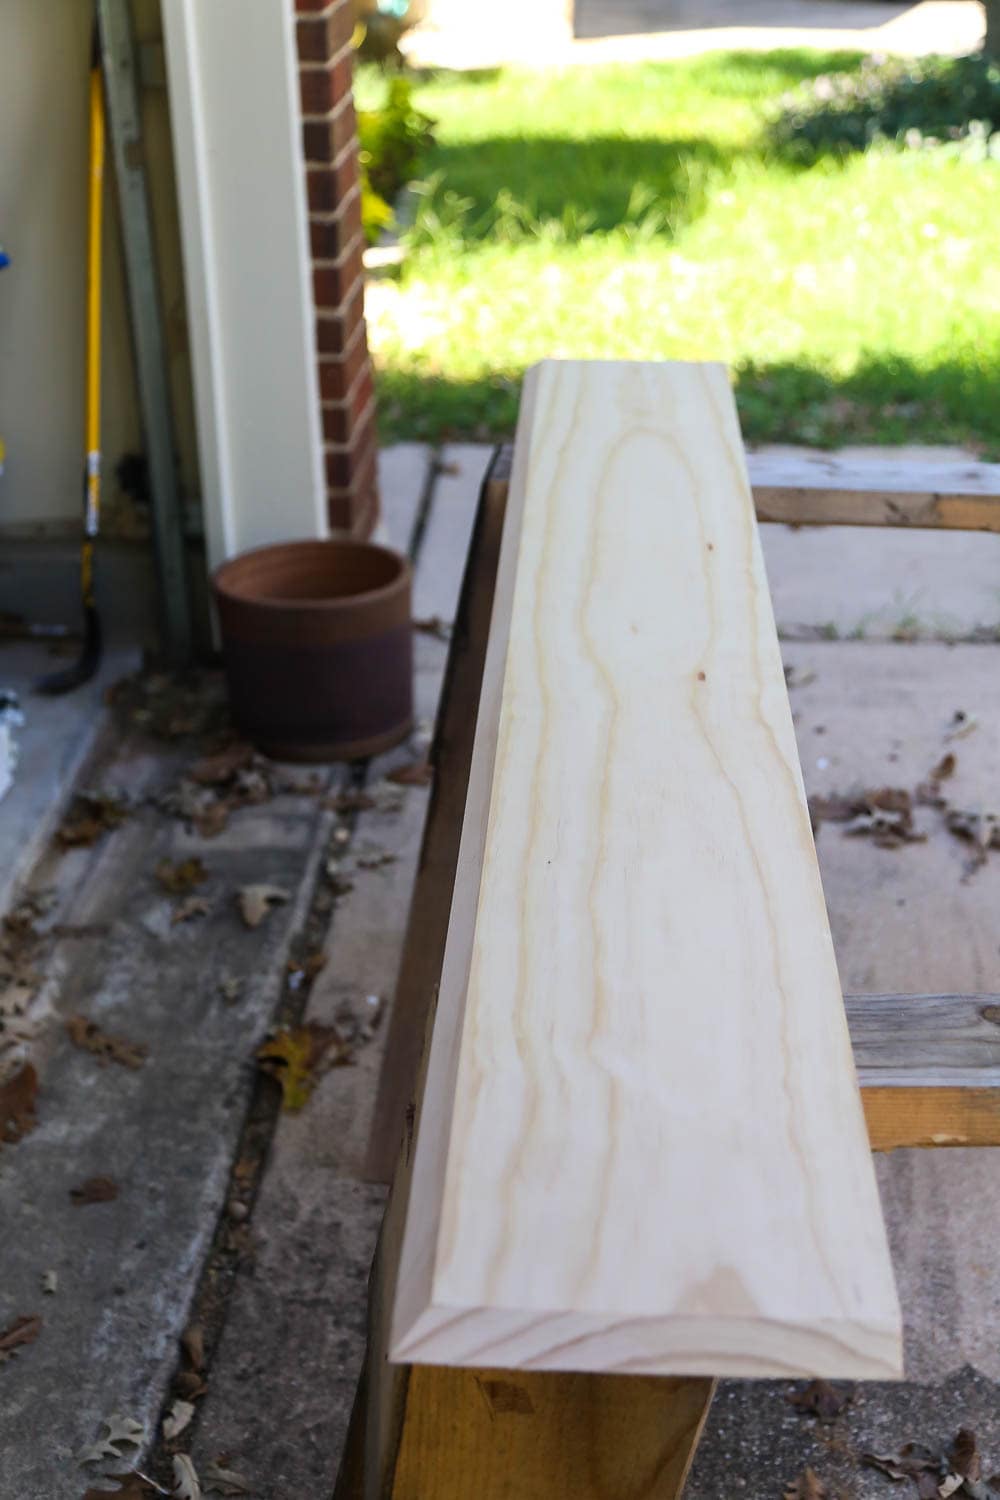
Step Two: Miter Edges
Once you have your wood cut to the appropriate size, set your table saw to a 45-degree angle so you can cut a mitered edge where all of the pieces of wood will fit together. This is not a completely necessary step – many people build gorgeous DIY mantels without mitered edges, but we wanted a super streamlined look and didn’t want any end pieces showing.
You’ll miter all four edges of the front board, but the remaining four boards will all have one edge that remains flat, since it needs to sit flush against the wall.
Before you head to the next step, be sure to dry fit all of your pieces together to make sure they line up. You might need to add a bit of wood filler if the edges aren’t perfect, but you want a tight fit to begin with.
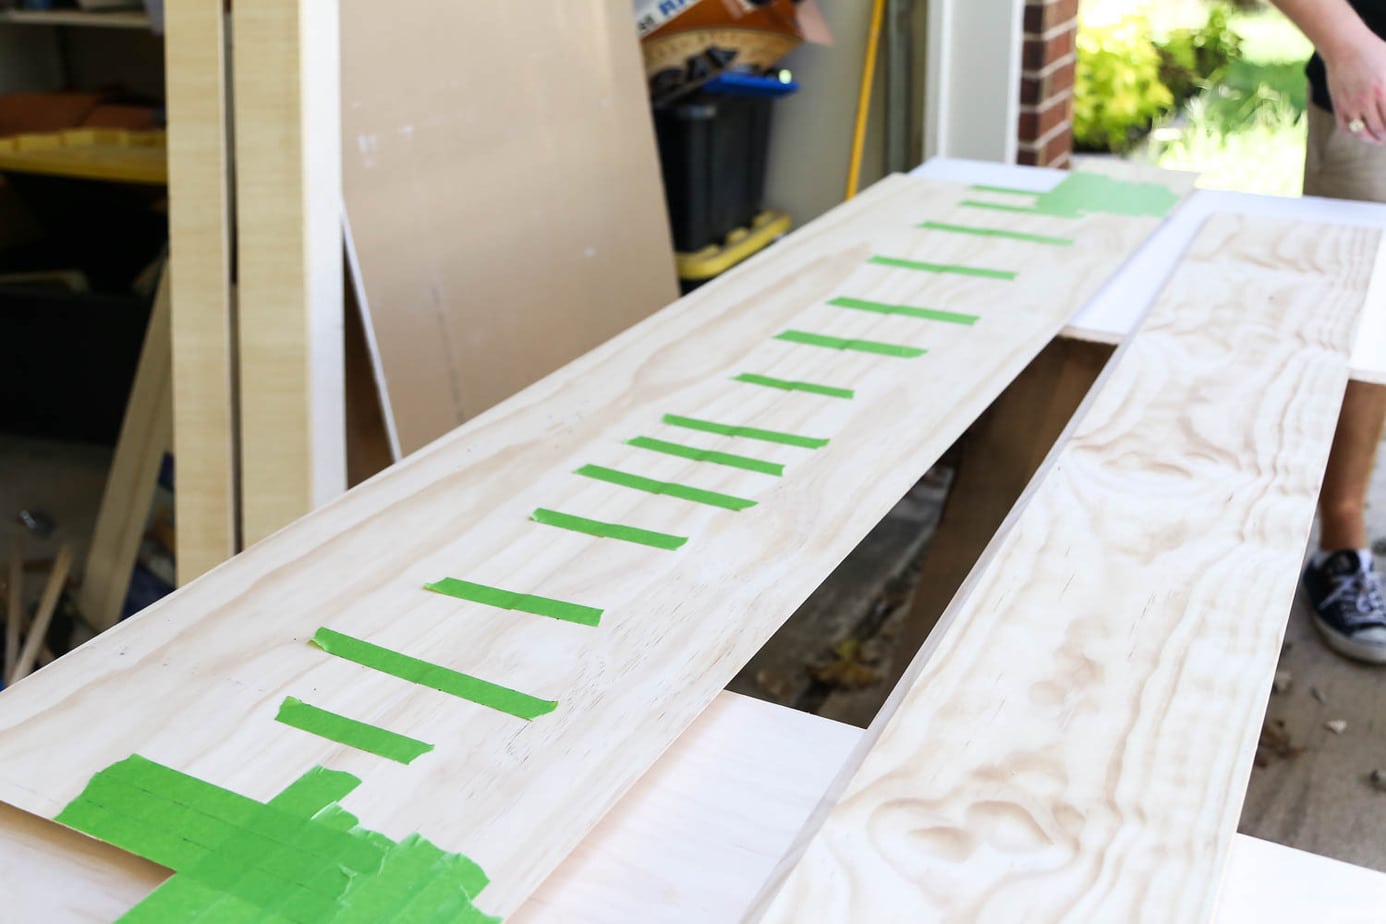
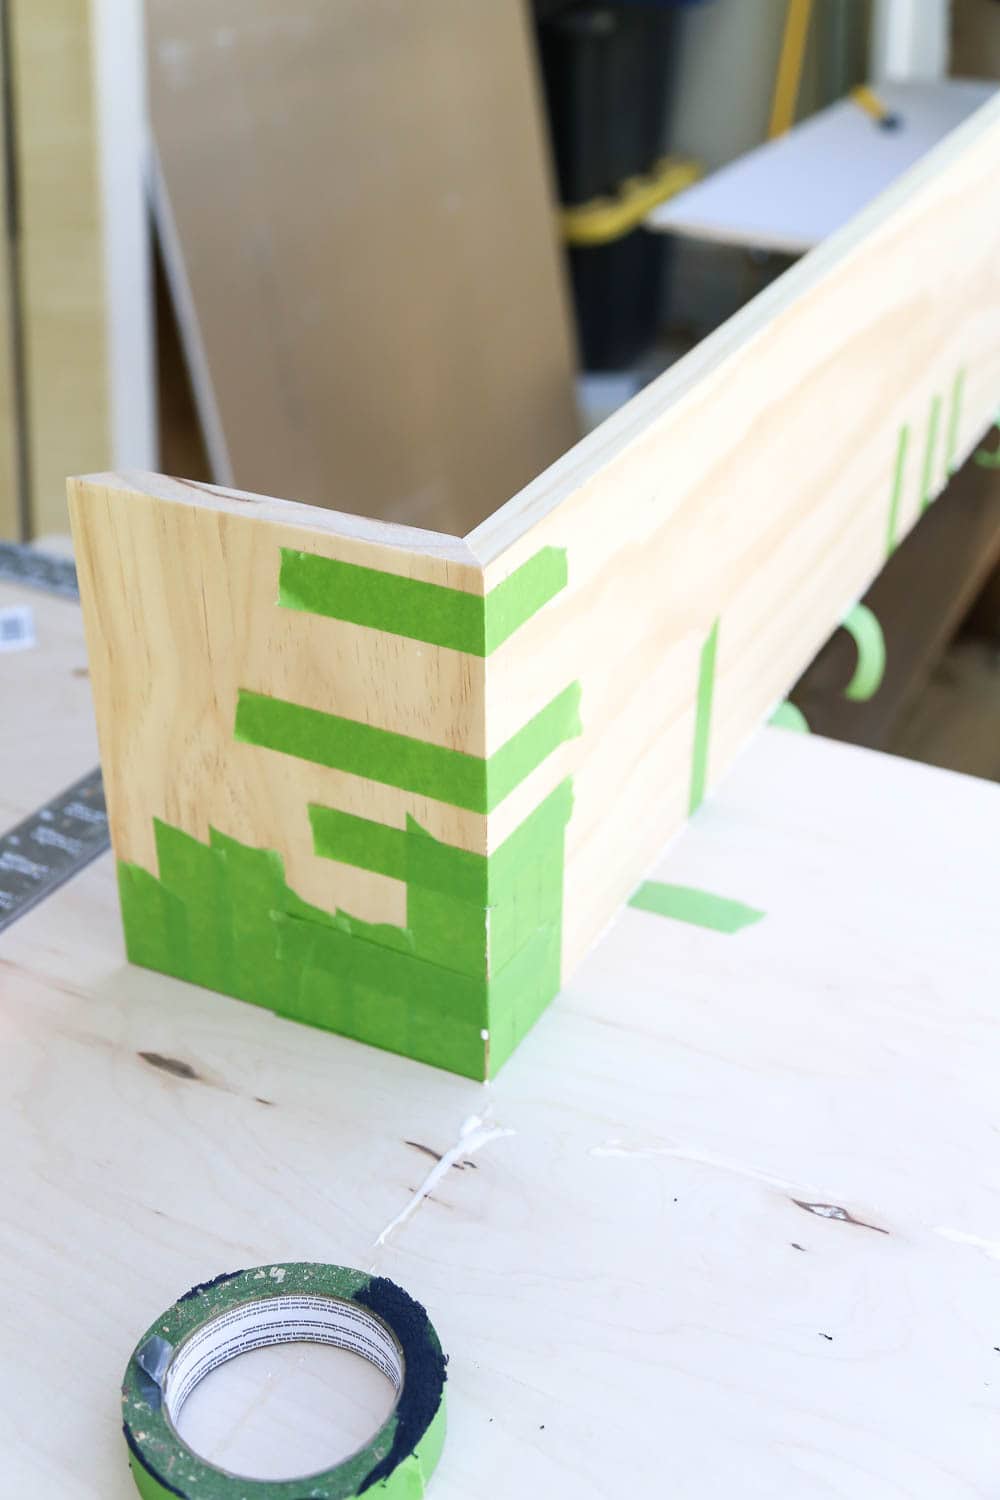
Step Three: Tape Boards Together
Now, you’ll lay out the front piece and side boards all in a row with the mitered edges facing down. Grab some painter’s tape, and tape the three boards together in a long line. The tape is going to provide some extra stabilization while the wood glue dries.
Once the front and sides are taped, grab one of the top or bottom pieces, line it up on either the top or bottom, and tape it as well. It’ll look something like this:
Once it’s all taped up, flip the whole shebang over (you’ll need an extra person to help you with this, or else it’ll probably just fall apart on you). You’ll attach the remaining board later, so don’t worry about it right now.
Step Four: Glue It Up!
Now’s the part where it all starts to come together. Grab your wood glue and apply a generous amount in all of the seams. Then, carefully lift up the boards and fit them together – this is another spot where it will be helpful to have an extra pair of hands!
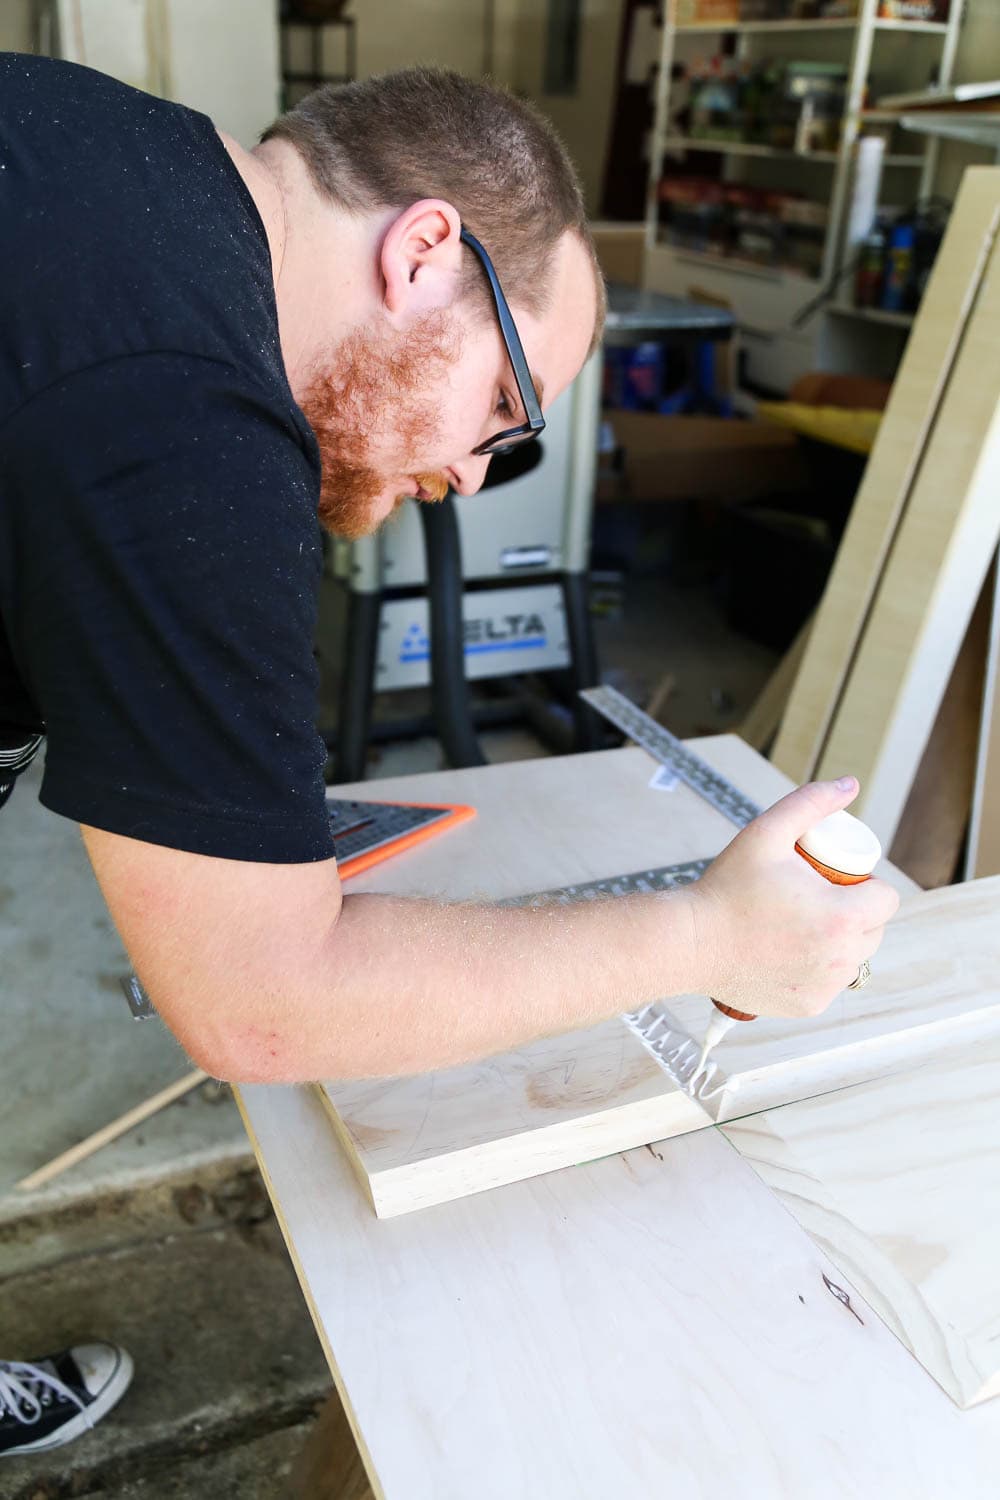
Add some more tape on the outside edges of the mantel to hold everything in place while it dries, then give it a few hours to set fully before you add on the last piece.
Be sure to take a minute to wipe of any excess glue that seeps through the seams – wood glue causes all sorts of annoying issues when it comes time to stain, so you want to get it all off.
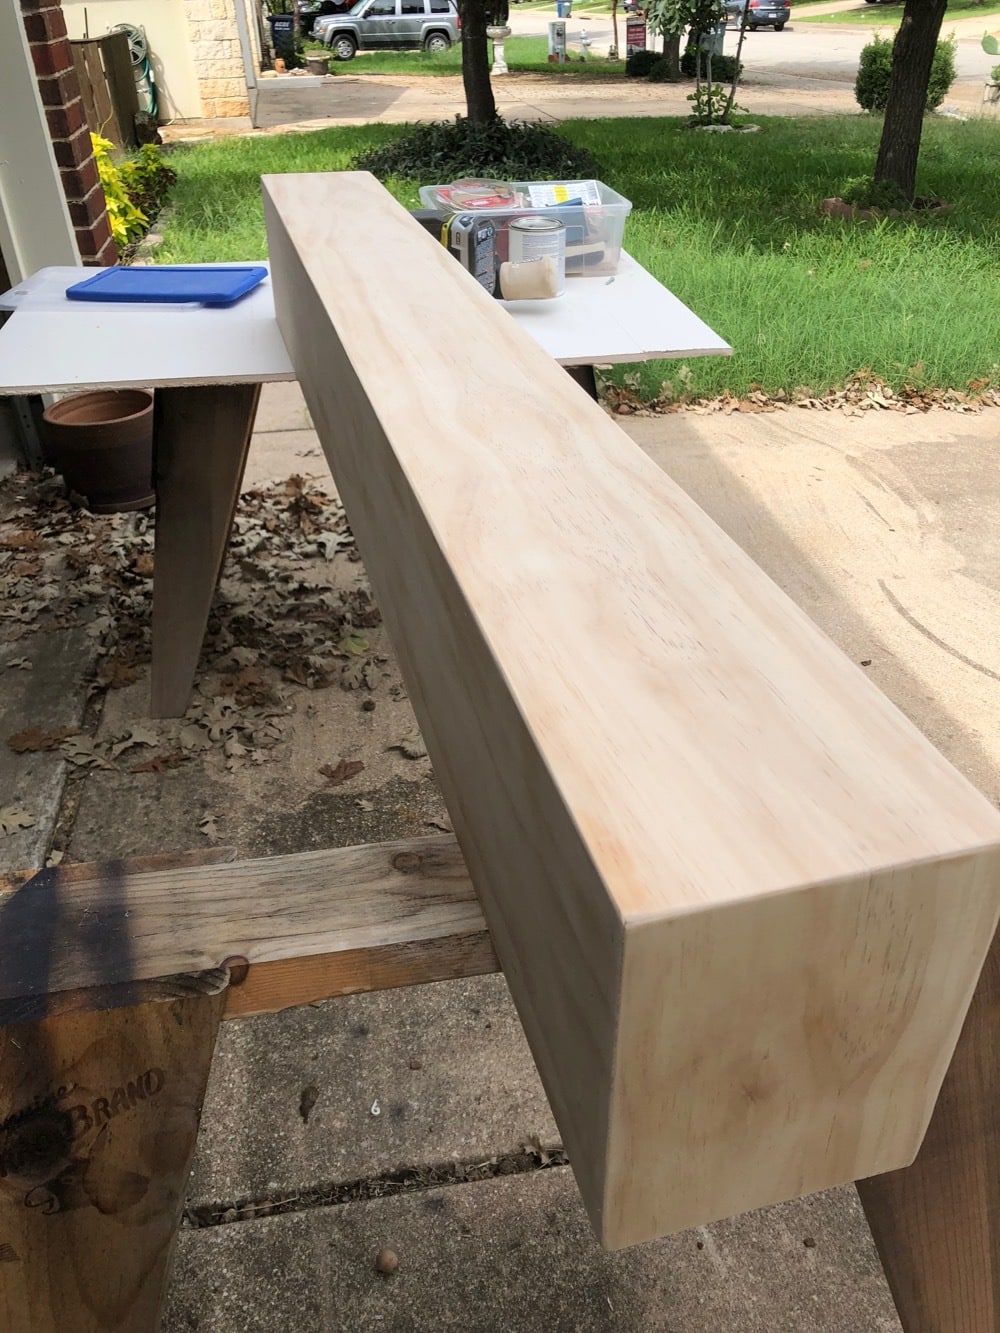
Step 5: Add the Remaining Piece
Once the first four sides are fully dried, it’s time to add the final piece. Since everything else is already set, it’ll be pretty simple. Just add your wood glue and carefully set the final piece on top of the mantel. We were able to tuck a quart of paint inside of it to hold everything in place while it dried. Your mileage may vary with that!
Once the final piece has been put in place, add some more tape to hold it together. Then, walk away for a while until it dries fully. Don’t touch!
Step Six: Sand & Stain
Now that your mantel is assembled, the fun part starts. Fill in any seams that don’t fully line up with a bit of wood filler. Once that dries, fully sand the entire thing with an orbital sander. Start with 80-grit sandpaper and work your way up to at least 220 grit sandpaper. Pay special attention to the seams and corners. You don’t want sharp corners just sitting there lying in wait to attack. Those edges can be nasty, y’all.
After you’ve sanded it all down, clean off any remaining sawdust and get to staining! We used Minwax’s Golden Oak for our mantel – I love the lighter color and it plays so nicely with the black.
You’ll also want to apply a sealer – I used this triple-thick polyurethane from Varathane. It only requires one coat and dries quickly, so it’s really easy to use!
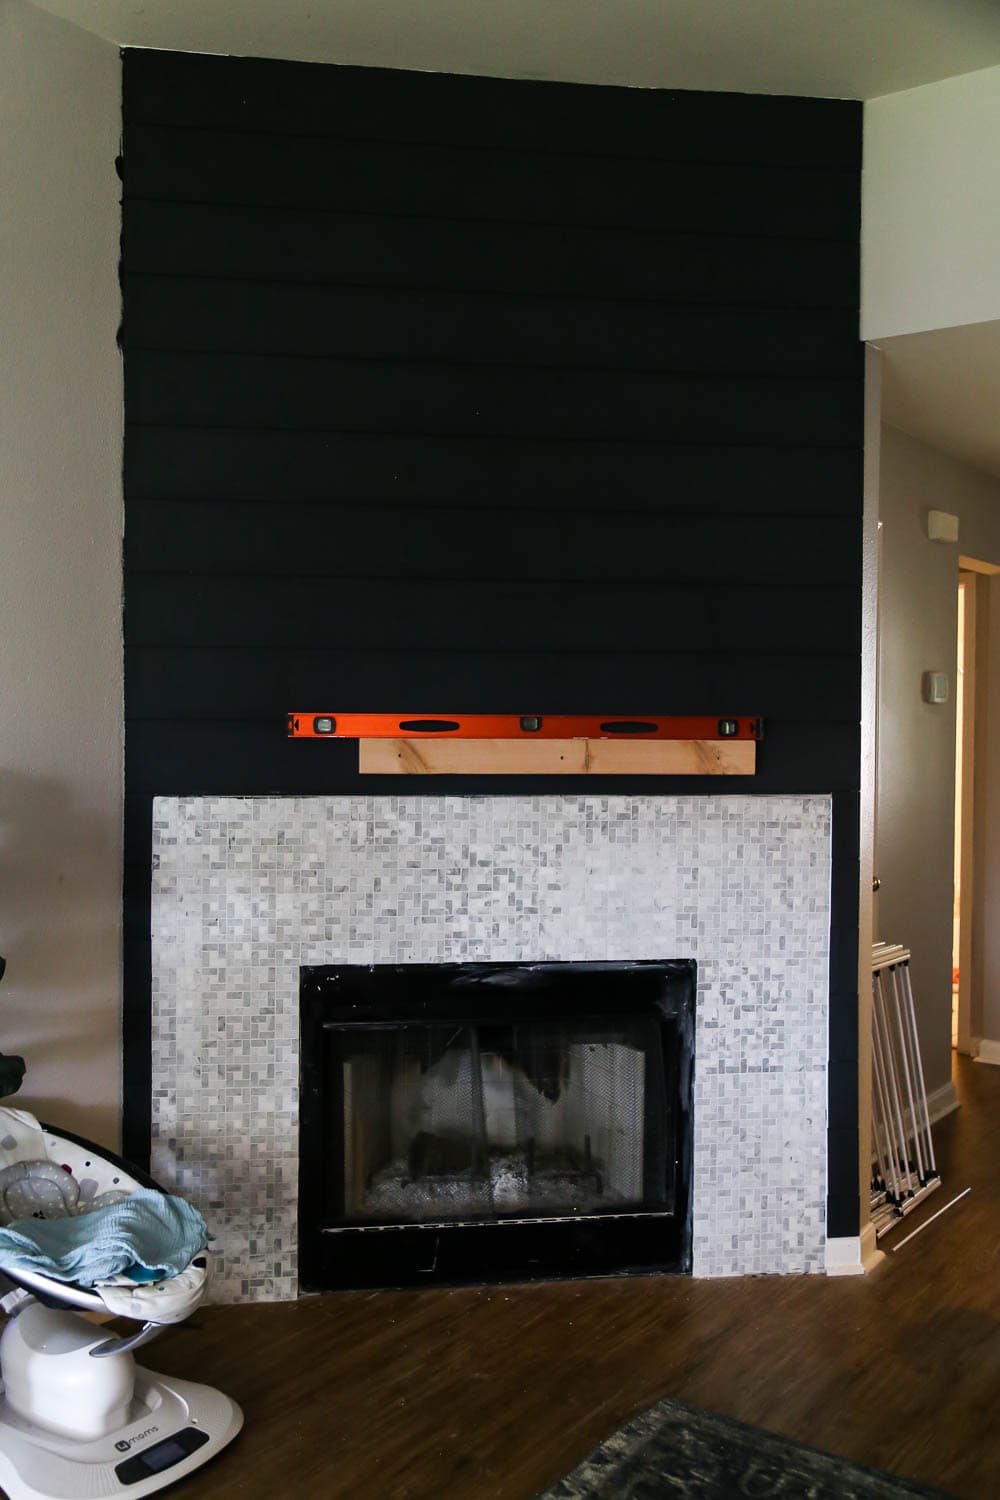
Step Seven: Hang It Up!
After the mantel has dried completely, you’re finally ready for the best part – hanging it!
We started by hanging a ledger board on the wall to attach it to. This is just a plain ol’ 2X4 board and we used a drill to attach it directly to the studs with heavy duty screws. You can see here that it’s off-center – that’s because we wanted to be sure to hit the studs, and that’s where they’re at. It won’t matter that it’s off-center once we hang the mantel, so don’t stress!
After the ledger board is installed, simply fit your mantel over it and use a nail gun to nail it into place from above. This is the exact same method that was used on the mantel that was already in this home. So, even though it might feel entirely too simple, I promise it’s completely sturdy! If you want some added stability, you could always screw the mantel into place rather than nailing it, but we wanted to stick with the smaller and less noticeable holes.
The final step in hanging your DIY fireplace mantel is to add some caulk around all of the edges to seal any small gaps and help hold everything in place. It’ll create a more finished look and also does a great job of preventing any small shifting of the mantel!
And there you have it! The simplest DIY fireplace mantel around. I’ve heard from a lot of you over the years who have tried this project, and it seriously looks good on every fireplace. You can’t go wrong!
What color caulking did you use at the end for the finished look?
Depends on the finish of the rest of the fireplace! I’d do something to match as close as possible to the other stuff happening.
Curious where you sourced your wood for this project? We are getting ready to build a very similar mantel and haven’t been able to agree on what grade of lumber we should be considering!
This is just plain ol’ pine from the hardware store!
Hi there! First off, Gig ’em! I noticed the nice Aggie ring! Second, are you telling me this is really held together entirely with wood glue? I’m sort of in shock about this. I’m building a mantle myself right now and was thinking a combo of wood glue and pocket hole screws. Thanks!
Yup, just glue! And it’s SOLID! Wood glue is extremely strong, and if it’s used properly (use plenty, spread it around, etc.) you should be fine without any additional support.
Can you explain where the 1 x 10s and the 1 x 8 was used in the project? Basically where are those boards located on the mantle?
Hi Clint –
The 1X8 board is the front and sides of the mantel, and the 1X10 board is the top and bottom.
I do have a question – how much would it change install to do it on a brick fireplace?? We’d love to build our own, and this looks right up our alley, but I’m not sure about installation on a brick surface. Help! ☺️
I don’t have direct experience with it, but I’d imagine you’d just use some brackets meant for brick! It should be pretty simple, as long as you research and use the right hardware.