Easy DIY Workbench
This weekend we put together this incredibly simple DIY workbench to add some working space in our garage. It took less than an hour, added tons of storage, and looks great!
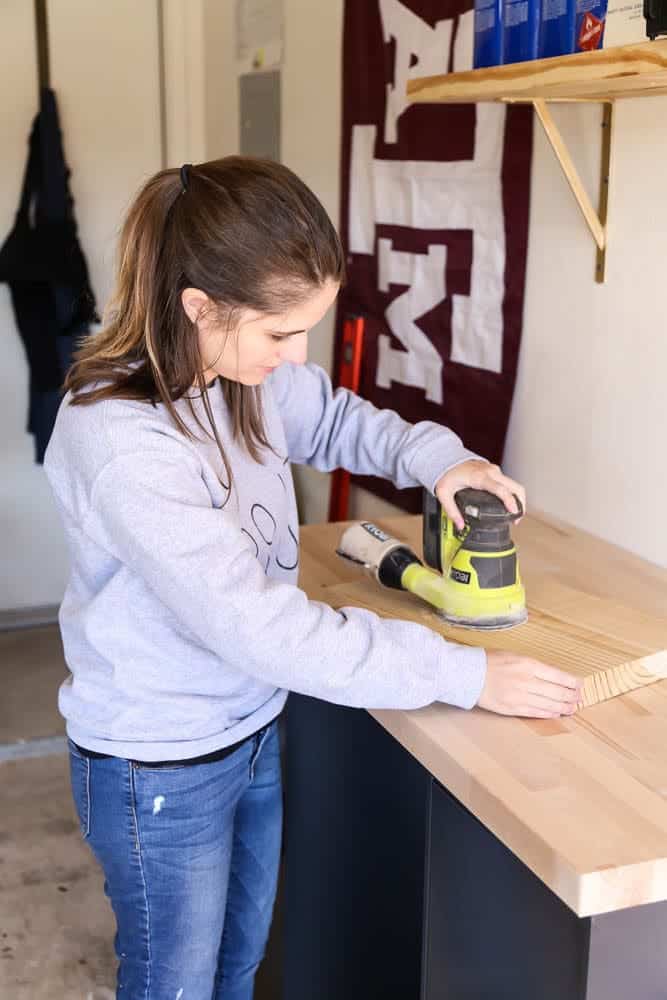
If you’ve been following along on our journey towards having an organized garage, then you’ll know it’s been a long and meandering road.
Let me catch you up on what’s happened so far:
- When we first moved in, our garage was a complete mess and we were seriously missing our old workshop.
- After building some workbenches along one wall, we added a dust collection system to help us keep the garage clean.
- Then, we organized our painting supplies using an old cabinet from our kitchen.
- We installed some metal pegboards to keep our tools organized.
- And finally, we shared a few of the things we’ve been doing to help everything run more efficiently.
It’s come a long, long way, but the only problem was that one wall of the garage still looked like this:
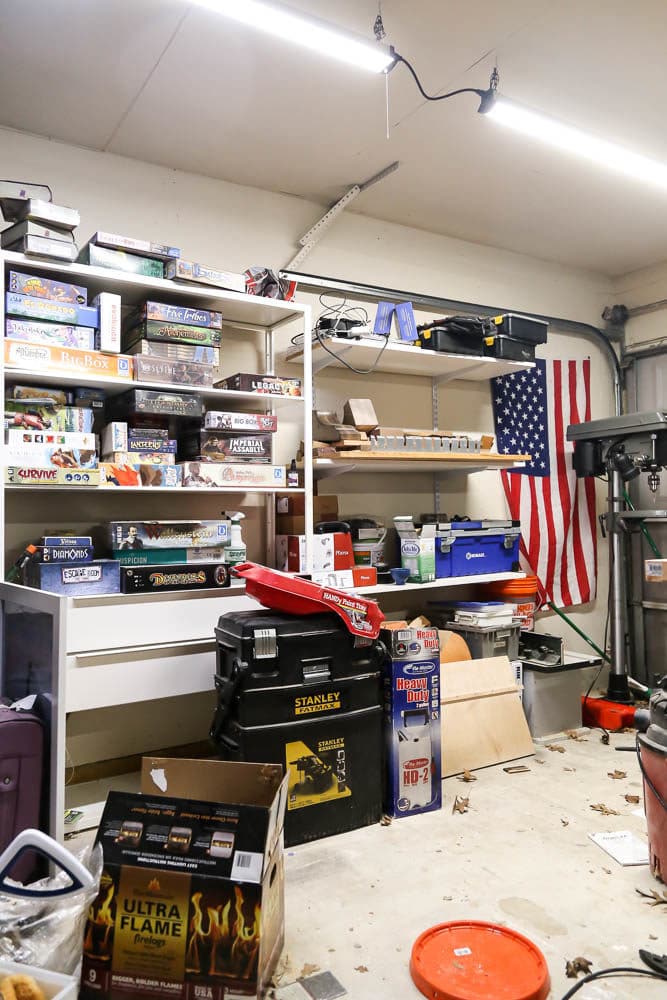
Oof.
The major problem we kept running into is that we would take steps to get things more organized but we wouldn’t get everything organized, so since everything didn’t have a place it all eventually fell into disarray again.
I’m not claiming that we’re done by any stretch of the imagination, but we did some organizing this weekend and things are definitely looking up!
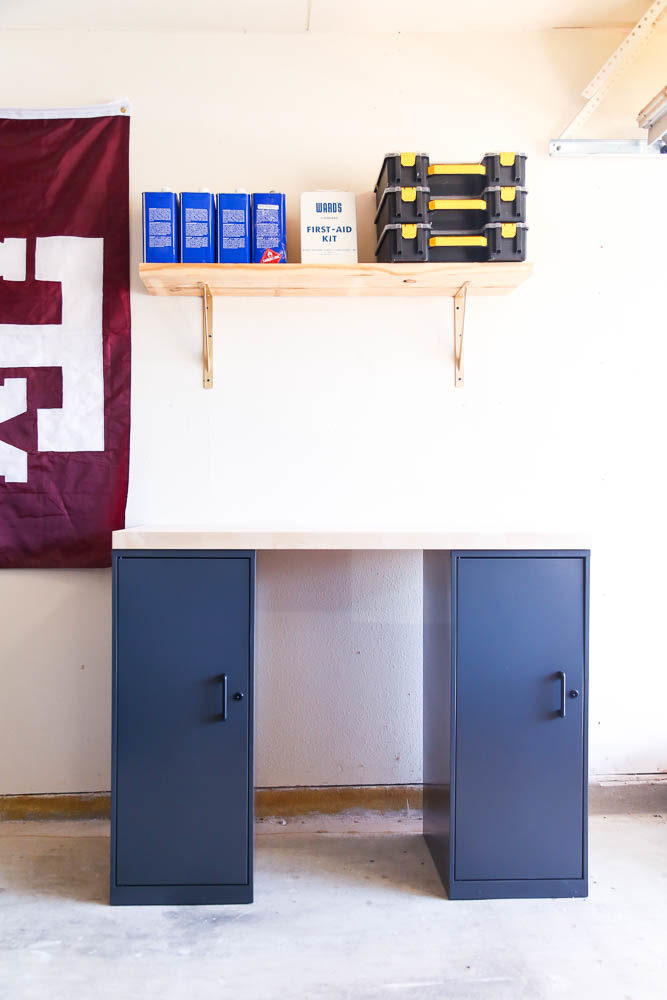
This little workbench is probably one of the simplest projects we’ve ever done, but it adds so much functionality to the garage! I love the closed storage (I’m a fan of any solution that helps make things look less cluttered), and it’s so nice to have a work space in here that doesn’t have tools on it so we can dedicate it just to working on things like sanding, staining, or putting things together.
So, here’s the tale of how we build the easiest workbench in the world and transformed this half of our garage in just a couple of hours.
The Easiest DIY Workbench
Materials Needed:
- (2) Office Dimensions Personal Storage Cabinets (we used the 3-shelf, but they also make a taller 4-shelf version!)
- 1 four-foot butcher block counter
- Drill + screws
For the base of our cabinet, we used these Office Dimensions Personal Storage Cabinets. They’re metal and have three (adjustable) shelves inside. I love that we can stash things in there without worrying about how it looks, and I also love that they’re lockable – we could hide Jackson’s birthday gifts in here and he’ll never find them! It’s also a great place for me to stash my camera or other valuables when I’m working out in the garage – sometimes I leave the door garage door open while I run inside to feed Grant, and it would be nice to not have the worry in the back of my mind that someone will run off with my stuff.
The cabinets don’t require any assembly other than attaching the handles. We just set them down about 4 feet apart, then we brought in the workbench top. Corey snagged a cheap butcher block counter from the hardware store to use as a top. We could have easily made something as well but the goal of this project was to keep it as simple and quick as possible – there’s nothing easier than a pre-made workbench top!
We haven’t attached our top yet, because we want to live with it for a little while before we decide exactly where to attach it. For now, it’s just resting on the cabinets and it’s plenty sturdy to last us until we decide what we want to do. Right now, we left an overhang on the back of the workbench so that we can stash things behind the cabinet. But, we may eventually decide to just cut the workbench top down so that we can push the cabinets closer to the wall. Either way, once we’ve made the decision we’ll attach the workbench top to the cabinets just by drilling some screws from inside the cabinets up through the wood!
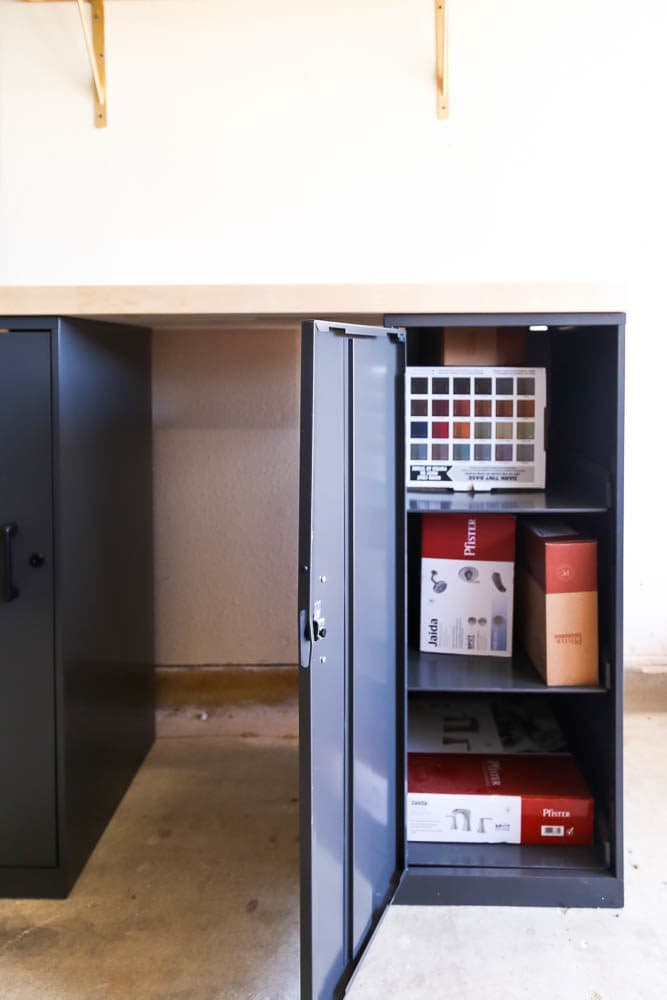
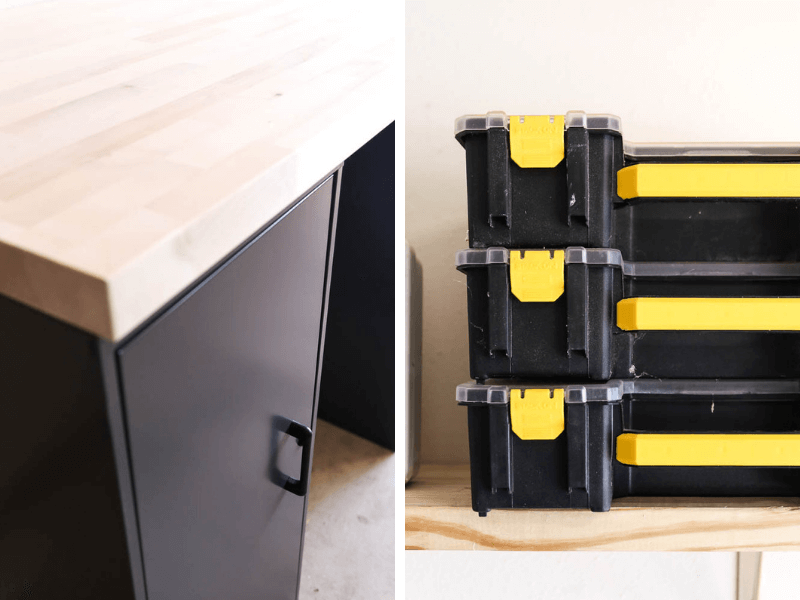
This is genuinely one of the easiest projects we’ve ever done in the garage but I think it’s also going to be one of the most functional for us. We’re able to store things that had been just floating around the room (like supplies for upcoming projects, shop towels, and some other random supplies) and a lot of the stuff that was just cluttering up our main workbench is now out of the way but still easy to access. Plus, I love that I have a work top that I don’t have to clear tools off of in order to use it! Since the long benches on the other side of the room have the pegboards above them, tools or other supplies often get left on them and you have to do a bit of cleaning before you can actually work.
This table, however, is going to stay clear. I just know it.
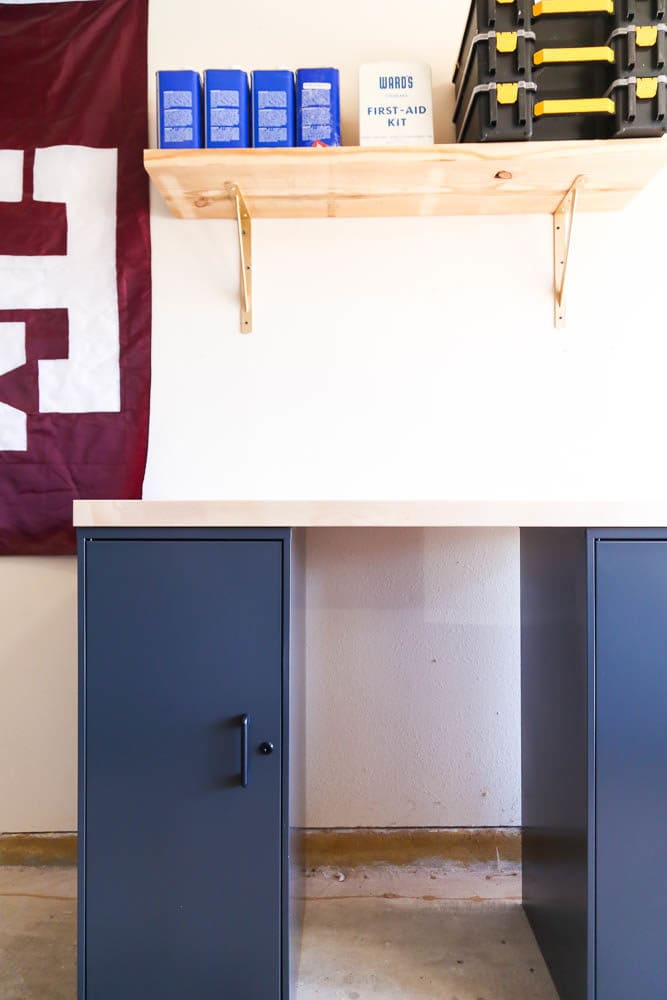
We’ve still got a few to-dos in the garage to really bring the whole thing together. We’re planning a major DIY storage and workbench for the middle of the room in the next couple of months and I’m really excited to dive into that build! Once that’s done, it’ll just be a matter of finding a place for everything and actually keeping it there.
Maybe by the end of year two in this house we’ll have a garage that’s functional and clean.
Maybe.
If you’re looking for a really easy way to add some storage or organization to your home, these cabinets really are a fantastic solution! You can grab your own on Amazon – and the sky’s the limit with what you do with them! You could use two as a standing desk in a home office, they can add some storage to your laundry room, or you can use them in the garage like we did. I’m all about simple storage and organization solutions, and this little project might be one of my favorites yet.

Wow, thank you for sharing this. It can save me more space and the materials is not that expensive.
This workbench will save a lot of space. Thank you for sharing.
Nice work Amanda, I have been doing workbenches for a long time, I like the way you created this project.
I have a same room size as yours, I will try to do this one maybe I can get more space out of it.
This workbench could really save more space and help organize things. Nice article!
Adding a dust collection system will help keep the garage clean.
Simple yet very still nice because it can save money and give you extra space.
Organizing things in a room is a daunting task. This would really help save some space and it looks professional.
Your work is perfect, amazing DIY workbench.
Cool project!
Nice content! Truly an easy DIY workbench.
Nice work, amazing skills you have there to do this type of project.
Simple yet very nice project. Thank you for sharing
I love this DIY workbench, the work is amazing and also the attention to details is very awesome.
Great read.
Hi Amanda, great work! The workbench looks great! We’ve crafted many workbenches over the years for our customers and it’s so nice to see other people’s work for inspiration. Thank you for sharing.
Thanks so much!