Our IKEA Tarva Dresser Hack
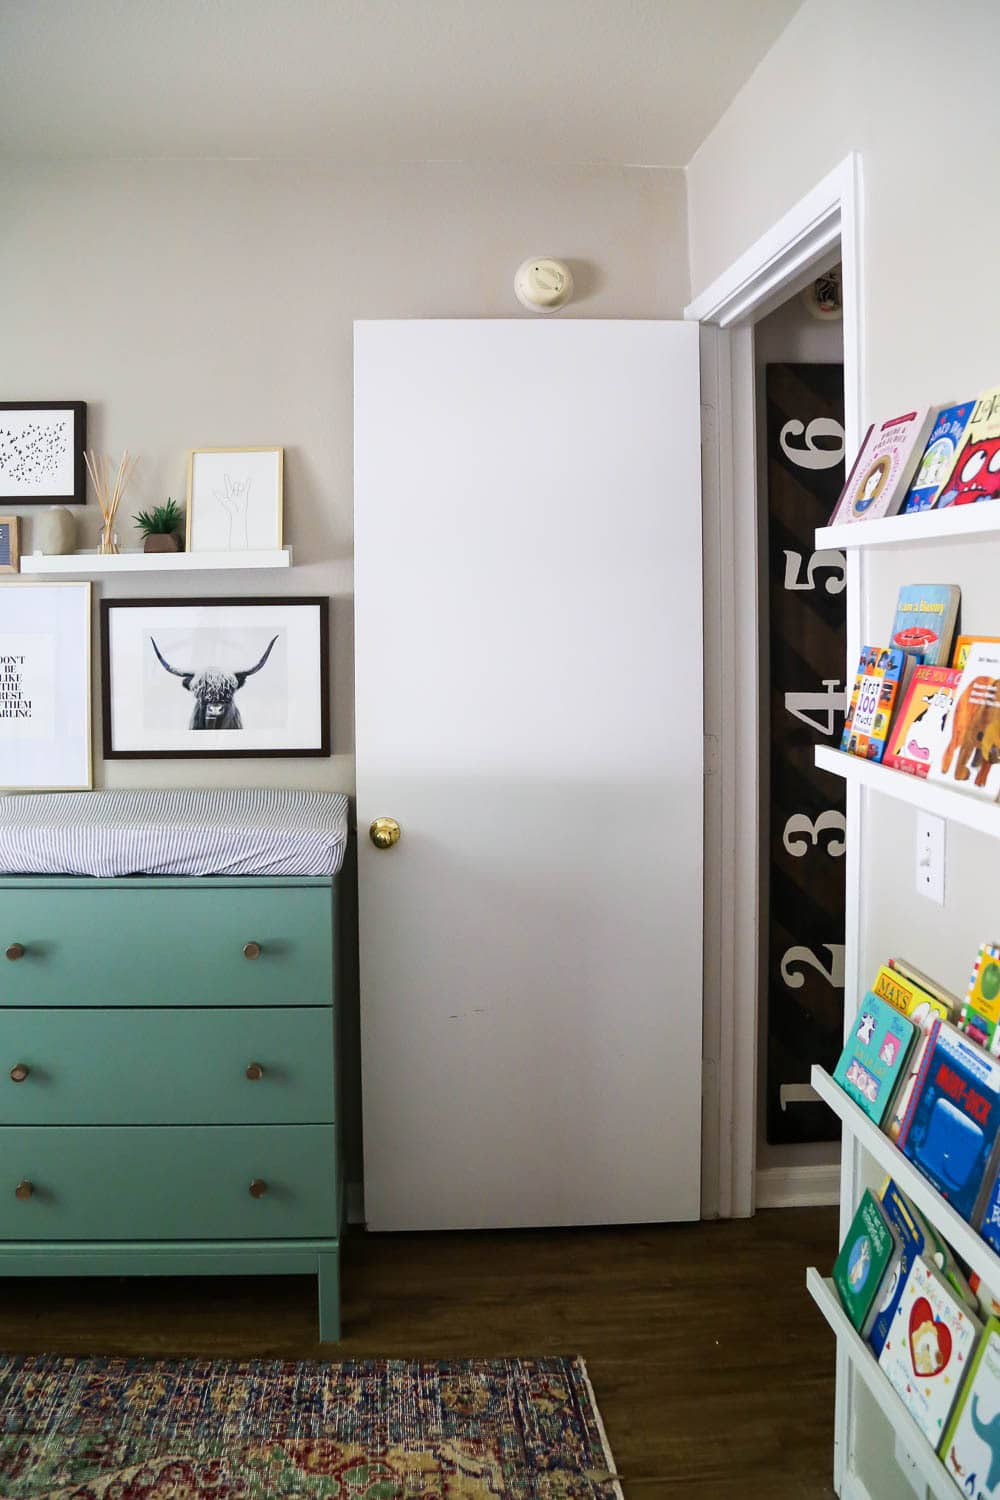
We loved using a dresser as a changing table with our older son, so for this nursery, we knew we wanted to try it again. We took an IKEA Tarva dresser and gave it a makeover – now, it’s the perfect changing table!
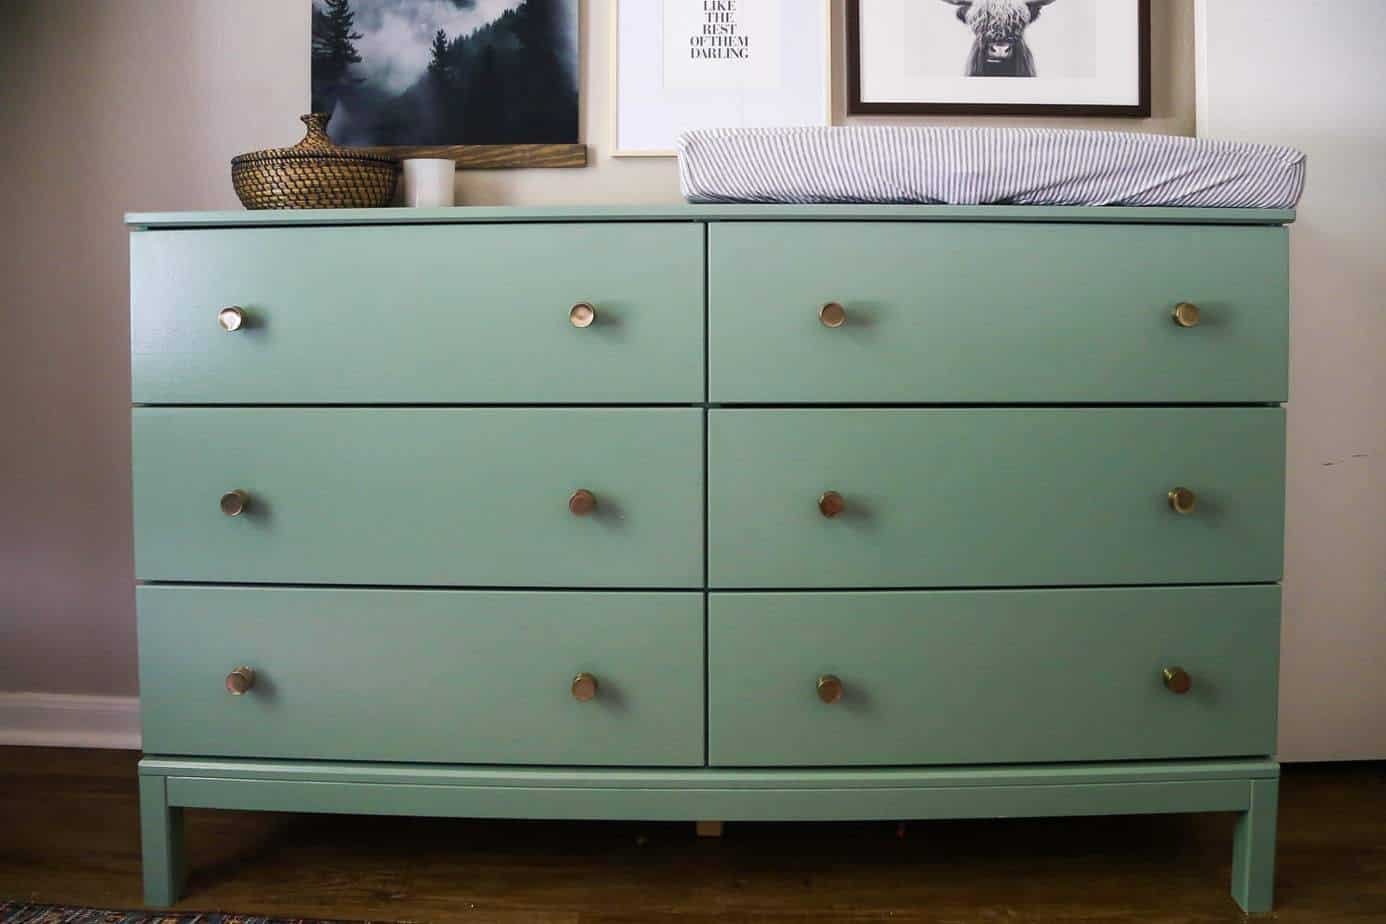
With just a little over a month to go before my due date, the nursery really is finally coming together.
And, thank goodness because the nesting urges are hitting me hard this time around.
I’m trying to share all of the little bits of progress in the nursery as we go (don’t worry, though, I’ll do an official “reveal” post once everything comes together!), so today I wanted to chat a little bit about the IKEA Tarva dresser that we painted and turned into a changing table for our little boy.
Here are the other nursery posts so far:
- Nursery mood board + plans
- Painting the walls
- Installing a DIY gallery wall
- Easy DIY board & batten wall
In Jackson’s nursery, we used a small vintage 3-drawer dresser as a changing table. We really loved the added storage and how it looked in the room, and he still uses the dresser in his room today! I love baby furniture that can last past the first few years, so I’m all about using a more unconventional approach to the changing table if it means we’ll be able to actually use it once our diapering days are done.
Also, it keeps randomly hitting me that we’re about to re-enter the diapering days. Y’all, I haven’t changed a diaper in two years and I really enjoy that fact. What am I about to get myself into?!
This post contains affiliate links. Click here to read my full disclosure policy.
IKEA TARVA Dresser Hack
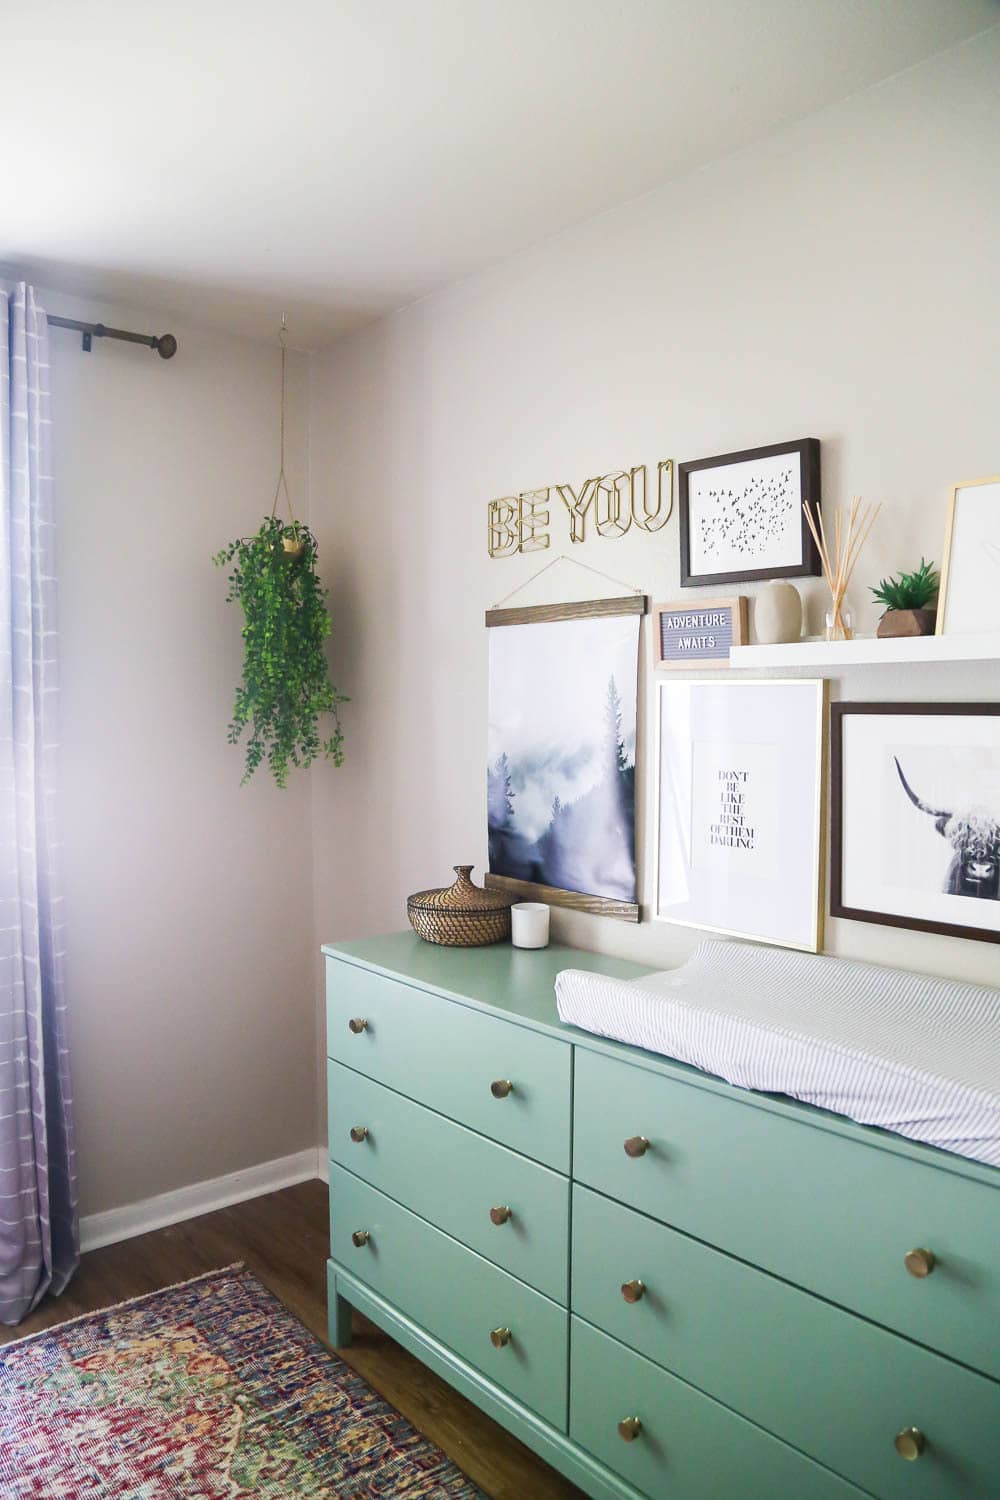
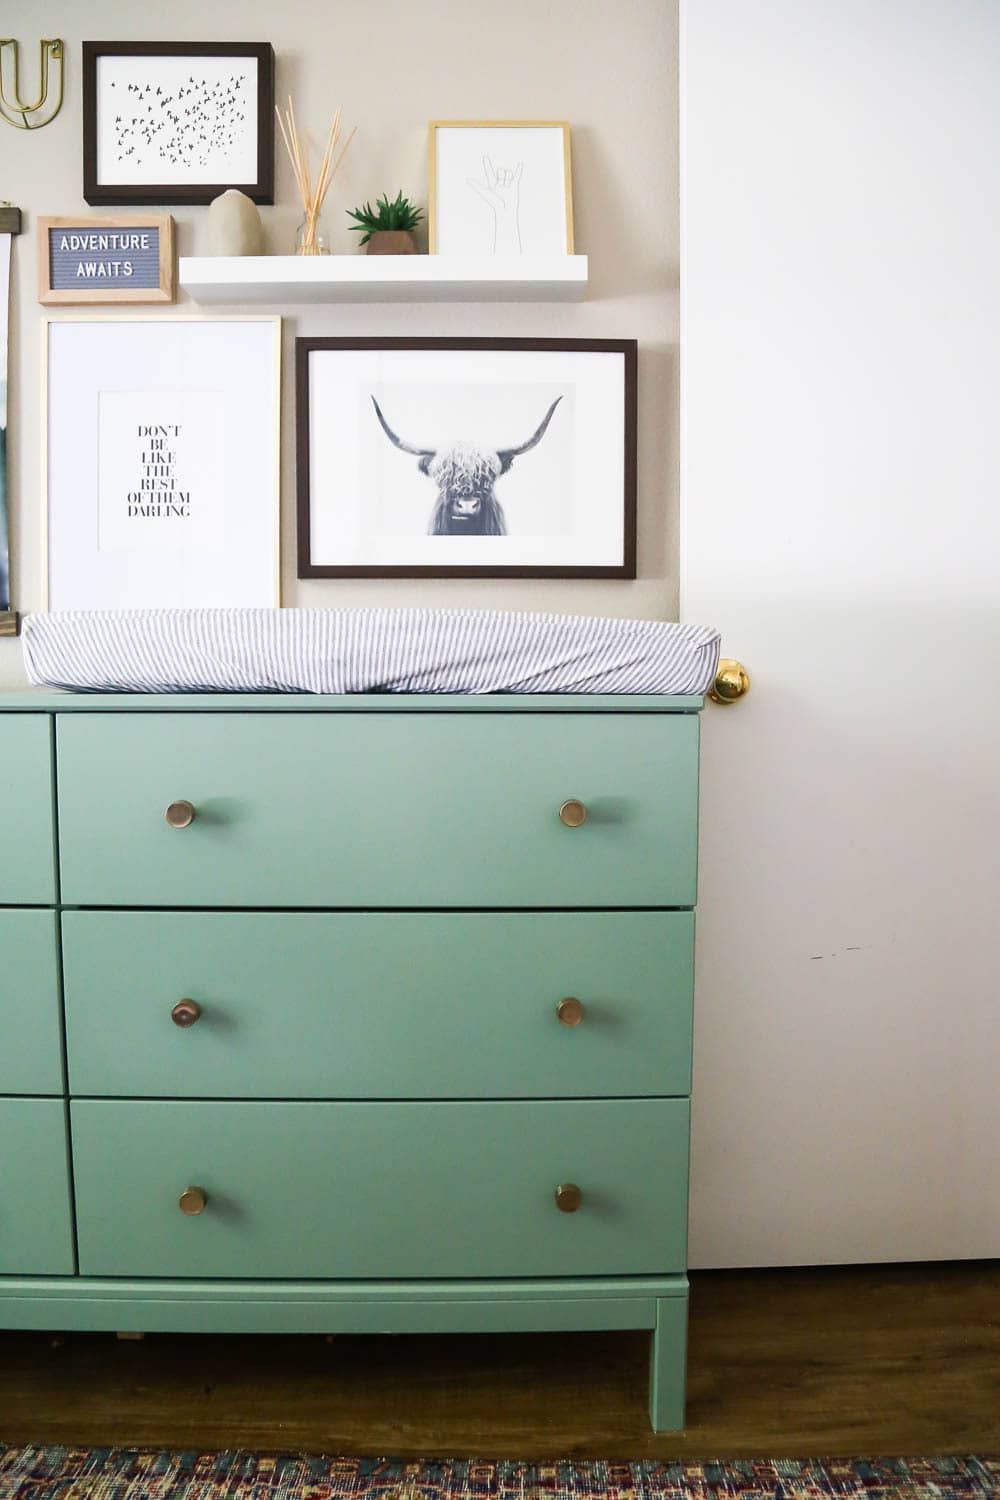
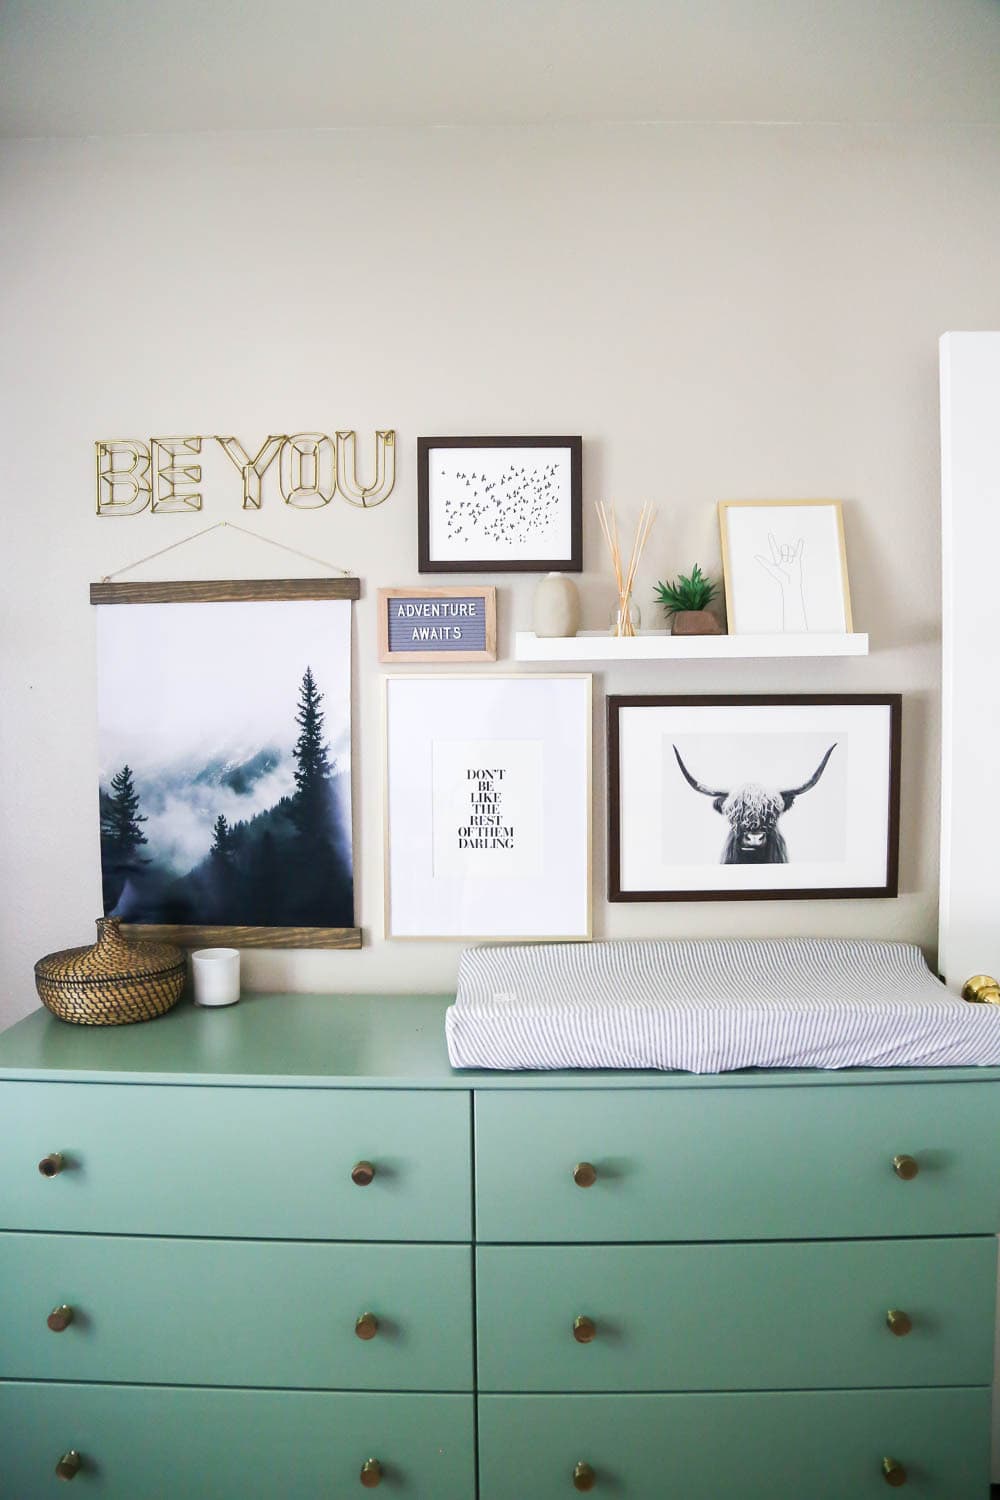
Anyways. The dresser. You already saw a sneak peek of it (unpainted) when I shared the gallery wall I created for the nursery, but it’s looking 100% different now! It’s incredibly simple to turn a dresser into a changing table – all you really have to do is plop a changing pad on top and you’re done. I’ll show you the inside of the dresser on another day (I’m not quite done organizing it yet, but I will share a post all about nursery organization once I get everything done), but for now, let’s just chat about the exterior.
I painted it Behr’s Trellis Green – it’s really the perfect sage-y green and I adore how it looks. The color coordinates really well with the vintage rug that Unique Rug Store sent over to use to try out!! and I just love how the colors play together. We used this polyurethane to seal it, and so far it’s holding up really well, despite me doing tons of banging around and storing things on it.
The knobs we added were sent to us from our friends at Liberty Hardware – they’re this drum knob and they’re pretty much perfect. I love the shape and the gold tone, and I think it pairs so nicely with the green.
Basically, I’m doing all sorts of patting myself on the back for this one because I’m head over heels in love with how this dresser turned out!
The changing pad is this one (although, I think for the most part a changing pad is a changing pad!) and I’m pleasantly surprised to say it fits perfectly on top of the dresser – I was a little nervous because this dresser is pretty shallow, but it fits like a glove. We currently have this changing pad cover on it – I had the hardest time finding one that I liked! With Jackson, we had 2 or 3 different covers that we rotated between, so I’ll probably be tracking down a couple more so that we have backups for the inevitable mess.
SOURCES:
As far as the styling on top of the dresser, we still have a bit of work to do. I’m debating what I want to do for middle-of-the-night lighting in here – I’d like a small lamp for the dresser, but I haven’t found one that works yet. I’m trying to track down something nice and small (almost more like a night light), so if you have any suggestions let me know!
The last major project that we need to do in the nursery is to tackle the closet. Right now, it just has some plain wire shelves in it and no hanging space, so I want to make some changes so that it’s more functional for a baby’s room (and, eventually, a big kid’s room since we all know babies don’t keep!). We also have tons of small things to tackle like deciding what to hang above the crib, installing a fan, and some other minor details. Fingers crossed we can knock it all out before our baby boy makes his big debut – it was so nice to have a fully completed nursery this time around, so I’m hoping we’ll be able to accomplish that again!
And honestly, with how badly I’m nesting right now, my head might explode if we don’t get it all done. So let’s just hope we make it happen. For everyone’s sake.


I am in the process of painting the same Ikea dresser. I sealed the knots and primed. I can still still some of the wood grain. I do have at least one maybe 2 more coats to go and I am hoping these will disappear. In the picture, I can’t see any wood grain pattern on yours. Can you in real life? What’s your secret? Did you use a brush or a sprayer?
I used a brush for this, but normally prefer a sprayer for furniture! I’ve never noticed any wood grain on ours – not sure what I might have done differently, though. I do think the paint quality can make a big difference – we use Behr Marquee and have really great luck with it.
Hi – I am curious about this project because before stumbling upon your post I had already planned to use the same dresser for a DIY changing table project 🙂 My hesitation began when I noticed the IKEA dresser depth is 15 3/8″. I had planned to use the Keekaroo changing pad which has a depth of 17″ but nevertheless saw most changing pads at 16″+ in depth. Yours seems to fit. Does the changing pad overhang the back? Is the dresser depth listed on the site misleading?
Thanks!
Hi! We use this changing pad and it fits perfectly!
Hi! I almost bought this unit, but didn’t because I was concerned that a changing pad wouldn’t fit on it. I see that you linked the pad, but I was just wondering how it has worked out for you? Does it stay put when using it? For my first son, we had the pad in a frame so that it wouldn’t slide around. Has that been an issue at all for you?
It’s been great! He’s 14 months old now and we’re still using (and loving) this setup!
Where are your curtains from? I Love this whole set up!!
Thanks! They’re from Target!
HI, I felt in love of your place. I will buy a trava ikea dresser and your gallery wall is so awesome 🙂 I tried to knox where do you buy these gallery (hand, buffalo, birds, the text and “BE YOU” on target website) but didn’t found these things 🙁 Maybe you can help to to find these things ? Thanks a lot 🙂
You can find all of the sources here – https://www.loveandrenovations.com/diy-poster-frame/
I just finished my own Tarva in white as I loved this idea so much and now I’m looking for the right changing pad to fit. It seems like the normal size is too big and would hang over, but it looks like yours fits perfectly! Which one is it??
Hi Lauren! The changing pad we used is linked in the post! 🙂
Where did you get the letters to spell out “be you”? Love them 🙂
They’re from Target! They’re attached to each other, not individual letters. 🙂
Is the color you used actually called trellis green? Or Trellis vine? According to Home Depot their is no trellis green, but maybe discontinued??? Also how much paint did you use? Thanks!
It’s Green Trellis from Behr! Here’s a link. I used less than a gallon for the dresser.
I am done with all the dark color dressers. so, I actually loving its paint. good usage of the dresser.
Thanks so much, Daisy!
We almost purchased this dresser a few months back to paint and style but when we went to IKEA the sample was super rocky and not at all sturdy. I’m assuming if you plan to change your baby on it it must have gone together well for you- does it actually feel like a sturdy, wood dresser when put together at home? Did you do any reinforcing or was it fine as is?
Hi Mandi –
It’s definitely completely sturdy and not at all rocky. We’ll be anchoring it to the wall, as we would with any dresser, but it feels very solid to me. We didn’t do any extra reinforcing.
Looks great! I love using a dresser as a changing table- I did the same thing with my two boys! I also sewed my own changing cover pads because I didn’t find any I liked either. You just need fabric and elastic – I’m not much of a seamstress but it wasn’t too bad! (Plus my mom helped, ha!)
Smart! Sewing machines and I do NOT get along, but if we did that would be a great solution! Haha
Love the color you picked!! Did you use primer first? Just wondering because I have a Tarva that I’m getting ready to paint myself and I worry about the wood knots coming through.
Hey Carly – I used Behr’s Marquee paint, which is a paint + primer in one. I find that I never really need primer when I’m using it. If you’re using a lower-quality paint, though, I’d definitely recommend a primer!