
The New Laundry Room Cabinet
Last updated on January 24th, 2024 at 08:29 pm
When I set out to give our laundry room a refresh, one of the things I knew I wanted to change was the storage cabinet. The one we had was a really cheap cabinet that we found on Amazon a couple of years ago. And, while it’s held up mostly fine over the years, it wasn’t in the greatest shape. The shelves wouldn’t stay in place and were constantly falling out and attacking you. On top of that, the cabinet itself wasn’t quite big enough to store things the way I wanted to.
After lots of thinking and planning and debating, I ended up deciding to replace it with another cabinet from Amazon. I knew I just needed to find something with more high-quality shelf brackets. And, I needed something bigger. Thankfully, I found just the ticket!
This post is sponsored by Wagner.
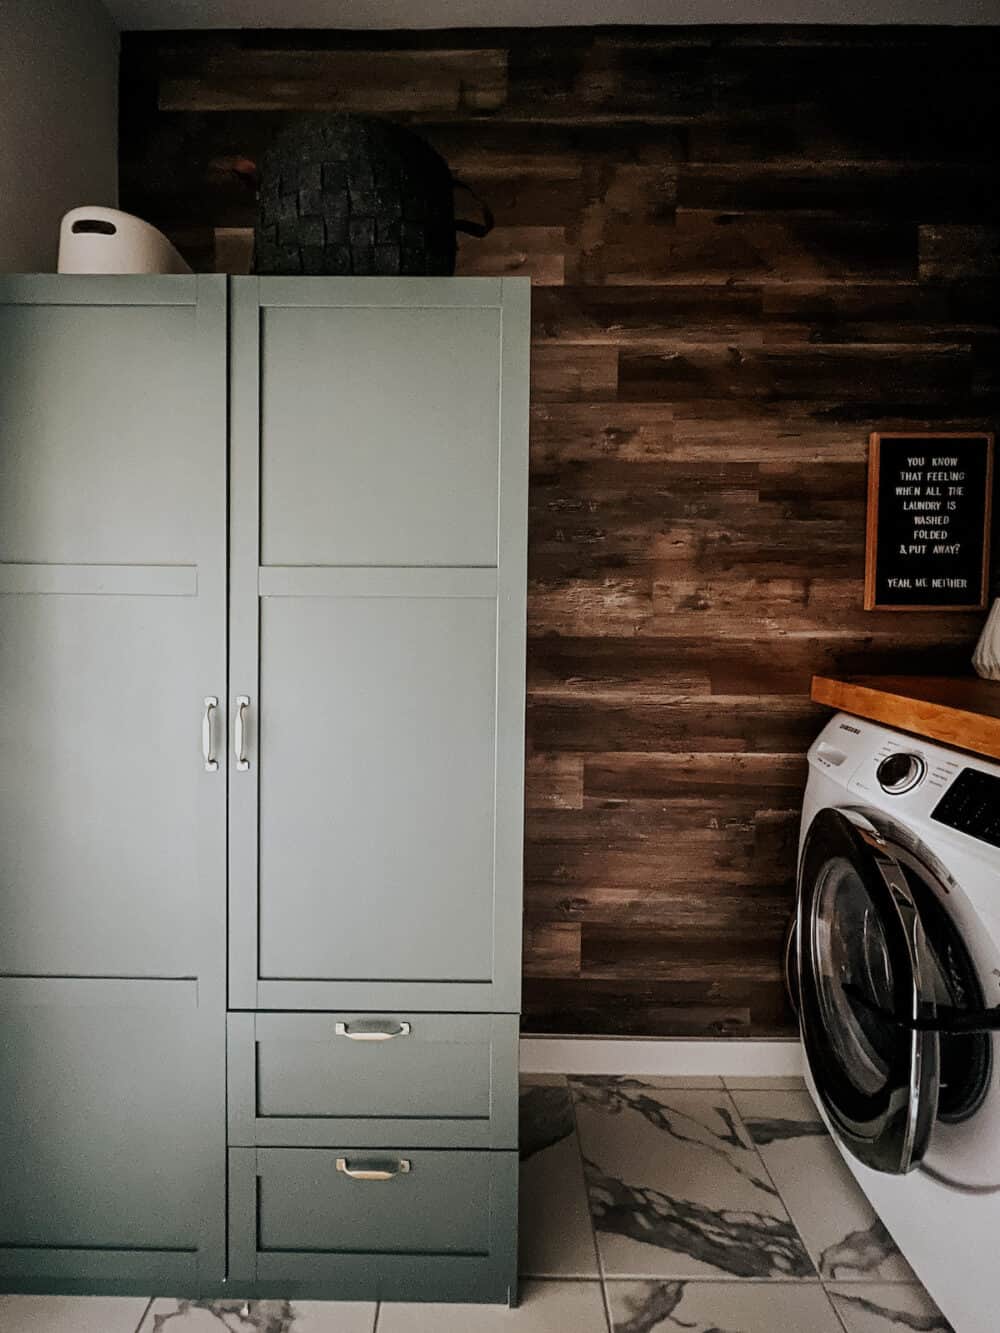
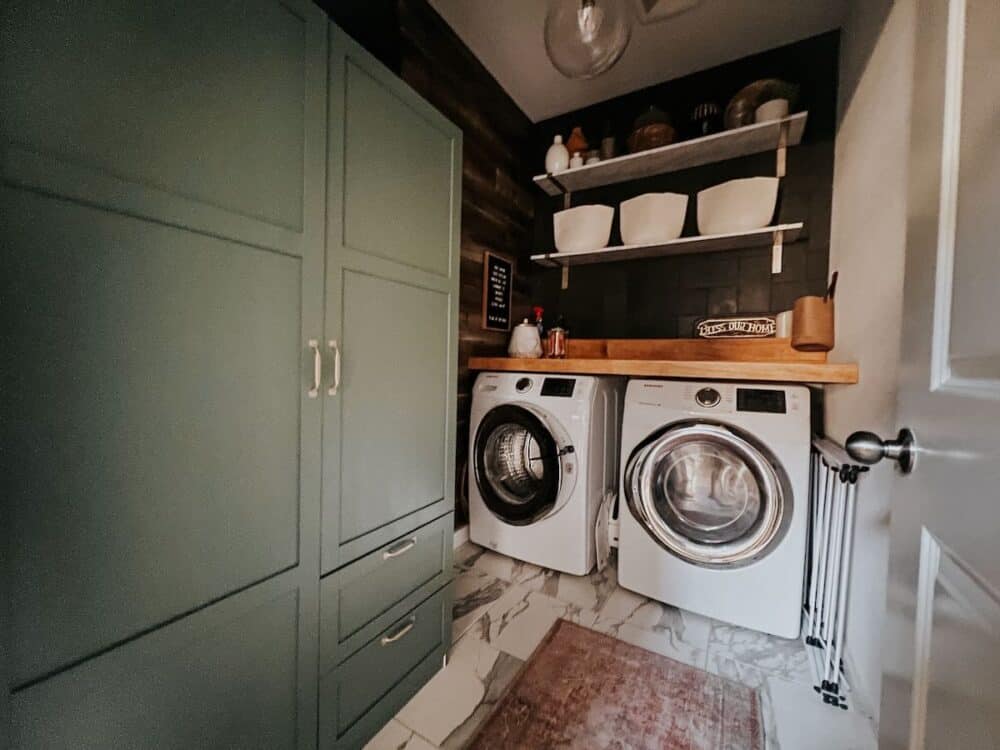
Our New Laundry Room Cabinet
This swap has already made a world of difference storage-wise. It’s notably bigger than the other one, and the drawers add so much functionality that we were lacking before. Plus, the shelf brackets are a totally different style and I’m confident they aren’t going anywhere.
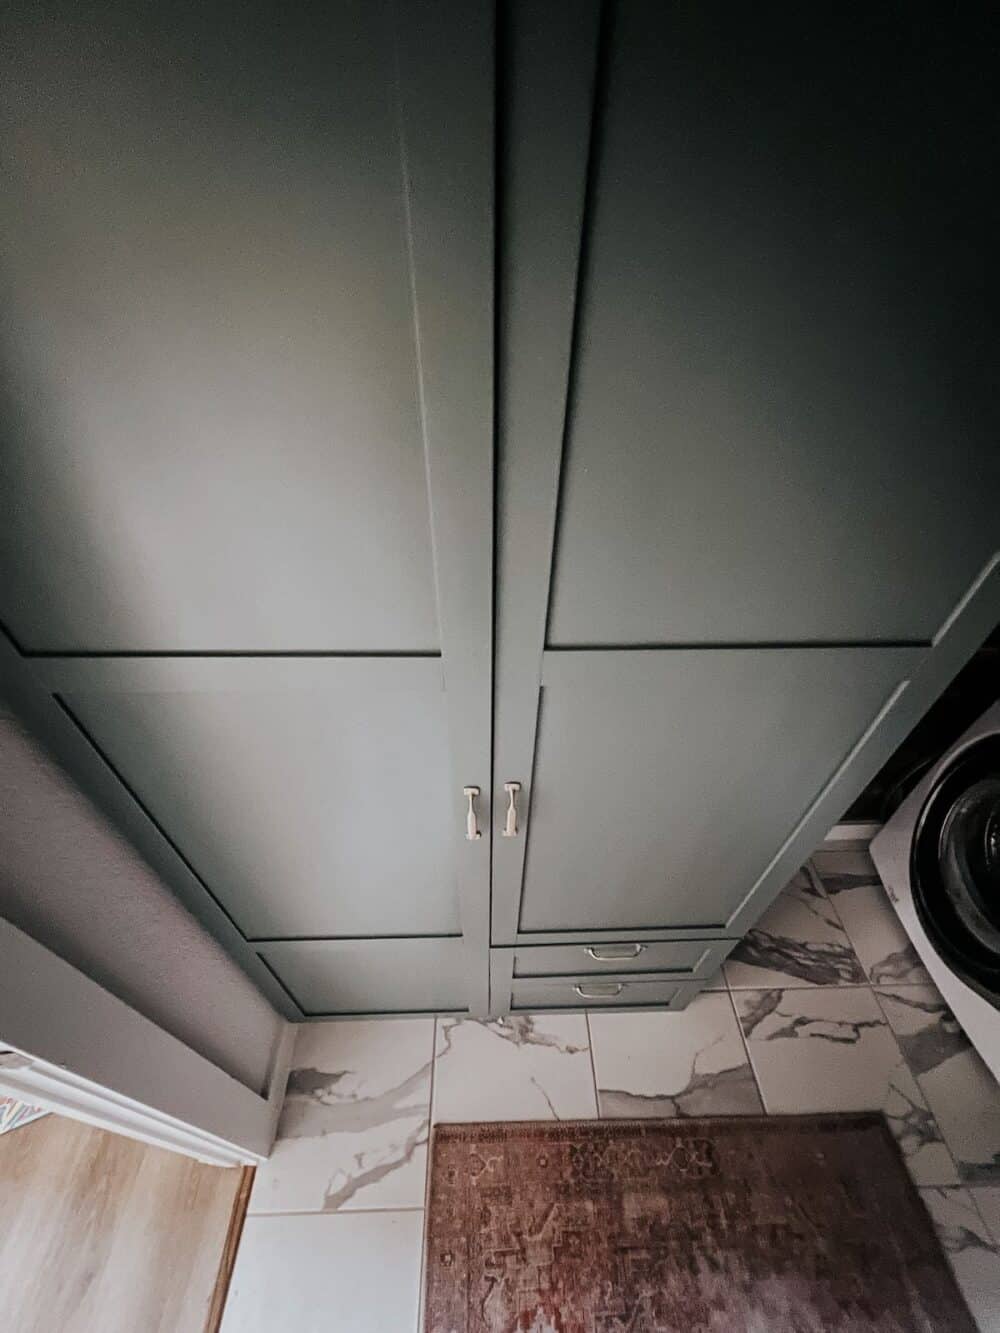
One of the biggest things I did to make this cabinet feel like it really fit in the space was paint it! I think it’s easy to forget that you can really customize just about any piece for your home with a little elbow grease and some paint. This cabinet is really similar to an IKEA PAX cabinet in that it’s made with a factory finish, it’s not real wood, and at first glance it appears just about impossible to repaint.
But it’s not!
If you’ve learned anything from my content over the years, I hope it’s that you can do so much with a good primer and some paint!
I broke down a full tutorial for how to paint laminate furniture a few years back when I was painting an IKEA dresser. But today, I’m going to talk in a little more detail about how I do it when I’m painting something brand new (versus the dresser in that blog post, which we had already had for years and was assembled). So, grab a cup of coffee and settle in and let’s chat about how I gave this basic Amazon storage cabinet a whole new look!
How to Paint a Storage Cabinet
Materials & Tools
- Storage cabinet
- Wagner FLEXiO 3500 – My go-to for a flawless finish on any painting project!
- Zinsser BIN Shellac-Based Primer – The only primer I’ll use on IKEA furniture, or anything like it
- Foam paint roller
- High-grit sandpaper (200+ grit)
- A high-quality paint
- (Optional) New door and drawer handles!
Step One: Sand!
Let’s start with the step I skipped. In the past when I’ve painted laminate furniture, I’ve gone straight to priming and it has worked out fine. I’m not sure if this was just a more intense factory finish or if it’s because it was new, but the finish hasn’t held up well on this guy. I’ve done some research and I think if I had started by sanding all over with 120-grit sandpaper, it would have held up much better.
So, do as I say, not as I do! If you want your finish to last, take a minute to sand it before you get started.
Step Two: Prime + Prep
Before you can paint IKEA furniture or anything that has a factory finish on it, you need to prime it. I use a shellac-based primer, and it’s key to a great finish that lasts. Don’t skip this step, and don’t think you can try something different. Just trust me on this one!
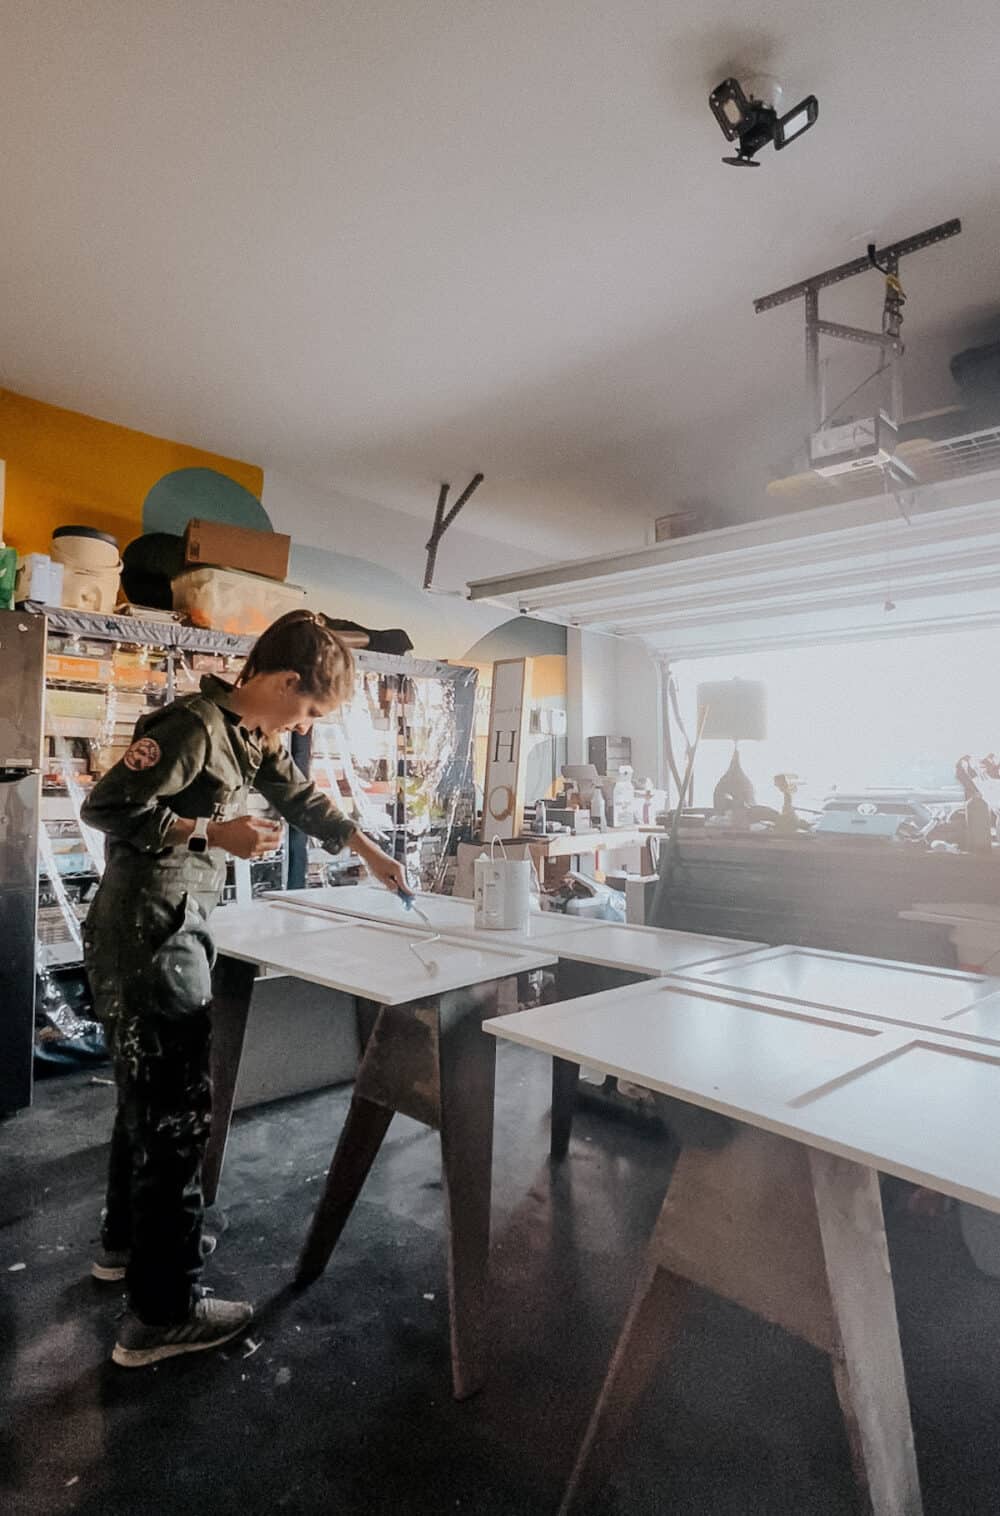
When you’re painting furniture that you haven’t assembled yet, it’s really easy! Just pick out the pieces that need to be painted, lay them out, and go for it. I didn’t paint the inside of the cabinet, because I knew it would likely just get scratched up with near-constant use. We pull stuff out of this thing multiple times a day! So, I only painted the outside pieces, and only one side of them. That made things go a little faster, and it’s much easier to do this before assembly.
Use a foam roller to paint the primer on your cabinet pieces. You can use a brush to get the sides or any hard-to-reach places, just know that this primer is a giant pain to clean off brushes, so you’ll want to use one that you’re willing to toss afterwards!
It only needs to dry for about an hour before it’s ready for paint. Once it’s dry, I highly recommend the extra step of lightly sanding the painted surfaces with a high grit sandpaper. This removes any uneven spots and gives you a smooth surface to start off with. Just be gentle and use a light hand – you’re not trying to remove the primer, just smooth it out a bit.
If you’re going to be replacing the door and drawer hardware, now is also the time to consider if you need to fill the holes. If your new hardware is the same size as the old one, you’re good to go. But, if it’s different at all you’ll want to use wood filler to fill in the holes prior to painting.
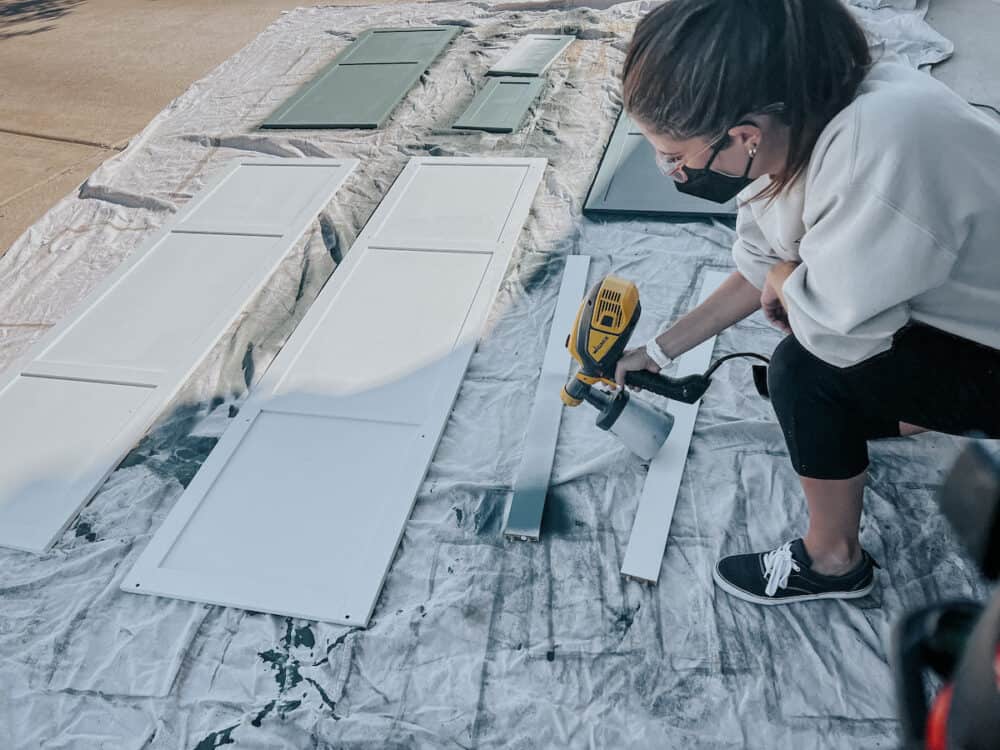
Step Three: Paint Cabinet Using a Sprayer
After you’ve primed and sanded the cabinet pieces, it’s time for paint. I always use this paint sprayer to paint these types of pieces. It comes with two nozzles, and you can use the smaller detail finish nozzle for furniture pieces. The larger one is meant for bigger projects. Using a sprayer will ensure you get a really great, even finish, and it’s much faster than painting by hand.
I have a full blog post teaching you how to use a paint sprayer, so be sure to check that out if you aren’t familiar with how to use one. I promise it’ll take a lot of the mystery out and make it feel more accessible. It’s a really simple tool to use, and once you try it out you’ll never go back!
Give the cabinet pieces two full coats of paint, doing a land sand between each coat. Remember when you’re working to hold the sprayer nice and close to what you’re painting (6-8 inches is ideal), and move slowly and steadily!
Step Four: Assemble
Once everything is nice and dry, you’re ready to assemble!
Here’s an important note: don’t rush this part! Did you know that paint takes up to a week to fully cure? That means that while you’re assembling your furniture piece, the paint is still pretty fragile, even if it feels dry. I recommend waiting at least 24-48 hours before assembling, and then just being gentle when you do.
You don’t need to baby your painted furniture forever, but you do need to be careful for the first week or so!
I gave my pieces about 24 hours to cure before I assembled. I had a couple of spots that needed light touch-ups once I was done assembling, nothing major!
Once it’s assembled, you’re done! It’s time to sit back and appreciate a job well done. Give yourself a pat on the back because you gave a boring piece of furniture a whole new life!
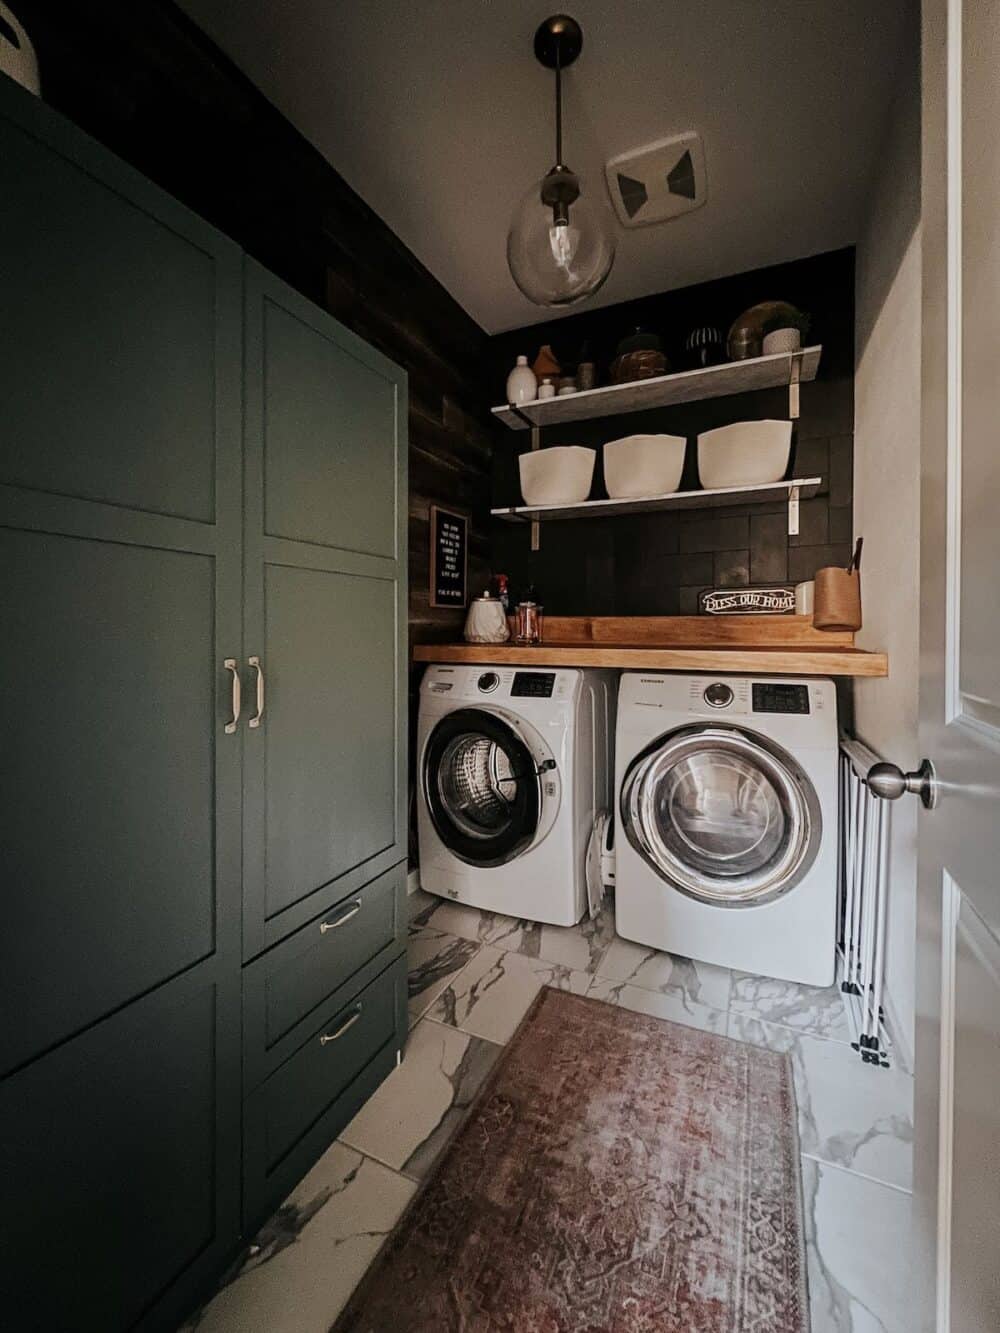
I’m so happy with this cabinet, and I’m honestly really glad I decided to go with this over the IKEA PAX. It was almost half the price! For full disclosure, I don’t think it’s quite as sturdy as the PAX, but it’s a really great option for a more out-of-the-way space like our laundry room. And, I’m really happy with the level of organization that comes with it. The PAX comes as an empty shell and everything is extra, so it can add up fast. But, this guy came with enough shelves and drawers to keep me fully organized! And it can hold so much, I have room to grow!
So, is the laundry room refresh done? I haven’t decided yet! I’d still like to add a bit of art, and I’m still contemplating the overhead light. So, stay tuned. There may be more to come!
Hi. What color green did you use? I’d love that in my laundry room, as well.?
Hi! It’s Current Mood by Clare
What is the brand and/or name of the cabinet you purchased for the laundry room? I’ve also looked at IKEA PAX and not been satisfied. Thanks
Hi! It’s linked in the post. 🙂