Our New Laundry Room Accent Wall
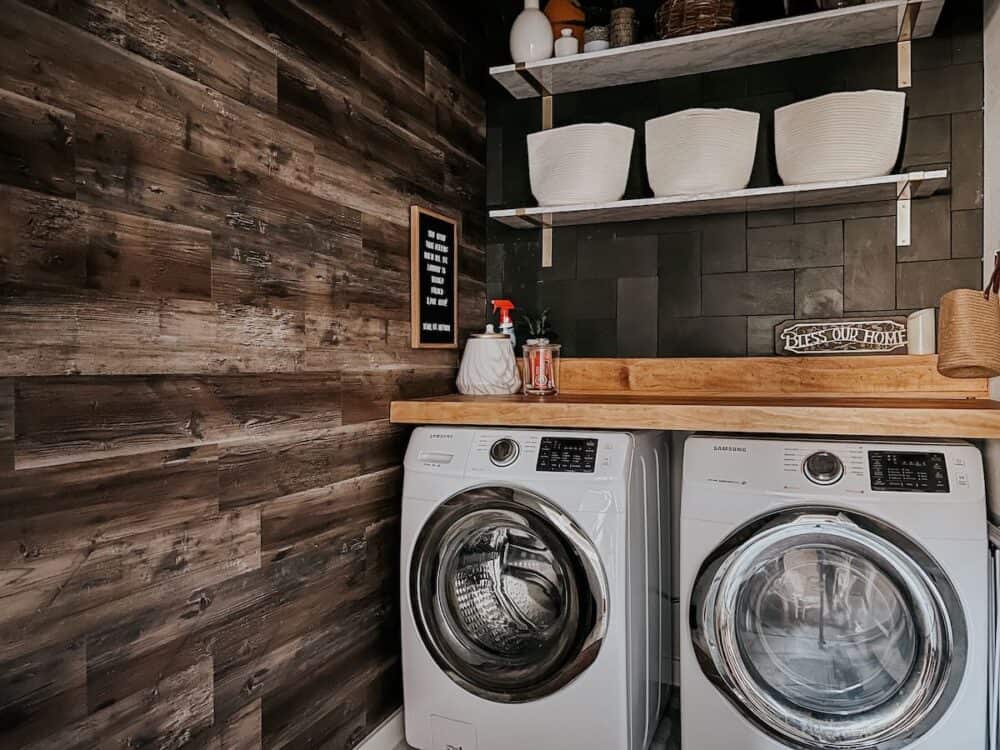
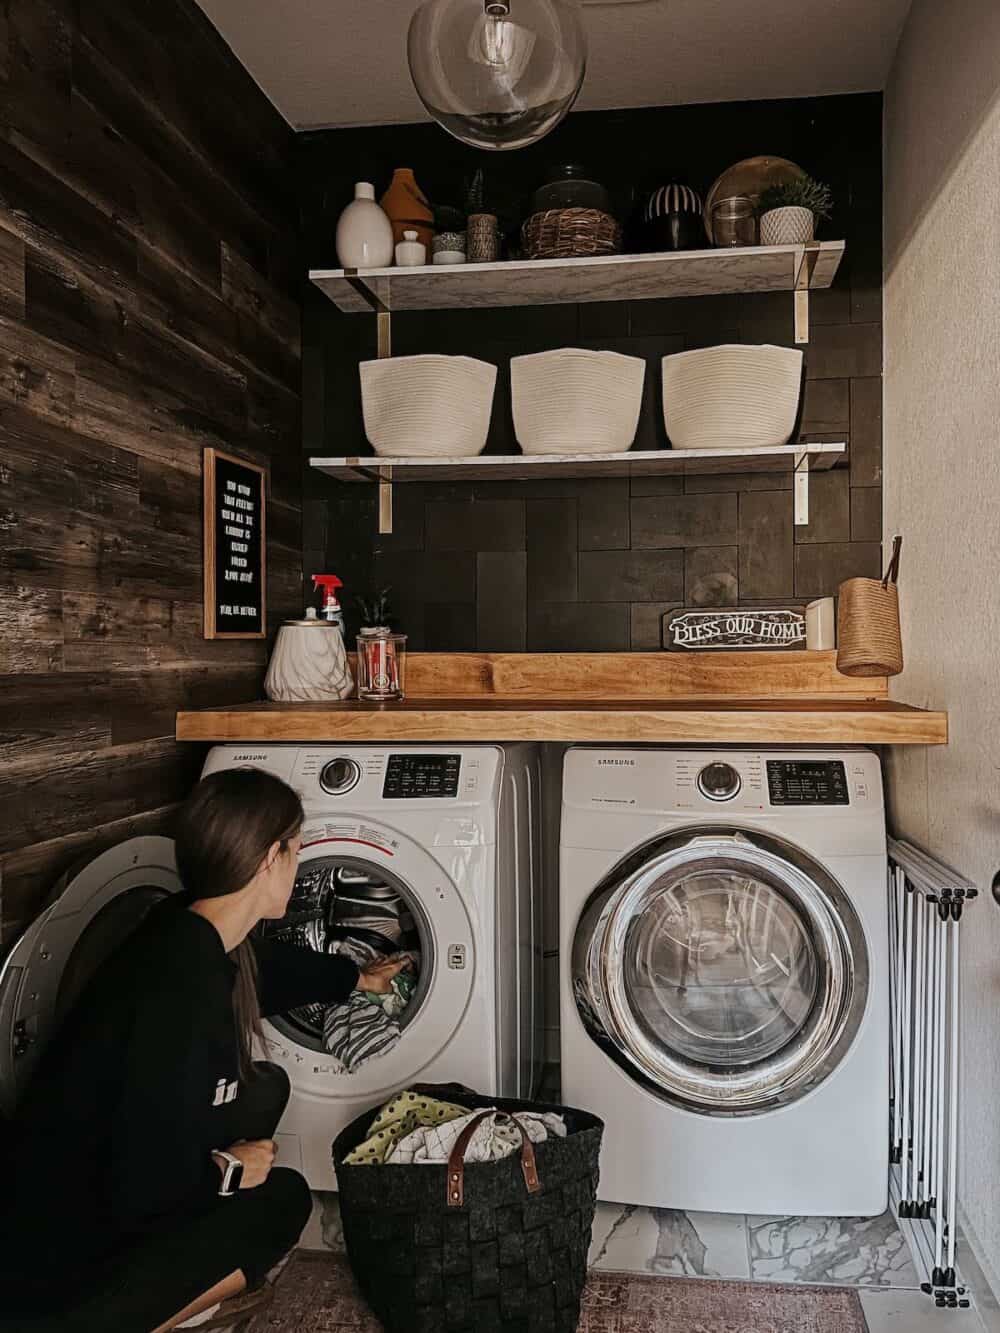
A little over two years ago, I gave our laundry room a big makeover. I added tile, built a countertop over the washer and dryer, installed shelves, and made it all nice and cute. I’ve really enjoyed the changes…but I recently decided I’m not quite done. It needed a little something more. It started with a decision to replace the cabinet that was in there. In the process, I decided to also go ahead and install a faux wood accent wall. Because the idea made me smile. And I’m so glad I did!
It cozied the space up so much, and I’m really excited to dive into phase two of this little makeover now!

DIY FAux wood accent wall
Would you believe me if I told you this project took me less than half a day from start to finish? I got started around 8:30 in the morning and I put the last wood plank on the wall in time to have lunch with Corey!
If this little accent wall looks familiar to you, that’s because I used the same product that I used on Jackson’s accent wall in his bedroom makeover last year. I’ve been really pleased with how it’s held up and how it looks, and I thought it would be nice to repeat the treatment somewhere else in the house!
The planks we used are peel & stick, and they’re so easy to install. You can cut the planks with a utility knife. So, as long as you can work a measuring tape, you’re good to go.
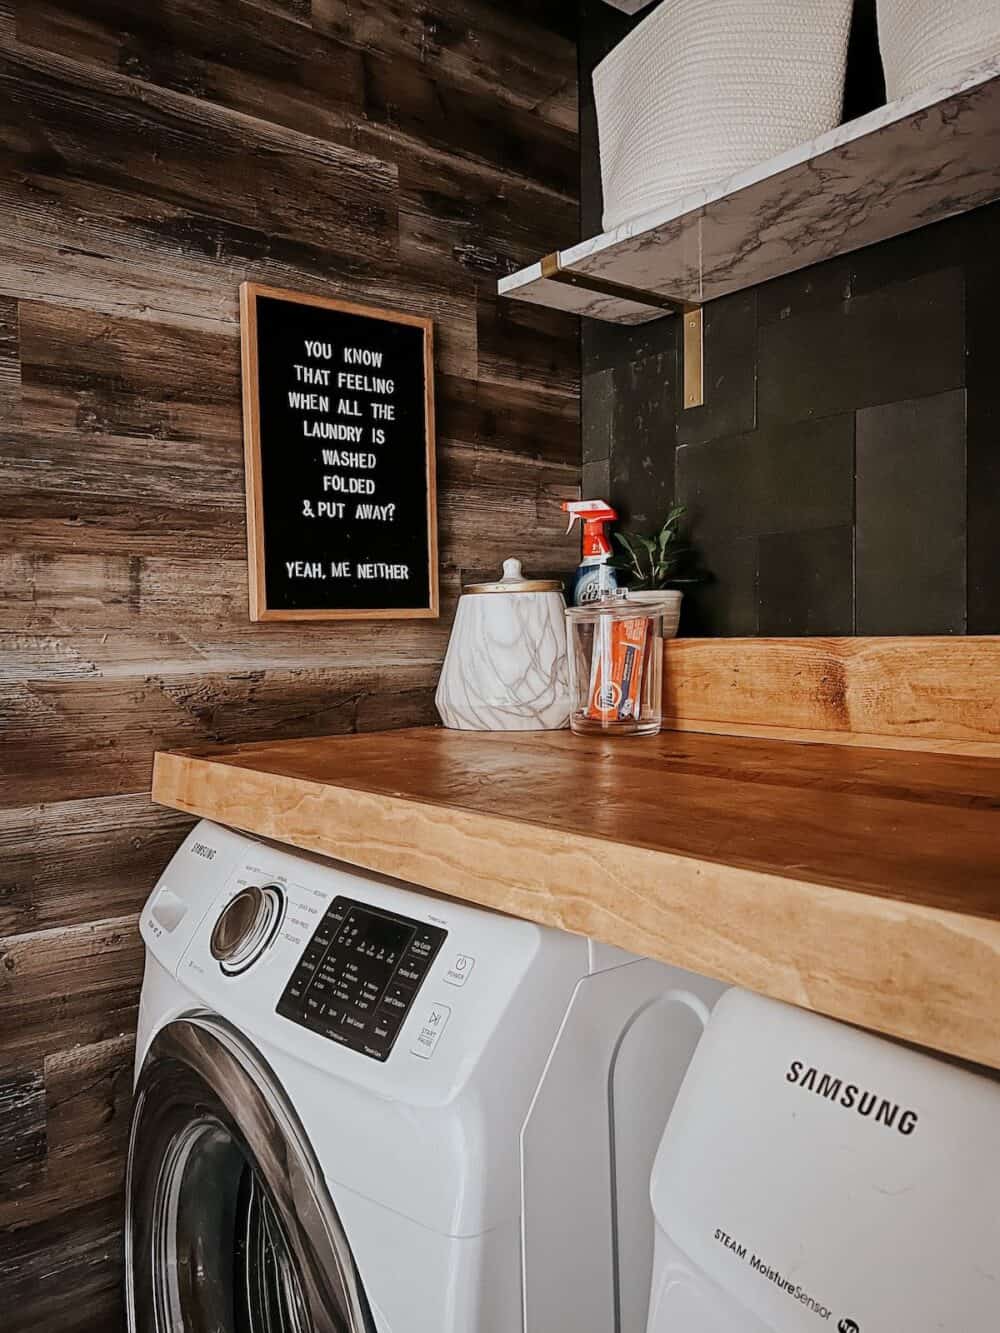
For this wall, we went with DuraDecor Wall Planks in the color Blazed Barnwood. It’s darker than the color we chose for Jackson’s room and feels a little more rustic. At first, I was a little worried that it felt too rustic for the space. But, once I bring in a new cabinet and a few other accessories I’m pretty confident it’ll be exactly the look I want!
I love doing a faux wood accent wall for a lot of reasons. First of all, it adds so much warmth to any space. My biggest problem with the laundry room before was that the white walls still felt a little sterile to me. Now? It’s kind of like a warm hug when I walk in! Second of all, I really love that this wall treatment is so quick and easy to do. It’s easily removed if I ever change my mind about it, and it works great over our textured walls. It’s a win all around.


faux wood accent wall tutorial
I did a full and detailed tutorial of how to install a faux wood accent wall back when I did Jackson’s. So, if you have questions about the process you can read that post. But, I can absolutely tell you this is a very easy project. It requires no power tools, no DIY know-how, and no experience. Promise.
My next step in this space is going to be to bring in a new cabinet to replace the old white one. We cheaped out when we bought it (I think we spent $125 on it), and it has served us really well for the two years we’ve had it. But, it’s definitely time for something new. This week I’m planning on adding a new cabinet to the space that’s a little bigger, with better organization. I’m really excited about the potential in here.
Once that’s all done, I’m picturing a little gallery wall on the blank white wall, some new storage solutions so that my counters aren’t always covered in junk, and mayyyyyybe a new light fixture.
Who knows where we’ll end up at the end of all this. You’ll just have to stay tuned!
