The Best Tips for Cutting in Paint Like a Pro
Cutting in paint along your ceilings, baseboards, and trim can feel like a really challenging task. But, with enough practice even a novice painter can easily cut in paint cleanly and quickly – without using tape!
Here are my best tips for how to cut in paint – try these the next time you have to paint a room and I promise it’ll make a difference!
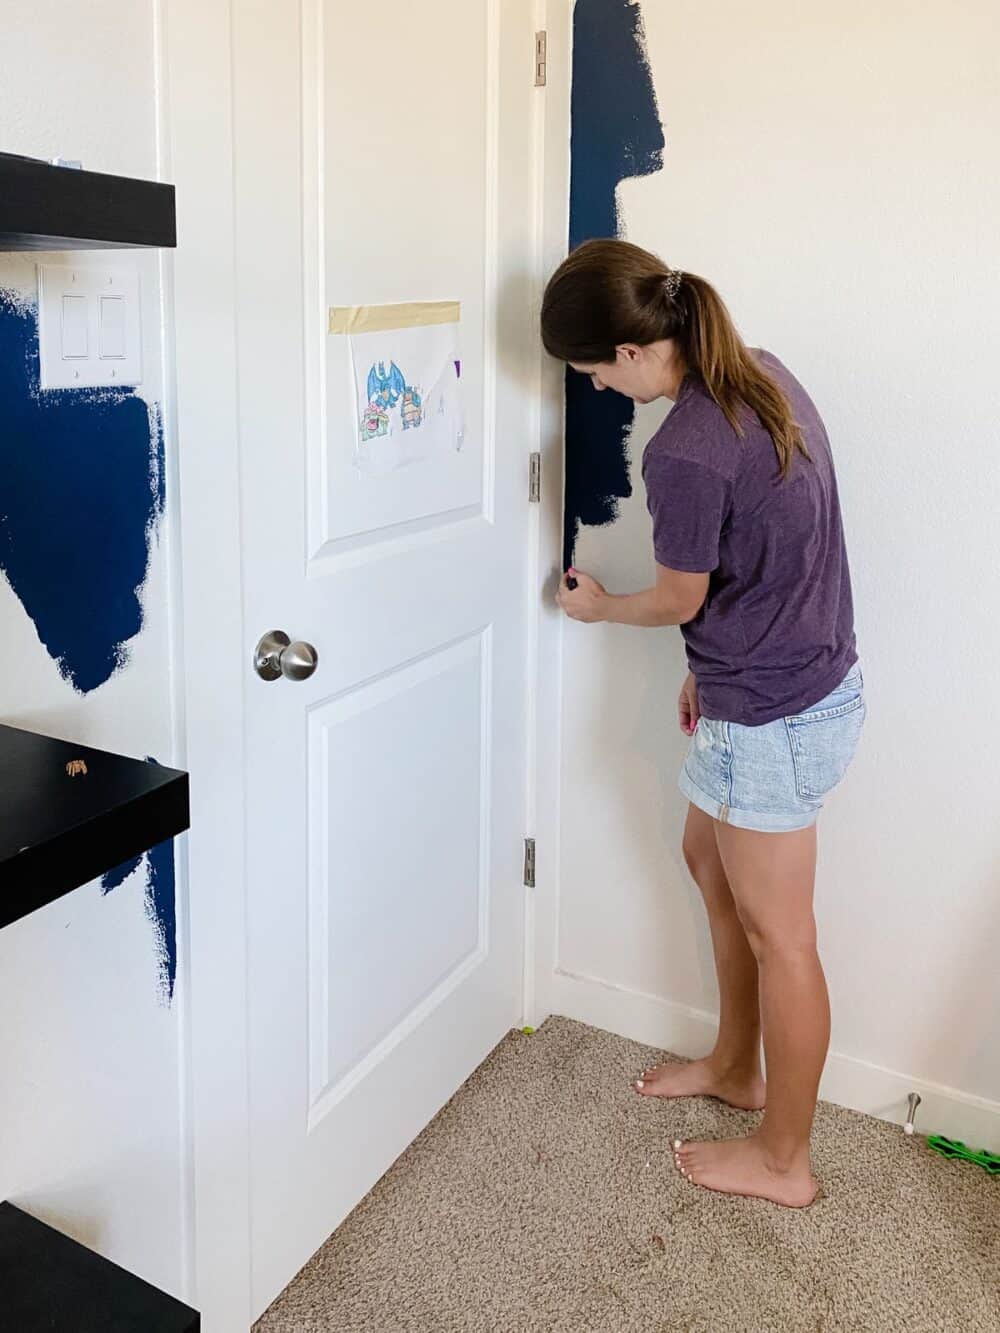
WHen should I Cut in?
Cutting in paint refers to painting along the baseboards, ceiling, or trim in a room – it’s painting the part of the room that can’t be easily accessed with a roller. You can, of course, tape off these areas to protect the trim (here’s my deep dive on how to do that), but it’s much faster and more cost-effective to just cut in freehand without any tape.
Typically speaking, you’ll want to cut in paint before rolling it – and for best results, you should work with one full wall at a time so the paint doesn’t dry and create lines as you work. This should be the first task you take on when you’re painting a room and, with practice, you’ll find doing it this way is so much faster than taking the time to tape off!
Must-Have Tools for Cutting in Paint
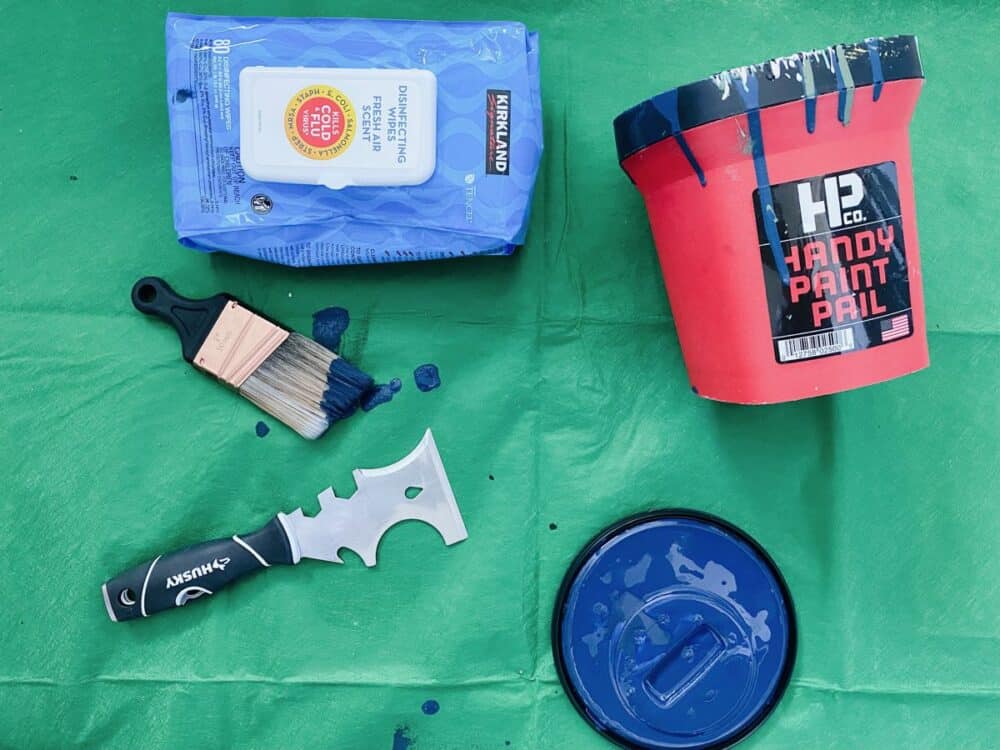
First, let’s talk about the tools and materials you’re going to want to have on hand in order to be successful here.
For a professional-looking cut-in job, you’ll need:
- A high-quality angled sash brush
- High quality paint (I recommend this line, it’s my favorite!)
- A HANDy Paint Cup
- Baby wipes or disinfectant wipes
That’s it! I’ll get to the why on these as we go (because I know you’re side-eyeing those baby wipes), but let’s move onto the how.
Fill Bucket and Load Up Your Brush
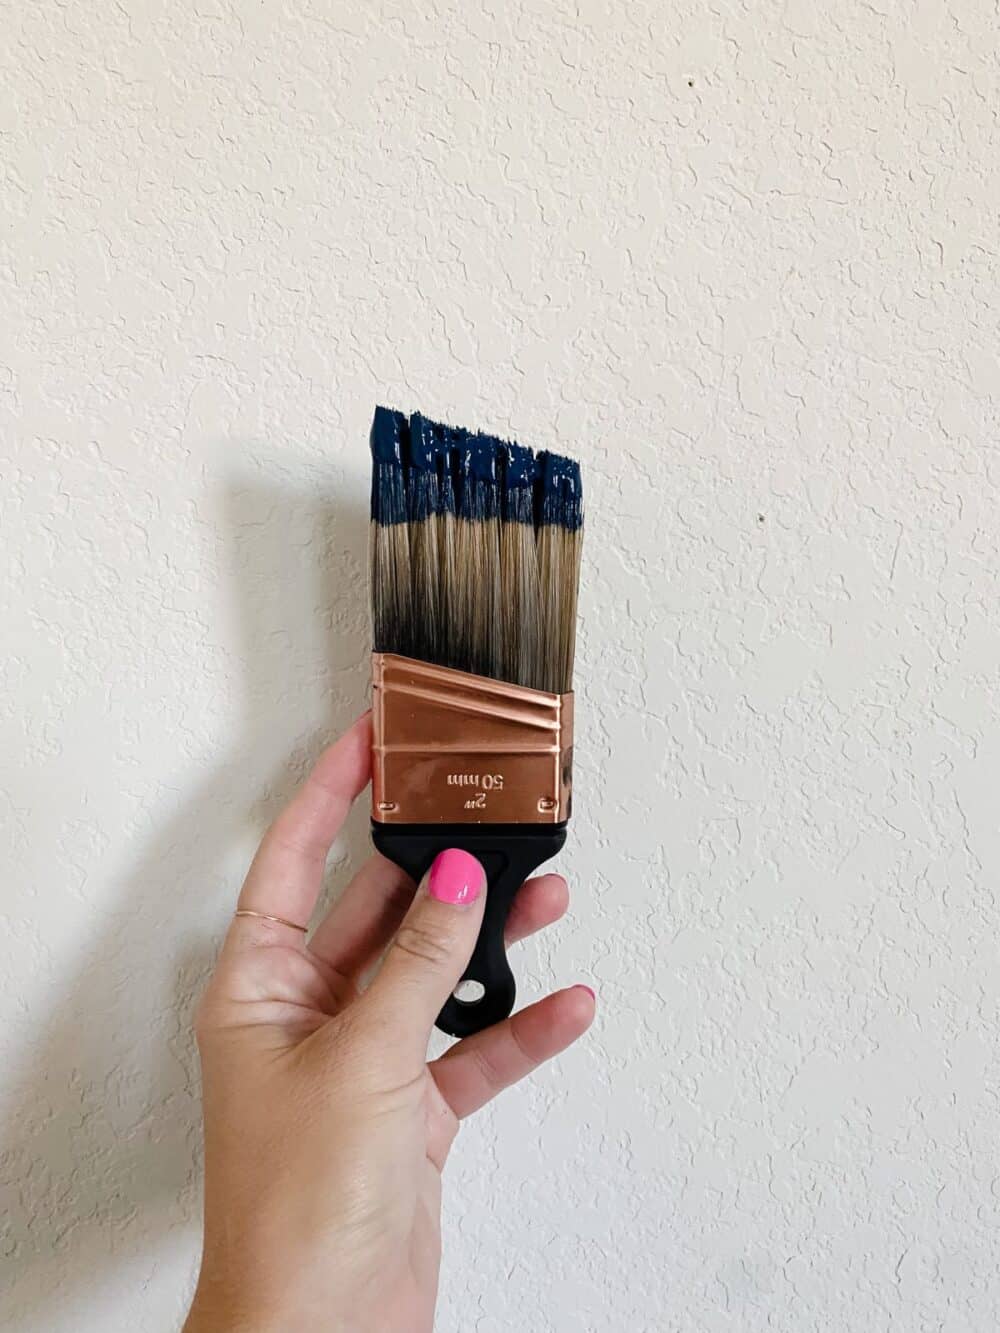
You’ll start by pouring paint from your paint can into a HANDy Paint Pail or similar bucket. I love using this one because it has a comfortable handle and a magnet for the brush to sit on, but use what works for you.
A key to remember here is that it’ll be tempting to fill the bucket up with paint, but less is actually more here! If you only fill your bucket about 1-2 inches full, it’ll make it easier to avoid overfilling your brush (and then making mistakes), and it’ll also be a lot lighter for you as you’re carrying around the room and up your stepladder.
With your paint pail full, it’s time to load up your brush. It’s very important that you don’t overload it! You’ll want to dip the brush about 1″ or so into the paint, then gently pat or brush the extra paint off on the side of your bucket. You don’t want the brush to be drippy or fully saturated. You just want the tips of the bristles to have paint on them, but not so much that it’ll drip.
work up to the line
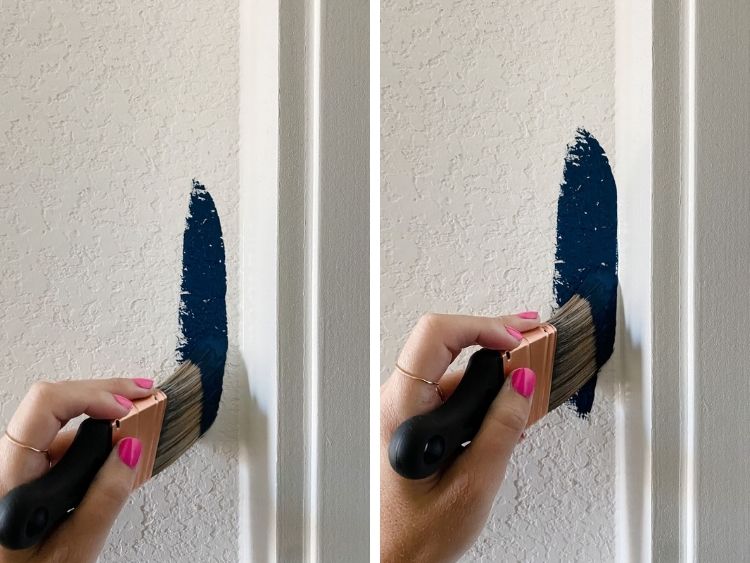
Now it’s time to paint, and here’s where many people go wrong – if you start off trying to get the paint right up to your line, you’re likely to end up with mistakes.
Instead, make your first stroke about 1/4″ or so away from the trim or corner. Then, on your second pass you can gently push the paint right up to the line. Your first pass with the brush will naturally be more heavy-handed since there’s more paint on it, so put that paint a bit away from the line and then carefully push it right up to where you want it.
When you do this, you’ll be using the tip of the angled brush to help coax the paint in – it should take your two or even three passes to get a clean line. Remember that the longest bristles at the tip of your brush are the ones that should be “drawing” the line of paint, and the rest of the bristles are just helping fill it in.
This is a strategy that takes practice, but you’ll find that this simple little shift makes a huge difference in how clean your lines are!
widen your line of cut-in paint
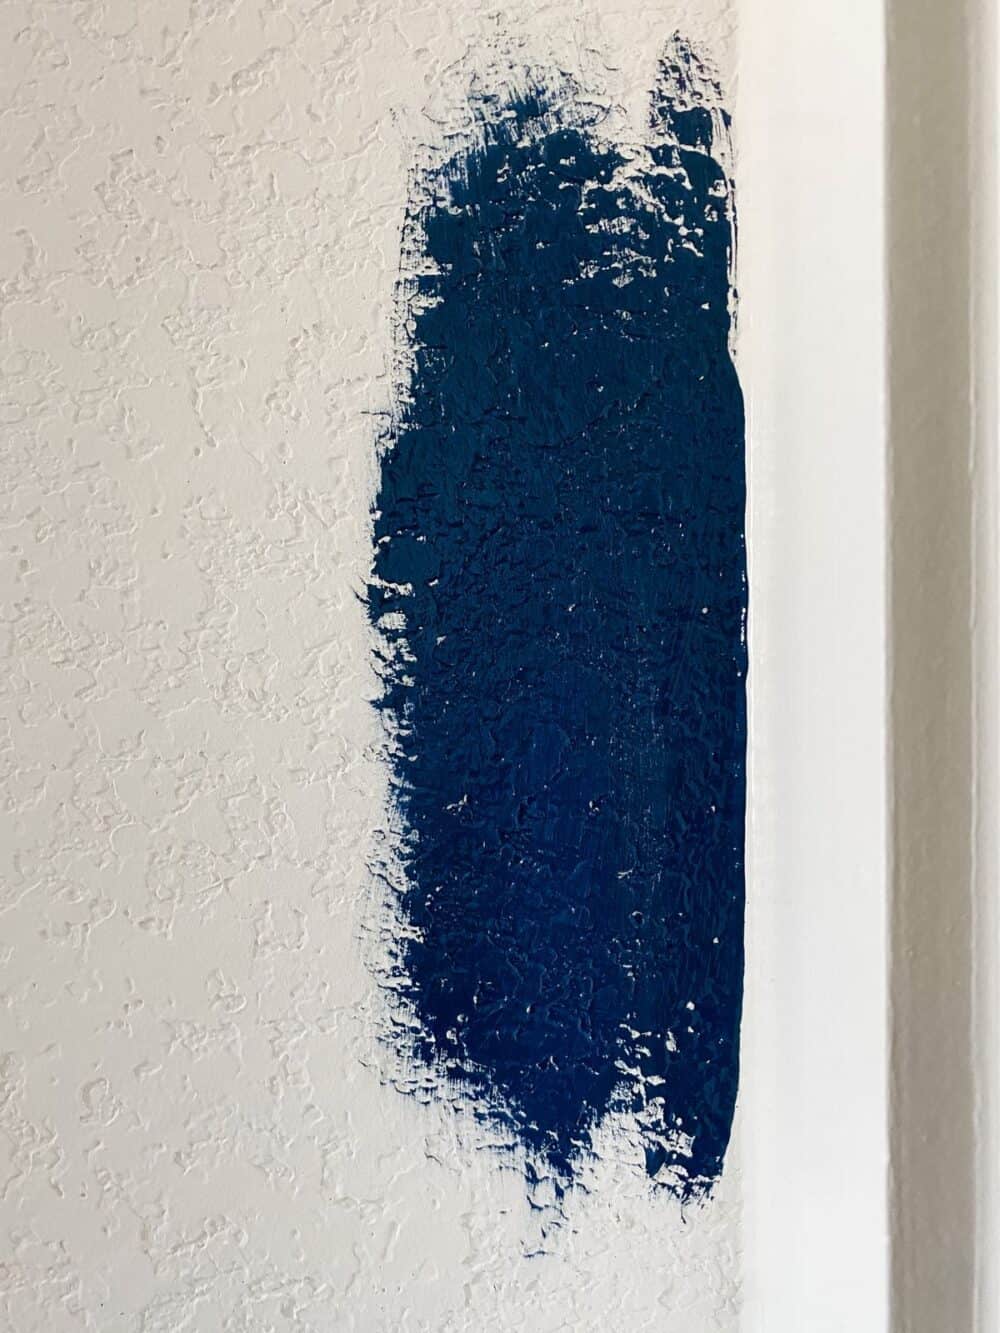
After you’ve got the initial paint line drawn, go back in with your brush and add a couple more inches of paint to the line – you want to be sure that you make the line wide enough so your paint roller can meet it without bumping into the trim or ceiling!
You want to shoot for feathered edges here rather than a harsh line – when you go back and roll the rest of the paint in, it will blend in seamlessly that way.
Clean up mistakes right away
Here’s where those baby wipes come in, friends!
When (not if, when) you get paint on the ceiling, trim, or the baseboards, immediately grab a baby wipe and wipe the paint off. They generally do a really great job of cleaning paint off anything as long as you catch it right away!
Other tips for cutting in paint
- If you want the best results, you should complete one wall fully before moving onto the next. That means you should cut in all of the corners, trim, and edges and then go back and roll that entire wall before starting on the next. This prevents flashing and ensures everything is still wet when you roll so you don’t get harsh lines.
- Use a light touch and don’t rush it. If you apply too much pressure to the brush as you work, the paint will spread further than you’d like it to. You’ll get better results if you keep the pressure light and move slowly and steadily.
- On that note, you should alway pretend like you have more confidence than you do when cutting in paint. It sounds silly, but it’s true – if you keep your hand consistently moving and move with confidence, you’re far more likely to get clean and straight lines. Generally, you run into trouble when you start moving too slowly or second-guessing yourself!
- Move your entire arm, not just your wrist or elbow! If you just rotate your arm at the wrist or elbow as you work, you’re less likely to get straight lines. You’ll have much better results if you move your entire arm as you work.
With these tips, you should have everything you need to start cutting in paint with confidence!

