Easy DIY Propagation Station
I’ve been wanting a propagation station for my plants lately to upgrade from my plastic cup situation. I decided to make one myself – it was so quick and easy, and it turned out really cute. Read on for the details!
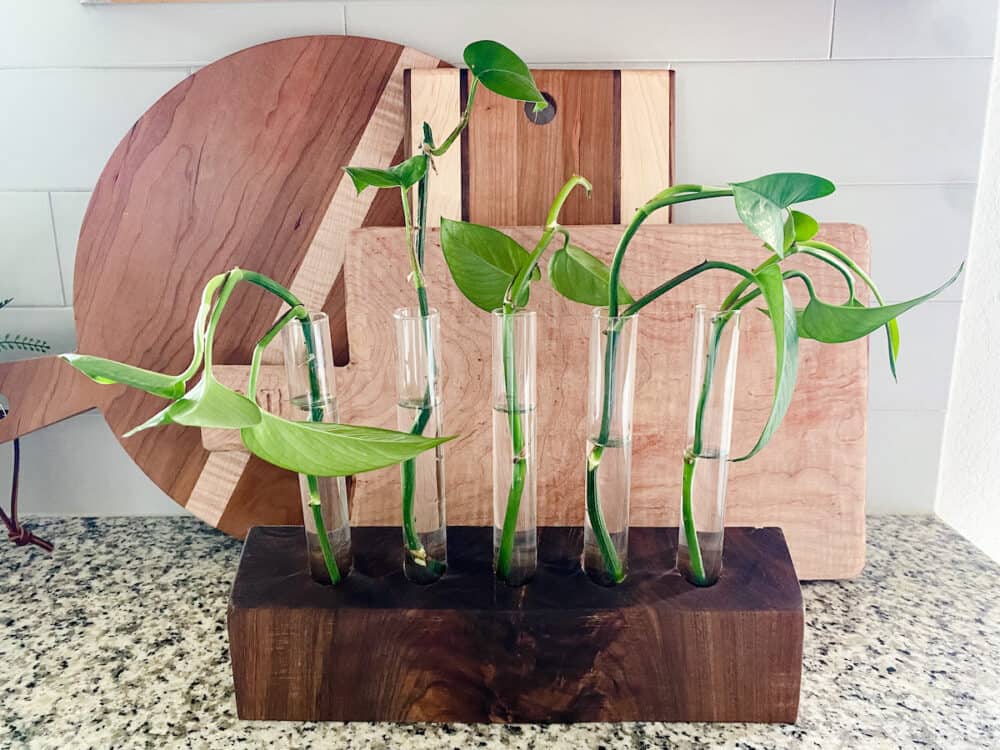
For the last year or so, my “propagation station” in my house has been a large plastic cup filled with plant clippings. That’s it. Despite the fact that I have an absurd number of plants, and I’m almost always propagating one thing or another, I didn’t actually have any sort of formal place to store my plant clippings.
I’ve been wanting to try my hand at creating a propagation station for a while now, and I managed to whip this one up in under an hour!
This is a much cuter way to propagate my plants, and it gives me a little more room for different clippings (you know, without using half of our everyday cups for plants).
It’s an incredibly simple project, so I’m going to give you a quick tutorial on how I did it, along with a few alternatives to make it fit your needs if you don’t have all the same things on hand!
Easy DIY Propagation Station
Materials Needed
- Scrap piece of wood (I used some scrap walnut that was 2″ thick. A 2×4 would work just fine if you can’t find anything thicker!)
- Test tubes
- Drill press (or hand drill) with 1″ Forstner bit
Step One: Cut Your Wood to Size
Start by choosing what size you want the base of your propagation station to be, then cutting your scrap wood to that size. Mine is 4″ tall by 13″ wide, but you can make it any size you want.
Step Two: Mark & Drill Your Holes
Next, determine how many test tubes you’d like in your propagation station and mark the holes on your wood, equally spaced. I went with five, so I just measured and marked for the middle hole, then planned the other four based on that. You can do more or less – just depends on how many plants you plan on clipping!
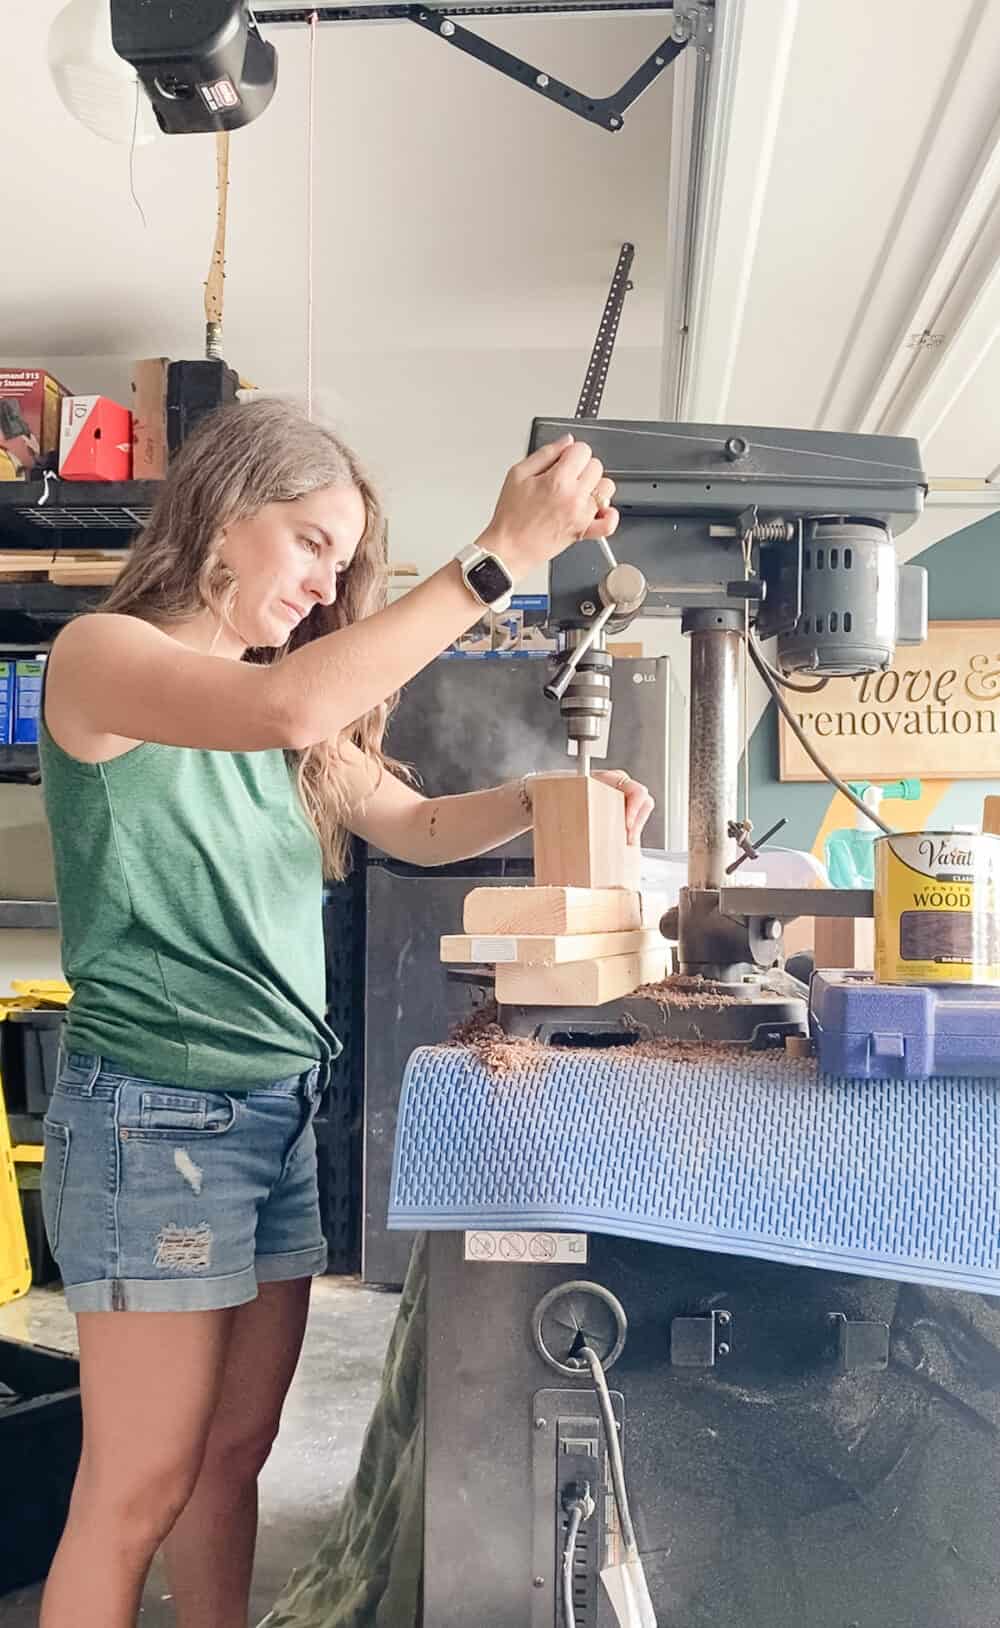
After marking the holes, use your drill press (or just your drill) to drill about 3″ down into the wood.
Just be patient here and move slowly, especially if you’re working with a hard wood (like walnut or oak).
Step Three: Add an Angle (optional!)
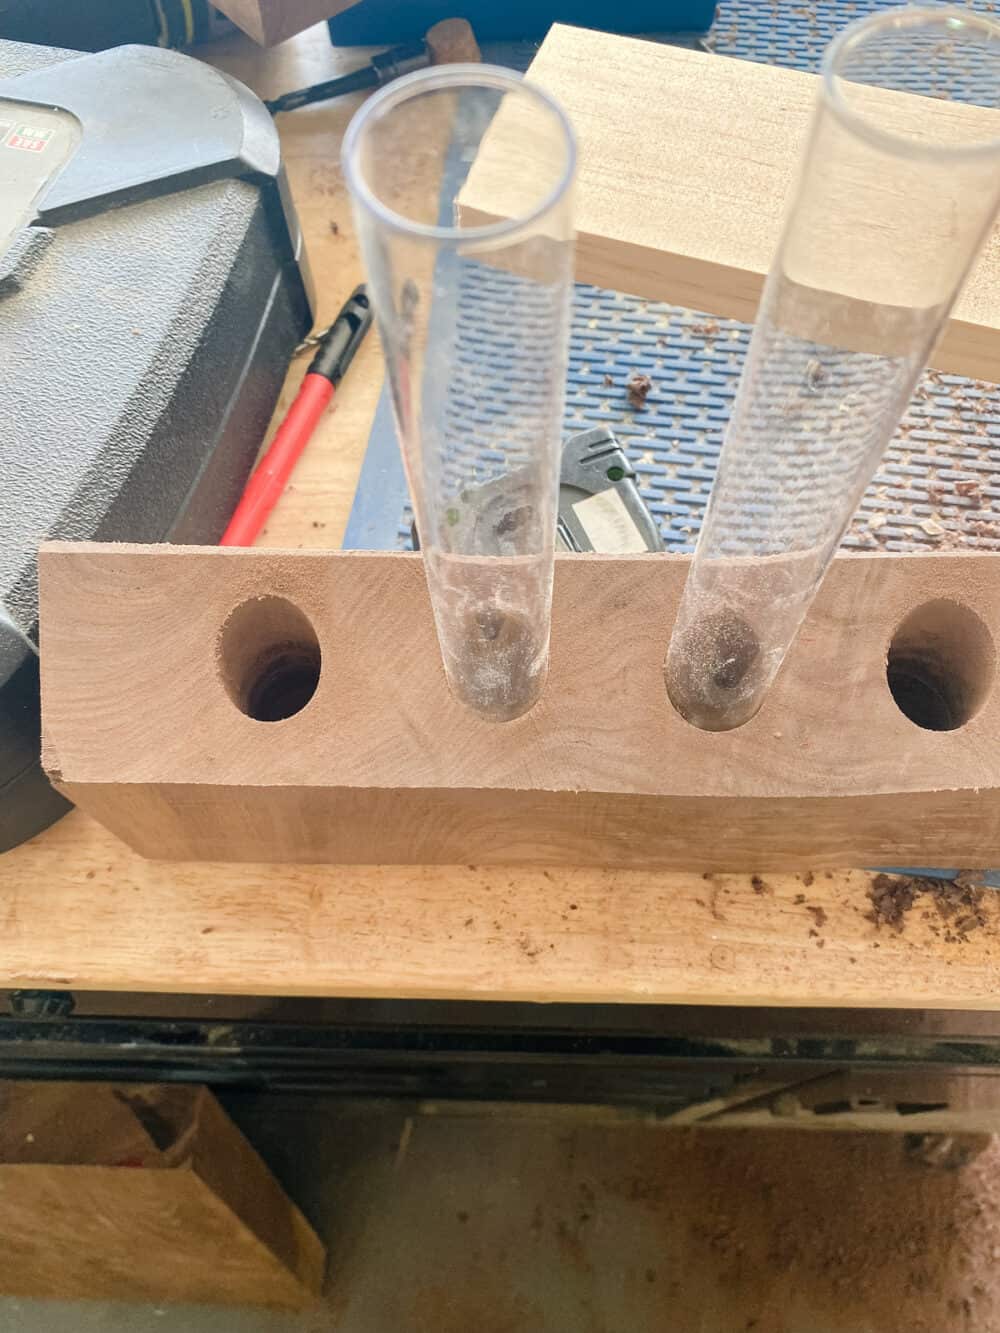
I wanted to add an angle to my propagation station to make it feel a little more special, so I did this after drilling the initial holes. I just adjusted my table saw to 30 degrees (you can play around with various angles, I picked this one at random and liked it!) and simply cut off the very top corner of the propagation station.
Depending on how deep you drilled the holes in the previous step, you may need to go back after adding the angle to make them a bit deeper. I found mine ended up being too shallow after cutting the top corner off, but it was easy to just place them back under the drill press and make them slightly deeper.
Step Four: Paint, Stain, or Oil!
From here, you can decide how you want to finish it off! I love the natural color of walnut, so all I did was add a bit of mineral oil to the propagation station and it turned a beautiful, rich brown. If you want a different look, you can stain it, paint it, or even add a pattern – the sky’s the limit!
Step five: assemble and start propagating!
And now, you’re done!
Just pop the little test tubes into the holes you drilled and add your plant clippings. If you are new to propagating, I’d recommend doing a little research for each plant that you want to propagate before you give it a shot, and be sure to find a nice sunny spot for your propagation station to sit – plant clippings will need plenty of sun to root, and you’ll also want it in a spot where you won’t forget about it!
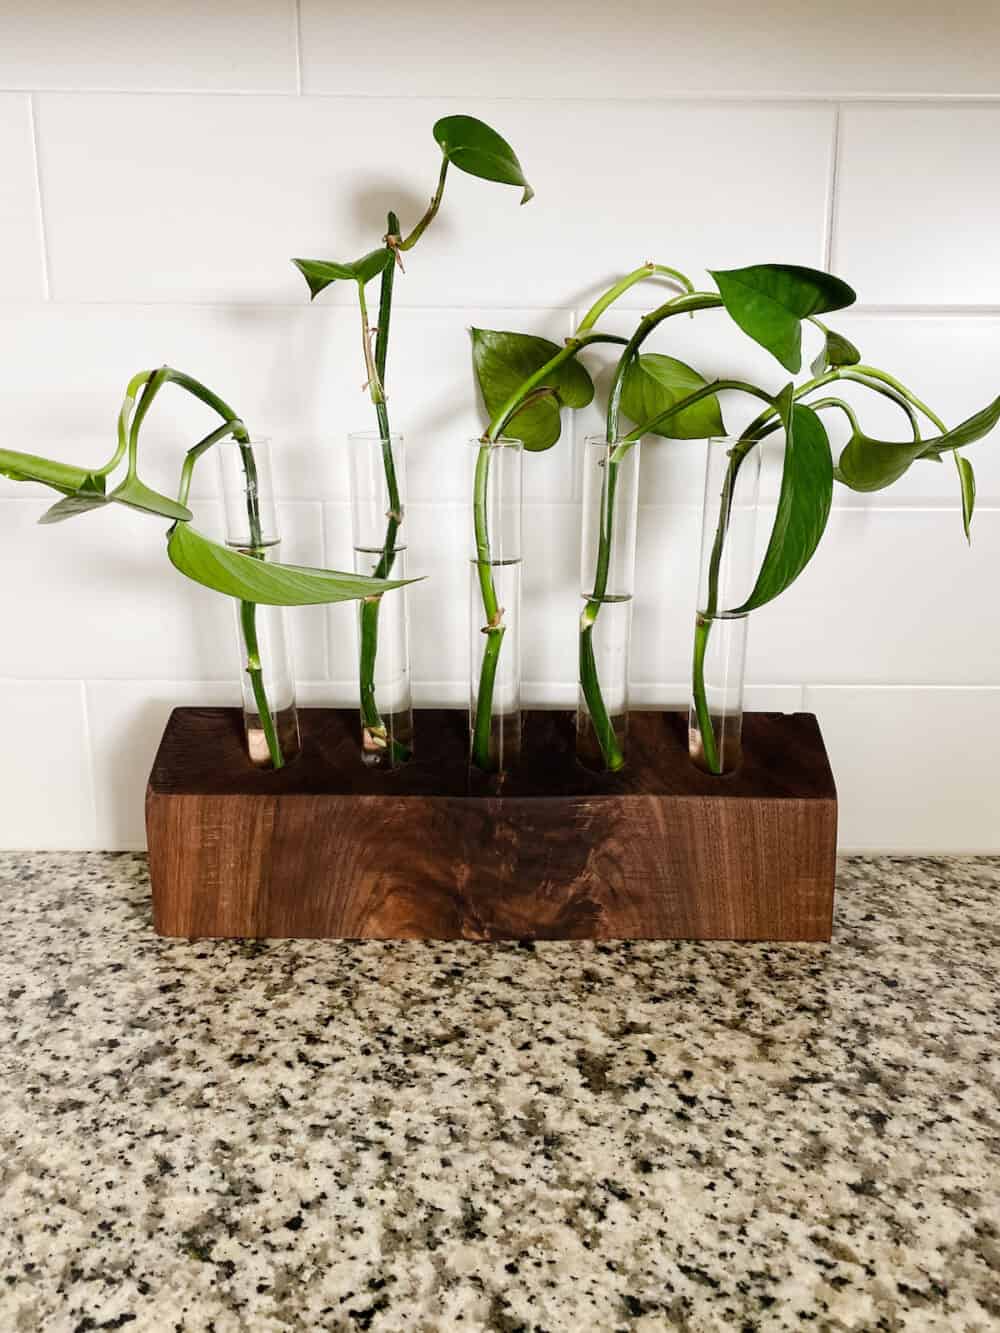
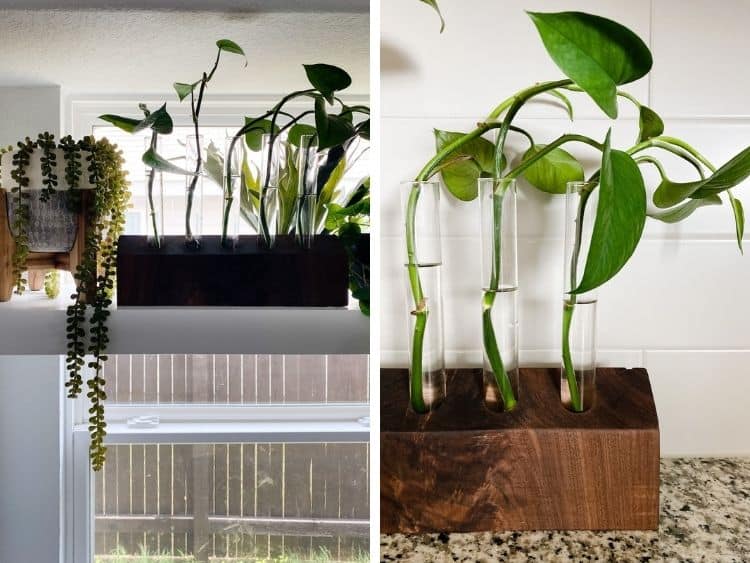
I love how this turned out, and I can’t wait to start propagating even more plants now.
I mean, at some point I’m probably going to run out of places to even put the baby plants I’m creating, but today is not that day!
Stay tuned later this week because I’m also working on a quick post on how to propagate a pothos plant to get your propagation station started off right.

Which plants work well for this method of propagation?
Hi! You’d have to research each plant you’d like to try in order to know for sure. A few common ones would include pothos, snake plants, and monstera!