
How to Add Floating Shelves to a Nook
Looking for a simple way to add some floating shelves to a 3-sided nook in your home? This post will walk you through exactly how to do it!
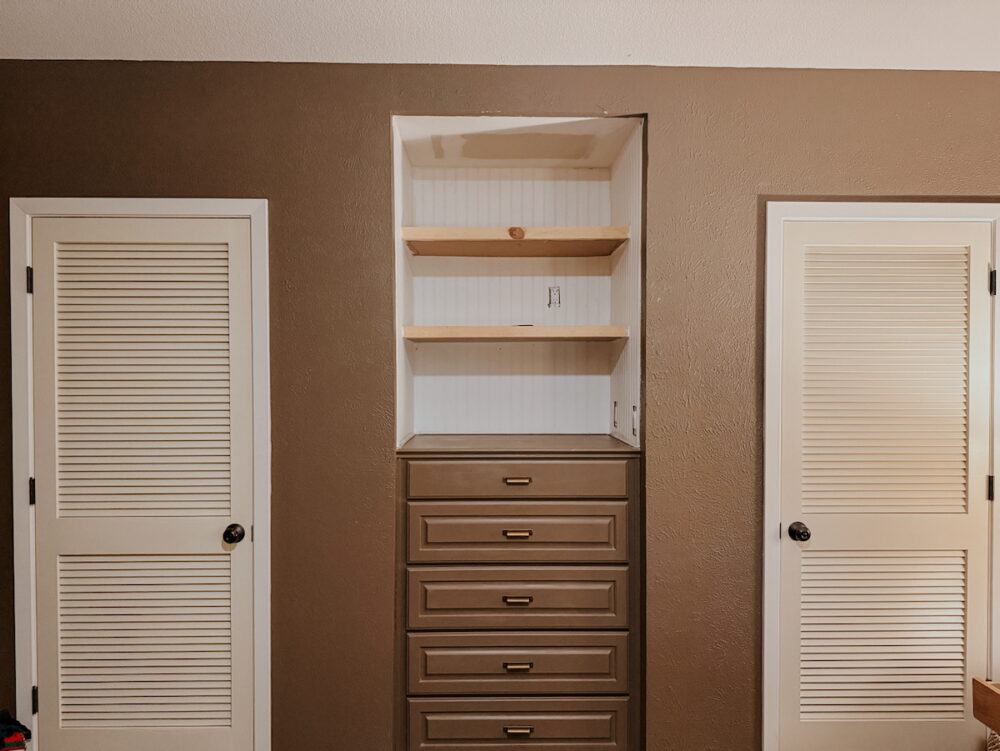
One of the things I love the most about our home is all the quirky little touches like this built-in dresser nook. But, one of the things I don’t love is how dated and non-functional it was for us. When we moved in, the nook had this built-in dresser and a television cabinet above it. The cabinet was really high (I couldn’t even reach inside of it without a stepstool) and awkwardly deep. We didn’t store anything in it and it was largely just a bit of an eyesore.
But, I love the charm of the built-ins, and I knew I could make it look great. So, I’ve been working on refreshing it. The part of the project that made the biggest difference was pulling out that deep cabinet and swapping it for some open floating shelves. It was a simple project that just took me a day to knock out, and today I’m going to show you how it’s done!
DIY Floating Shelves: Video Tutorial
First up, a quick video tutorial. This video will show you the process of painting the dresser, building the frame for the shelves, and installing the shelves from start to finish!
How to Add Floating Shelves to a Nook
Now, let’s get into the details! Here’s everything you need to know about how to install DIY floating shelves in a 3-sided nook.
Materials You’ll Need:
- 1×2 furring strips (I used 3 for two shelves)
- 1/4″ plywood (I used one 4×4 sheet for two shelves)
- Backer board for bottom of shelves (see note below)
- 1×3 pine wood (I used one board for two shelves)
- Construction adhesive
- Caulk + caulk gun
Note: I was working with a lot of scrap material, so I used leftover bead board for the bottom of my shelves. You could use any thin backer board, or just more plywood!
Tools You’ll Need:
- Chop Saw
- Circular Saw or Table Saw
- Drill / Driver
- Pin Nailer
- Brad Nailer
- Corner clamps
- Level
Step One: Measure, Prep, & Plan for Your Shelves
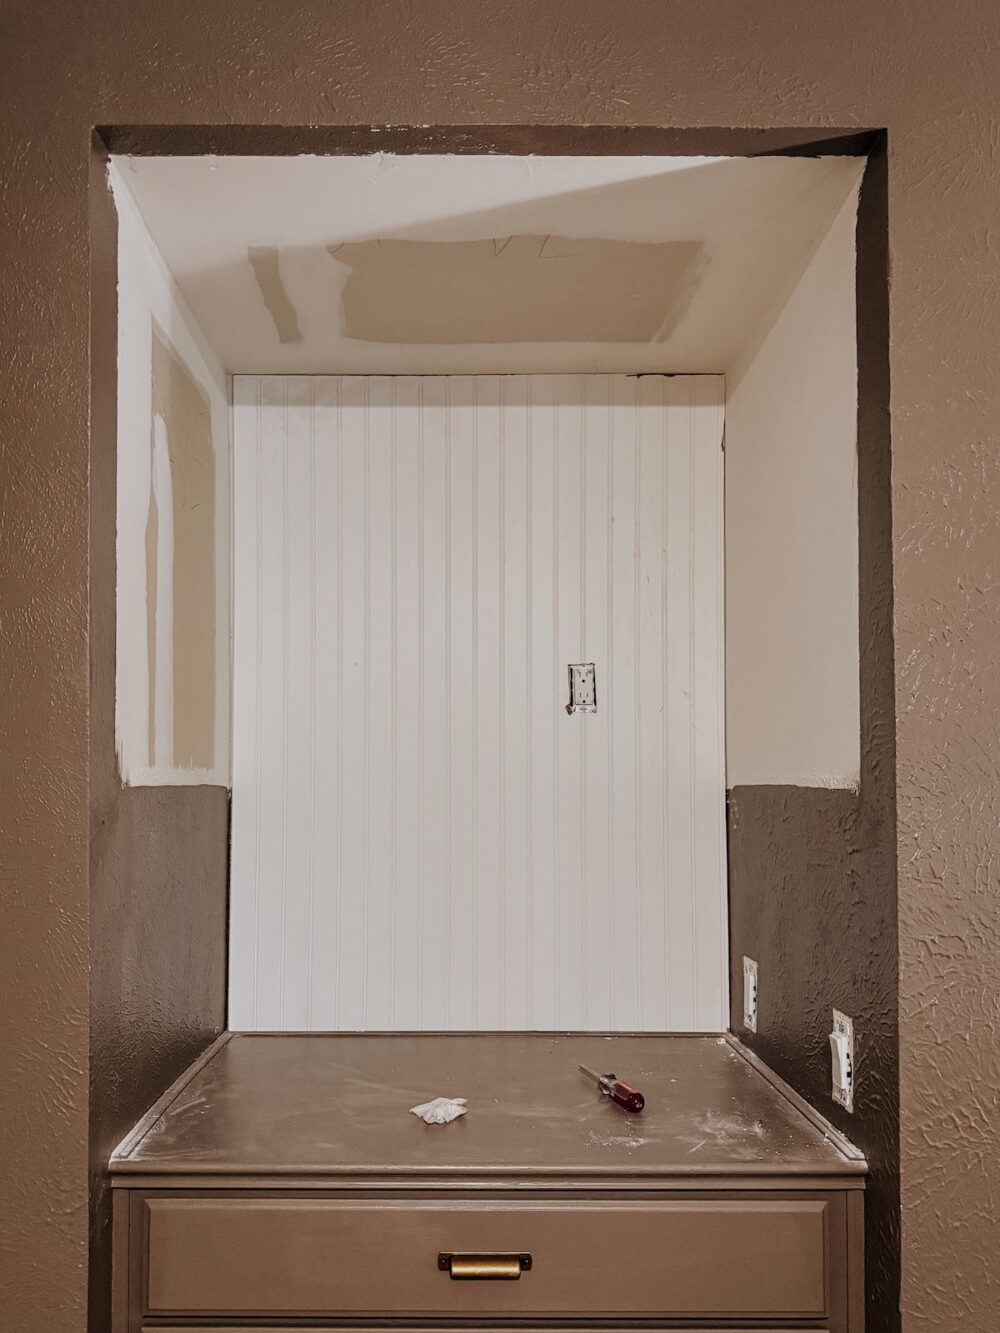
My first step was to install bead board panels on the three sides of my nook. This is obviously not a required part of the process, but I do think it really adds to the charm! If you want a full tutorial on how to install bead board, you can find the guide here. It’s very simple!
With my bead board installed, I needed to figure out how many shelves I wanted and the height for them. I landed on two shelves. The first one is about 18″ from the bottom of the dresser, and the shelves are about 15″ apart. There was no real rhyme or reason here, it’s just want felt good when I eyeballed it!
Determine the measurements for your shelves next. You’ll need to measure how wide your nook is (mine was 36″) and how deep you want your shelves to be (I went with 16″).
Step Two: Build Support Frame for Floating Shelves
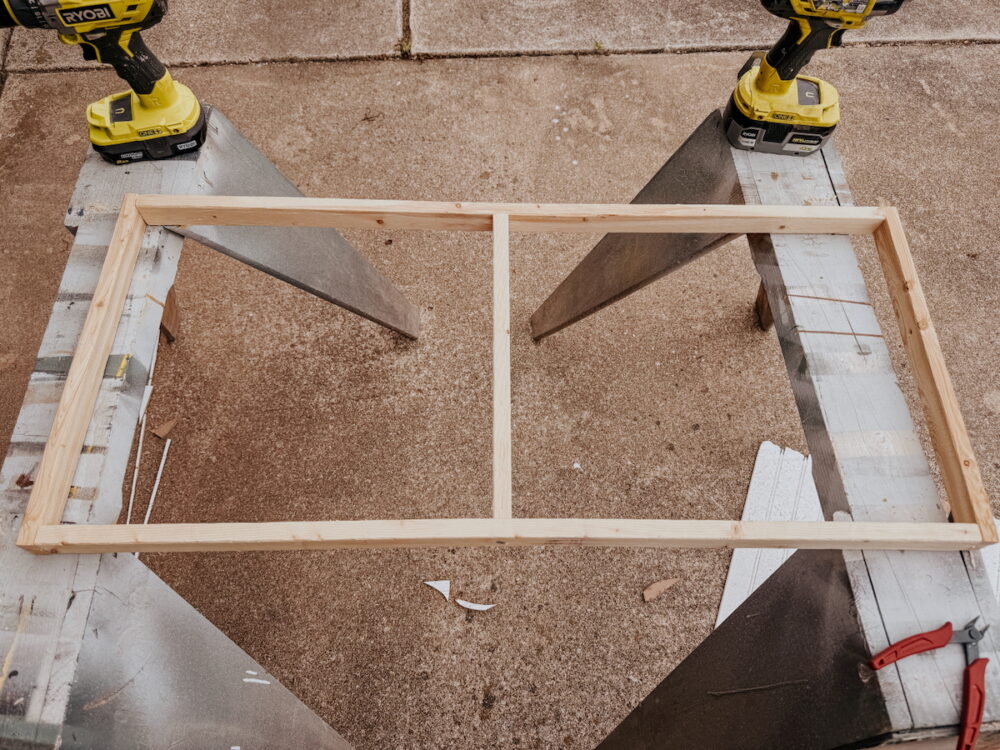
Now, grab your 1×2 furring strips to build your frame! I used this wood specifically because I had some left over. It’s a really affordable option and I like that it creates a thinner shelf.
For each shelf, you’ll want:
- Two pieces cut to the depth of the shelf (16″ for me!)
- Two pieces cut to the width of the shelf minus the thickness of your two outer pieces. These pieces will go in-between the two short sides, so you want this board plus those to equal the width of your shelf. (For me, that’s 36″ – 1.5″, or 34.5″)
- One piece measured to fit in the middle of your support – measure and cut this after you’ve assembled the outer support!
All you need to do is use your drill to assemble the four pieces you’ve cut into a rectangle. I recommend using corner clamps to help make sure everything is nice and square. Place the two short sides on the outside and drill through them into the ends of the two long sides. Be sure to pre-drill a hole for your screw, to help avoid splitting the wood!
Once you’ve got a rectangle, measure the inside of it and add a middle support to help prevent sagging!
Step Three: Install Support in the 3-Sided Nook
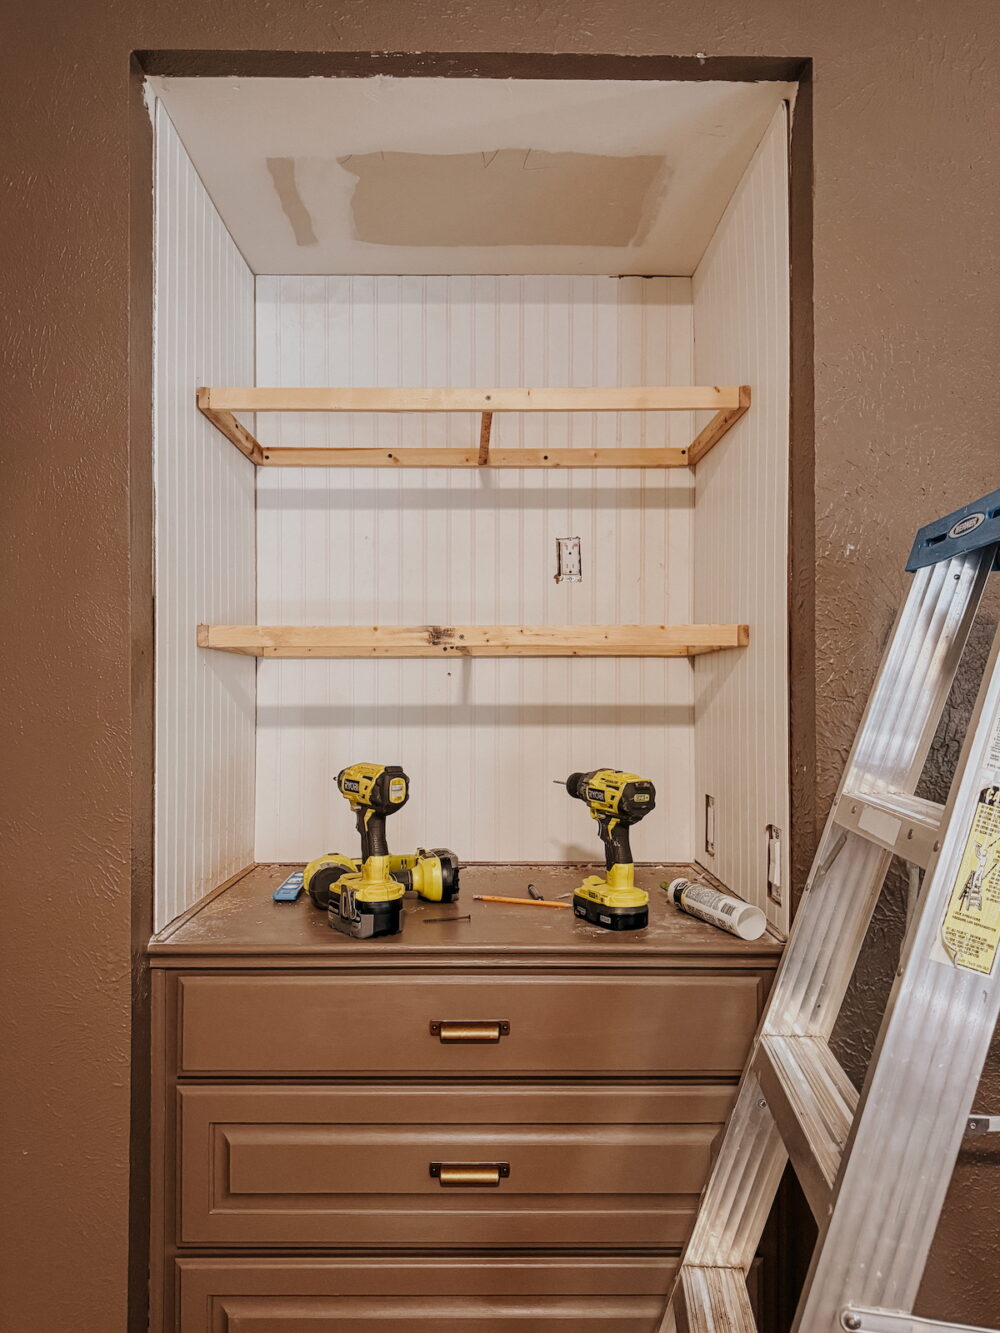
Once you’ve got your support built and you’ve confirmed that it fits, it’s time to install it! Locate the studs in your nook and drill directly through the support and into the studs. You can use a stud finder like this one, or you can just drill some pilot holes in the wall until you find the studs (it’ll all be covered up anyways!). A rule of thumb: studs are typically spaced about 16″ apart! If you’re going to be installing bead board like I did, I recommend finding the studs before installing the bead board. It’s a lot harder once the panels are in place – ask me how I know.
Make sure to use a level to ensure the supports are level in all directions as you’re installing the shelf supports. Again – it’s helpful to pre-drill a hole in the shelf supports to prevent the wood from splitting.
Step Four: Install Plywood on Top & Bottom
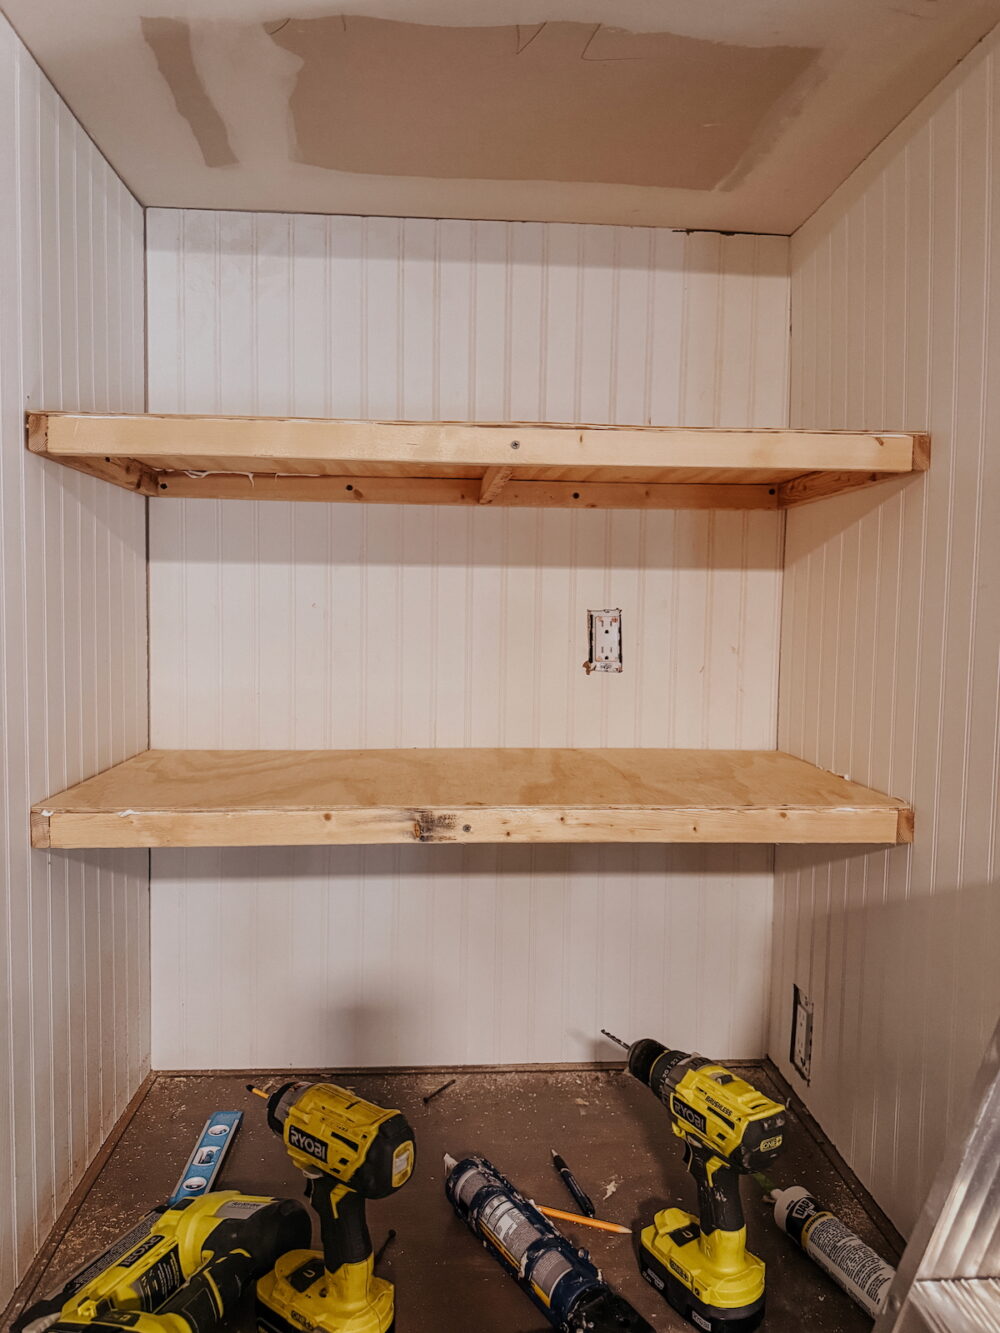
Now comes the part where it all comes together! Use your circular saw or table saw to cut your 1/4″ plywood down to fit perfectly on the top of the shelf. Again – for me, that was 16″ x 36″.
Add some construction adhesive to the support boards, then place the plywood on top of the shelf. Use a pin nailer to help hold everything flush while it dries.
You can leave the bottom of the shelf open, if you’d like, or you can place another board on the bottom of the shelf. I had some leftover bead board from the walls, so I used that for the bottom of my shelves. I just flipped it so that the back side was showing! You could also use plywood if you’ve got enough. To install the bottom of the shelves, it makes it a little easier if you’ve got some clamps on hand to help hold the board up while you nail it into place.
Step Five: Install Front Trim Piece
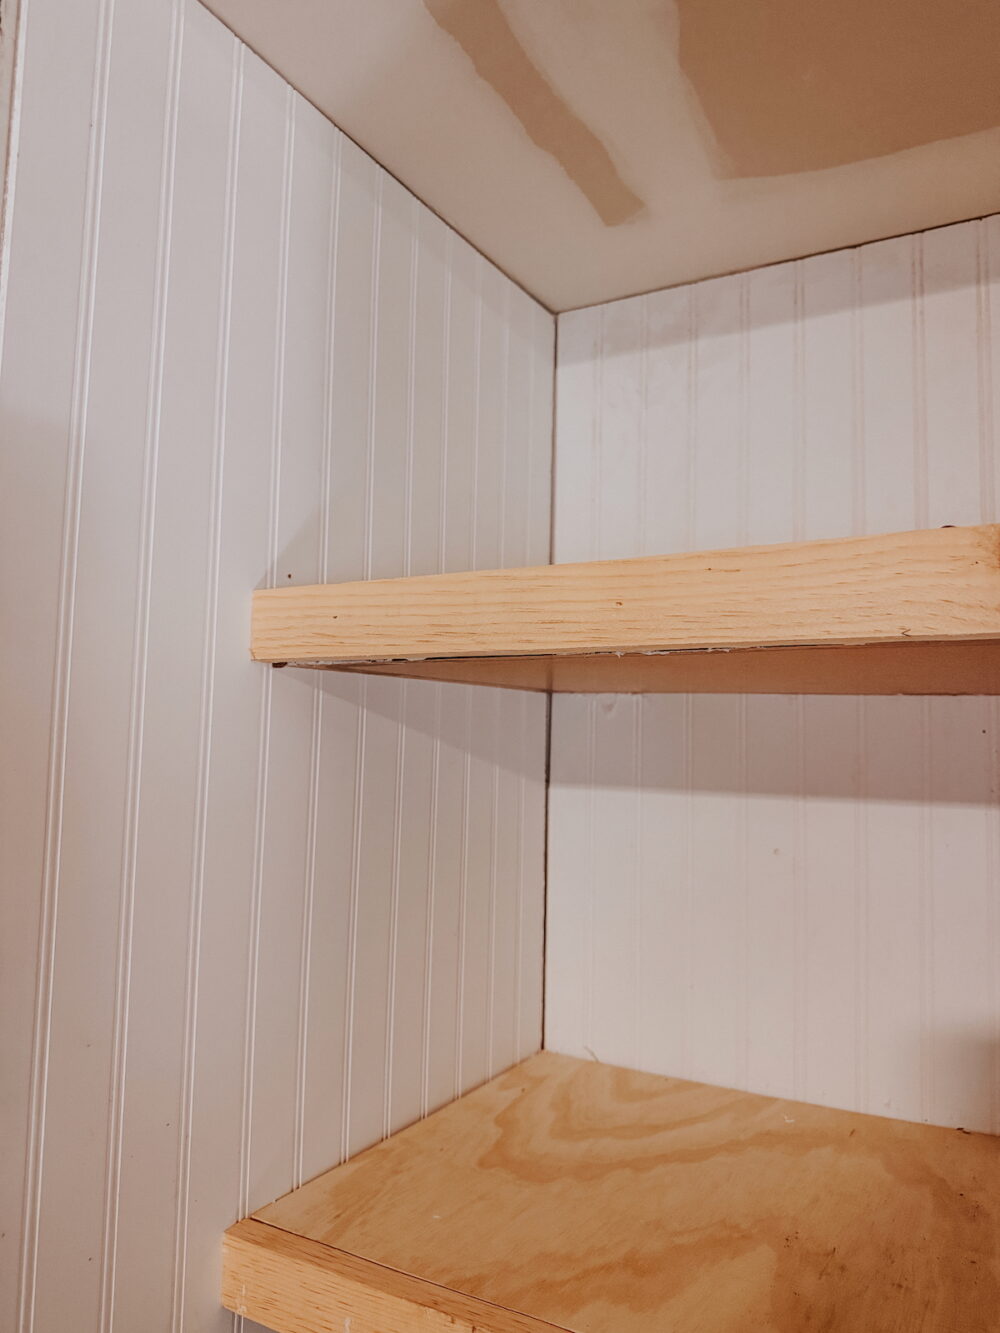
Your final step to making the shelves look built-in and complete is adding a board to the front of the shelves to hide all the seams! My original plan was to use a 1×2 board, but I didn’t consider that the plywood on the top and bottom would make the shelves too thick for that to work!
You have a couple of options here:
- Grab a 1×3 board and allow there to be a slight overhang on the bottom of the shelf
- Use a 1×3 board and use your table saw to rip it down to perfectly cover the front
- Use a larger board and cut it down to fit – this is what I did!
I had a scrap piece of 1×12 from building shelves in my kids’ rooms a few months back, so I used my circular saw to cut it down to perfectly fit over the edge of the shelf. I just cut it down, then used construction adhesive and my brad nailer to attach the board.
Step Six: Caulk + Paint!
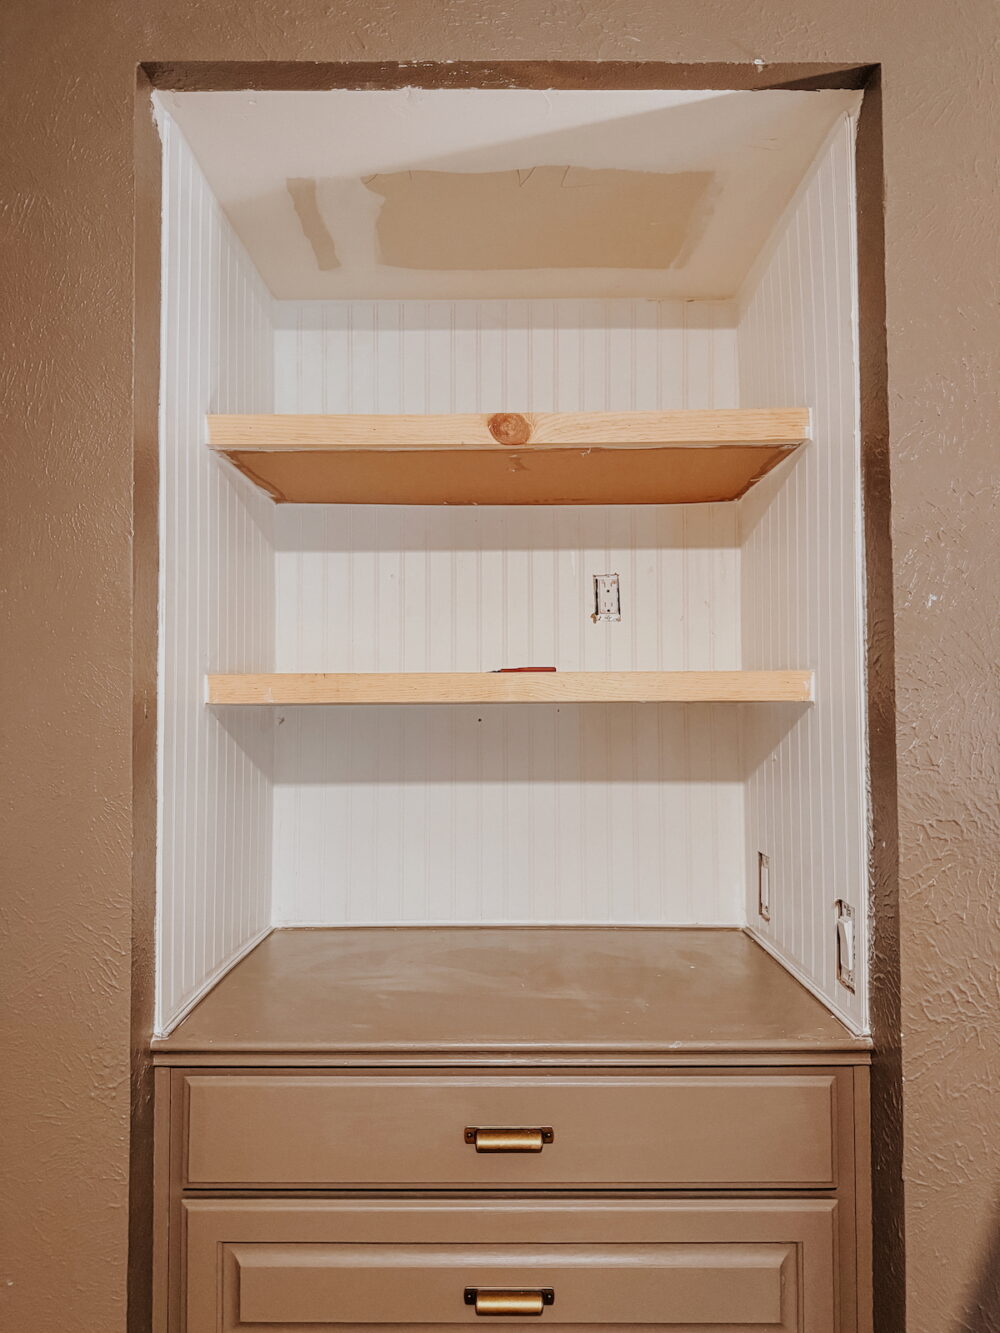
And with that, you’ve got floating shelves! Of course, the finishing touches are the most important here because they’re what make it all look professional. Use caulk to fill in all of the gaps around the shelves, and where the boards meet each other. You’ll be amazed at what a difference it makes to add the caulk! Check out this guide if you need some help learning how to use caulk.
And finally, you’re ready to paint! If you prefer to stain the shelves, you’ll want to use a stainable wood filler to to fill in any gaps in the boards, instead of caulk.
As you can see, I haven’t painted my shelves and beadboard yet. But, I’m going to get that done and then I’ll circle back with the full reveal once it’s all styled and finished!