How to Use a Drill
Welcome back to another installment in my Power Tools for Beginners Series! Today is all about how to use a drill – it’s one of the most basic tools in your toolbox, but it’s also one of the most versatile and one you’ll use the most! So, if you’re going to be tackling any DIY project, it’s important you know how to use it!
Let’s kick today’s guide off with a video – sometimes it’s easiest to learn these things in a visual format, so I’ve got a detailed video for you here that will walk you through everything you need to know about using power drills. Once you’ve watched it, keep reading for an overview of what you need to know, plus answers to all of your FAQs!
how to use a drill: video tutorial
Do you feel a little more confident with your drill already?!
Let’s recap what’s in the video, and then dive a little deeper with some of your burning questions.
power drills for beginners: a deep dive

If you don’t have a drill in your tool collection, you’ll want to start by getting one! Drills come in both cordless and corded options – I’m partial to battery-powered, cordless tools, though.
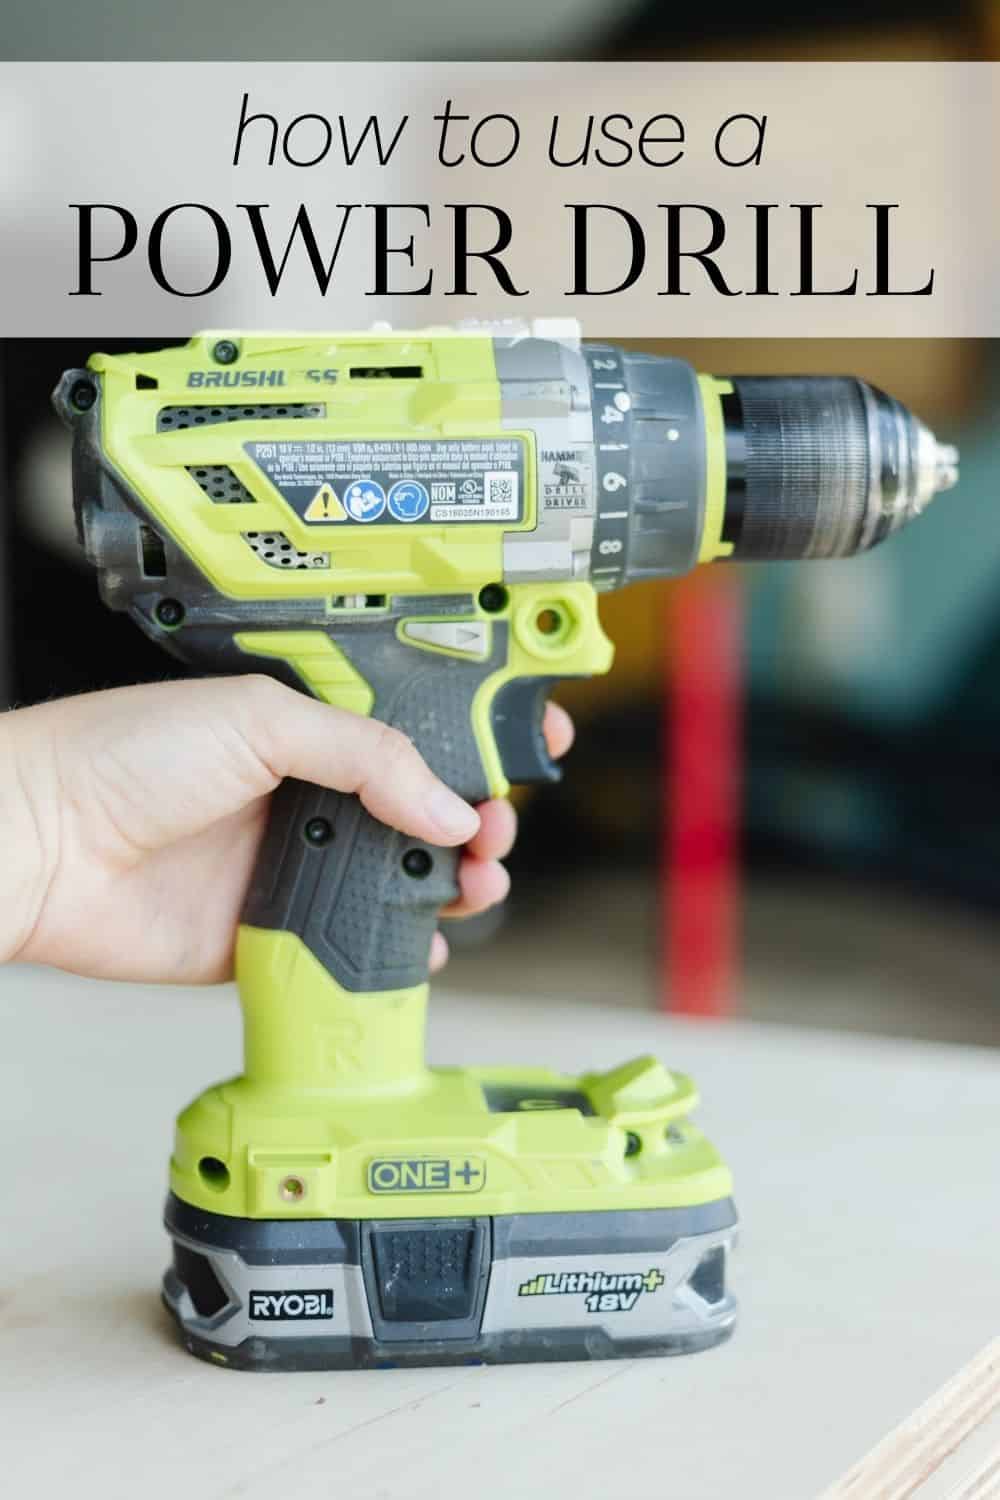
I really love my Ryobi drill. Ryobi tools are generally my favorite for beginners – they’re high-quality tools, and even my dad who has been woodworking for longer than I’ve been alive has been replacing all of his old tools with the Ryobi versions!
If you already have a drill, then you’re ready to start learning!
what’s the difference between a drill and driver?
First of all, let’s answer one question that stumped me for years. You’ll often see drills referred to as just “drills”, or “drill/drivers”. Sometimes you’ll also hear someone mention a “driver” or an “impact” driver, but they look exactly like a drill!
What’s up with that?! Are a drill and a driver the same thing, and if they aren’t, do I need both?!
Let’s break it down.

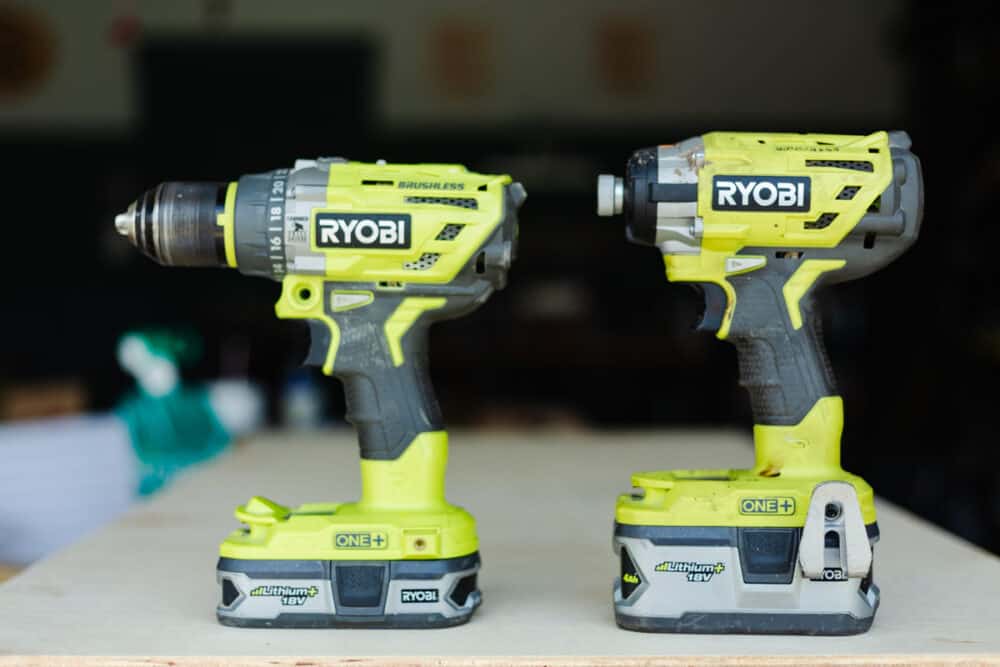
A drill and an impact driver are two different tools. They perform similar functions, but there are some key differences.
- A drill (on the left above) can be used to either bore holes in something (using a drill bit, which we’ll get to in a minute), or it can turn screws, bolts, or other fasteners into materials if you use a driver bit. Drills can accomplish both tasks depending on which bit is installed, and when you’re working with harder materials you may need to supplement the power of your drill a bit by pressing into the back of it with your palm.
- An impact driver (on the right) is not generally used for drilling, and is just used to drive screws and other fasteners into materials (hence the name “driver”). It delivers extra bursts of power as it works, so it requires less effort from the user and is great for more tricky jobs. You can tell the difference at a glance because the chuck on an impact driver doesn’t rotate like on a regular drill.
If you’re just starting out using power tools, a regular old drill is probably the best bet for you. As you progress and try new things, you may want to look into adding an impact driver to your collection.
Parts of a Drill

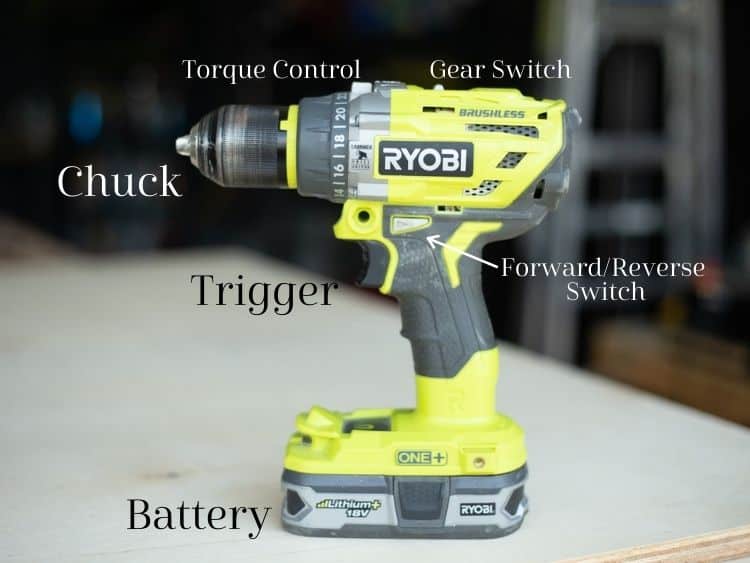
Now, let’s break down the various parts of the drill and what each one does. Things might look slightly different on different brands, but the parts will still be more or less the same. They’re labeled in the image above – here’s the details on each part:
- Chuck: This is where the bit goes. It’s adjustable – you can simply twist it with your hand, or you can hold one hand on the chuck and gently pull the trigger. Watch the video above for a detailed look at how this works!
- Trigger Switch: This is what you pull to make the drill move! Depending on what setting the forward/reverse switch is on, it will either make the bit move clockwise or counter-clockwise.
- Battery: On a battery-powered drill, the battery is usually inserted in the bottom. I recommend always keeping at least one extra battery so one can be charging while you use the other.
- Torque Control: This adjusts the amount of drilling power being used, AKA the torque of the drill. Many drills will have little symbols on them to help you choose the appropriate speed for what you’re working with. For example, when drilling a hole with my Ryobi drill, I always choose the setting that has a little drill bit on it!
- Gear Switch: In addition to the torque control, there’s a switch on top the drill called a gear switch. This adjust the speed at which the drill rotates. When drilling in regular screws, you’ll want this on a lower setting – if it’s too high, you’ll strip the screw. You can set it to a higher setting when you’re driving in bolts and need some extra speed, or when drilling difficult holes.
- Forward/Reverse Switch: Finally, this little switch on the side of the drill determines if it is moving forward or in reverse.
how to use a drill
Step 1: Select a drill or driver bit

Which bit you’ll use depends on what you’re doing. Here are a few tips to help you pick the correct bit.
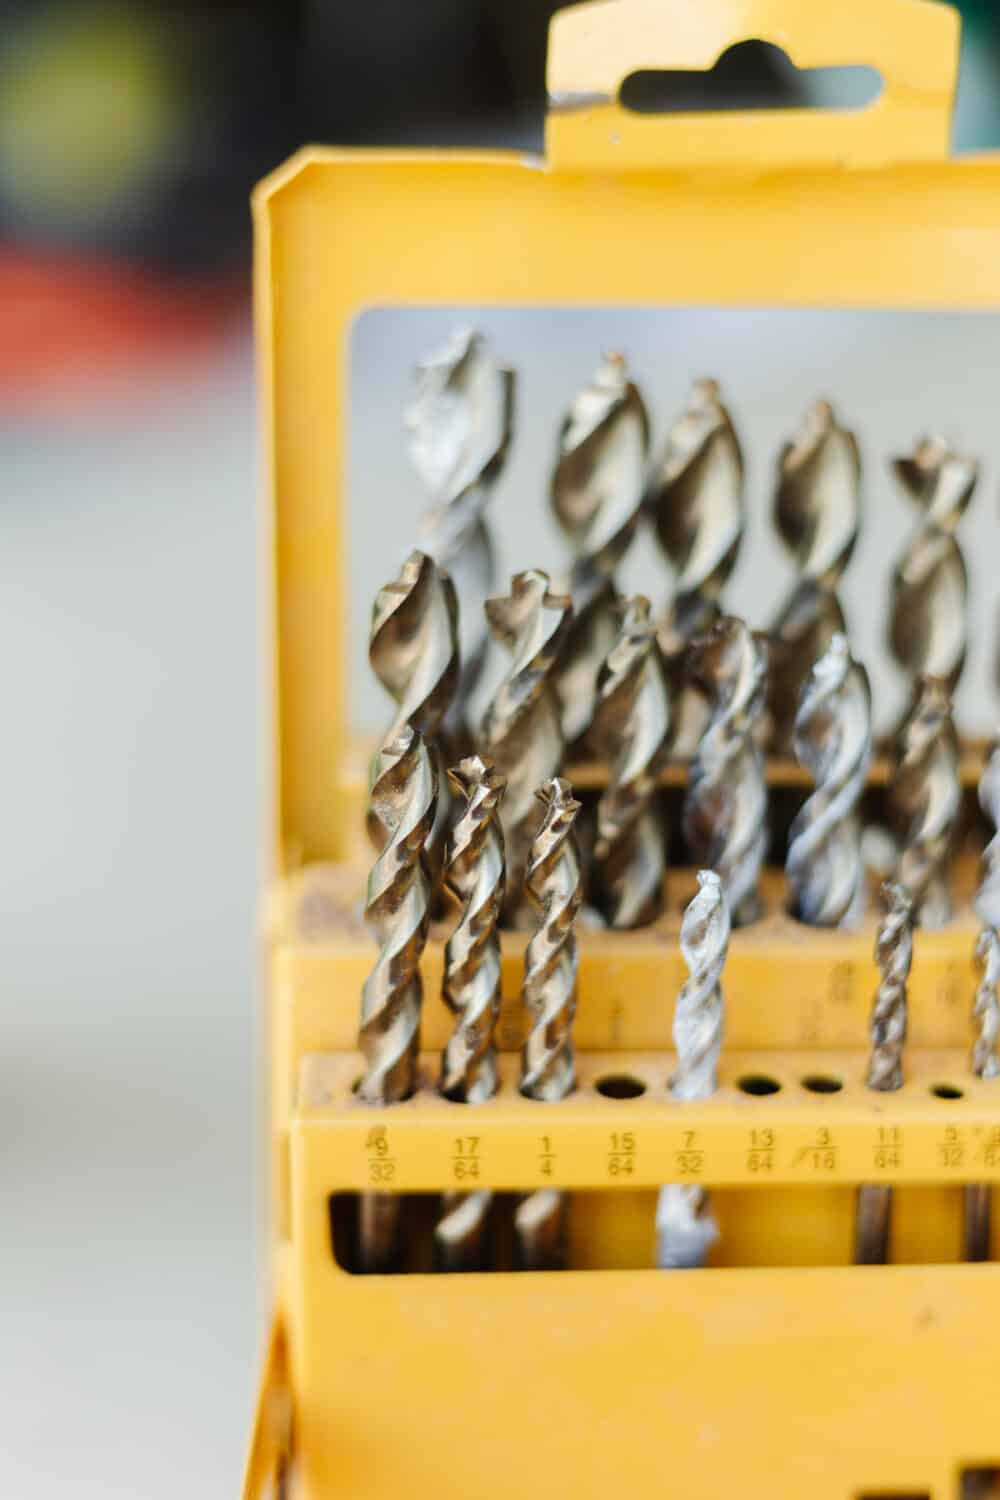
- Some drill bit sets will come with a chart that will help you choose what size bit you need. Not all do, though, so you’ll often have to determine it by comparing the bit to your screw.
- If you’re drilling, hold your screw or bolt up to the drill bits you have to find the best fit. Your bit should be slightly smaller than the screw you’re using.
- If you’re screwing something in, you’ll want to pick a driver bit that matches the head of your screw or bolt. Some screws come with a matching driver bit to make the job really easy!
Step 2: Insert drill or driver bit
To insert your bit, simply rotate the chuck of the drill until it’s loose enough for you to push the bit in, then you can manually rotate it until the bit is in place. Be sure to tighten it down as well as you can to ensure the bit doesn’t pop out while you’re working.
If you’re still confused, be sure to watch the video above, as there’s a more detailed look at how to do this!
Step 3: Check your settings + prep your materials
Before you begin, double check your settings on the drill. Be sure the torque control is set to an appropriate level for what you’re working with, and the speed is where you want it. Remember you can always adjust this as you work, but it’s a good idea to double check before you start.
You’ll also want to prep your materials – measure and mark the space for your hole, if necessary, and clamp down any material that may shift as you work.
Step 4: Drill the hole or drive in the fastener
Now, you’re ready to either drill your hole or drive in your fastener!
Either way, all you need to do is position your drill with the bit touching the place you want the hole (or resting in the top of the screw or bolt), and pull the trigger. With most drills, the pressure you put on the trigger does affect the speed of the drill. With driving in screws, you always want to start off at a slower speed and then increase accordingly – if you go too fast, you may strip the screw.
A note on pilot holes
Unless you’re using self-drilling screws, you’re almost always going to want to drill a pilot hole in wood before you insert a screw.
What’s a pilot hole?
It’s a small hole you create in the wood you’re working with prior to adding a screw – it makes it so that the screw doesn’t have to actually create the hole, it just fits into the one you’ve already created. This can prevent wood from splitting, and generally is a more accurate method overall.
And that’s it! Everything you could ever possibly need to know about using a drill.
If you haven’t tried it before, I hope this post gives you some confidence to pick your drill up and try something! Need a place to start?
what can i do with my drill?!
And, if you’re ready to learn some more power tools, check out any of the posts below!
