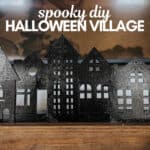
A Spooky DIY Halloween Village (Perfect For the Mantel!)
I made this adorable DIY Halloween village for our mantel this Halloween season, and I absolutely love how it turned out! This quick 30-minute project only costs about $20 to make. Here’s how I did it! This post is sponsored by DAP.
In the last couple of years, I’ve really started to have fun leaning in hard to seasonal crafts and decor. I have a blast at the beginning of the season trying to figure out what projects I want to make. Plus, getting my hands dirty with a little crafting always gets me in the holiday spirit. Today, I’m sharing the simplest little Halloween village around.
Seriously – this project requires no fancy tools and only took me about 30 minutes. In fact, other than the wood and paint all you need to put this together is some Weldwood Original Wood Glue. It’s the only brand of wood glue I’ll use – it’s easy to use, reliable, and strong. Let’s get to the details!
How to Make a DIY Spooky Halloween Village
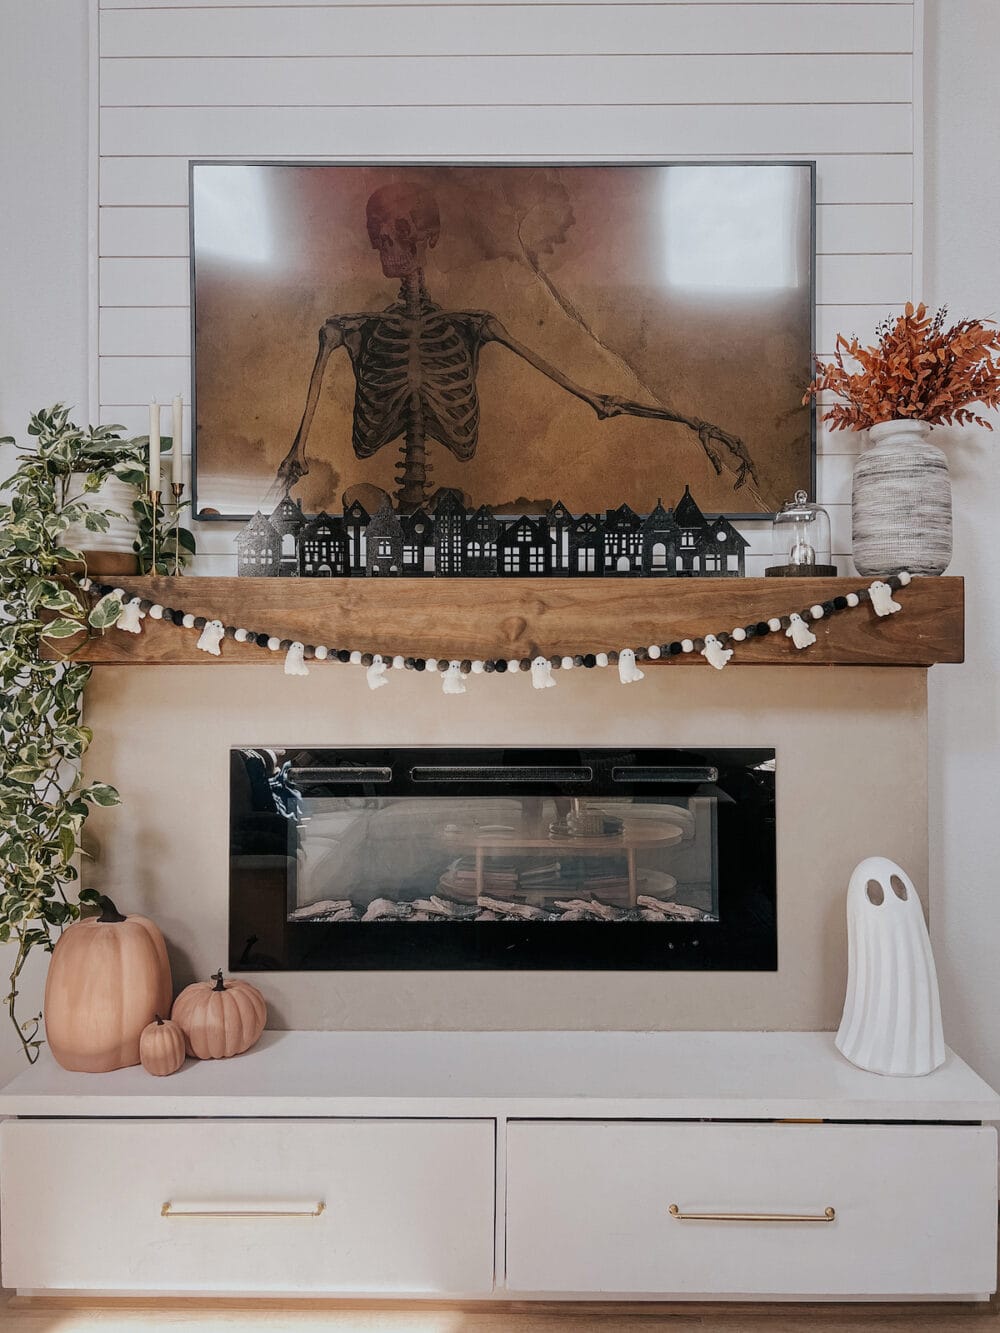
I got the idea for this little craft when I was browsing Amazon for craft supplies one day and saw these little wooden house cutouts. I immediately pictured them all in a row and painted black, with some spooky lights behind them. It was only $15 for a pack of 18 of them, so I hit order and figured that worst case, it was a waste of $15.
Thankfully, it wasn’t a waste.
Here’s What You’ll Need:
Step One: Glue House Cutouts to Scrap Wood
Grab a piece of scrap wood – any wood, any length. As long as it will fit on whatever shelf you want it display it on and can hold up some (super light) wood cutouts, you’re good. I used a piece of scrap 1×2 pine – it’s approximately 2′ long. I didn’t measure or cut it – I just set it on the mantel to make sure it was a good length and decided to run with it. I’m telling you, this project is all about keeping it simple!
Once you’ve got your scrap wood, get some wood glue and start attaching the houses to the scrap wood. I alternated having them sit flush against the side of the wood with having them sit on top of the wood. It creates some layers and adds height. For the houses in the back, I just glued them to the houses sitting in front of them!
When I tell you this is easy, I am not exaggerating. It took me about 10 minutes to glue all of the houses on. I like to use a silicone brush to help spread the glue around. Just be sure to get glue on both pieces of wood that you’re gluing together, hold it in place for a few seconds to let it dry, and you’ll be good!
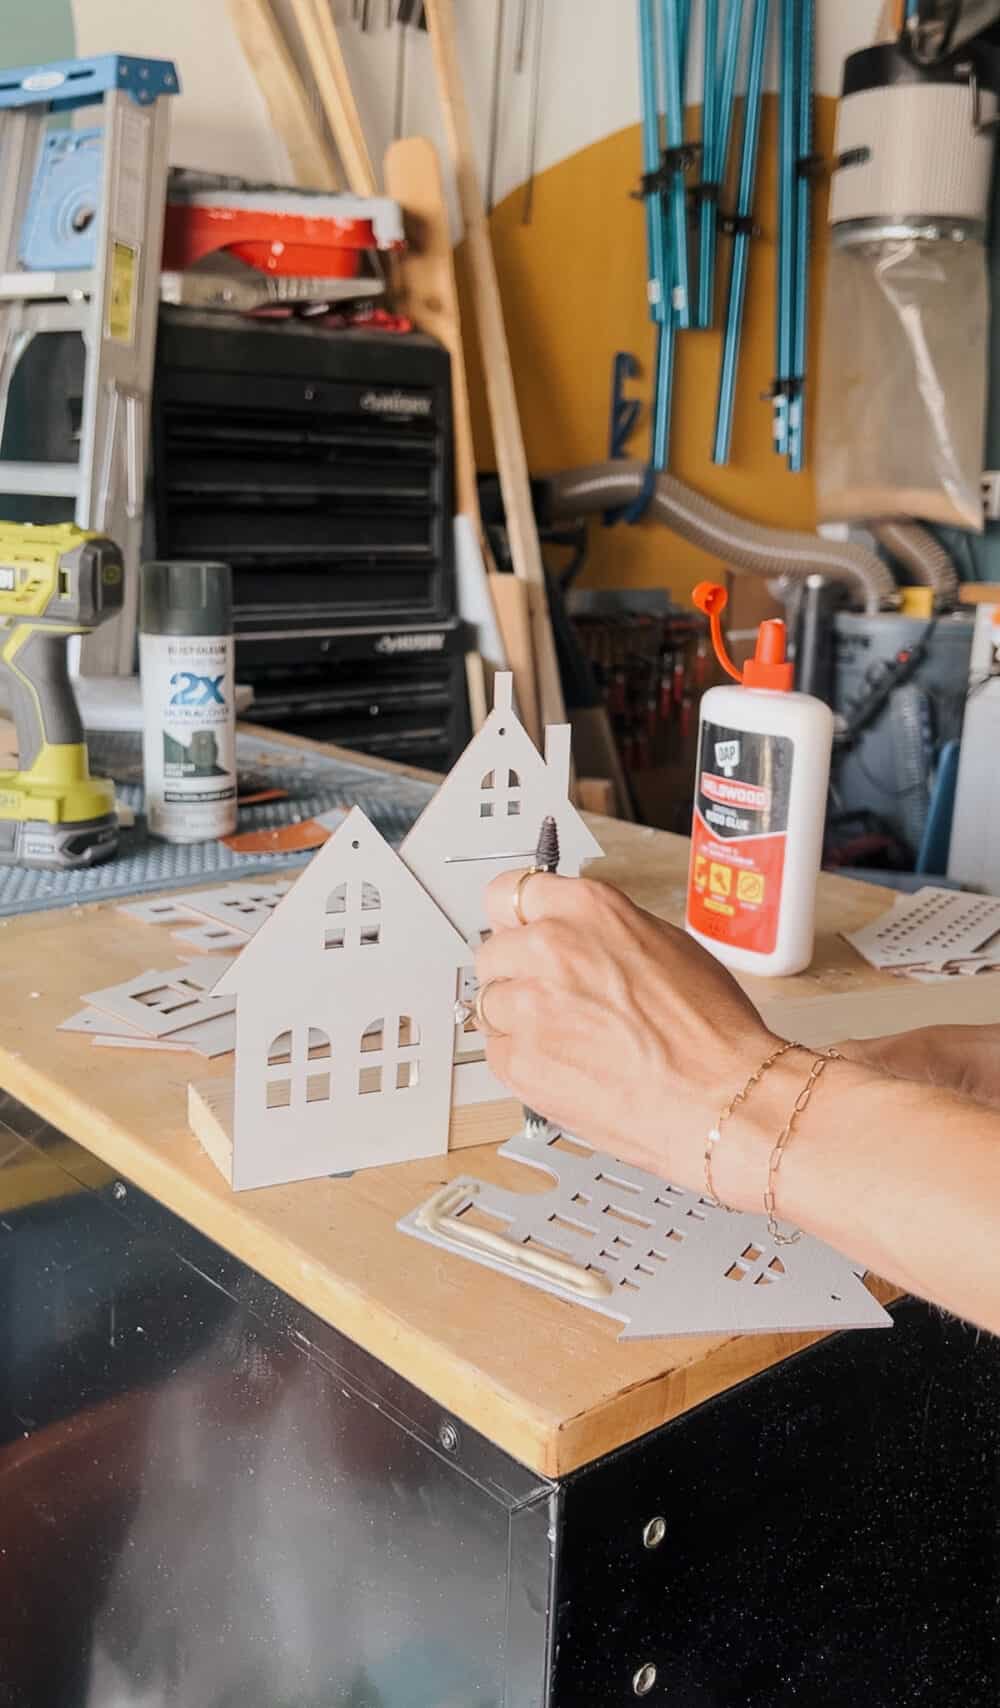

Once you’ve got the houses lining the piece of scrap wood, let them sit for a couple of hours to dry. Since you aren’t using anything else to hold them in place, it’s important to allow the glue to fully cure before you paint it.
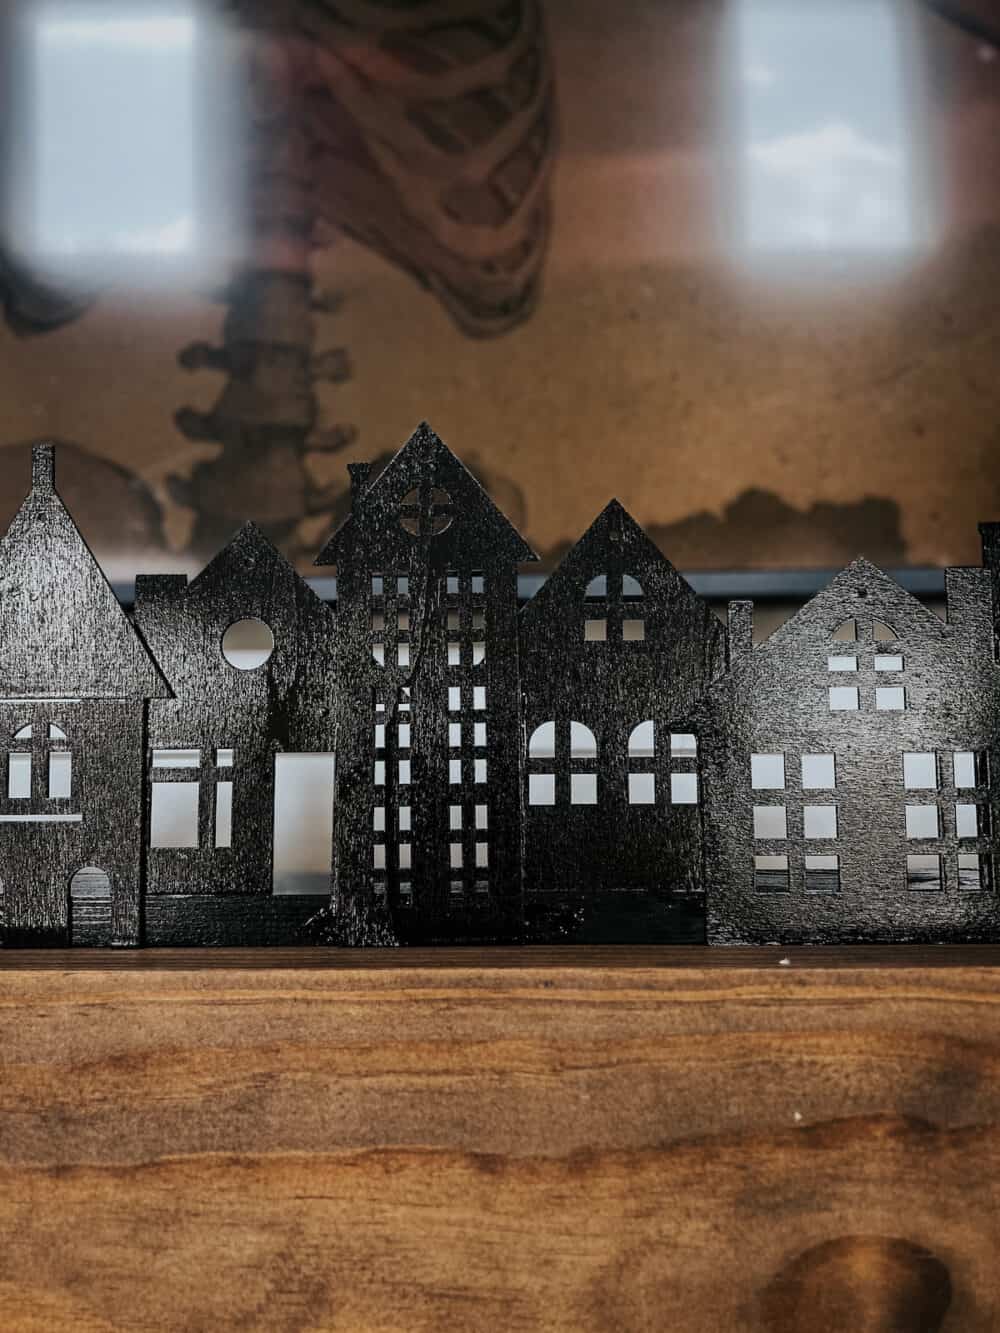
Step Two: Paint Your Halloween Village
Once the glue has dried, it’s time to paint! You could easily make this a Christmas-y village by painting it all white. Or, if you’re super crafty you could paint them brown and add gingerbread house detail to them! But, of course, we’re going for spooky here. So, I had to go with black!
I just used some black spray paint and added a few slow and steady coats. Need some help with spray painting? I have a full guide to how to use spray paint, and that should get you started.
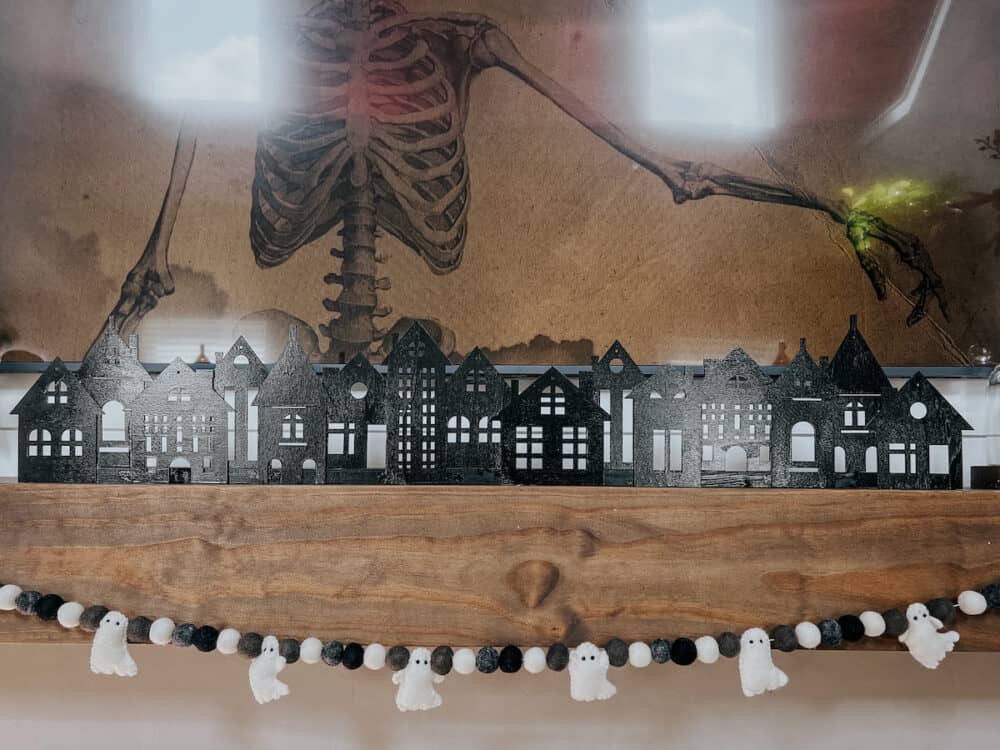
Step Three: Add Candles and Display It!
And, honestly? That’s all there is to it! Once your paint has dried, you’re ready to display your spooky little Halloween village. I added some fake tea light candles, but you can also use the real thing if you prefer. It would also look really cute with some of those battery-operated string lights!
I decided to display my little village on the mantel for photos, but if we’re being honest, it probably can’t stay there. It’s a little too tall and blocks the bottom of the television when you’re sitting on the couch. It doesn’t bother me but the dudes in my house won’t stand for it. So, it’s getting moved over to the shelves. But, I felt like it needed a moment in the sun over on the mantel first!
This was one of the easiest projects I’ve done in a long time, and it looks so high-end and perfect for Halloween! There’s nothing I love more than a project that is incredibly easy and cheap but also makes a big impact, and this one definitely checks all of the boxes.
I mean, I spent less than $20 and about half an hour on it. Can’t beat that!
Need some more ideas for Halloween decor and crafts? I’ve got you covered!