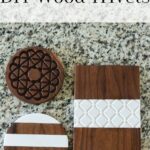
My Latest X-Carve Project: DIY Wood Trivets!
Last updated on March 4th, 2023 at 11:42 am
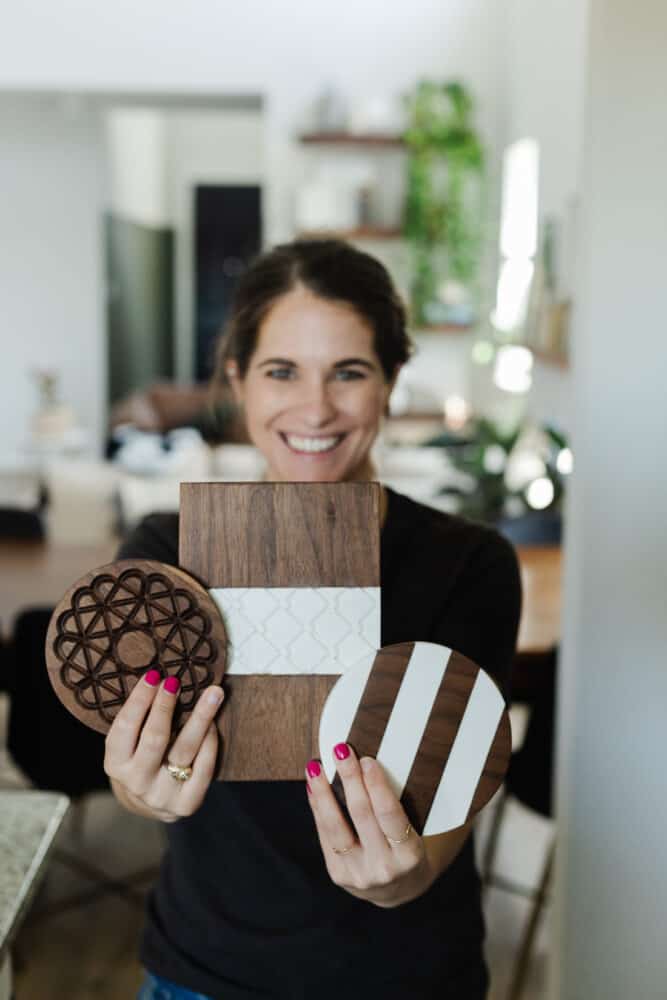
I love sharing my X-Carve projects with you as I continue to learn this incredible machine and get better at it. Here’s my latest – some DIY walnut and corian trivets! This post is sponsored by Inventables.
I’m a huge believer in paying attention to the little things in your home. The things that serve largely functional purposes and aren’t always pretty. You know, the things that you tend to completely ignore.
I’ve learned that really honing in on making those often-boring items beautiful can make a huge difference in how my home feels for me. When it’s dinnertime and I get to plate my meal up on a gorgeous plate that makes me smile, it feels a little more special. When I’m baking cookies and I get to scoop my sugar with really cute measuring cups, it feels a little more fun than if they were boring.
And when I’m setting the table and need a safe place to put a hot pan, it all feels a little more fancy if I get to grab a gorgeous, handmade trivet rather than a boring, cork one.
See where I’m going with this?
I’ve been wanting new trivets for a long time, but I haven’t been able to find ones that really make my heart sing. So, I decided to make my own!
This was such a fun project, and I really got to stretch my creative muscles because it was my first time working with anything other than wood on my X-Carve and there was a bit of a learning curve. I actually love when projects challenge me like this because it’s how I grow and get better!
If you’re new to hearing about the X-Carve and all the incredible things it can do, be sure to read all the way to the bottom of this post for a roundup of other X-Carve project ideas!
X-Carve Project Idea: DIY Wood Trivets
To design my trivets, I used Inventables (free!) design software, Easel. They have a ton of pre-made designs for those of us who aren’t all that great at creating things on our computers, and it’s really intuitive and quick to learn.
I used some of the pre-made patterns and designs to add a little bit of detail to my trivets, and I’m so impressed with how they turned out.
I also got materials to make these directly from Inventables! They have all sorts of X-Carve friendly materials, and seeing the corian on their website is actually what inspired the entire project!
Here are all the details on how I made them.
Tools & Materials Needed
- Inventables X-Carve 3D Carver
- 90-degree V-Bit (used for carving the designs)
- 1/8″ Straight End X-Carve Bit (used to cut out trivets)
- Trivet SVG file for Easel
- (2) 1/2″ thick walnut pieces
- (1) 1/2″ thick corian piece
- Silicone adhesive
- Mineral oil
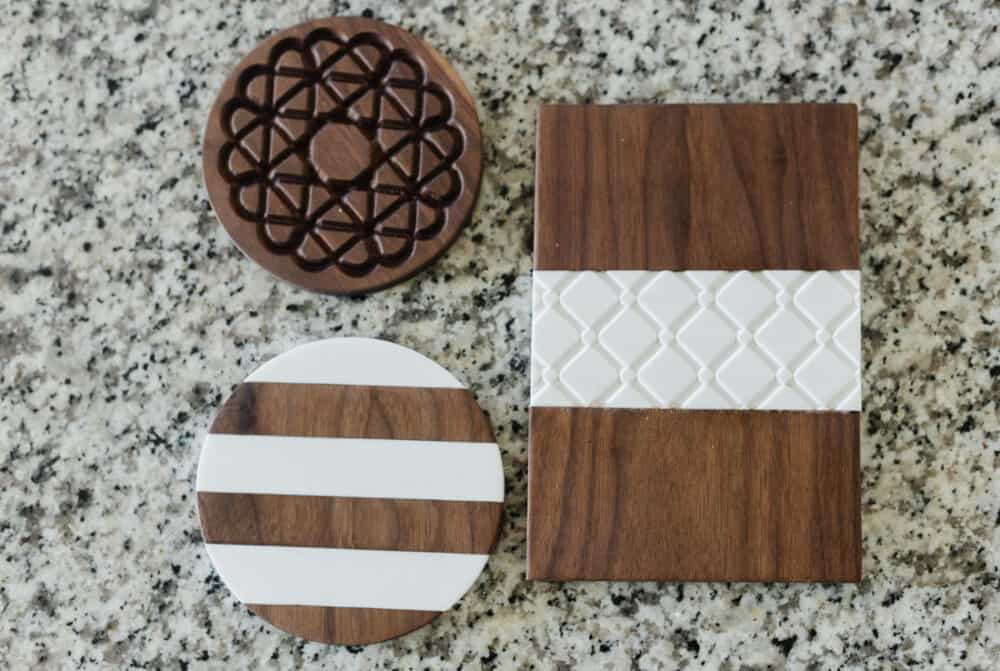
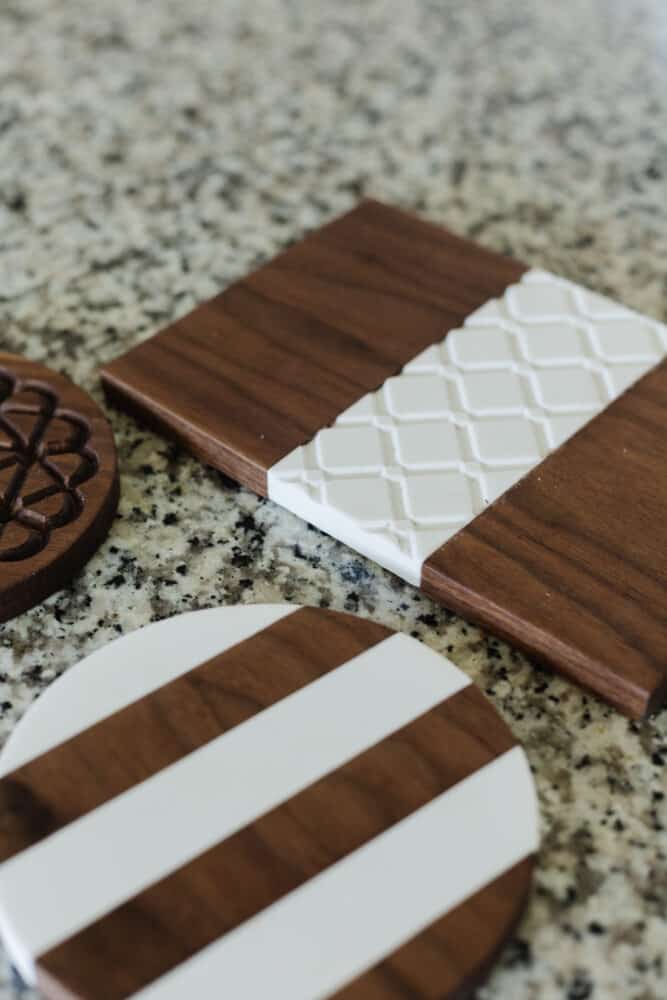
Trivet #1: Carved walnut
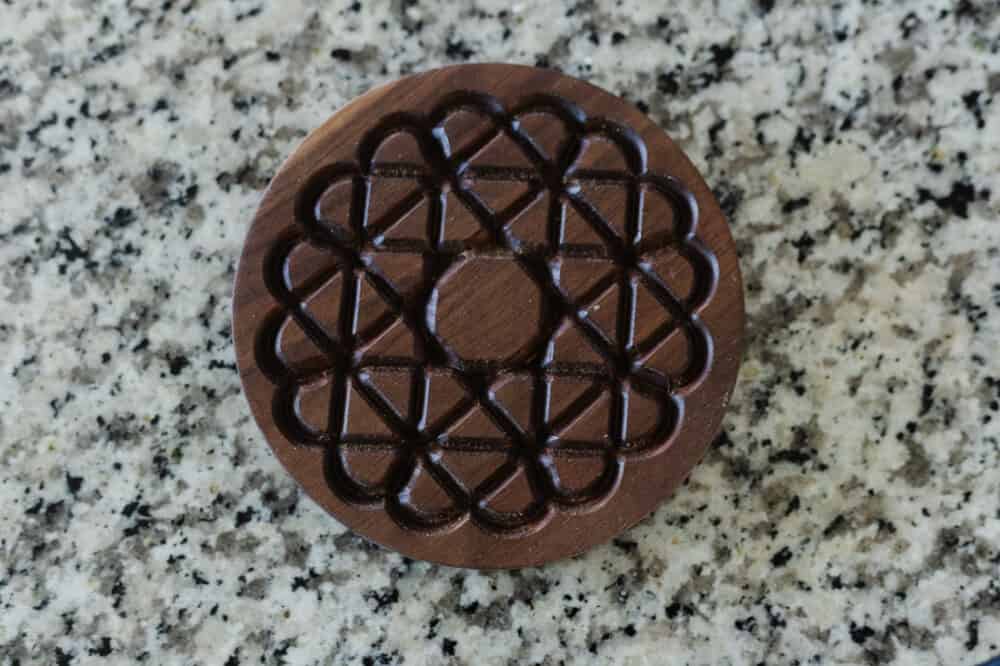
This trivet was the most straightforward to make – I simply used the 90-degree V-bit to carve out the design (which was a pre-made option on Easel!), and then the straight end bit to cut it out!
I was limited on the size of the trivets due to the size of the walnut piece I purchased, but if you have a larger scrap of wood you could obviously make them larger! I’ve tested it out a few times with various pots and platters, though, and it has worked really well!
Once it was all carved out, I lightly sanded it to remove any excess splinters or rough areas, and then I added mineral oil to bring out the grain and natural color of the walnut.
It’s always a little staggering how big of a difference that last step of oiling makes, and I always find it so mesmerizing!
Trivet #2: Walnut + Corian stripes
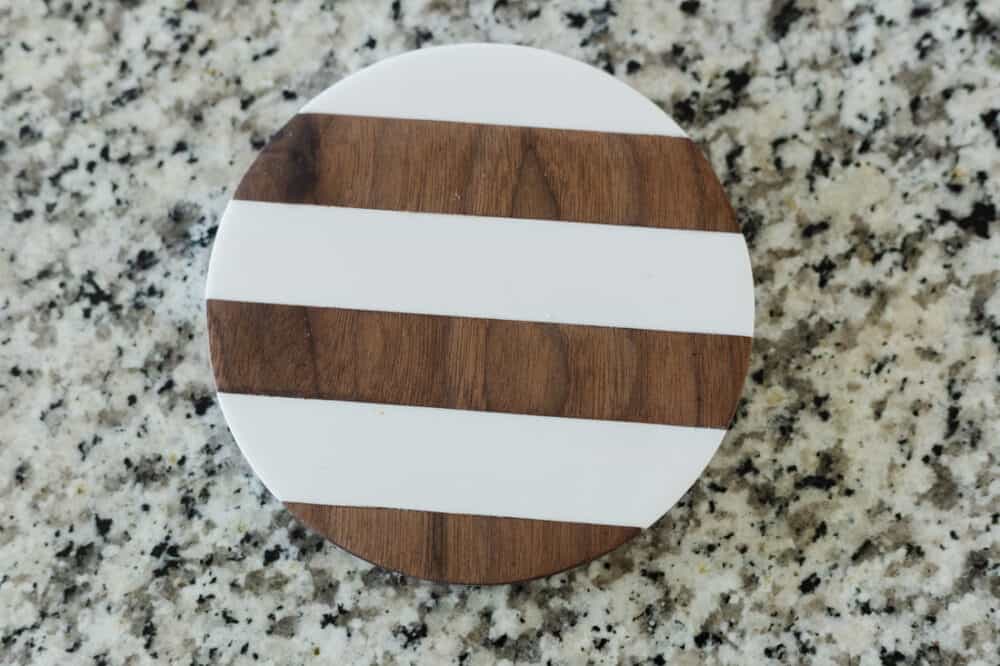
I don’t wanna play favorites buuuut….this guy is my favorite.
I adore the look of walnut and corian paired together, and these stripes make my heart so so happy.
To make this one, I simply cut 1″ strips of the walnut and corian using my miter saw, then I glued them together. When you’re gluing a product like corian, you’ll want to use a silicone adhesive – it’s going to give you the most long-lasting bond! Once it had dried fully, I used the X-Carve and my 1/8″ straight end bit to cut out a quick circle.
Once it was all cut out, I just sanded it down so everything was flush and smooth and added some mineral oil! After wrapping this guy up, I kind of wanted to make a million more things with wood and corian – my brain is already spinning with ideas!
Trivet #3: Carved Corian + Walnut
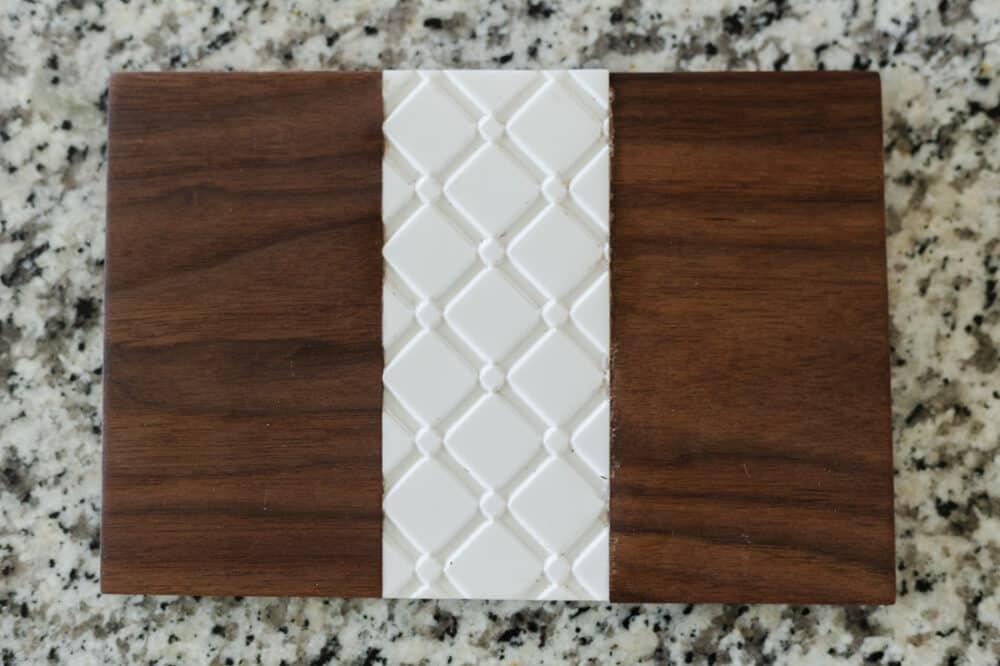
My original plan for this last one had been to just do a carved corian trivet, but after I failed to properly secure the corian to the base of the X-Carve not once but twice, I was left with just a small section of corian that was still able to be carved.
I decided to pivot and grabbed a cut geometric design from Easel, and I carved it into a strip of corian. Then, I sandwiched it between two pieces of walnut and I actually adore how this one turned out!
This was such a good lesson for me that sometimes it’s worth it to really stretch yourself and try a new material or skill – and to keep pressing forward even when you struggle! I aaaaalmost gave up on the corian and just made another walnut-only trivet but I’m so so glad that I didn’t!
If you want to see the full project over on Inventables’ website along with the SVG files to carve it on your own, just click here!
And, if you want to see some of my other X-Carve projects and learn more about this tool, just click around below.
X-Carve Project ideas
- DIY wooden baby toys
- Bread + cutting boards
- Carved wood pumpkins
- Interactive Christmas tree for kids
- Wooden puzzles for kids
- DIY carved wood sign
- 3 simple wooden trays
- Workshop logo sign
- DIY front door hanger
- DIY Christmas countdown
And, of course, if you’re curious about the X-Carve and want to learn more, you can click here to head to their website. And you can click here to see some other X-Carve project ideas from some super talented creators!