DIY Christmas Countdown
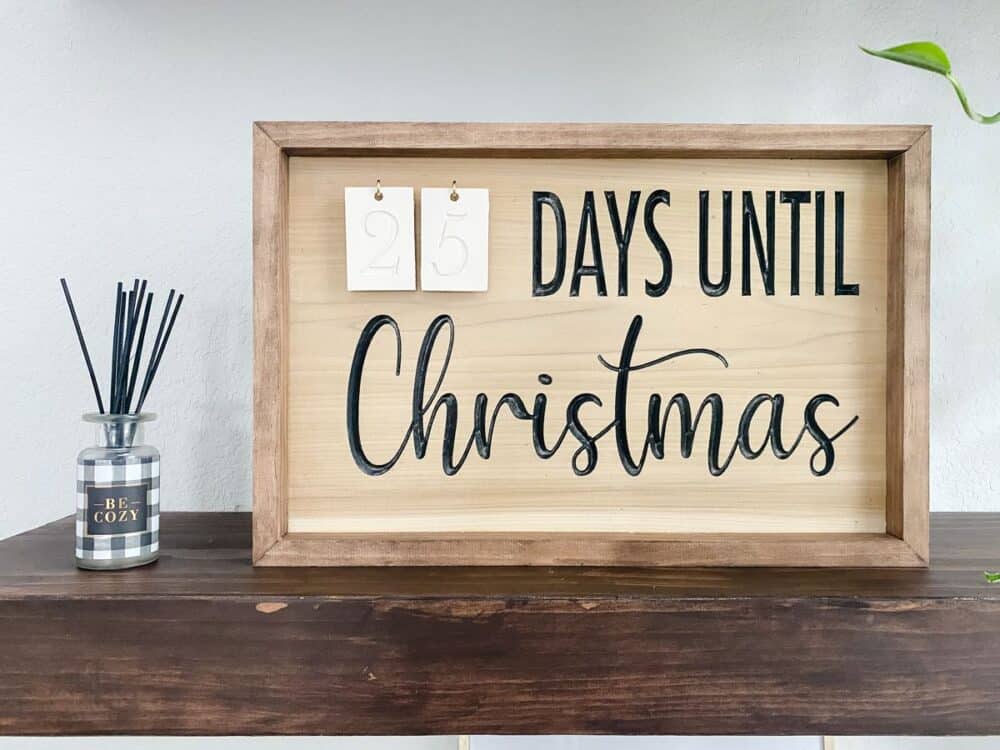
We’re getting closer and closer to Christmas countdown time, and I’m getting ready with this adorable DIY Christmas countdown – see how I made it below!
This post is sponsored by Inventables.
Are you walking around your house singing “It’s Beginning to Look a Lot Like Christmas” yet?
Oh, ok. Me neither.
It’s a little soon for that.
But, you know what it’s not too soon for?
Planning. And prepping. And getting excited.
And, if you plan on tackling any DIY projects for the Christmas season, now is the time! You don’t want to have to scramble at the last minute to get it done, do you?!
I’ve been wanting a new little Christmas countdown for the kids to track how many days left (and so I don’t have to answer how many days are left every single day), so I decided to use my Inventables X-Carve 3D Carver to help me whip one up!
This is absolutely a project you could still tackle even if you don’t have an X-Carve – just use this technique to trace the words and numbers onto your wood instead of carving it! It’ll be a little more time intensive that way, but it will look equally adorable.
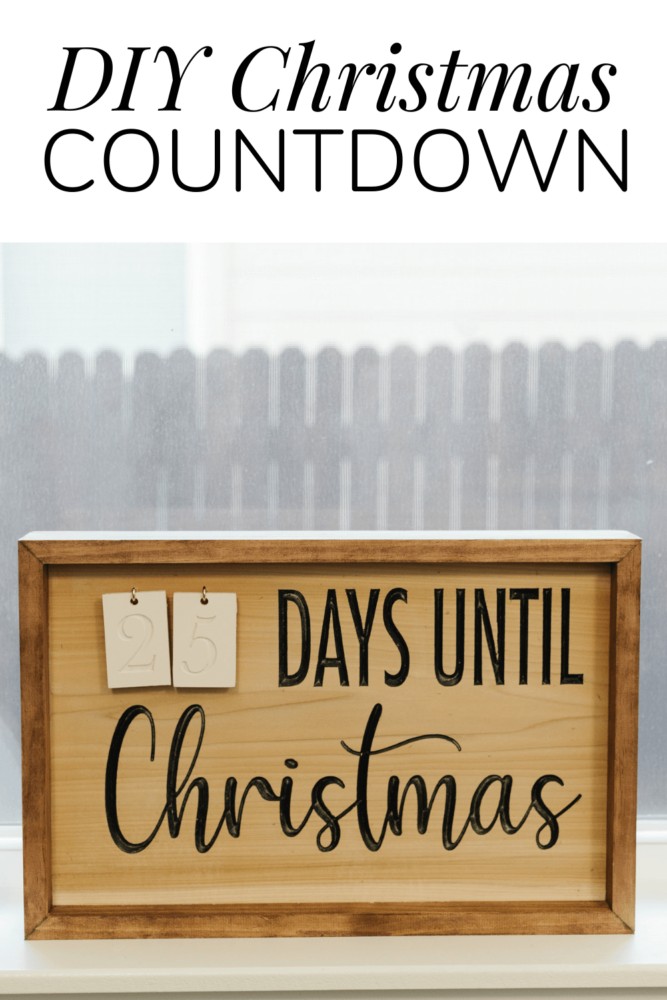
DIY Christmas Countdown
Tools & Materials:
- Inventables X-Carve 3D Carver
- 90-degree V-Bit (used for carving the letters)
- 1/8″ Straight End X-Carve Bit (used to cut out the tags – you could just cut these out with a table saw, though!)
- Christmas Countdown SVG file for Easel
- (1) 12″x18″ piece of 1″ thick wood (I used poplar because I had it, but pine, oak, or anything works great!)
- (1) 1×3 pine board (for the frame)
- (1) 2’x2′ piece of 1/4″ plywood
- Paint/Stain
- Small paint brush
- Small hooks
Carving the christmas countdown
I started off by carving the base of the sign. You can watch this project come together over on my Instagram stories if you want to see a closer look at how the machine works!
Basically, all there is to do is set your wood up on the machine, hook your computer up, and hit “go”.
My favorite thing about using my X-Carve for projects like this is what a massive time-saver it is. I could easily have painted these letters onto my board using a transfer technique, and it would look great, but this gives a much more professional and polished look, and I was able to work on cleaning out my workbench while the machine did all of the work for me.
It doesn’t get much better than that, right?!
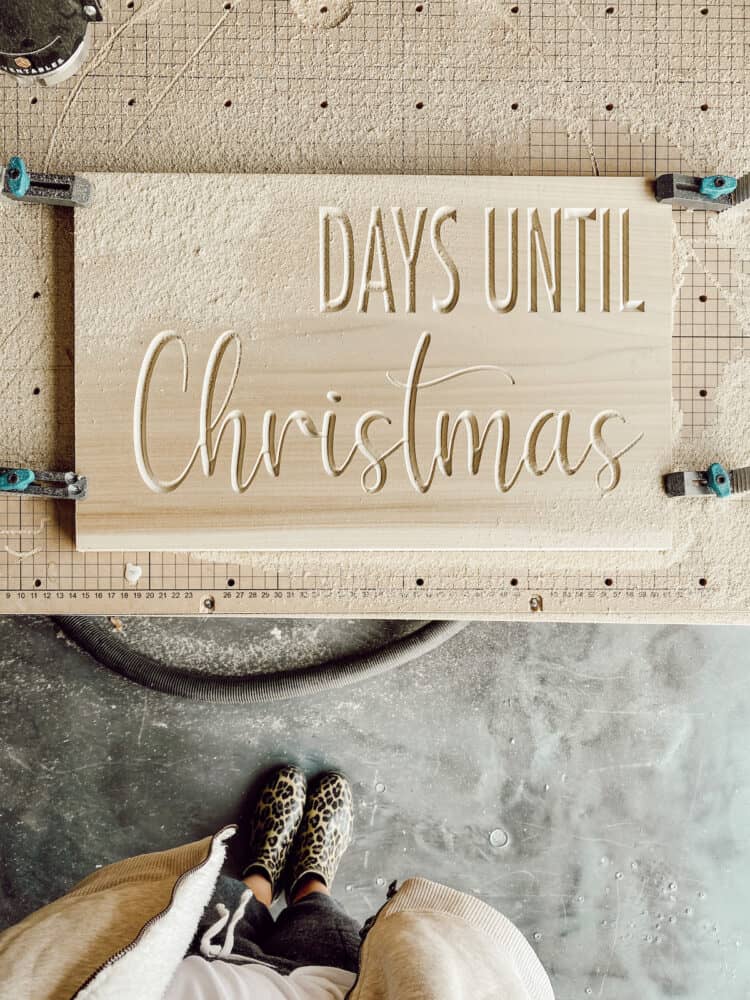
For my sign, I used a a scrap piece of poplar that I had in the garage, but you can honestly do this with anything. Pine or oak would be a great option, and you could even do it on plywood if it’s all you have laying around! I recommend adjusting the size and scale of this project to fit the scrap wood you already have laying around, if possible, because it’s hard to beat a project that uses up some of your extras and doesn’t cost anything!
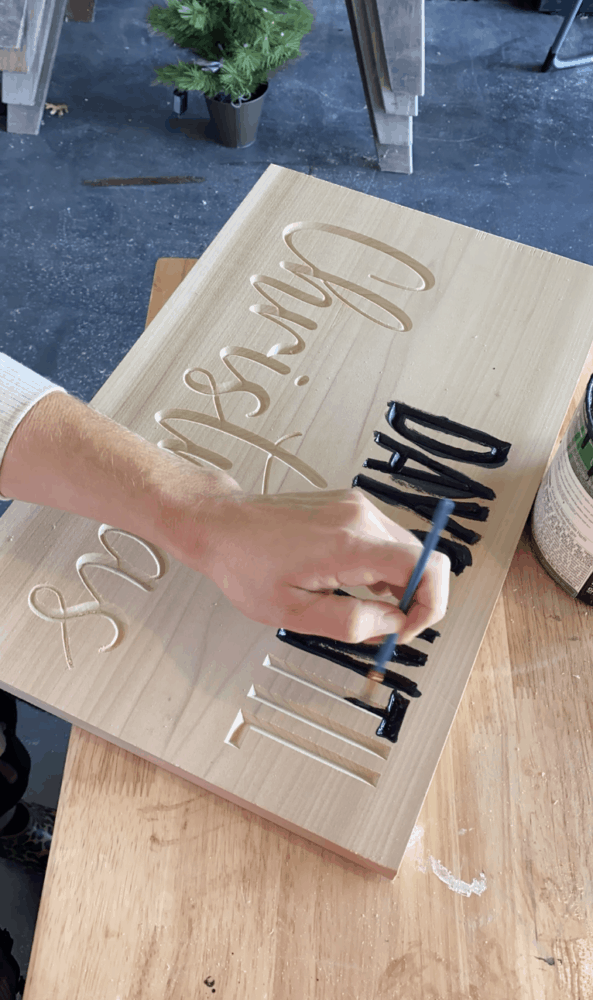
Once the words have been carved, it’s time to make it cute! My favorite technique is to paint the inside of the letters using a small paintbrush, then I come back once it’s dry and sand any excess off the face of the sign. It’s quick and incredibly simple. Once I sanded the excess off, I just stained the rest of the sign for a natural look.
If you want a fully painted sign and plan to carve, another great approach is to paint the entire piece of wood the color you want to use, then place this stencil film on the wood before carving. It’ll keep the base of the sign protected while you paint inside the letters after they’ve been carved!
framing in the sign + Adding hooks
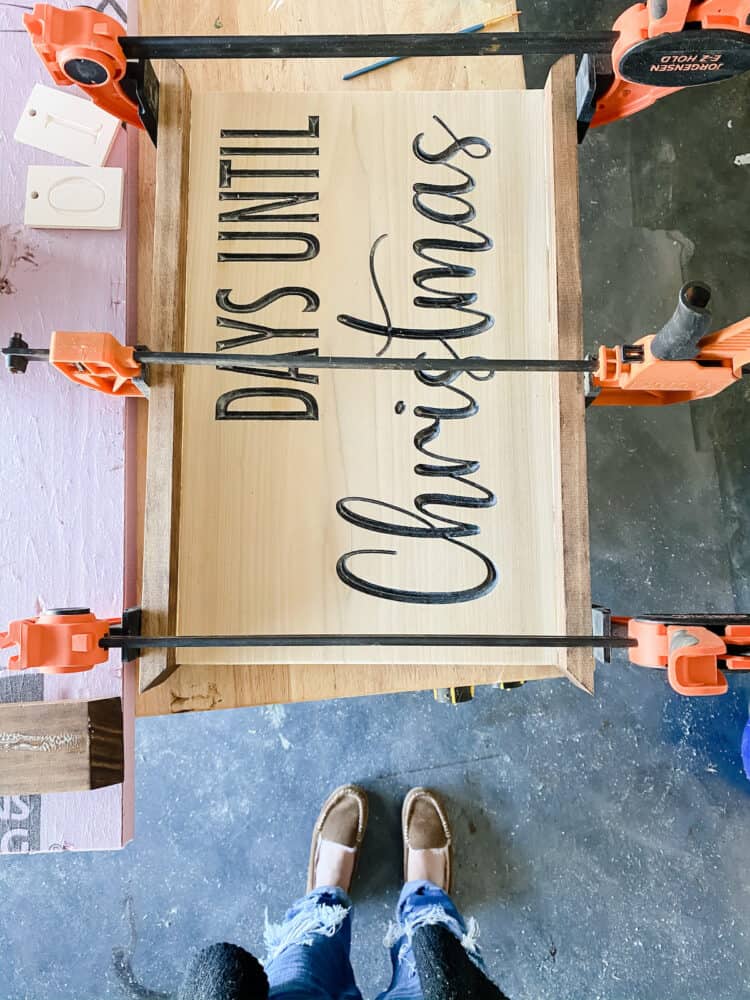
I wanted to use the same frame technique that I used for this sign I made for my garage – I want the countdown to be able to sit flat on a surface without needing to be hung! So, I cut 1×3 boards to fit each side of the frame, then glued them into place (don’t forget to add a couple of pin nails to help hold things steady while it dries).
To help the countdown sign sit centered in the frame (with equal overhang on both sides), I just propped the sign up on a scrap piece of 1″ thick wood while I was attaching it – again, you can watch my Instagram story highlight of the project to see how that looks in action!
With the base of the sign done, the only thing left to do here was add my two small hooks to hold my numbers! I used these guys and just pre-drilled a very small hole, then screwed them into place.
Make the number tags
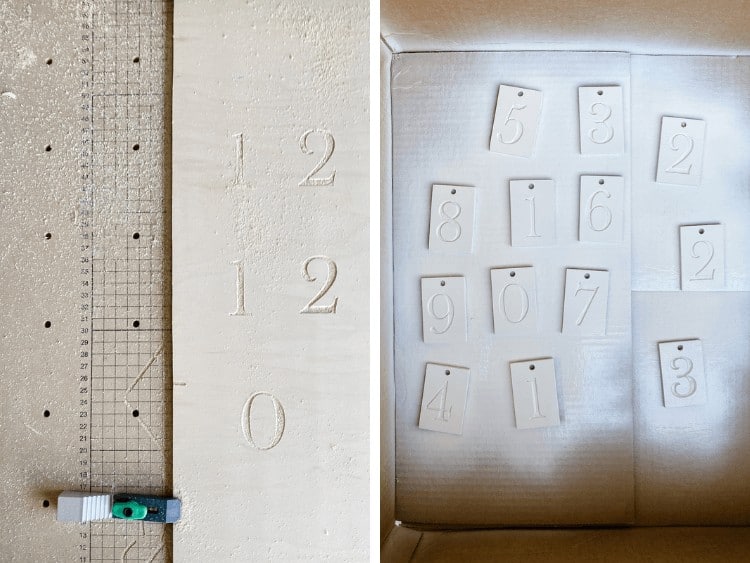
I really wanted to use all scrap wood for this project, so I decided to test my X-Carve and see how good of a job it would do with really thin plywood. Plywood definitely isn’t the best material for carving because it’s simply layers of wood glued together with a pretty veneer on top, which makes it hard to do much sanding of carving. But, I’ve had good luck with it in the past with thicker plywood and I figured giving it a shot couldn’t hurt.
I was pleasantly surprised to discover that the X-Carve does a great job carving 1/4″ plywood! It wouldn’t work as well if you planned to stain the entire thing (since the lower layers won’t take stain the same way the top layer does), but if you’re painting it, it looks pretty great.
I had my X-Carve carve all of the numbers into the tags for me, then cut out the tags themselves. Again, if you don’t have access to an X-Carve you could simply paint letters on yourself and cut out some tags from 1/4″ plywood using a table saw or circular saw (or, to make it even easier, you can buy pre-made tags!).
After my tags were carved out, I spray painted them all white. I originally planned to paint the numbers black, but I liked the monochromatic look and decided to just stick with that!
assemble & display your sign
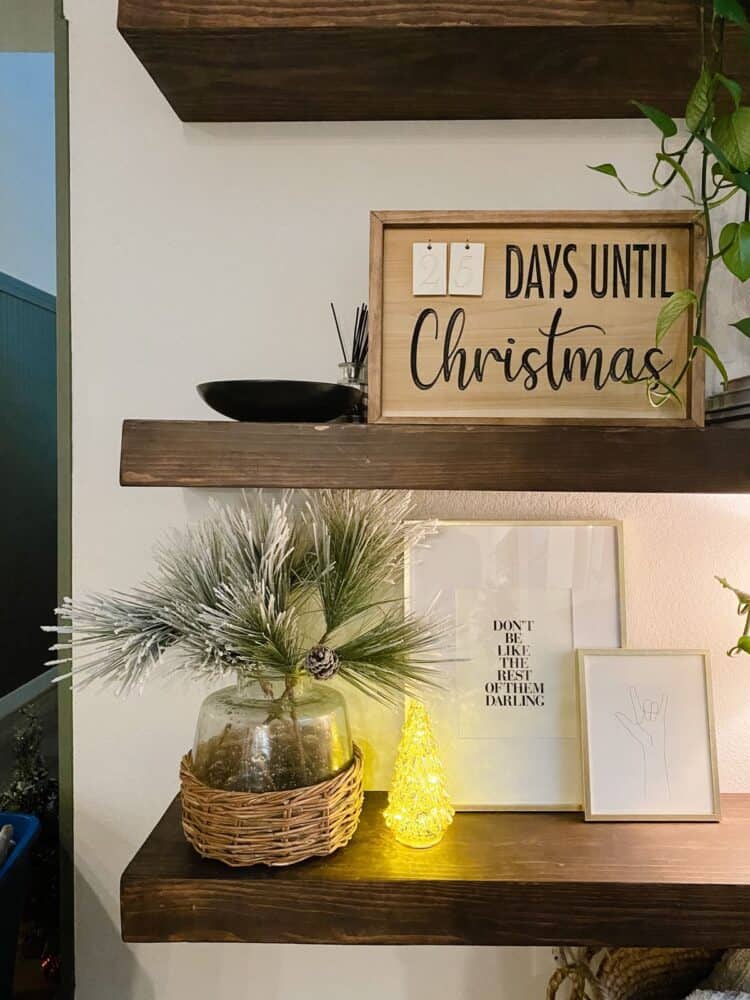
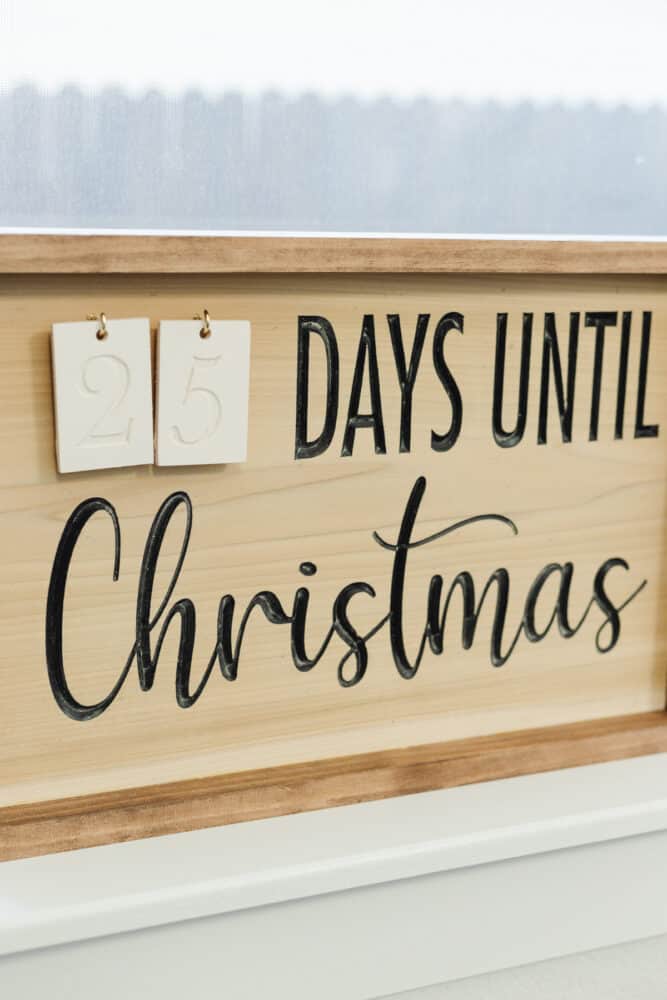
And then, you’re done!
I’ve got a small bowl sitting next to our sign that holds all of our extra numbers, and each day I’m letting the boys swap it out. I hadn’t planned on letting them start the countdown until we reached December, but at this point we could all use a little extra excitement, so why not?!
X-Carve projects are always one of my very favorites to tackle because I love how creative I can get without having to slave away in the workshop all day long. I can’t tell you enough how much I love this tool – and I already have a couple of other Christmas project ideas cooked up for it this season!
If you want to catch up on our other X-Carve projects, click any of the links below to check them out:
- DIY wooden baby toys
- Bread + cutting boards
- Carved wood pumpkins
- Interactive Christmas tree for kids
- Wooden puzzles for kids
- DIY carved wood sign
- 3 simple wooden trays
- Workshop logo sign
- DIY front door hanger
And, if you’re curious about the X-Carve and want to learn more, click here to head to their website and see more information about the one I have. It’s absolutely an investment, but it’s one of those tools that really helps you step up your game and can do so much more than you can even begin to imagine! Click here to see some other X-Carve project ideas from some super talented creators!

I love this!!! What a fun project!