Our DIY Outdoor Couch
Today we’re going to chat about how to build a DIY outdoor couch! And, you’ll get a (big) peek at the back porch and how it’s all coming together!
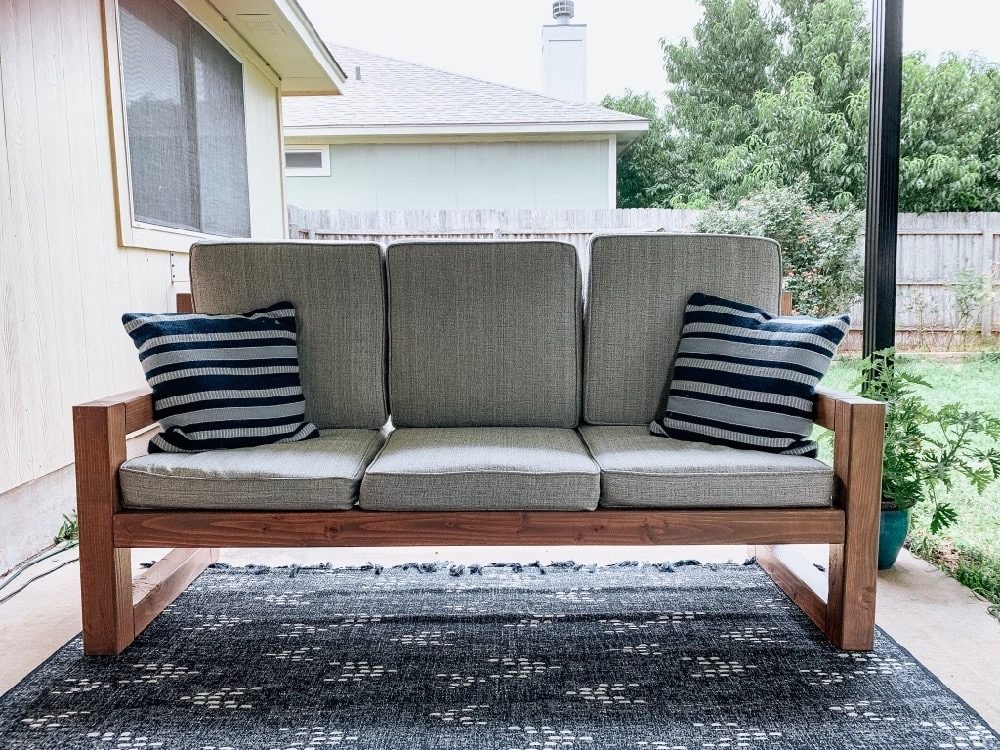
Today is a big one, my friends. We’ve been working and prepping and moving towards this for quite some time now, and it’s finally here. Our DIY outdoor couch for the back porch is finished! And I’m never leaving my backyard again!
Forget the fact that it’s 100 degrees outside almost daily, I’m just too excited. I’ll melt – it’s okay.
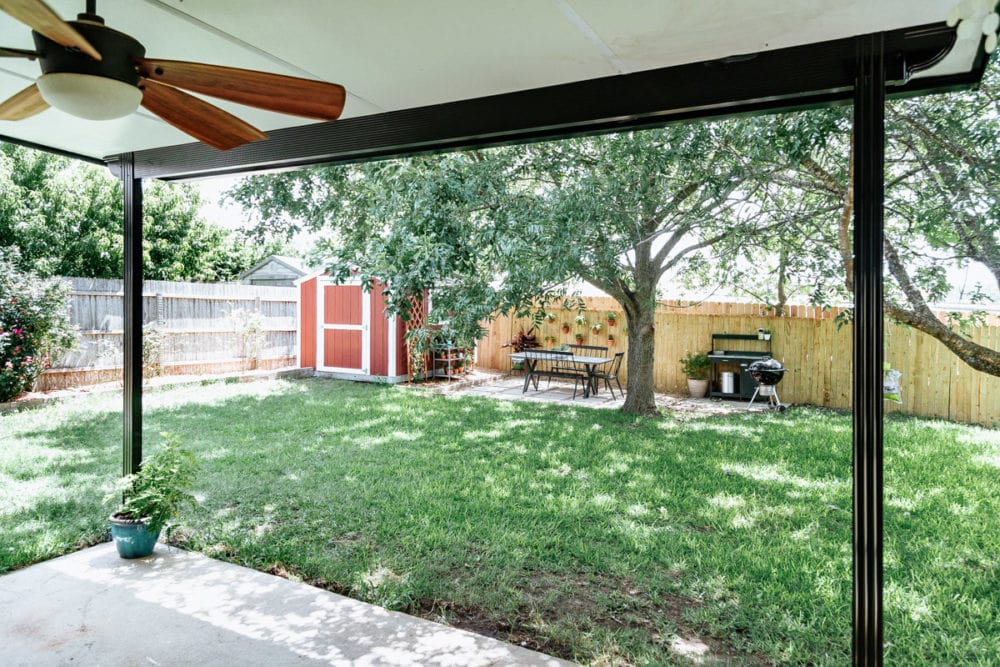
Finishing this project pushes us a huge step closer to wrapping up our backyard makeover. There are only a few projects left until we can call our backyard complete!
If you haven’t been following this (long and meandering) journey, let me catch you up a bit.
The Backyard Makeover
- You voted on which space we should tackle this summer.
- First, I created a DIY paver and pea gravel patio.
- Then, we styled it and have been loving it ever since.
- We also added a little extension off of it for the grill.
- The first project in this back porch makeover was to completely transform the ugly metal covering over it.
We knew we wanted a cozy outdoor sofa back here. But, we weren’t really feeling like spending a ton of money. So, as usual, we decided so save some cash by tackling it ourselves.
And I think it wasn’t a half-bad decision.
This post is sponsored by Rockler Woodworking and contains affiliate links.
We turned to our friends at Rockler for some of the supplies for this outdoor couch. They have a huge selection of hardware, tools, and just plain smart solutions. We found their Beadlock Pro joinery system and decided we’d use it for our couch. It’s easy to use and produces completely invisible joints. I’d argue that once you get the hang of it, it’s even simpler than the other major beginner joinery system that many of you have probably tried before!
So, I’ll reference a “loose tenon joint” a few times throughout the directions. Just know that I’m talking about joining the wood together using this specific tool. You don’t have to have this tool or use this joinery system to re-create this build, though! You can always use a different type of joint if you prefer.
I’ll also note that for this couch, we were inspired by the gorgeous sofa that my friend Bre used as inspiration for her own DIY outdoor couch. We modified it pretty heavily, but it was absolutely our jumping-off point!
How to Build a DIY Outdoor Couch
Materials needed:
- (8) 8′ 4X4 boards
- Beadlock Pro Joinery System
- Drill/Driver Set
- Wood glue
- Clamp-It Assembly Square
- 1 box of 6″ lag screws
- (8) 8′ 2X2 pine boards
- (3) 24X24 couch cushions
Video Tutorial:
If you’re going to tackle this project I highly recommend you check out the following video first! It’s not a full tutorial, but will give you a great visual of what the build looks like. You can also watch the video on YouTube right here!
Cut List:
Start by cutting your wood using the list below:
- (6) 4X4s cut to 21.5″
- (2) 4X4s cut to 35.75″
- (2) 4X4s cut to 25″
- (4) 4X4’s cut to 7.25″
- (4) 4X4s cut to 6′
- (2) 2X2s cut to 6′
- (25) 2X2s cut to 21.5″
Step One: Sand Your Cut Pieces
After cutting all of your wood using the cut list above, you should go ahead and sand everything. You’ll have to sand again at the end, but the vast majority of your sanding should happen now. It’s much more difficult to sand the boards once the entire couch has been assembled! So, even though it’s annoying, it will save you tons of time on the back end of this project!
For each board, I started with 80-grit sandpaper, then moved up to 120, 220, and 320 for a perfectly smooth finish.
Step Two: Assemble Sides of Couch
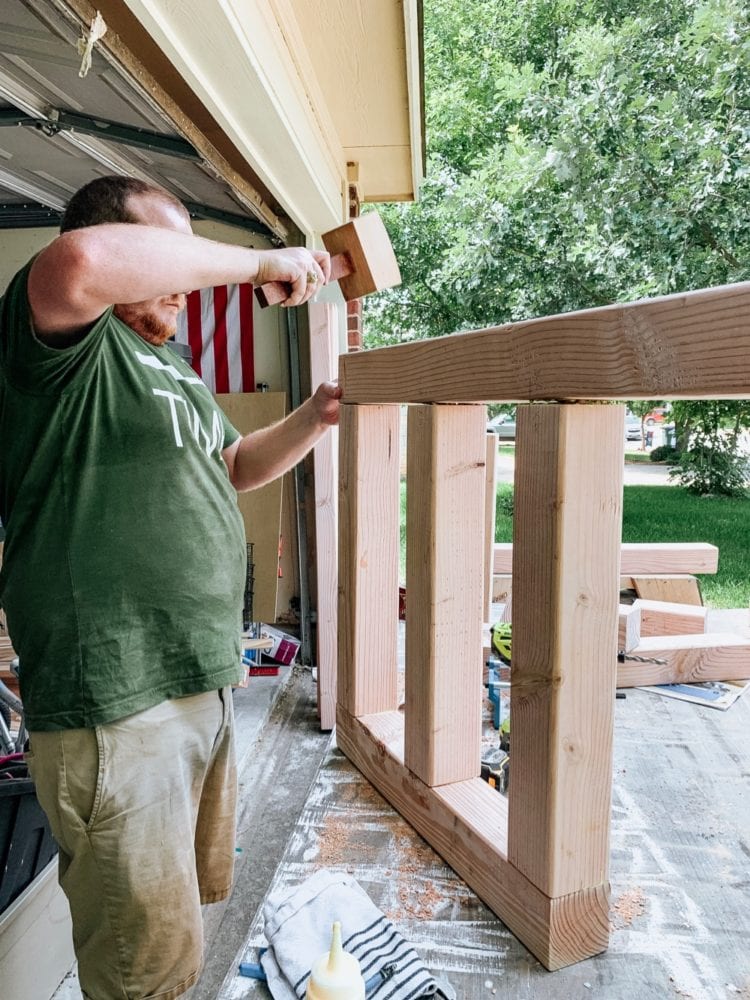
Now you’re ready to put together the sides of the sofa. Take three of the 21.5″ boards for the side railings and attach them between a 35.75″ piece and a 25″ piece. We spaced them 7.25″ apart.
The joinery system we used comes with full directions (so I won’t get into the how-to much here). But, basically, you mark where the joints need to be, use the jig to drill holes in both pieces of wood, then insert the beadlock tenon stock with a good amount of wood glue. Use a mallet to ensure it’s all the way in place, then clamp the wood together until the glue dries. Done!
Before you move on, be sure to grab a wet towel and wipe off any wood glue that drips. You’re going to have some that dries on the boards (it’s inevitable!) but the more you can clean up now, the easier your life will be later.
Assemble both sides, then set them aside to move on to the back.
Step Three: Assemble the Back Support
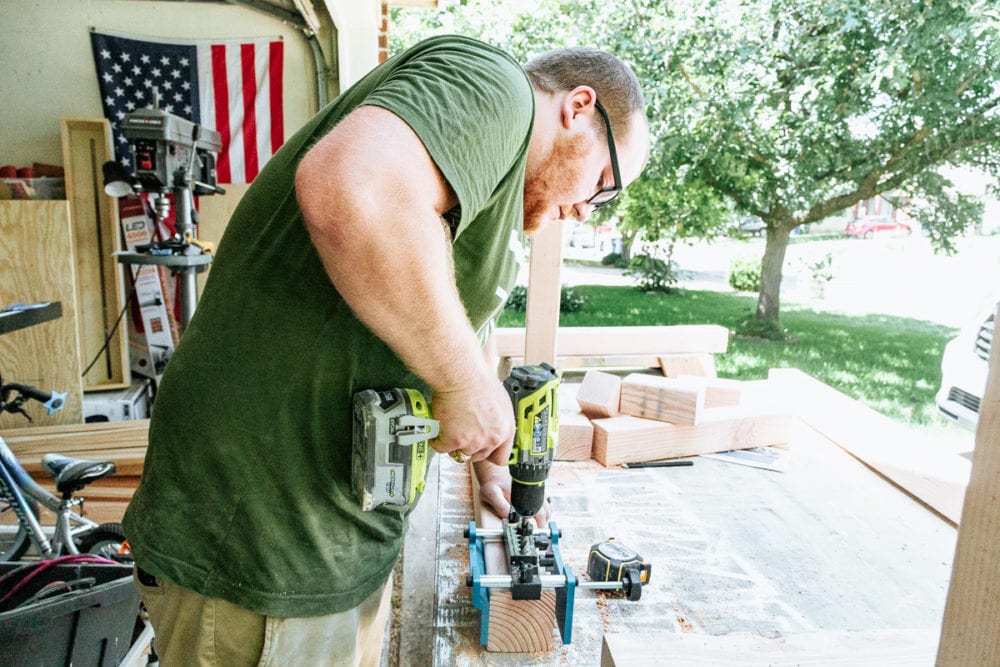
Next, we assembled the back railings.
You’re essentially doing the same thing here, just in a different configuration. We used the Beadlock Joinery System to attach the four small supports (the 7.25″ boards) at two spots along the long, 6′ boards.
The support boards should be placed 21.5″ from either end of the 6′ board for (mostly) even spacing.
Step Four: Put it All Together!
Once the sides and back have been assembled, you get to the fun part – making it look like a couch!
I highly recommend using an assembly square for this part of the project! We used this one. You can get a better idea in the video of how it works exactly, but basically you just attach the L-shaped bracket to each of the sides. Then, when you set the back piece on top of it, it’s lined up and ready to be drilled into place.
The top of the back piece should line up with the top of the arm piece. Simply add some wood glue at each of the points where the wood will connect, then drill them together using 6″ lag screws. We used two per board, so they didn’t have any chance of rotating.
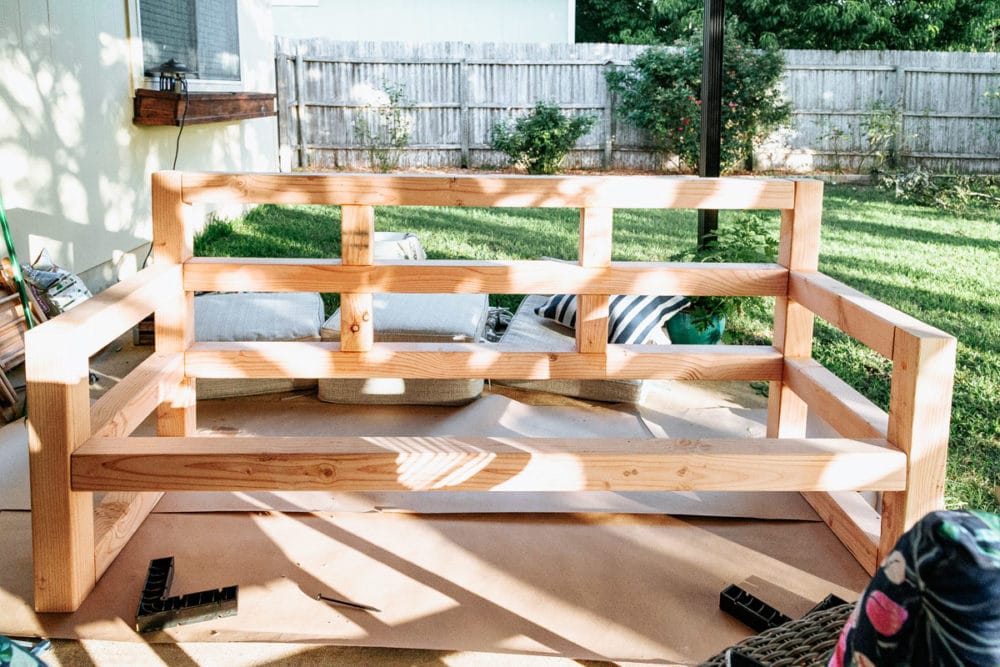
After attaching the back piece, grab your final 6′ board and attach it to the front of the couch using the same method. When you’re done, you’ll have something that’s starting to actually resemble a couch!
Step Five: Attach Supports For the Seats
I’ll note here that I went a bit out of order and stained the couch before we added the supports. It really doesn’t matter what order you work in, I just wanted to be making some progress while Corey was at work one day. So, I went ahead and took care of it before we added the slats. Either way is fine, though!
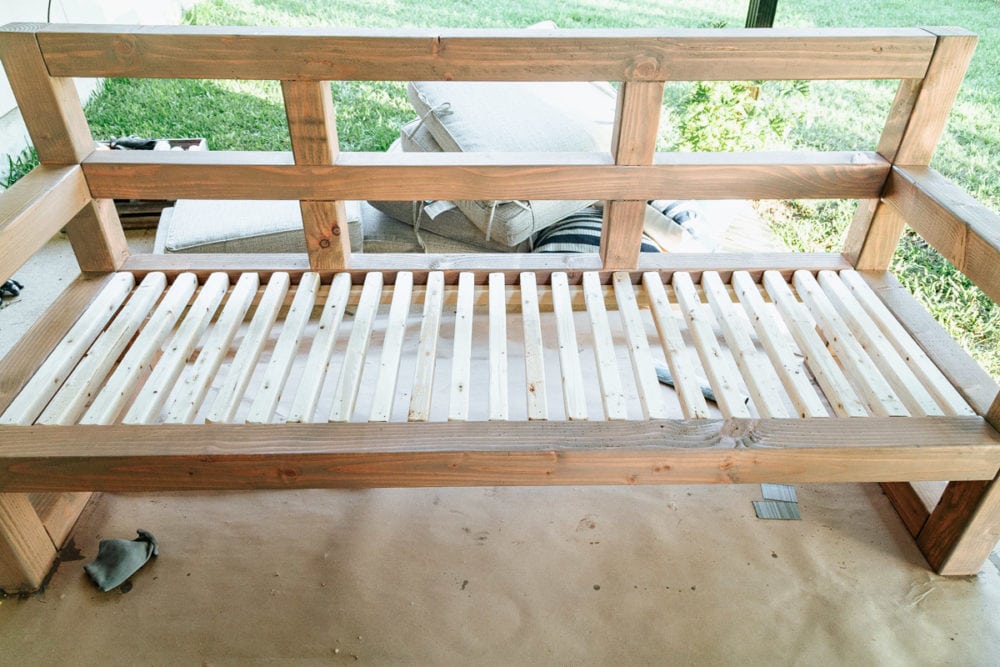
To attach the slats for the seat support, start by grabbing the long 2X2 boards and attaching them to the long side of the couch. I recommend using wood glue and a power nailer (note: if you don’t have one, it’s fine to use your drill and screws instead). We used a scrap piece of 2X2 for spacing. Hold the scrap piece so that it’s lined up with the top of the long 4X4s, then attach your 2X2 right underneath that.
Once the long support pieces are in, you can attach the slats (using the same method of wood glue and nails). Again, we spaced them using the scrap 2X2 board so it’s consistent all the way across.
Step Six: Sand Off Any Glue, and Stain
Yes, another round of sanding. I’m sorry.
All you have to focus on here is sanding off any marks that you made on the board (we made marks for most of the joints), as well as any wood glue that has dried on the wood.
You shouldn’t need to go through the entire sanding routine again this time. I started with 220 grit and was able to get most of it off with that, then just finished those areas with 320. If you have any particularly stubborn areas, though, you might need to go back down to 120.
Just remember that you should always work your way back up through the sanding grits if you do go down at all. This helps ensure a really smooth finish and will prevent you from having any rough patches on your couch.
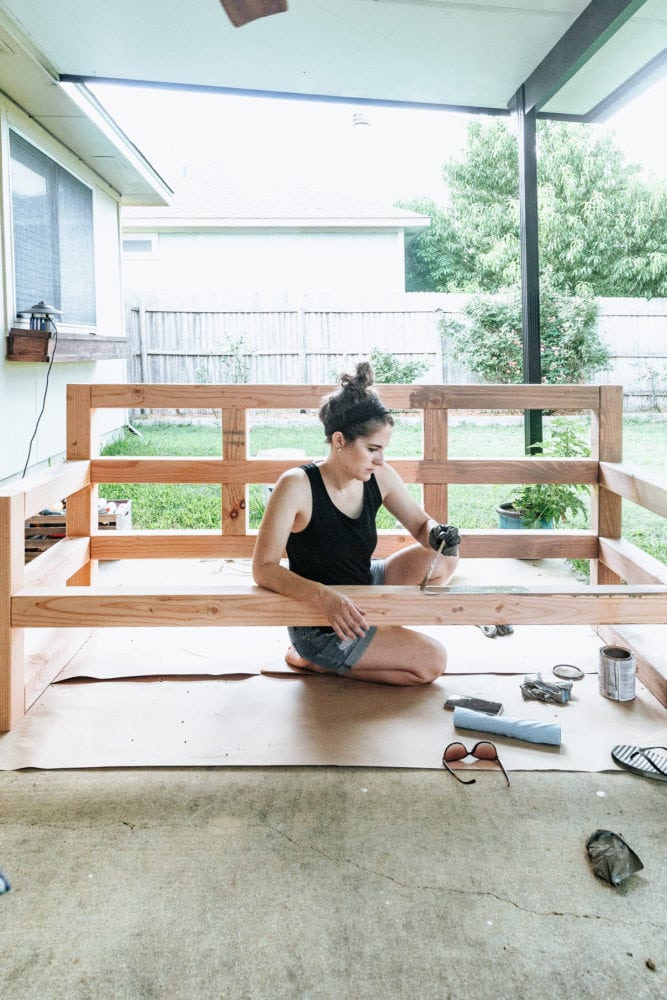
Once it was all sanded and clean again, I was finally ready to stain it. We used Flagstone for our stain – it has a good amount of gray in it and coordinates really nicely with the chairs we already had out there.
Step Seven: Seal the Couch!
This might be the most important step in the entire process, so hear me out: you have to seal the couch using spar urethane! Anything that will be left outside all the time is going to be susceptible to damage from the elements – even if it’s under a covering like ours will be.
Follow the directions on your specific spar urethane can, but most require several coats with dry time in-between. So, this part might feel torturous when all you want to do is start enjoying your couch. Just trust me – it’s necessary!
Once your last sealing coat is dried, you can finally put it in place! We searched high and low for good couch cushions that weren’t too expensive (but didn’t feel cheap) and we landed on these from At Home.
I will note that our only (super minor!) regret about this sofa is that I think the cushions we purchased have too high of a back. They stick out about 7″ above the back of the sofa, and we didn’t think about reclining the back at all. So, it’s a really high back that’s completely straight. It doesn’t bother us much (it’s still very comfortable!) but if we had realized this would be the case, I think we would have purchased cushions with a lower back,
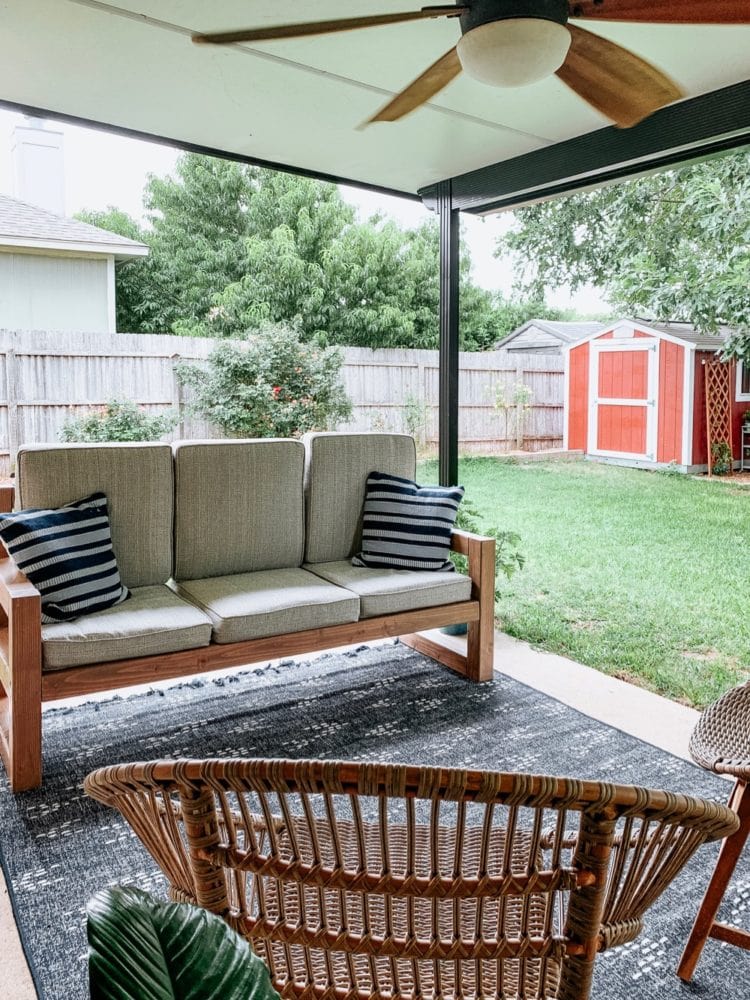
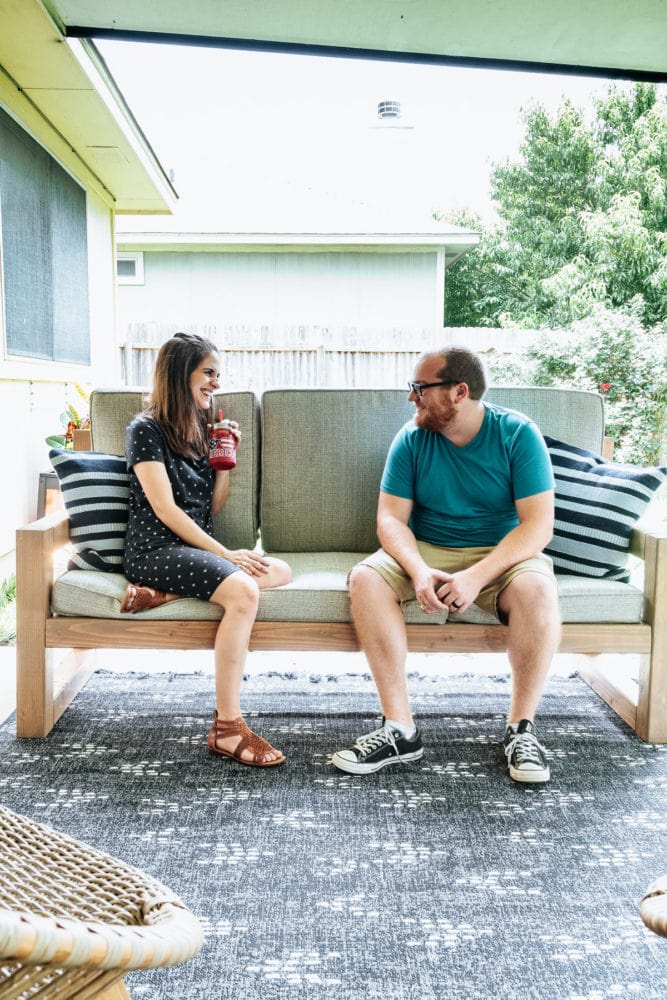
I’m so excited about how this couch turned out, and it’s just so nice to finally have a comfortable sitting area on our back porch! Next up, we are going to build a DIY coffee table to go in the center, then it’s all about adding some decor before the big reveal!

Love the stain color. Flagstone from what brand Rustoleum or Varathane? We already struck out with our first two stain choices – ahh! Thanks so much
Varathane is a Rust-Oleum brand, so it’s the same!
Hi guys just found your tutorial on this couch
Absolutely love it. Very sturdy looking and the cushions you chose are perfect
I may try building one …….just wish the price of lumber would come down
Thanks for posting and wishing you a fabulous day
Cheryl B
I love this couch, fabulous job!!! I’ve been researching diy outdoor couches fo over a year, this one is my favorite by far. Could you tell me what each of the cuts are used for on your cut list, i.e. arms, back, seat, etc. I am going to use your plan but need to modify a bit for my space. Thanks so much for posting your work.
Hi Deb! If you read the tutorial, each step tells you which cut size you should be using, so it should be clear as you work!
Wow!! It is gorgeous. It truly looks so great. Way to go guys!!
Thank you so much!
That looks awesome! And that joinery system might need to be one of my next tool purchases. Thanks for sharing 🙂