DIY Yellow Fluted Dresser
How to make a beautiful DIY fluted dresser – this fun IKEA TARVA hack is easy, adds a ton of texture to a plain piece, and is something anyone can tackle!
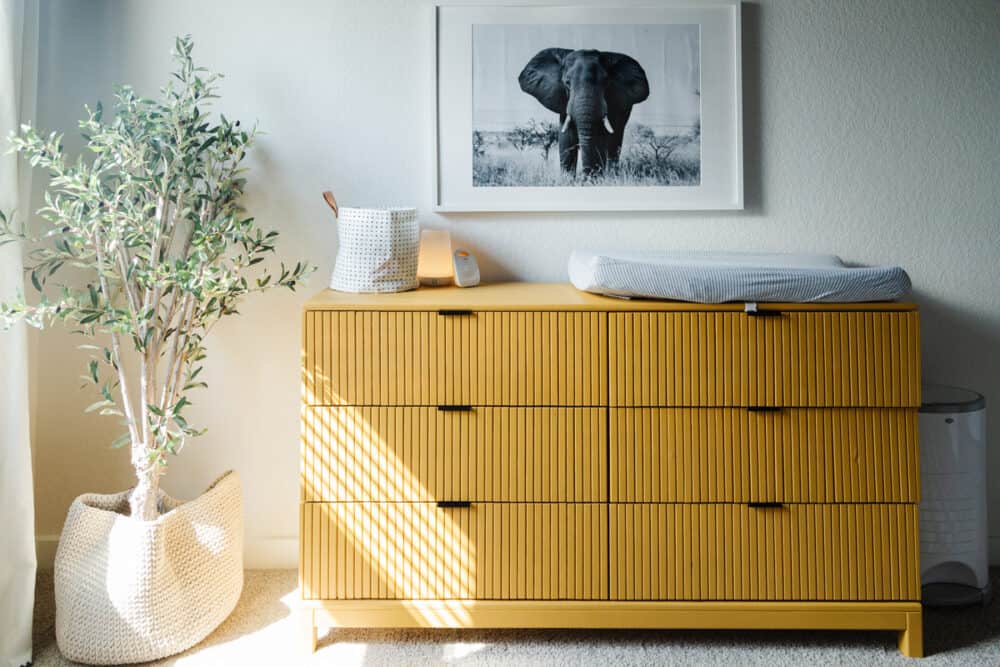
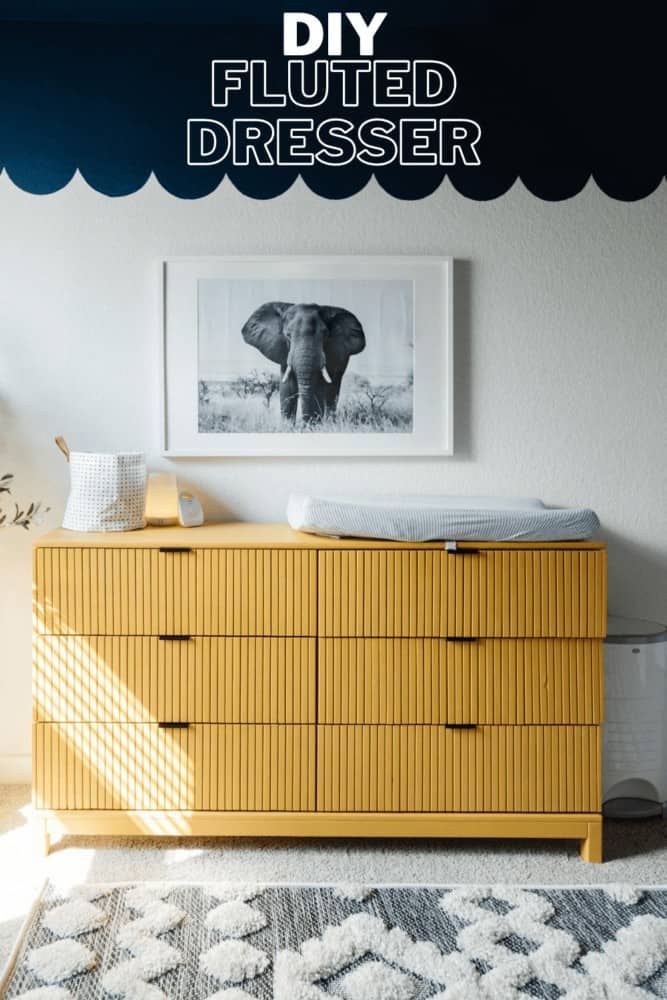
Last week when I revealed the big makeover we did in Grant’s room, I promised that I’d share the full process for how I made over this old IKEA TARVA dresser, and I’m here today to tell the tale!
I’ll start with the inspiration – I saw Jenna Sue Designs tackle this project back in July, and as soon as I saw her dresser on Instagram I knew I had to try something similar. I immediately pictured the same treatment on Grant’s TARVA dresser. I was already planning on painting it Saffron Strands by Behr as part of the Behr color trends campaign, and I thought the combination would be perfect.
So, it honestly was meant to be .
Jenna used fluted millwork for her dresser, so it’s a little more of a true fluted look than mine, but I knew I could get a similar look with stock wood from the big box store – and I think it turned out pretty great, if I do say so myself!
This is a 6-drawer IKEA TARVA dresser that I originally painted green and put in Grant’s nursery at our old house. We’ve used it as a changing table for his entire life, and it has served us wel,l so I was really glad to be able to give it a second life in this makeover!
I started off by sanding it down – when you’re re-painting furniture you (thankfully) don’t have to sand down every single trace of the previous finish – just enough for the surface to not be glossy anymore. You want to make sure it’s smooth, has no flaking paint, and is level and ready for a fresh coat.
After sanding it down, I decided to cut the legs of the dresser down a bit. The TARVA dresser is definitely on the tall side (it’s 36″ tall, where most dressers are closer to 30″) and it hasn’t ever bothered me but I thought some shorter legs would do a lot to change the look of the dresser and make it look a little less like the signature TARVA look. I cut about 3 inches off of each leg, and that simple little step already made a huge difference in the look of the dresser!
Then, the real fun was ready to begin.
I used 3/4″ pine screen trim to create the fluted look. It was about $3 for an 8-foot piece, and I needed just under forty 12-inch (ish) pieces to cover each drawer. In total, I used about 30 trim pieces – so the cost of this was right around $100, which isn’t bad for basically a brand new dresser!
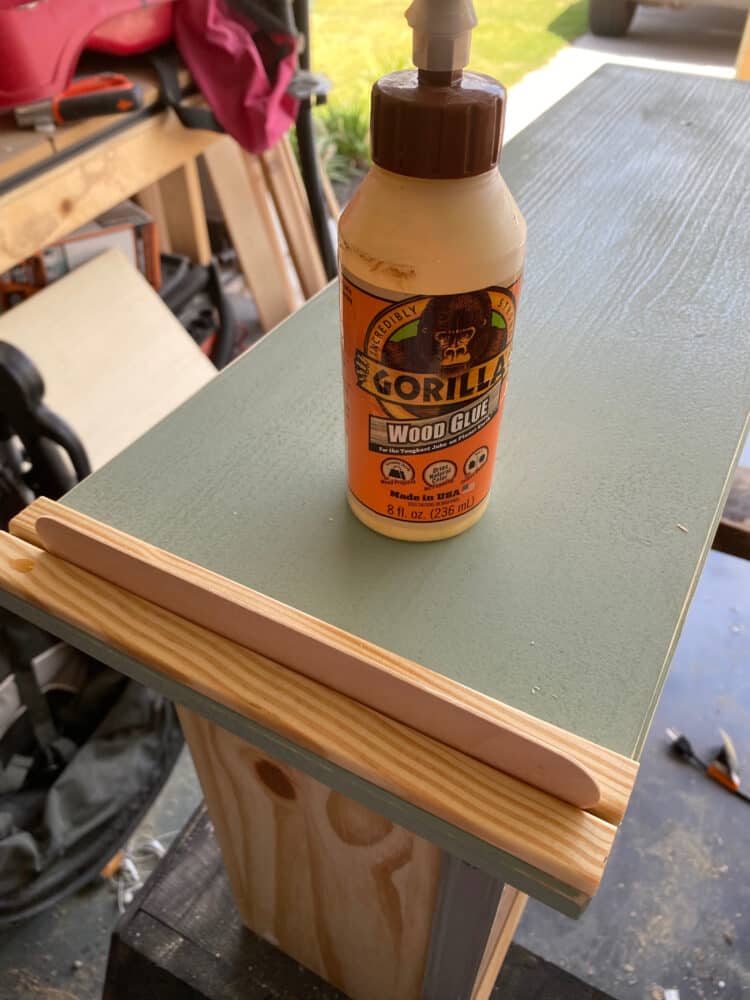
The process of attaching the trim was tedious, but easy. I measured the height of the drawer front and cut my trim pieces to exactly cover it, with no overhang. I recommend clamping a scrap piece of wood to your miter saw at the exact measurement you need so that you don’t have to measure each piece – just push it up against the scrap piece and cut. It’ll save tons of time when you have to cut over 200 little pieces of trim for your dresser drawers!
I lined the first piece up perfectly with the edge of the drawer, and then I used some large popsicle sticks as spacers (I got them from the paint stir stick section at Home Depot!). I used wood glue and pin nails to attach the pieces, and just slooooowly worked my way across the drawer front.
One lesson I learned the hard way is that when you move on to the second drawer, you should line it up next to the first one and use it as a guide to place your trim pieces. Even if you feel like you’re doing it exactly the same, you may have small variations that can add up and lead to lines that don’t match up. I made this mistake and ended up having to pull a bunch of trim pieces off and try again.
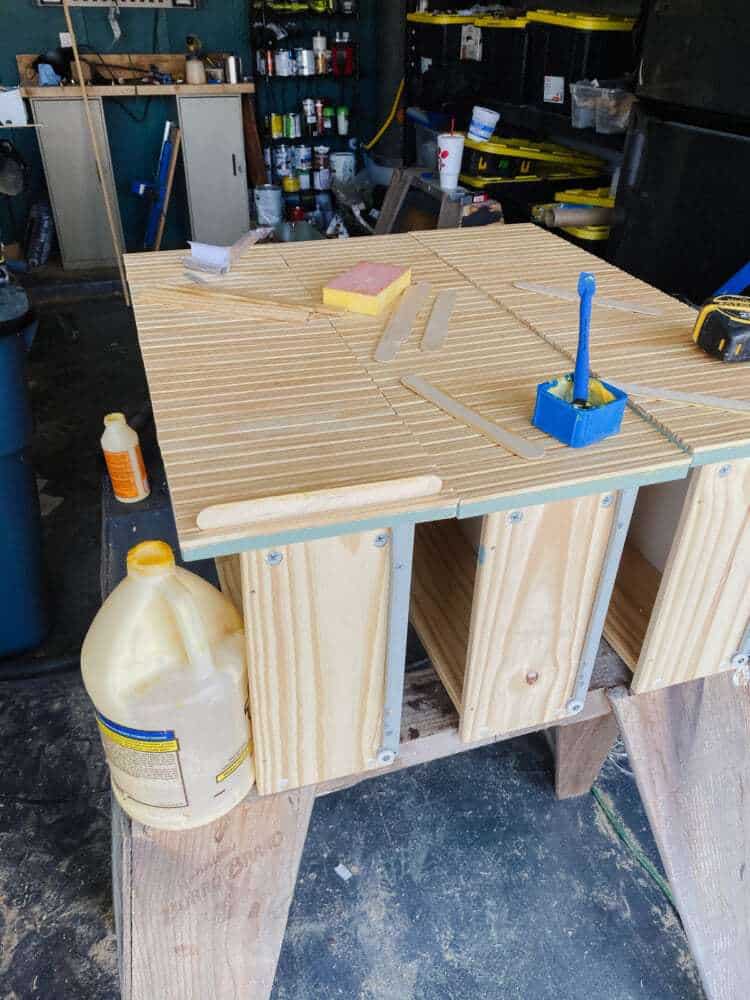
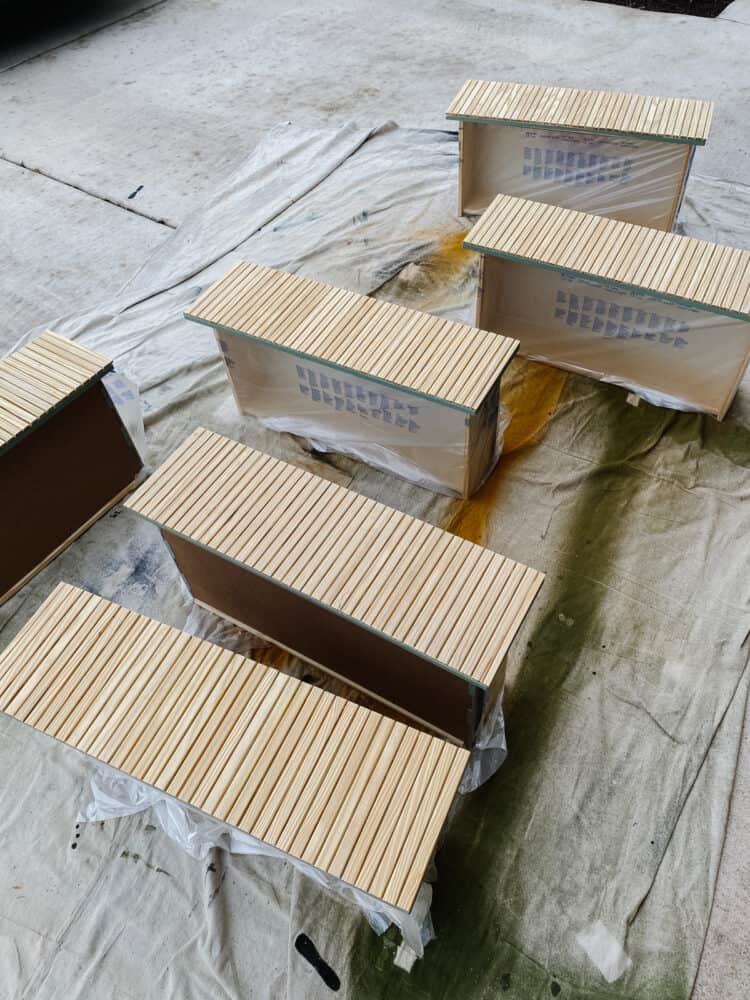
Do that for each drawer you do, and you should end up with well-spaced pieces that aaaaall line up once they’re back in place!
If you look closely you’ll see that the final trim piece on each drawer front needed to be cut down a bit width-wise – we just ran those pieces through the table saw to cut them to fit. We also made sure those went on the outside of the dresser, so that the pieces were the drawers meet each other were full pieces.
Once all of the pieces were in place and the glue had dried, I sanded down the face and edges of the boards, and it was time to paint.
I knew it would be a nightmare to paint all these tiny cracks with anything other than my paint sprayer, so that’s what I used to paint it! I have an entire blog post all about how to use a paint sprayer, so be sure to check that out if you’re unfamiliar with how to use one but want to give it a shot. I was able to paint this entire thing in about 10 minutes per coat with the sprayer, and it would have a taken at least an hour to do it by hand.
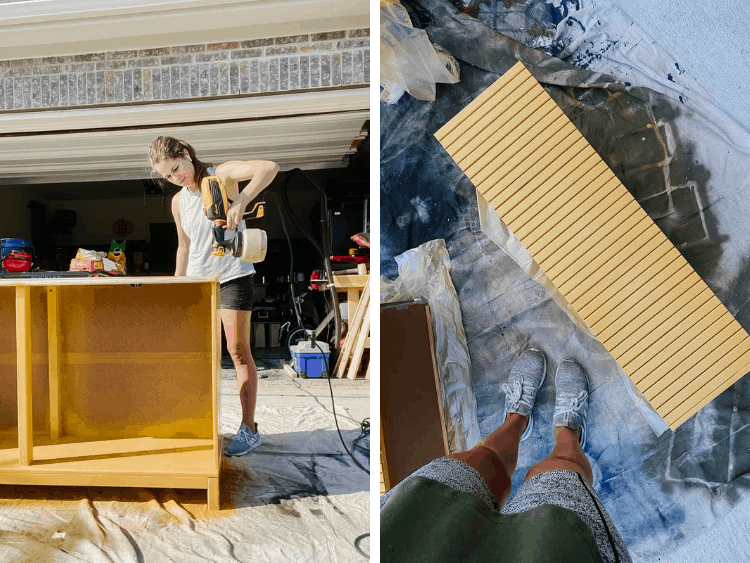
After painting, the final step is sealing. I used my trusty Varathane Triple-Thick Poly (only one coat needed, which makes everything so much easier!) to seal it.
Once everything had a couple of days to dry (with furniture that’s going to see a lot of use like this will, I like to give it a solid 24-48 hours to cure before I put it back into place, if possible), I put it all back together. The knobs I had on it before didn’t really work anymore because it was nearly impossible to drill out a hole for the knobs in these tiny trim pieces without splitting it. It wasn’t worth the painstaking time and effort it would take to make it perfect (and possibly having to replace multiple pieces of trim), so I went with these top-mount drawer pulls instead.
It ended up being a really great pivot, because I love the modern look of the pulls and how they don’t distract from the fluted look at all. I worried that the additional depth of the trim on top of the drawer front would make them hard to use, but we’ve had it all in place for a few weeks now with no issues, so I can officially say these are the way to go with this project!
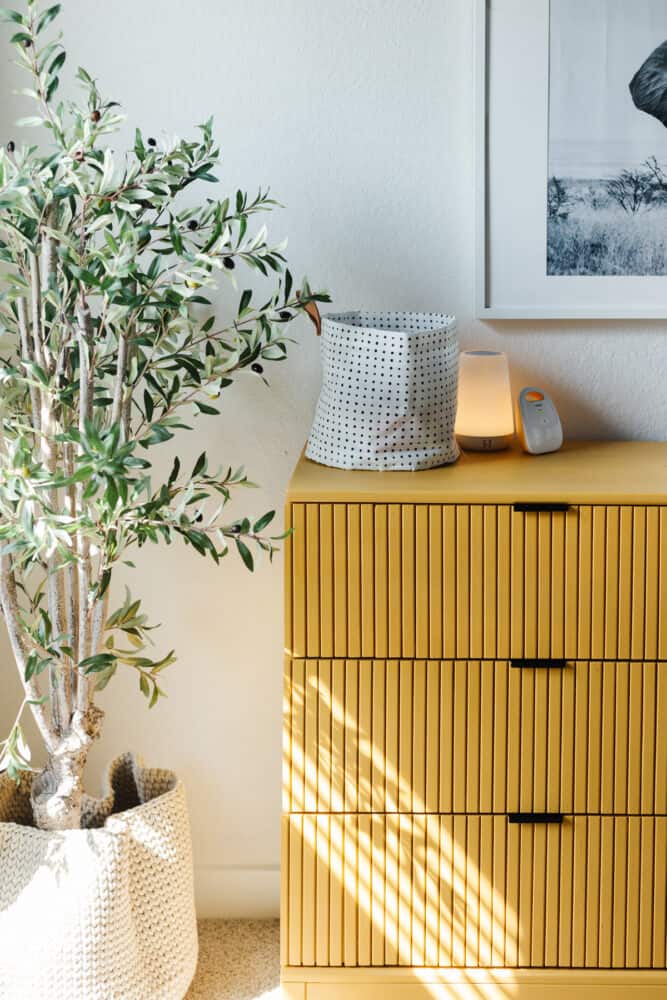
Sources/Details At A Glance:
- Paint color: Saffron Strands by Behr
- Trim details: 3/4″ screen trim (here it is at Home Depot)
- Drawer Pulls
- This is the changing pad we use (and yes, it fits great on top of the dresser, we’ve used it for 2 years now!)
- Here’s the sprayer I used
- Elephant Print
- Faux olive tree
- Here’s the full reveal of Grant’s room!


I love this idea! I’m thinking about trying the same thing but instead of painting, staining. Would you stain the individual screen pieces prior to attaching or wait to stain until you’ve applied the screens on the drawer?
Love this! What’s the color you used is the perfect mustard yellow.
It’s Saffron Strands by Behr
How are the drawer pulls ? I’ve bought similar ones and I found that they’re not really deep enough with the added depth of the trim
They work great for us! They’re deep enough to easily grab and open the drawer.
How did you get your trim pieces lines up so perfectly with the edge of the dresser? This is the cleanest trim hack I’ve seen!
We ripped down the final piece with the table saw so it fit perfectly!
I just love it! And I completely LOVE that you put an elephant print above it since he loves them so much. Bravo!!
It looks amazing! Great job!