The Easiest HEMNES Dresser Hack
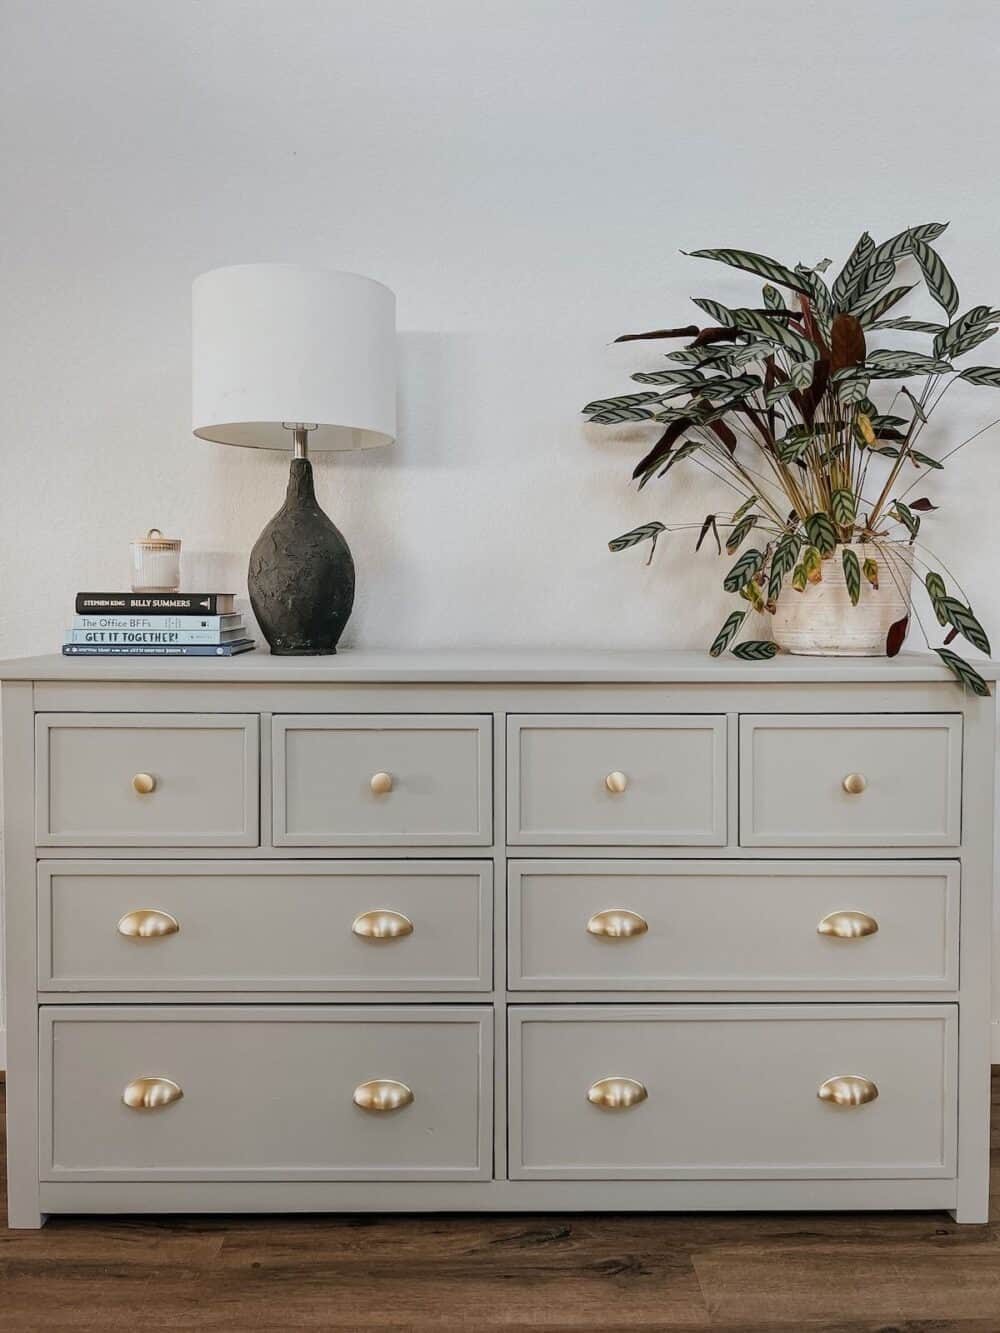
We all love a good IKEA hack, right?! I’ve had all sorts of fun over the years with various IKEA furniture makeovers (I’ll link them all below!), and today I’m sharing my newest one. I found an old IKEA HEMNES dresser on Facebook marketplace for $40 and totally flipped it into something special for my closet. It was a truly easy project that anyone can do, and I’m sharing all the details today of how I got it done.
This post is sponsored by DAP.
I’ve been looking for a dresser for my closet for a while now – I’m working on giving it an organization makeover and I knew a big dresser would add a lot of storage. I wanted something that needed some updating so that I could save some money and have fun flipping a piece of furniture. Thankfully, this piece was just the ticket. IKEA pieces are always great for makeovers, and it’s the perfect size for this wall in my closet!
I’ve done a lot of dresser makeovers in my day, but this time I specifically wanted to do something that would be simple enough that anyone can do it. Even someone who doesn’t own a power tool or hasn’t ever picked up a paintbrush.
Would you believe me if I told you that you can get this kind of transformation even if you’re a total beginner? Because you totally can.
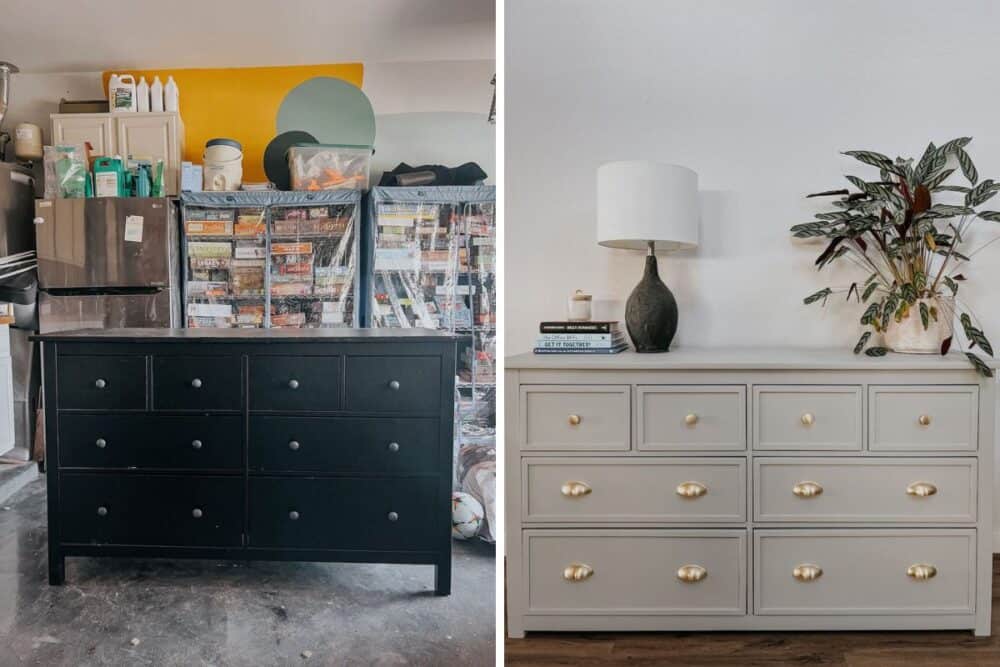
DIY IKEA Hemnes Dresser Hack
Video Tutorial
Love watching it all come together in video form? Here’s a look at how I transformed this IKEA dresser, as seen on my Instagram stories!
Tools & Materials Needed
NOTE: I used power tools for this project, but do not have to. I’ll explain alternative methods for everything I share as we get to each step!
For this project, you’ll need:
- Trim. I used 6 pieces of PVC trim (similar to this one). I went with PVC because it’s really easy to work with and it’s cheaper than wood. If you’re more comfortable with wood trim, something like this is a great option.
- Saw. You’ll need to cut your trim before putting it on the dresser. I used my miter saw (click here to learn how to use one). If you want to skip the power tools, these are a really great option, and so is this!
- Wood glue.
- A nail gun OR clamps. I used my pin nailer to hold the trim in place while the glue dried. Click here to learn more about how to use a nail gun. No nail gun? Clamps, or even just some heavy books will work as well!
- Wood filler or spackling. If you use PVC trim like I did, DAP’s Platinum Patch is what you’ll use to fill the gaps between the wood. If you use wood trim, wood filler is the choice. Either way, this post will teach you how to use it!
- Putty knife. For applying the spackling or wood filler.
- Sanding block.
- Primer. Only use this one for IKEA furniture. Trust me.
- Paint.
- Paint sprayer OR roller + paintbrush. A paint sprayer is always the fastest + easiest way to paint furniture. But, it’s far from the only way! A paintbrush and roller will work just fine!
(Optional First Step) Cutting Down the Legs
I want to note that before I did anything to this dresser, I took the time to cut down the legs a bit. There are ways to add new legs or otherwise zhuzh things up, but I wanted to keep it simple! So, I grabbed my circular saw saw (click here to learn how to use one) and cut a few inches off each leg.
You can 100% skip this step if you want to avoid the tools, or you can use a regular saw to cut down the legs. Just remember that it might be tricker to get a straight line, or cut them all at exactly the same spot, if you’re using a hand saw.
Add Trim to Drawer Fronts
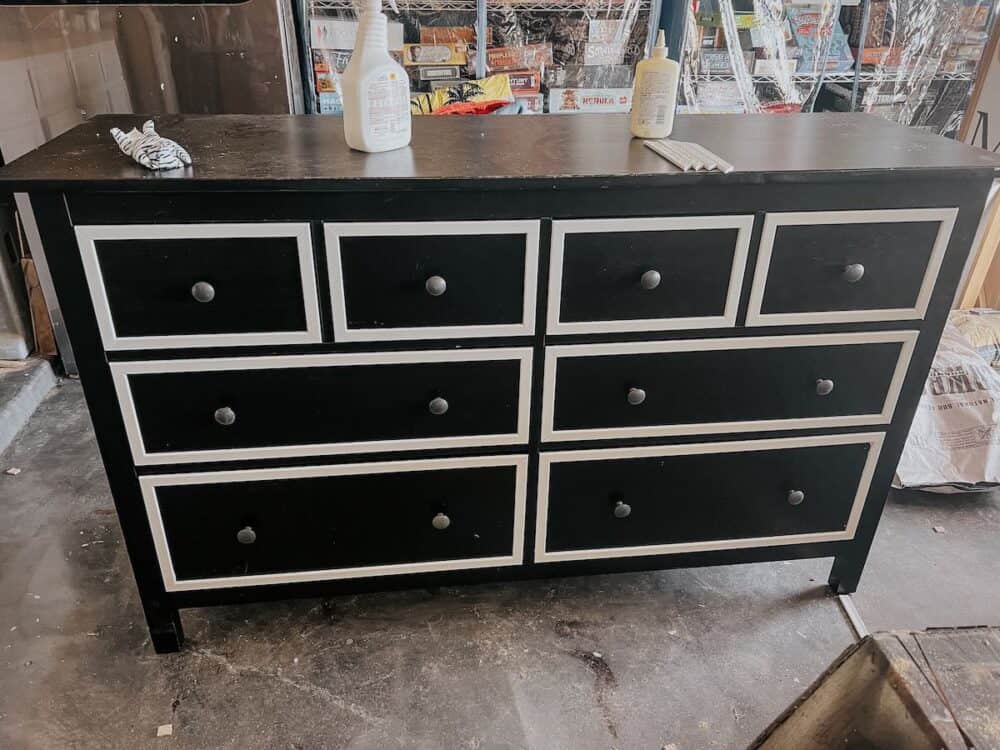
There are a zillion different styles of trim you can do on a dresser. But, I wanted to keep things really simple and accessible, so I just went with a simple box all the way around the outside of the dresser. To accomplish this, I just cut trim at a 45-degree angle so that the longest part of the trim perfectly matched the side of the dresser drawer.
As I mentioned above, I cut my trim using my miter saw. But, miter shears are a great option if you aren’t comfortable with power tools! They’re affordable and really easy to use.
Once my trim was cut, I attached it to the dresser drawer using wood glue and pin nails. Don’t want to use a nail gun? Just glue is fine! The main purpose of using the pin nails is simply to hold the trim in place while the glue dries. Wood glue is more than strong enough to hold the trim in place! If you would prefer, you can clamp the trim in place while it dries, or simply set something nice and heavy on top until the wood glue dries. Just be sure it doesn’t shift when you place the heavy object on top!
Wood Fill + Sand Trim
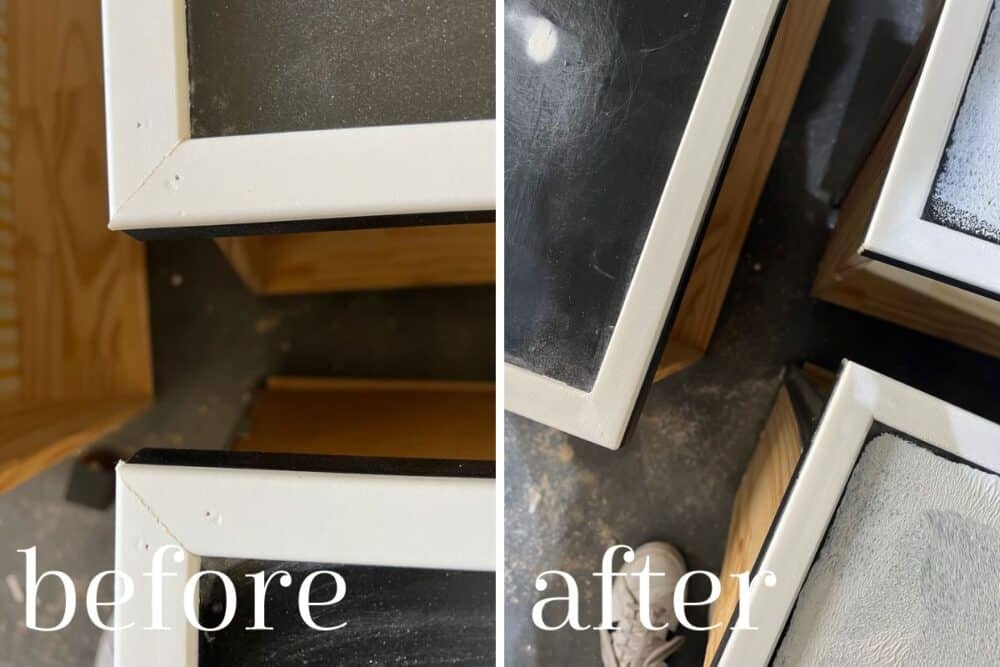
Once your wood glue is dry, it’s time to fill in the gaps! You may have some imperfect cuts, and even if your mitered edges are perfect, you’ll still have a visible seam between trim pieces. This is where the wood filler comes into play!
I used DAP’s Platinum Patch to fill in my seams, since I was working with PVC trim. Wood filler is the best option for MDF or wood trim!
Click here to learn everything you need to know about wood filler and how to use it. The basic principles apply to the spackling, too! Just use a putty knife to fill in the gap, making sure to slightly overfill it. Once it dries, sand it with a sanding block until it’s fully smooth.
Fill Hardware Holes (Optional)
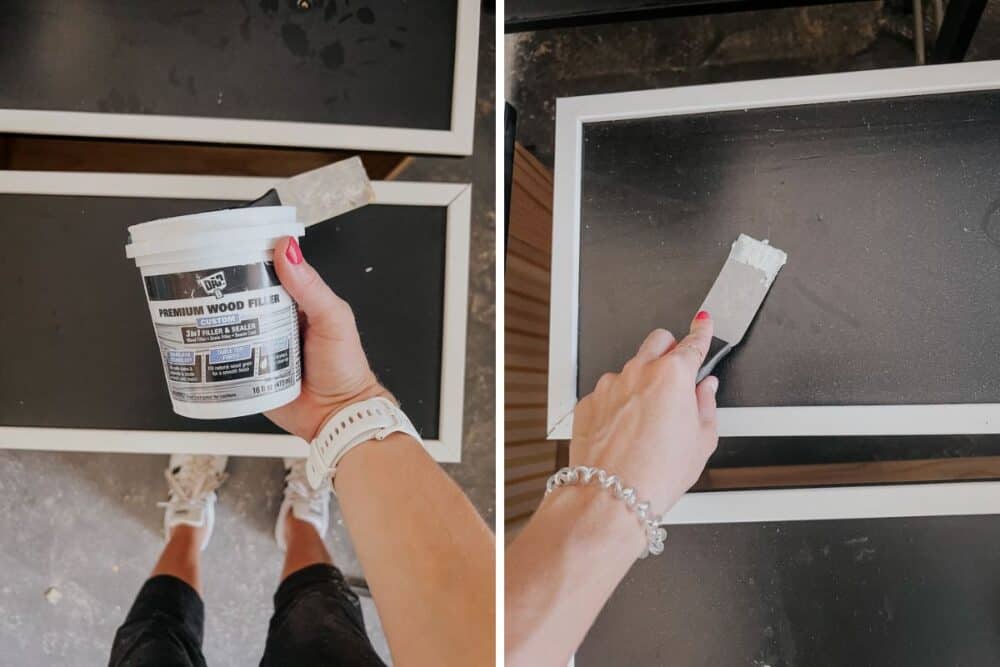
At this point in the process, I also chose to fill in the holes for the hardware on the larger drawers. I wanted to replace the pulls with something a little more fun, and I knew the existing holes wouldn’t work. I simply used DAP’s Premium Wood Filler for these holes, then sanded it down just like with the trim!
Once it’s sanded and painted, the original holes are totally invisible – it’s just like magic!
Prime + Paint Dresser
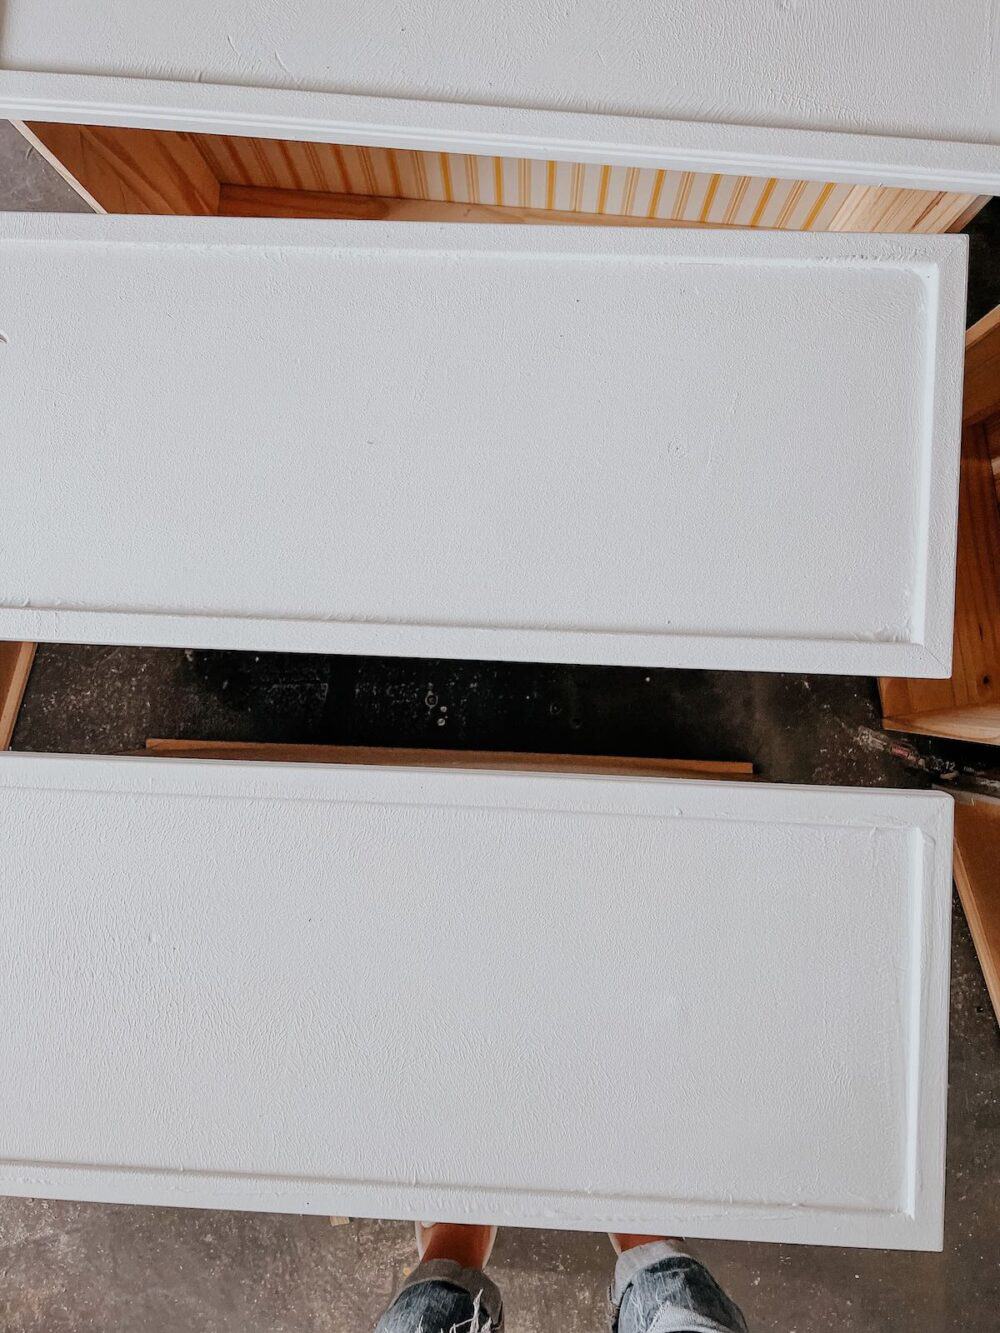
Now for the fun part – it’s time for paint! When you’re working with IKEA furniture, you always want to prime it using this primer. It’ll give you the best hold over time and will ensure your finish doesn’t chip or scratch.
I gave everything a coat of primer and then painted using a blend of paint I had laying around. I can’t give you the exact color name because it’s a mix of three different paints that I was almost out of! It created a really pretty light gray paint color that I think is going to be perfect in my closet, though, so I’m happy.
I’ll note, if you want to strip the dresser down and stain it instead, that’s totally possible! It’s wood furniture, so you’d just need to sand the existing finish off, first.
Click here for more tips on painting IKEA furniture.
Replace Hardware (Optional)
And finally, your last step – replacing the hardware! This is obviously an optional step, but it’s one I highly recommend. Fresh hardware really elevates the look of just about any piece of furniture, and it’s such an affordable way to get a totally new look.
I used these knobs on the smaller drawers, and these cup pulls on the big drawers. I debated between one and two cup pulls on the large drawers, and I’m really glad I went with two in the end. It looks a little more substantial and custom, and I love the finished look.
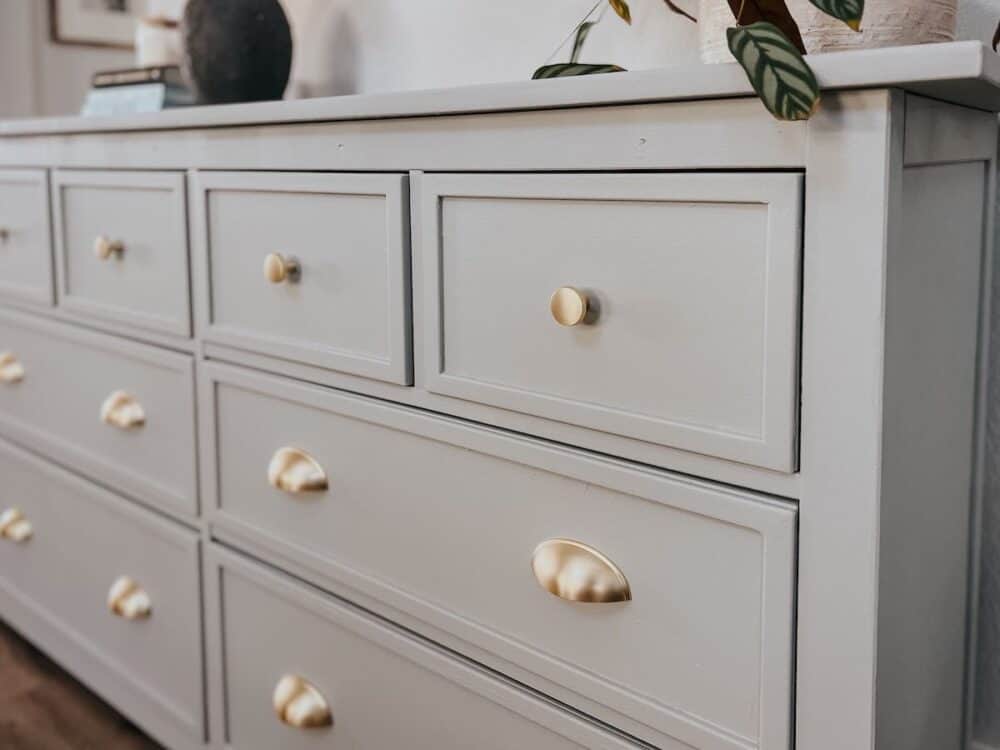
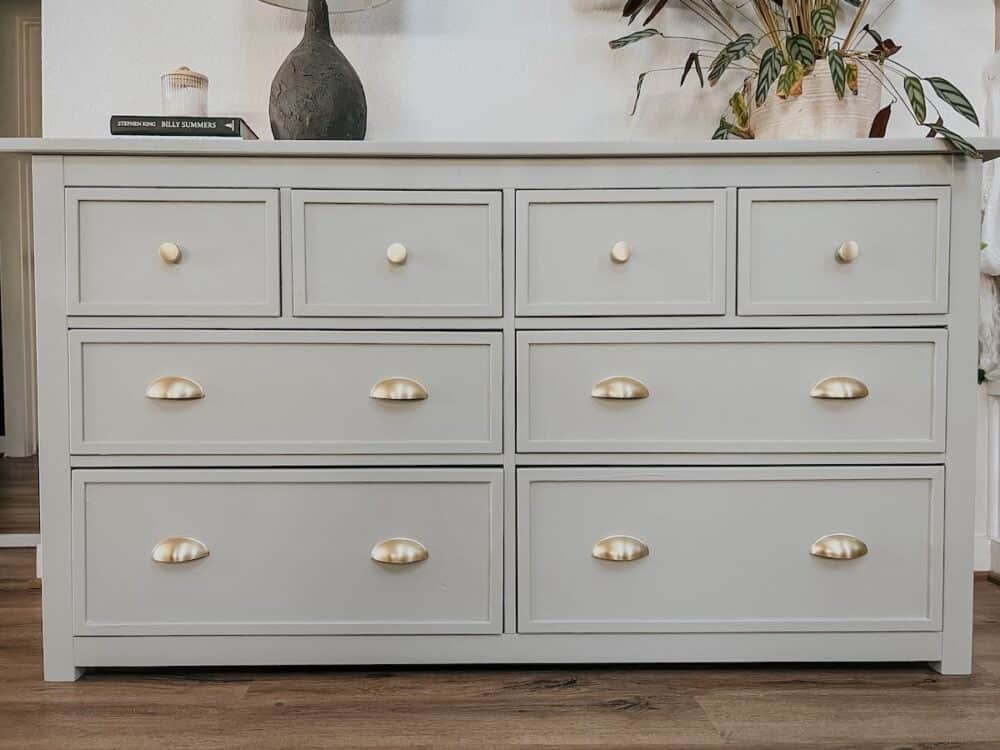
Next step? Put the dresser in my closet and fill ‘er up! If you want to see how the closet update turned out, click here for more details on how this old dresser gave a new life to my closet’s organization system!
if you have any furniture makeover projects coming up, don’t forget to turn to DAP for all of your wood filling and repair needs. I promise they’re the best brand out there!

Hey if anyone is asking for the colour what is used here is a mix of paints she already had. But! My husband and I believe we have found the closest colour match. We got semi gloss
Brand: Dulux
Colour Moorland W A251 S20A3
Hi,
I’m about to renovate our Hemnes drawers, I love the handles on yours. I’ve found cup handles. Can you tell me what diameter coordinating knobs you used please? Your look works perfectly! Thanks so much,
Jayne.
Hey! I would love to know the color you chose it’s beautiful!
Love the paint color, what is it?
Your renovated Hemnes dresser is just beautiful!! Really like the length of the shortened legs a lot and want to do the same to ours which is being assembled this week. What length are they? About one inch tall? They look very classic at that height! 🙂
Hi! Love the colored you used on the dresser, would you mind sharing what color it is? 😀 I’m attempting an ikea project myself!