DIY Window Boxes for the Camper
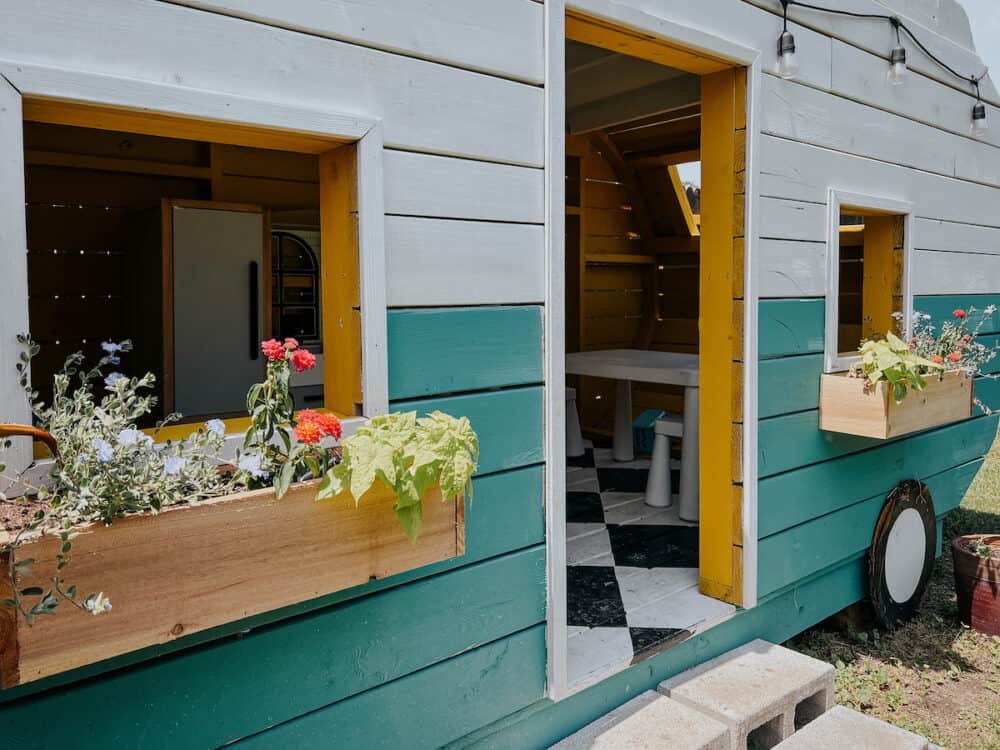
When I added the camper playhouse to our backyard, I knew that I wanted it to be something that evolved over time. I always dreamed of decorating it for the holidays (still haven’t done that!), adding new features, and swapping out things inside as the kids get older. So far, all we’ve really done to upgrade it is add a rainbow stripe inside. That is, until I installed the cutest ever DIY window boxes last week!
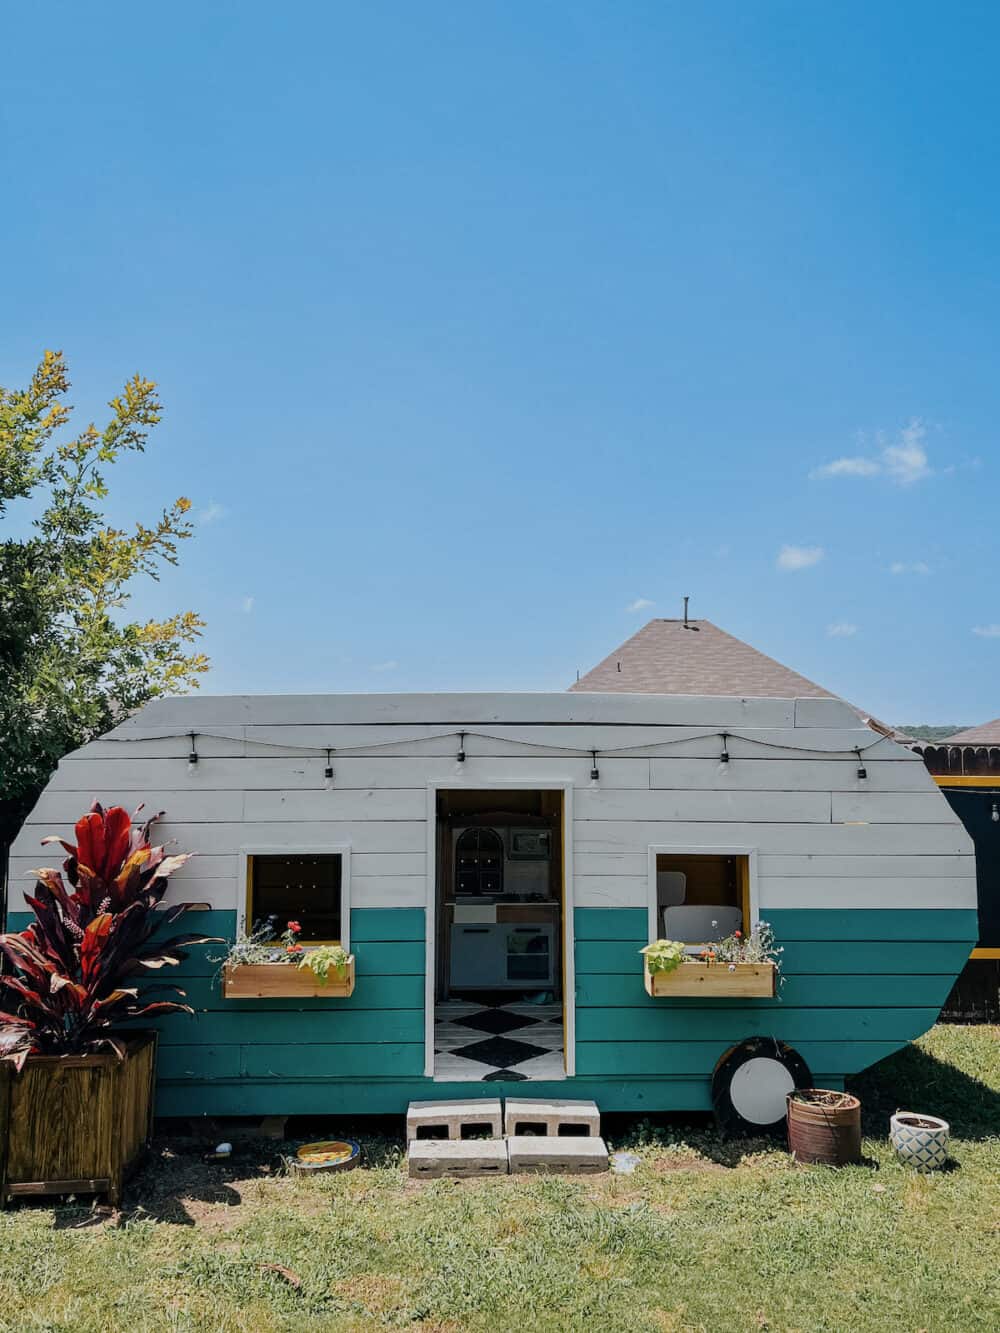
This is an idea I’ve had for forever and just haven’t ever gotten around to trying. But, the boys are both at an age where they’re actually into helping out with the plants and they love having flowers to call their own. So, I decided this was the summer to make it happen. And the best part is, these little window boxes cost less than $20 all in and only took about an hour to put together.
So, even if they manage to immediately kill everything I put in there, I think it’s worth it, right?!
I’m going to show you how to build these simple little DIY window boxes. They’d be cute on an actual house too, especially if you added some trim around them!
Want Your Own Camper Playhouse?
Click the link below to download the plans for our camper playhouse. They’re detailed and easy to follow, and your kids will LOVE you for it!
DIY Window Boxes: Video Tutorial
Let’s start off with a little video showing how it all came together. This is one of those things that might be easier to see in video form, and you’ll be amazed at how quickly each box went!
How to Build DIY Window Boxes
Tools & Materials
The listed amount of wood will make two window boxes that are 20″ long. If you’d like to make bigger ones, be sure to plan accordingly!
Step One: Measure + Cut Wood
First up, you’ll need to determine the size of your window boxes. Mine are 20″ wide, because that’s about the size of the windows on the camper. Obviously, you’ll want to plan on having yours match the size of whatever window you’re putting them under!
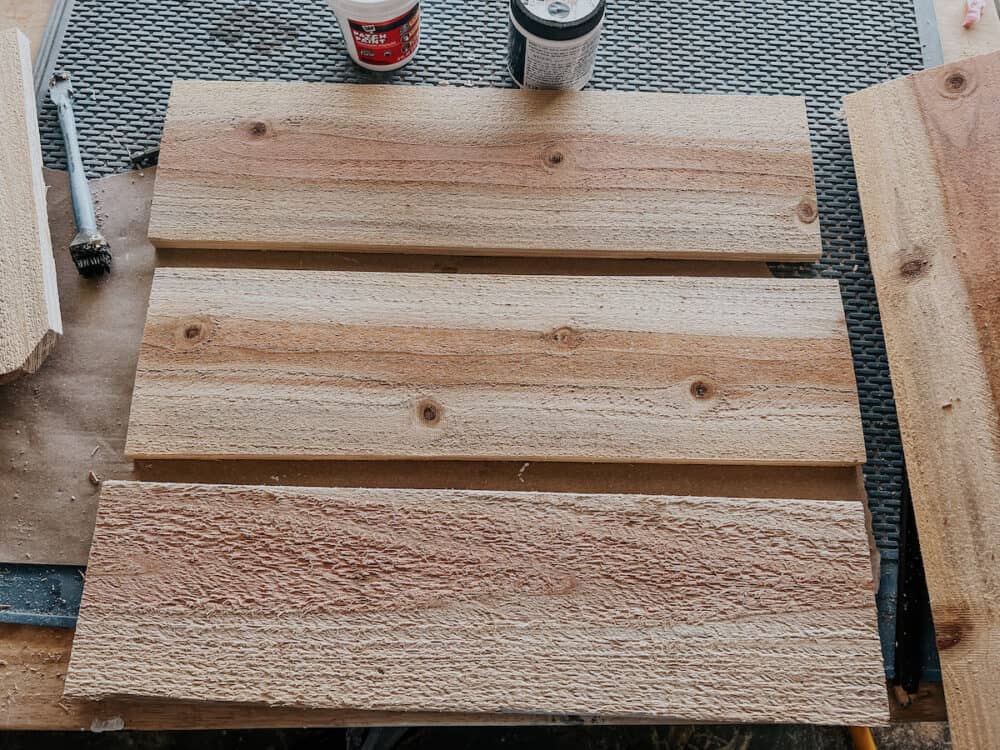
After you’ve measured, cut three pieces of your cedar fence pickets to that length. These three long pieces will act as the sides and bottom of your planters. Wait until later to measure and cut the short side pieces.
Step Two: Attach Sides + Bottom
Now, you’ll use wood glue and your nail gun to attach the two side pieces to the bottom piece. Simply line the long end of one piece up with the long end of another piece, add wood glue, and nail it into place!
I recommend fitting it so that the bottom piece sits inside the two long side pieces, rather than sitting under them. If it’s nailed in from underneath, the weight of the soil might affect the integrity of the window box and cause it to fall apart.
Attach both of the long sides to the bottom piece so that you have a long and skinny “U” shape.
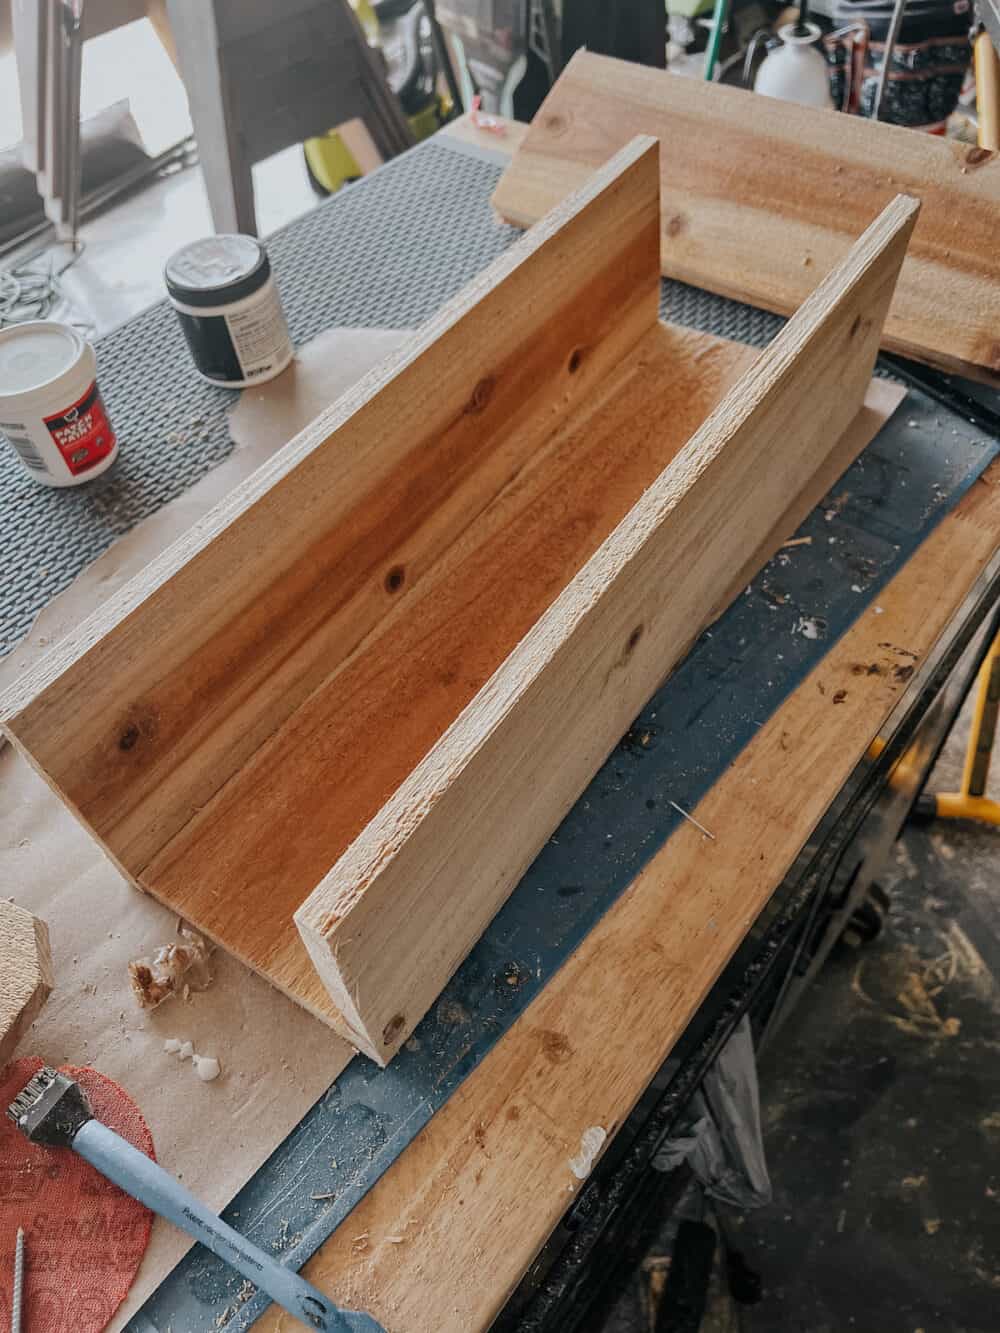
Step Three: Measure, Cut, & Attach Short Sides
Now you’re ready to cut the short sides. To do this, I just grabbed a scrap of the fence picket, lined it up on the side, and used my pencil to mark where I needed to cut. I cut it down with my miter saw, then attached the end pieces using the same wood glue and nail gun method as before!
Cedar fence pickets can be slightly bowed (they’re thin!) so be sure to press the wood together tightly to help combat this. The nails will act as a clamp to help hold everything a little straighter while the glue dries.
When you finish attaching the short sides, you’re almost done!
Step Four: Drill Holes + Line with Plastic
Now, you need to drill some drainage holes and decide if you want to line the planters with plastic. The plastic is optional, the drainage holes are not!
When it comes to planting in your box, you have a few options. The one you choose will help you determine whether or not you need to line it:
- You could set the nursery pots directly in your window box. This eliminates the need to re-plant or add soil to your window boxes, and ensures a lot of longevity for the boxes! It also makes it easier to change out the plants anytime. The con of this method is that unless you choose really full, lush plants, you’ll probably be able to tell that they’re not actually planted in the box.
- You can line the planter box with something like plastic or coco liner, then plant directly in it. Cedar is very rot resistant, but any wood can get damaged over time when directly exposed to soil and water constantly. Adding a liner will protect the wood help them hold up better in the long run!
- You can just plant directly in them! Of course, you don’t need to line your window boxes with plastic. They’ll do just fine (probably for several years!) without anything. You can just plant whatever you’d like directly in the boxes as is if you want to skip this step.
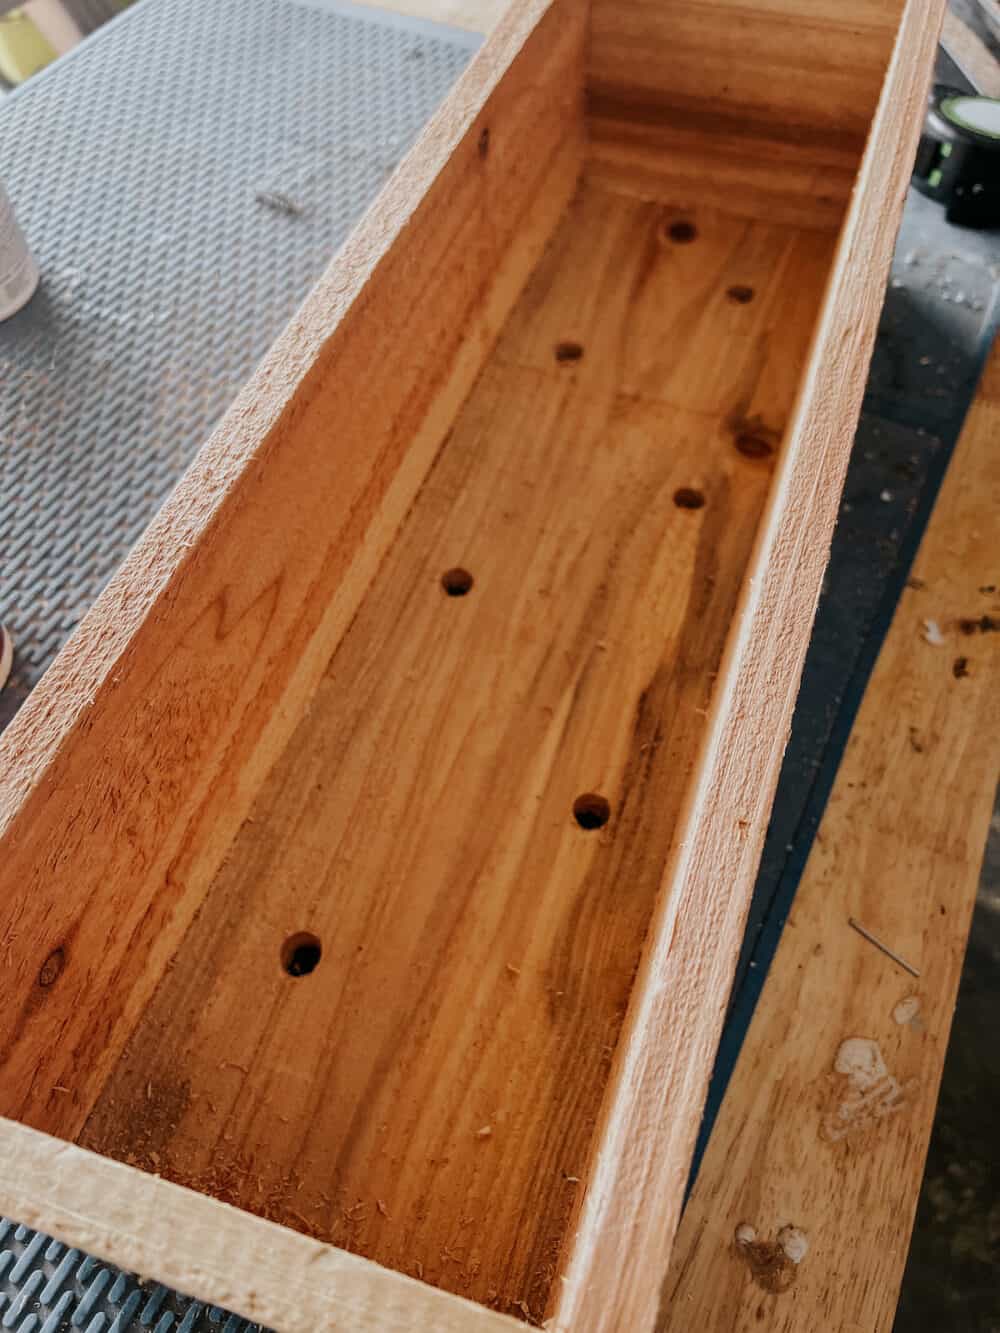
There’s no right or wrong answer here, it’s just personal preference! I had some plastic on hand so I decided to line my boxes. I stapled the liner in place with my staple gun, made sure to add holes that lined up with the drainage holes, then I was ready to plant.
Step Five: Hang Them Up!
Since the entire camper is made of wood (and not siding), this was a really easy step for me. I didn’t need to locate studs or anything! I just drilled through the back of the planter directly into the camper using outdoor screws and my drill. Easy peasy!
If you’re adding your planter boxes to a house, of course, you’ll likely need to be more thoughtful about it. Locate the studs of the house and make sure you drill directly into them. If your planter boxes are really long, you may want to consider using brackets, to add some additional support to the bottom of the window boxes.
Step Six: Plant and Enjoy!
Once they’re hung up, you’re ready to choose out some plants and start enjoying your planter boxes! I let the boys pick out some flowers that made them smile, and they helped me get it all planted. They are so proud of their new flowers, and I’m honestly so thrilled with how it turned out!
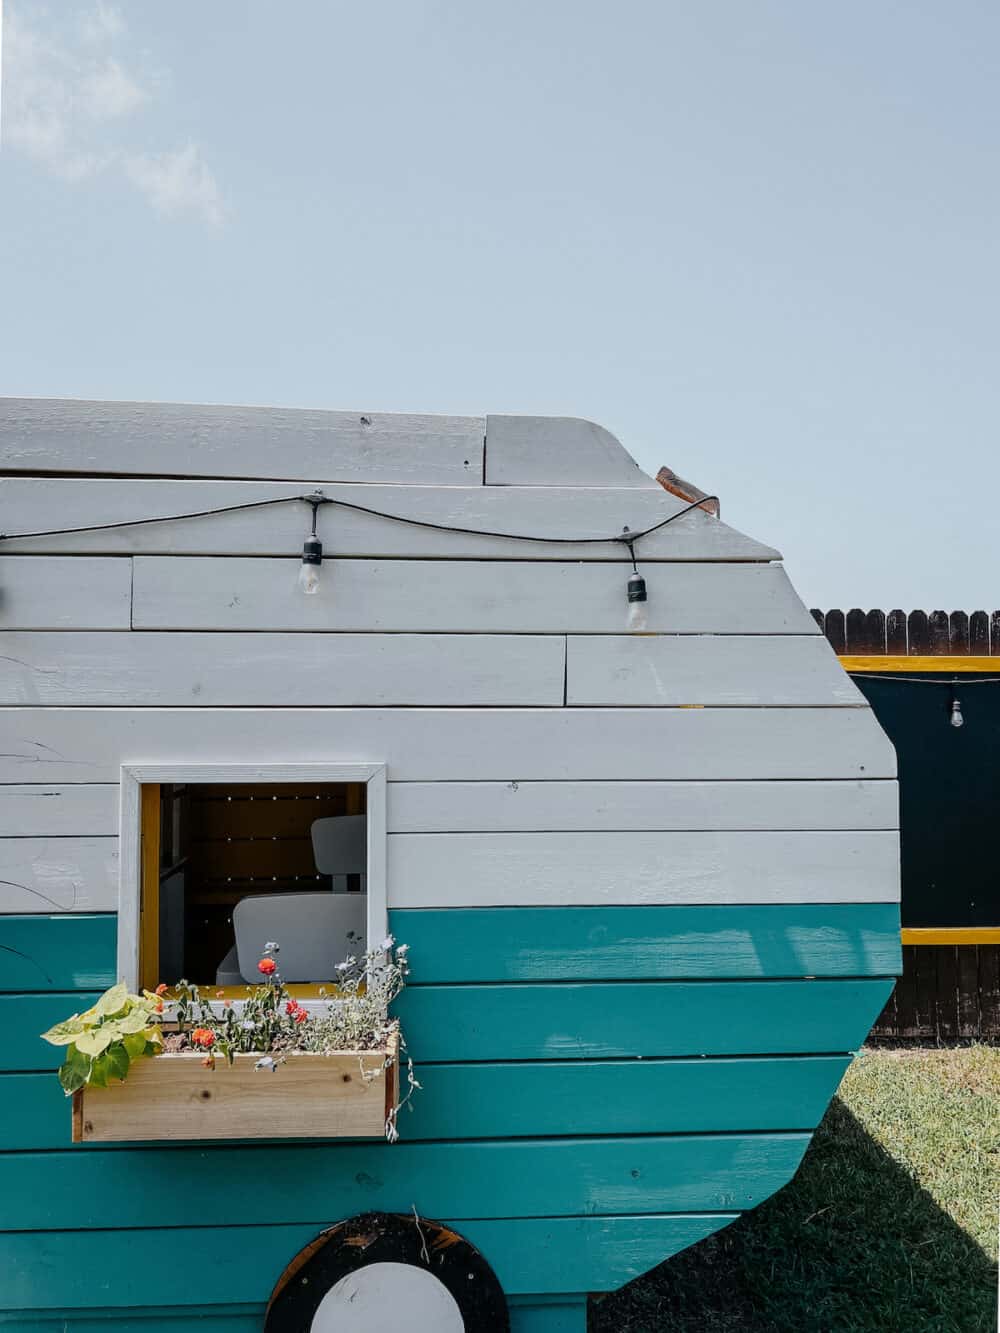
I still have a few thoughts on things I’d like to do to spruce up the camper in the coming months and years. I really want to replace the cinderblock “steps” with something more official, for starters! And I’m determined that this Christmas will be the year we finally decorate it for the holidays. Any ideas?!
