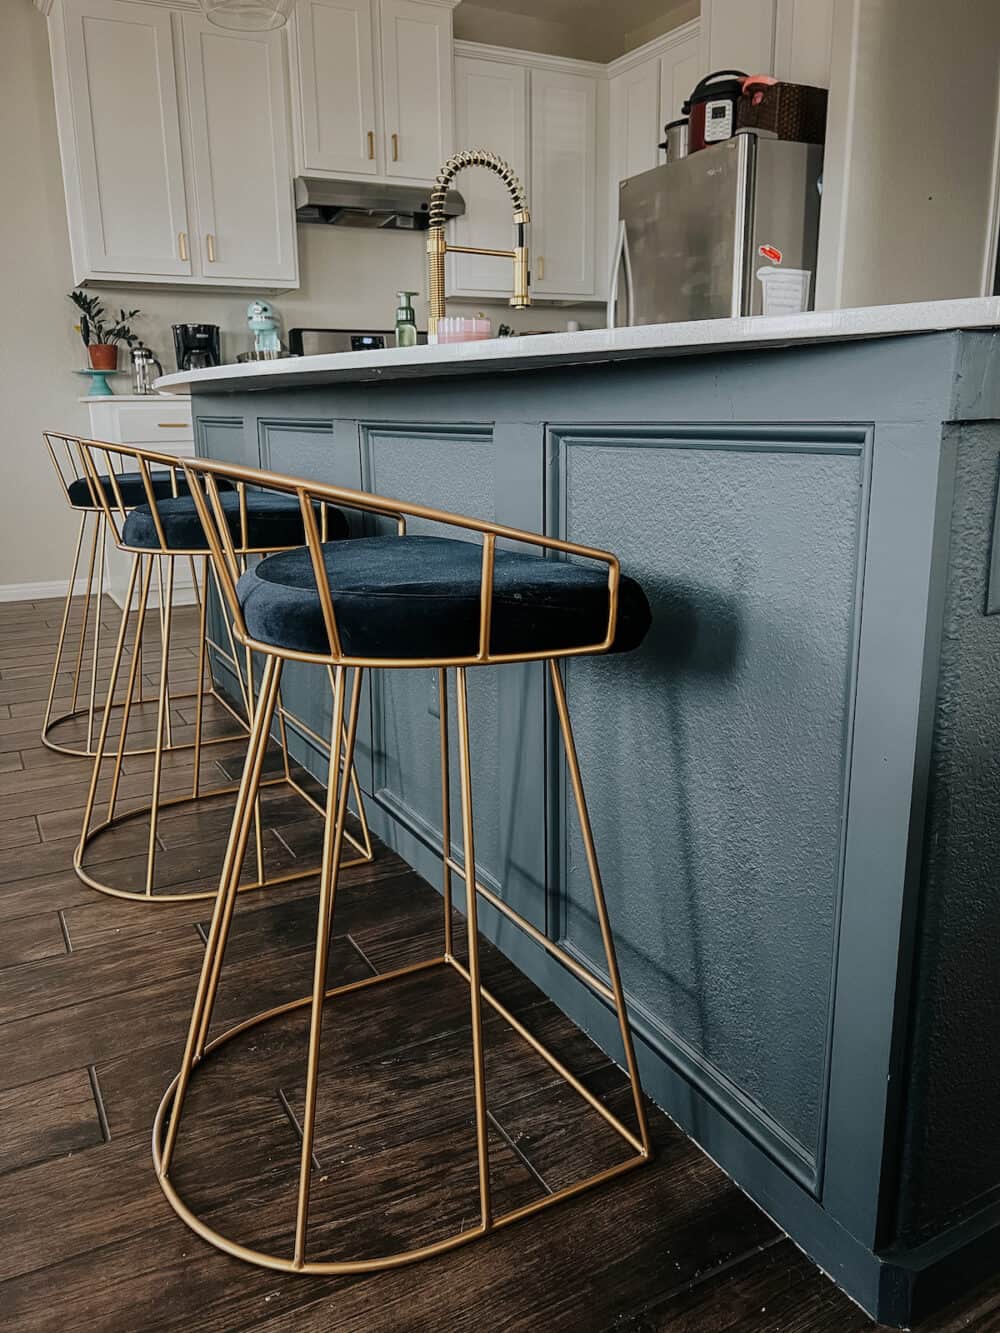
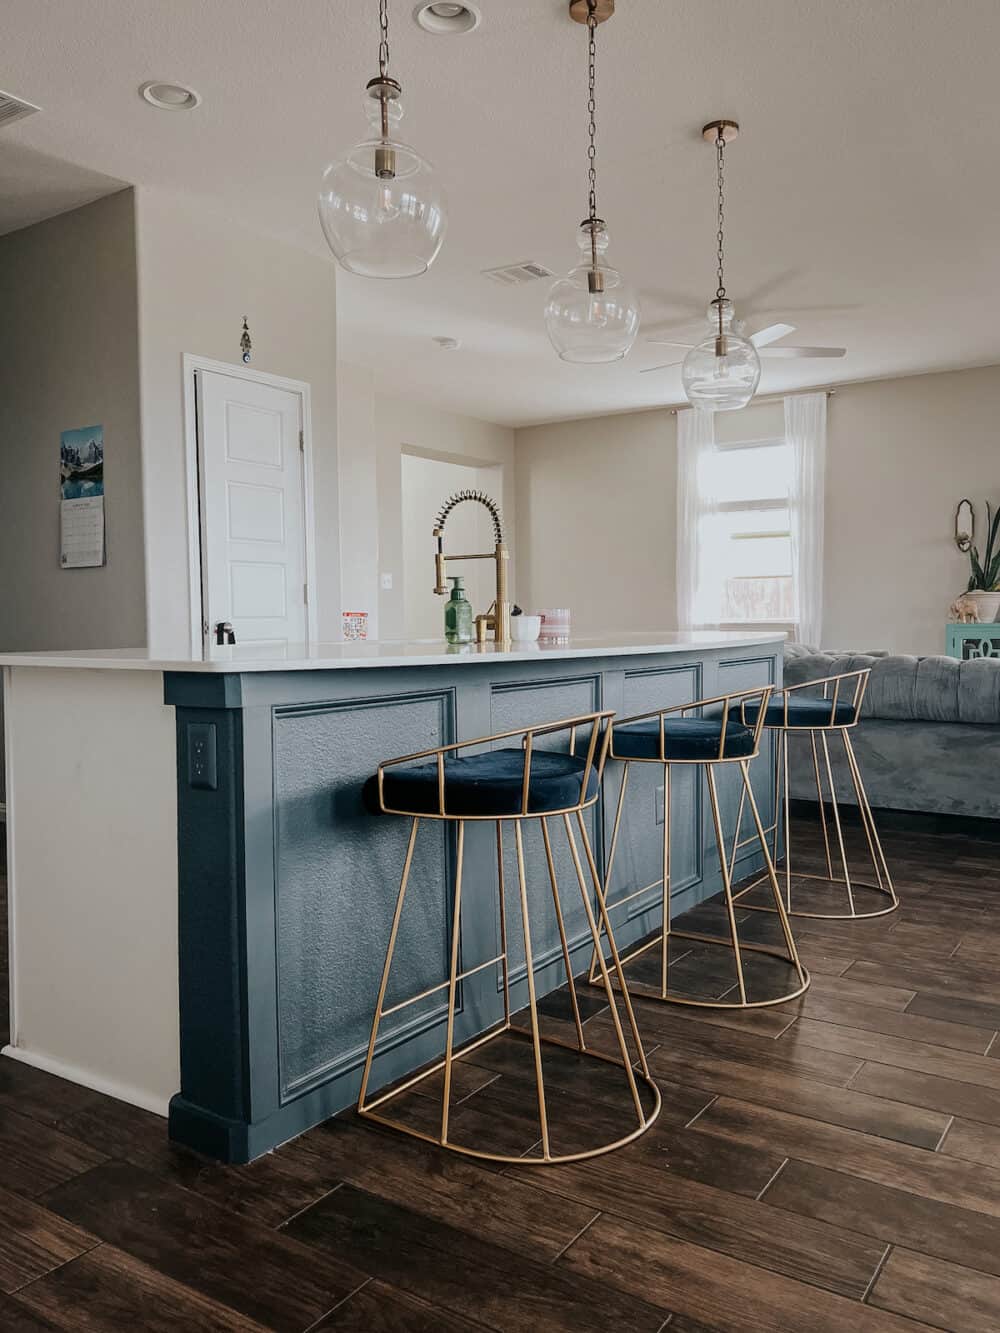
Parisa’s Navy Blue Kitchen Island Makeover
One of my favorite ways to really update a kitchen without having to spend a ton of money is to do a quick kitchen island makeover. I saw the effects of it shortly after we moved in when I added shiplap to our kitchen island. Then, I saw it again when I painted the blue kitchen island black. It can make a huge difference in how your entire kitchen feels. Plus, it’s a totally budget-friendly project!
So, when my best friend Parisa asked if I’d be interested in giving her island a makeover, I jumped at the chance. She has an open floor plan like we do, so I knew this one little change would affect her entire house. Who could turn down the chance to make your friend’s entire house look and feel better? Not me!
This post is sponsored by DAP.
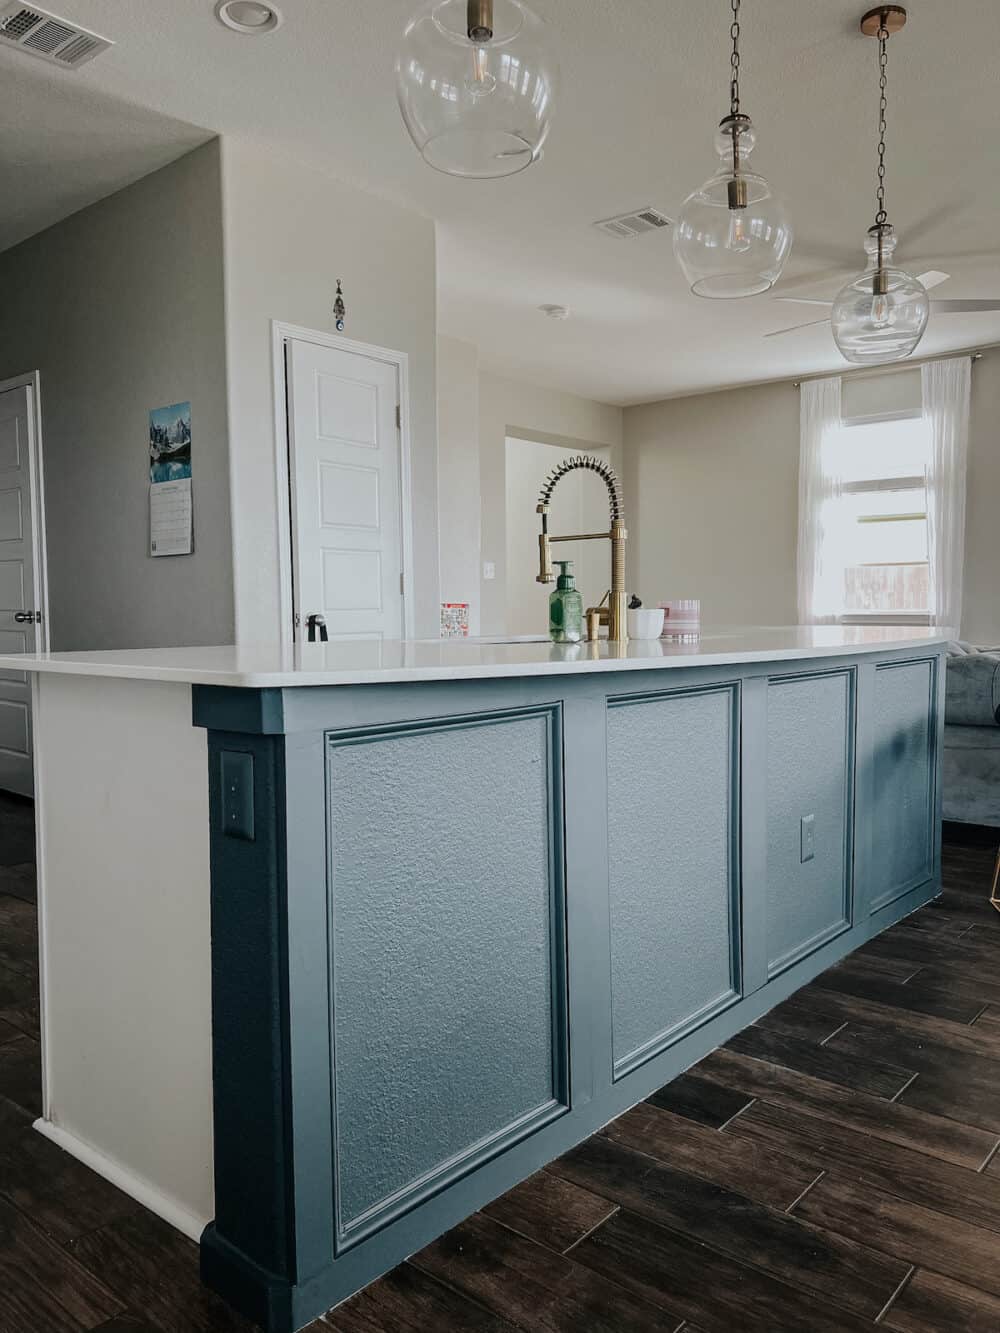
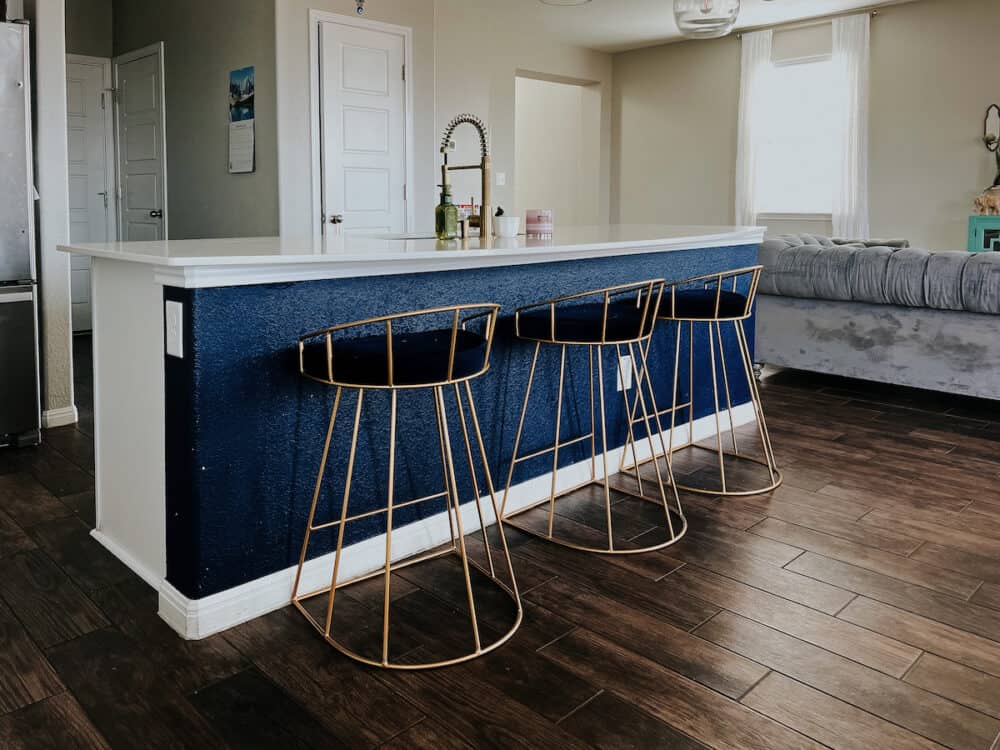
Parisa has had a blue kitchen island since they moved in. But, she was ready for a little upgrade. She didn’t love the shade of paint she had picked anymore, she wanted a more matte sheen, and she wanted to add something to make it feel a little more special. We talked about a ton of different options and she sent me some inspiration images. And that’s how we landed on this gorgeous box molding.
I am so thrilled with how this navy blue kitchen island turned out, and Parisa is too! It was a really easy two-day project, and the whole thing cost right around $200. Not bad for a project that basically changes the look of your entire kitchen.
Let’s take a look at how I got it done. I worked with my friends at DAP for this project, because they’re always my go-to for any trim project. And basically anything that needs caulk or wood filler. Or construction adhesive. They’re the best!
Adding box molding to the kitchen island
Materials Needed:
- 1×3 trim (I used six 8-foot pieces on this island)
- Base cap molding (I needed five pieces)
- Nail gun and nails (click here to learn how to use one)
- DAP Premium Wood Filler
- DAP Extreme Stretch Caulk
- Sanding blocks
- Paint + Painting tools (click here to see my favorites)
Step One: Remove Old Trim
First up, you’ll need to remove any existing trim. For this, that included the baseboards and the trim around the top of the island.
We had a fun surprise when we removed the trim up top and realized that the drywall didn’t go all the way up. Ohhhhh, new home builders. Curse you.
Thankfully, our new trim covered it all up just fine. But, I definitely had a moment of panic!
To remove the trim, simply run a utility knife all along the top and bottom of the trim, then use a hammer and a pry bar to pull it away from the wall. Work slowly and carefully so you don’t damage the drywall!
Step Two: Add top + Bottom Pieces
With the trim removed and the area cleaned up, you’re ready to start adding the new trim! Start with the top and bottom pieces – basically, you’re replacing the trim you just removed with 1×3’s.
To attach the trim, I just used 2″ 18-gauge nails. I find that this method works great and lasts, even if you aren’t able to hit studs. Just be sure to angle the nails as you’re putting them in place, which helps hold them tight to the wall!
If you’re worried about longevity, you can always add some construction adhesive prior to nailing it in place. Just keep in mind that it will damage the drywall if it’s ever removed. If you decide to go this route, I’d recommend DAP’s DynaGrip Construction Adhesive.
A note on corners
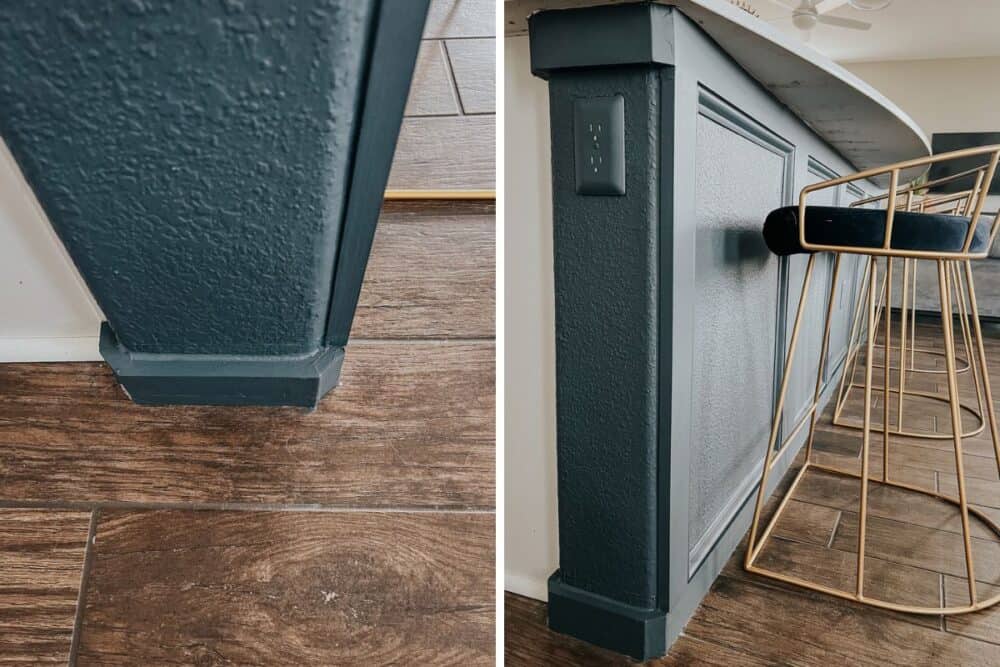
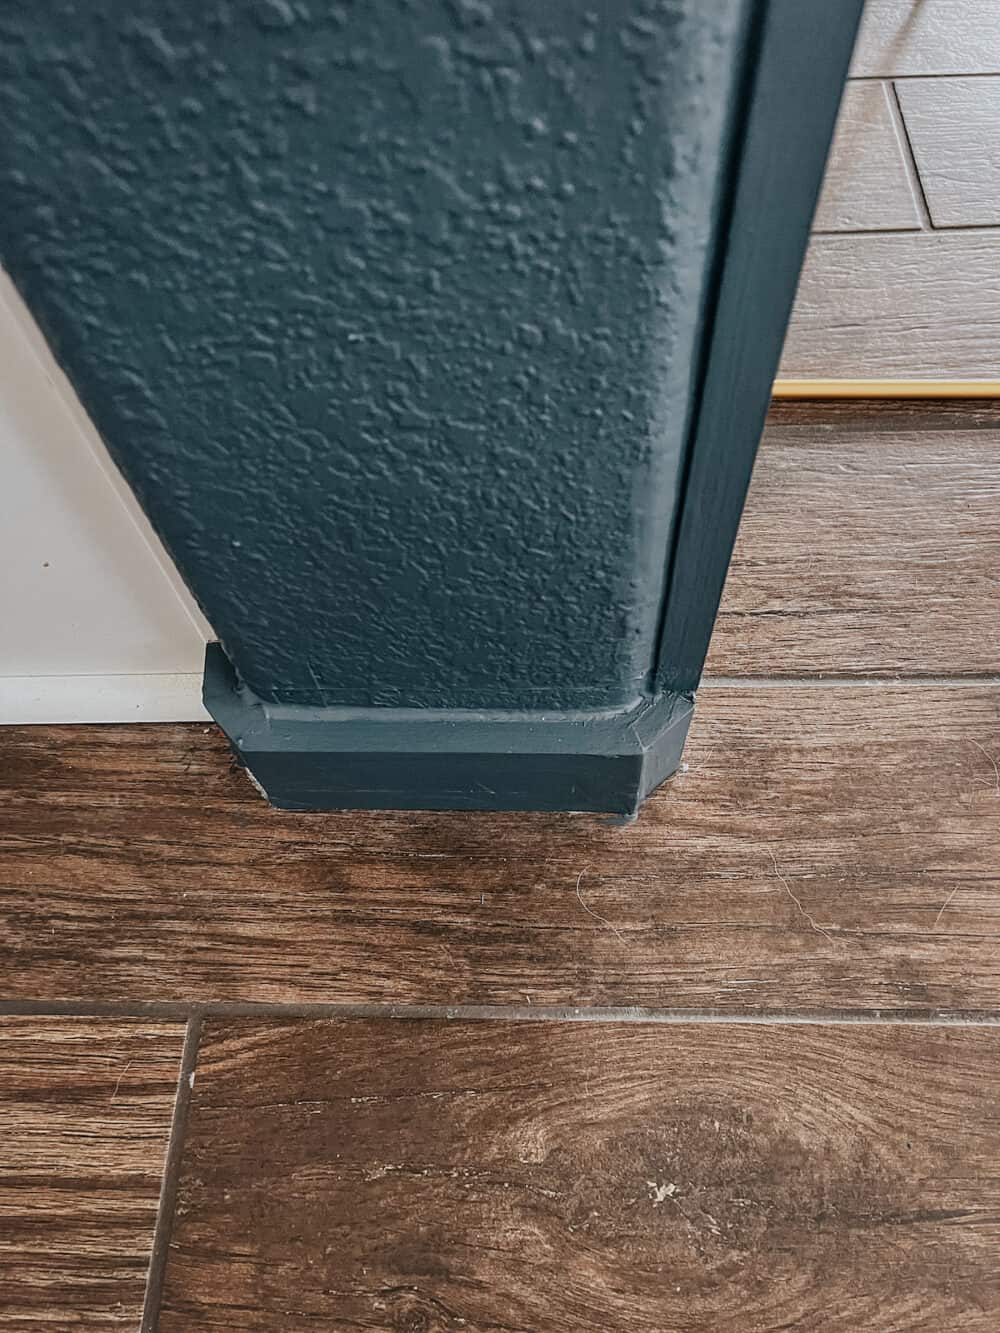
Our neighborhood has bullnose corners on all of the walls. In my house, the trim is all cut at a 90-degree angle, which makes it really simple! However, Parisa’s trim is rounded. In order to make sure the trim felt cohesive with the rest of the house, I used the pieces I pulled off as a template to make the trim wrap around the bullnose corners.
It was a bit of extra work, but totally worth it to make sure the island feels like it belongs with the rest of the house!
Step Three: Calculate sizes of squares
Now, it’s time to calculate the size of the squares you’re going to create. I’ll emphasize that there is no right or wrong way to do this! It’s all about the style you’re going for. Here’s the process I followed:
- Start by deciding how many squares you want. I went with four.
- Measure the entire island.
- Count the number of vertical pieces you’ll need. I was doubling up the trim in-between boxes, so I would have 8 vertical pieces (one on each end, then two in-between each box).
- Determine how much space the vertical pieces will take up. For 1×3 boards, that means you’ll multiple 2.5″ by the number of pieces you’re adding.
- Subtract that number from the length of the island. This gives you the total amount of island that won’t be covered with trim.
- Divide that number by the total number of boxes you want. This gives you the width of the interior of each box!
Step Four: Add vertical pieces
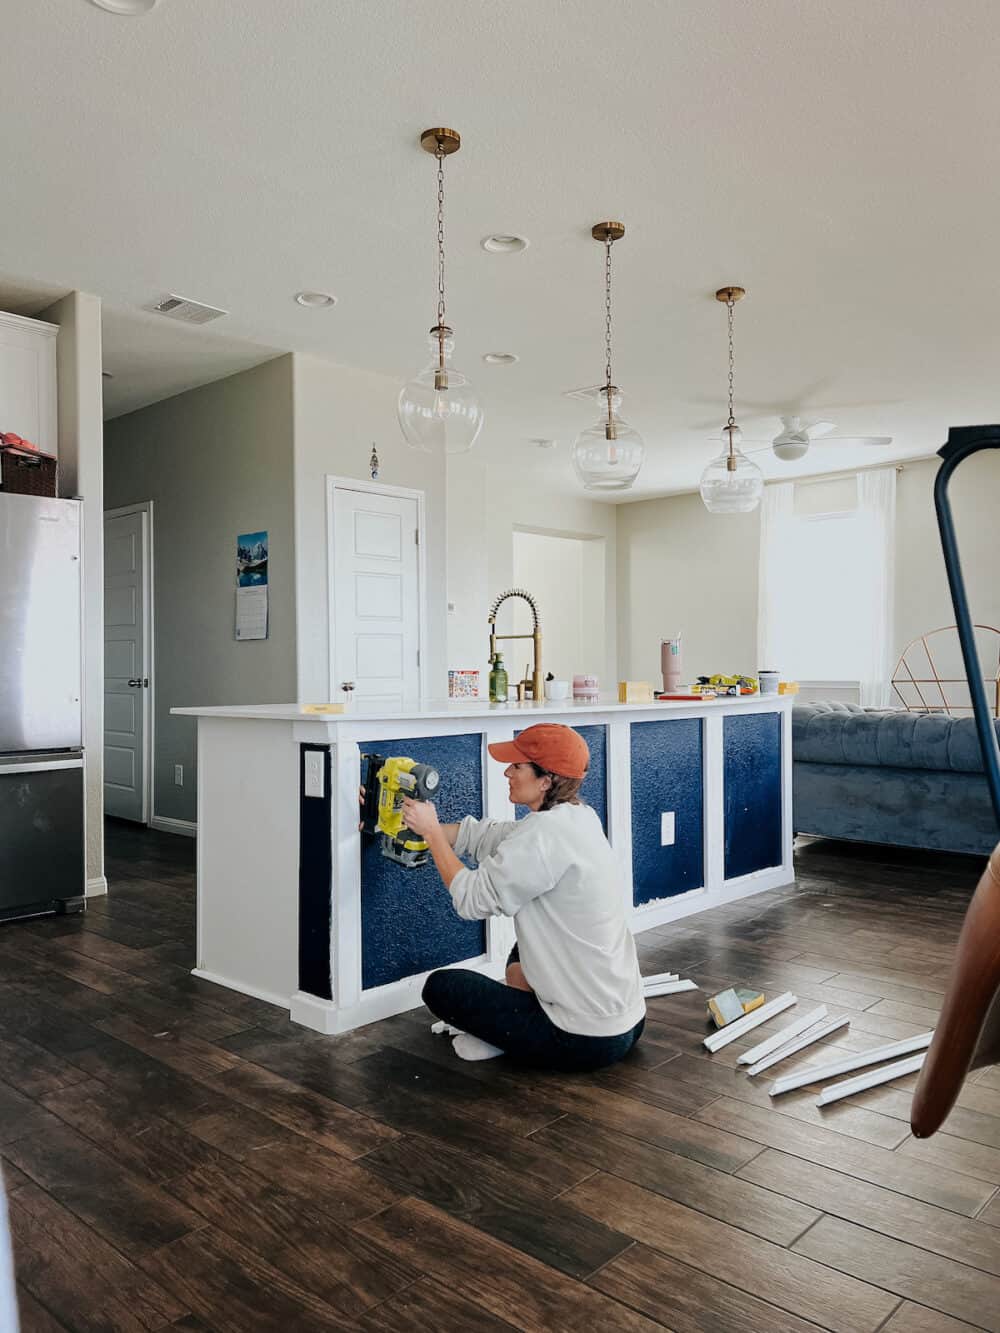
Now that you know how big each box needs to be, simply install the vertical pieces all along the island. You’ll use the same method you used to install the horizontal pieces. Quick and easy!
Step five: Add Interior trim (optional, but impactful!)
Next up, you’re ready to add the interior trim, if you’re including it. The trim I used is called base cap molding. I just cut it to fit inside each square and installed it using my nail gun.
This is an optional step, but it adds so much dimension and interest! It definitely increases the cost of the project (the interior trim for the island was around $70), but I think it’s totally worth it.
Step Six: Patch and caulk!
And now comes the part where you make it all look polished and complete. This is my favorite part of any project like this because it really brings everything together.
I like to start with wood filler. You’ll apply it to all of the joints where the trim pieces meet other trim pieces, and also on the nail holes. DAP Premium Wood Filler is my very favorite. It’s easy to work with, it’s super reliable, and it always makes the finished product look great! You apply it using a putty knife – be sure to slightly overfill it so that when you sand it down, it’s flush. If you aren’t familiar with wood filler, click here for a deep dive on how to use it!
When the wood filler is dried, you’ll need to sand it down before painting! Sand until it’s fully flush, and when you run your hand over the wood you can’t feel the wood filler. This will ensure that it’s totally invisible when you paint.
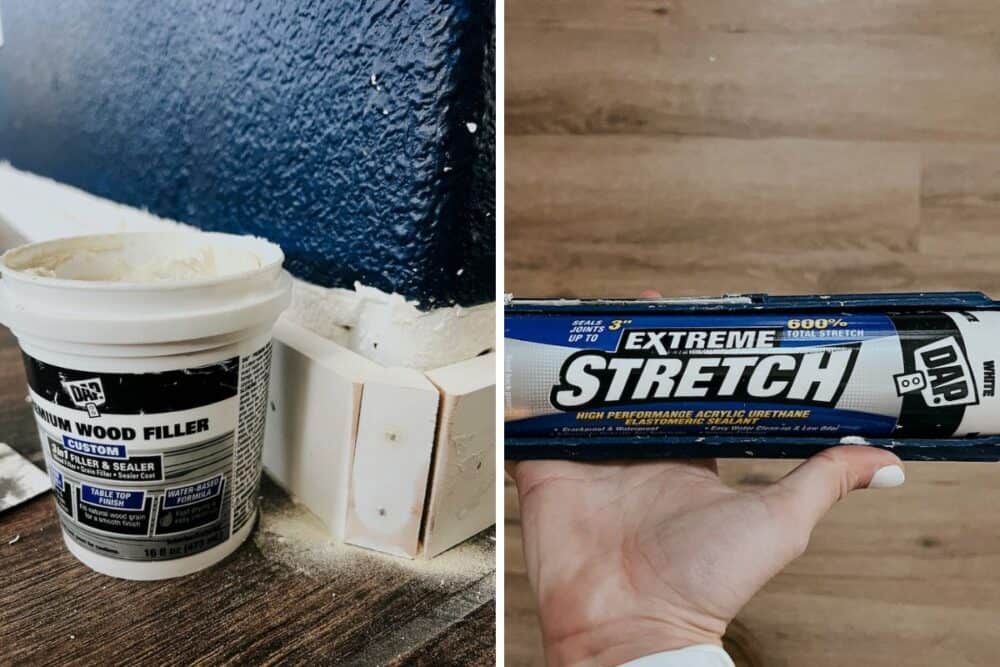
After wood filler, it’s time for caulk. This should be applied on all of the areas where a trim piece meets the wall. You can click here for a full tutorial on how to use caulk! I like to use DAP Extreme Stretch Caulk for this type of project!
Step seven: Paint
And now that all the hard work is done, it’s time for paint! This is when we return her blue kitchen island to its full glory (and then some) with a dark and moody blue color.
I used a 6″ roller on the drywall and a paintbrush on all of the trim. You might notice that I didn’t put down anything to cover the drywall texture prior to painting. The texture doesn’t bother me in the least, so I don’t typically cover it up! But, if you have texture that you want to cover, you can do so with a 1/8″ hardboard prior to installing the trim.
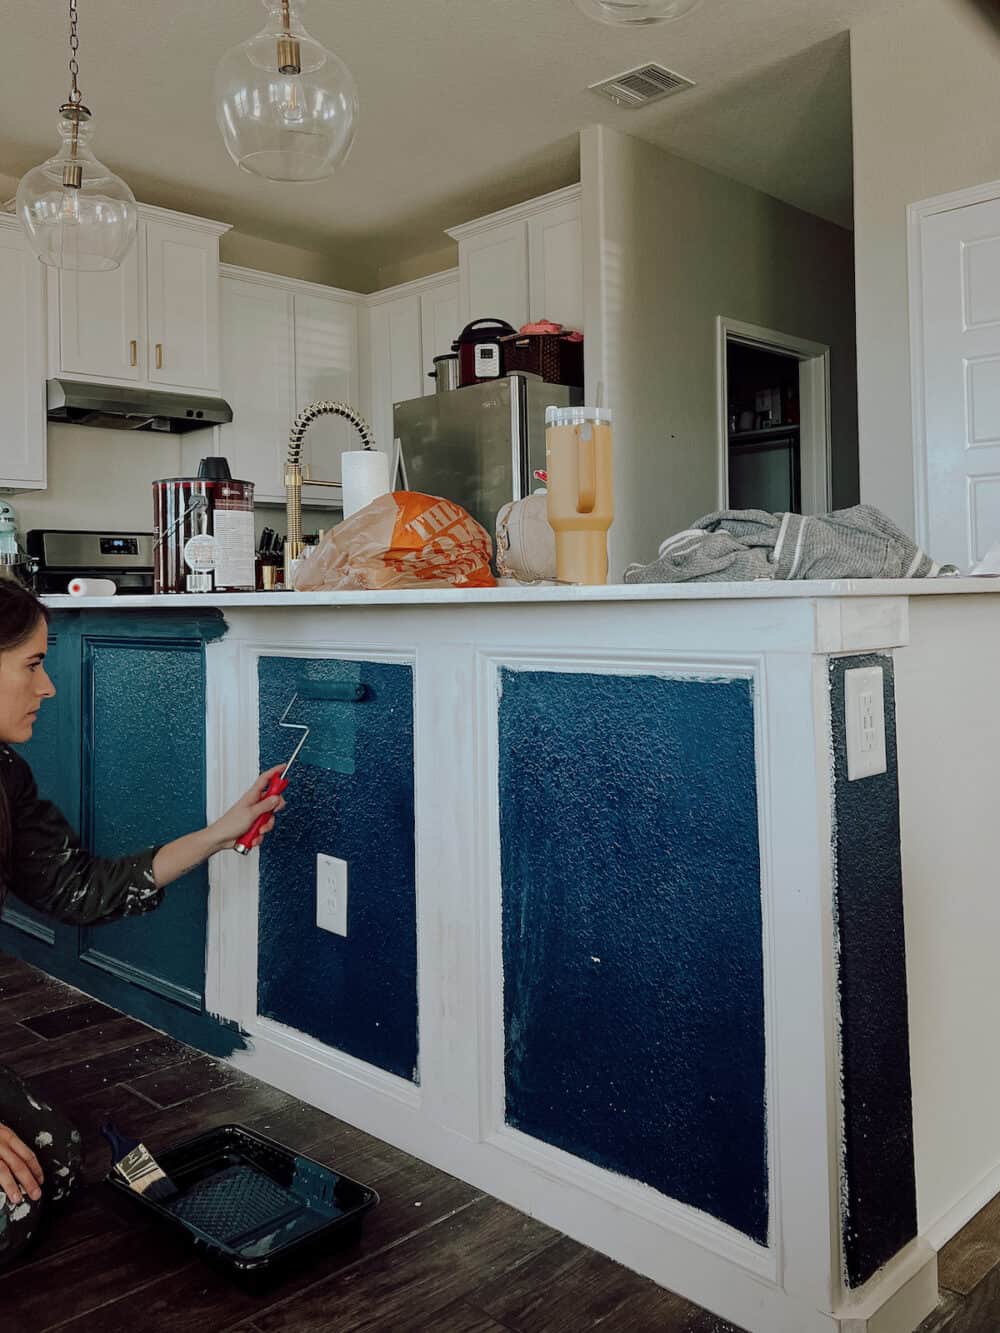
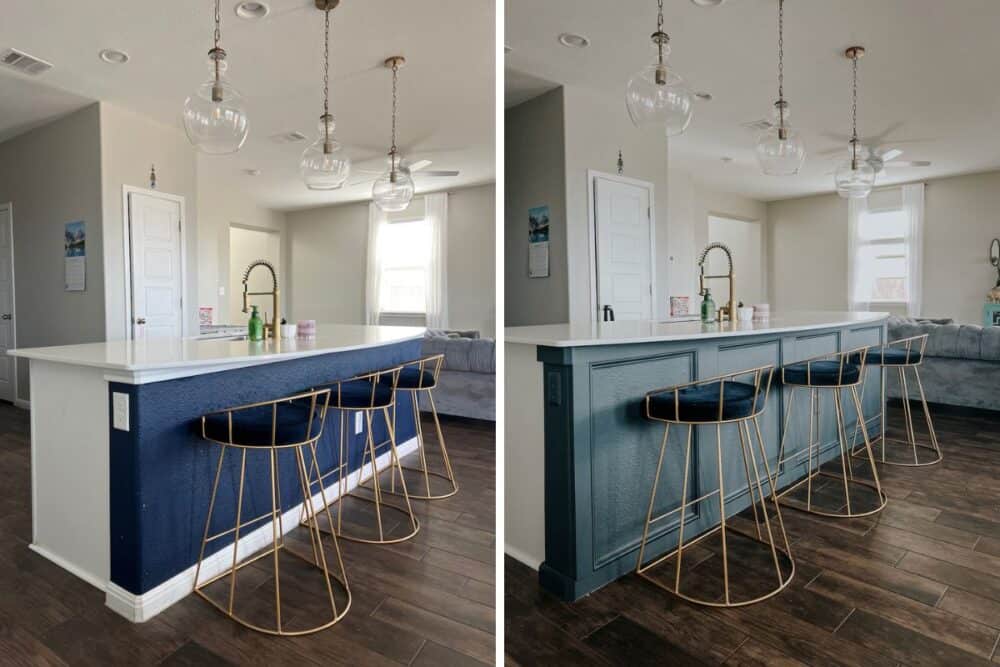
The color Parisa chose for her island is Midnight Blue by Behr. It’s a really muted, deep blue that looks incredible in this space! As you can see in the photo above, it’s only a subtle difference from her previous blue kitchen island. But, the. color is much more muted, a litle deeper, and far less shiny. I like that it has a really similar vibe to what she already had, but it’s just toned down!
Of course, I also swapped out her outlet covers for these paintable ones to help the outlets disappear. The only one we didn’t cover is one that has USB ports that they use all the time. For that one, I just painted the existing plate.
And that’s it! All the details on how I gave Parisa’s kitchen an entirely new look in just a couple of days and with a whopping $200. She’s really happy with how things turned out, and I am too. She’s wanting to tackle her kitchen backsplash next so, I guess stay tuned for that soon!
