
Giving Our IKEA TARVA Dresser Its THIRD Makeover!
IKEA TARVA dressers are one of the most versatile pieces of furniture out there. I’m proving that today by giving this old dresser a new life (for the third time!) with a fresh coat of paint!
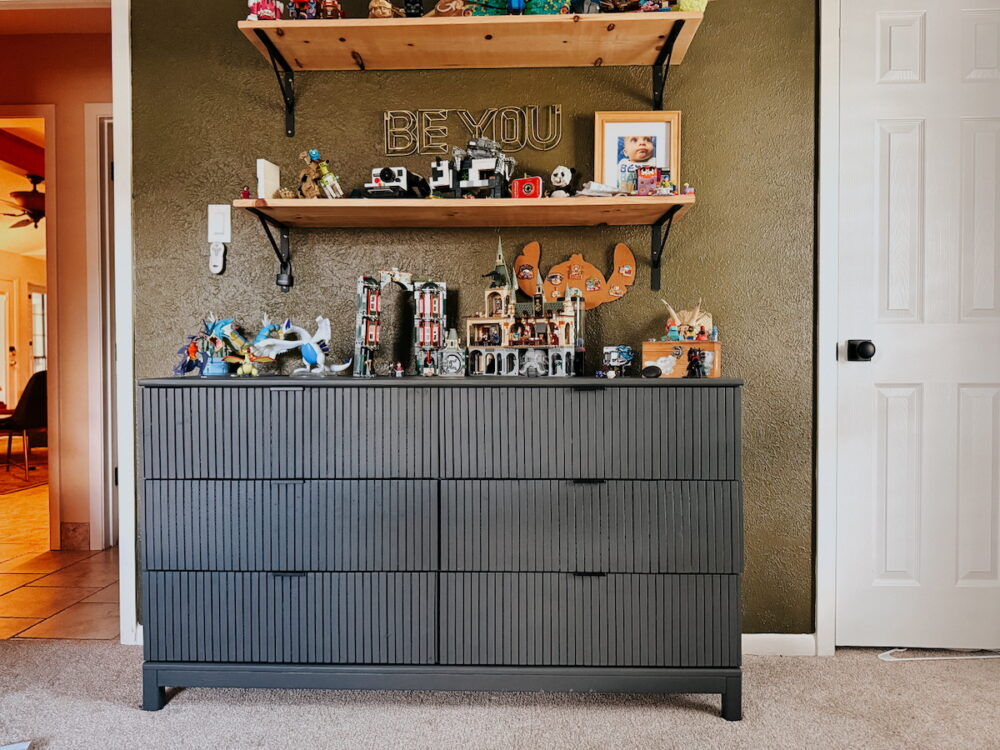
I love an IKEA TARVA dresser, and I’ve used them a ton over the years. They’re such a great base piece for so many different looks, and the possibilities are truly endless.
We have one TARVA dresser in our house that has been with us for about 8 years now. We first bought it for my youngest child’s nursery and it acted as his changing table. When we moved and he got a “big boy room,” it transitioned into just a dresser and I gave it a (really fun) makeover. About 6 years later we moved again, and this time the dresser landed in my older son’s room. He’s been living with it as-is since we got here, but he’s been begging for a makeover that feels a little more like him. So, I recently pulled the dresser out to give it a new life – for the third time!
Previous IKEA TARVA Dresser Makeovers
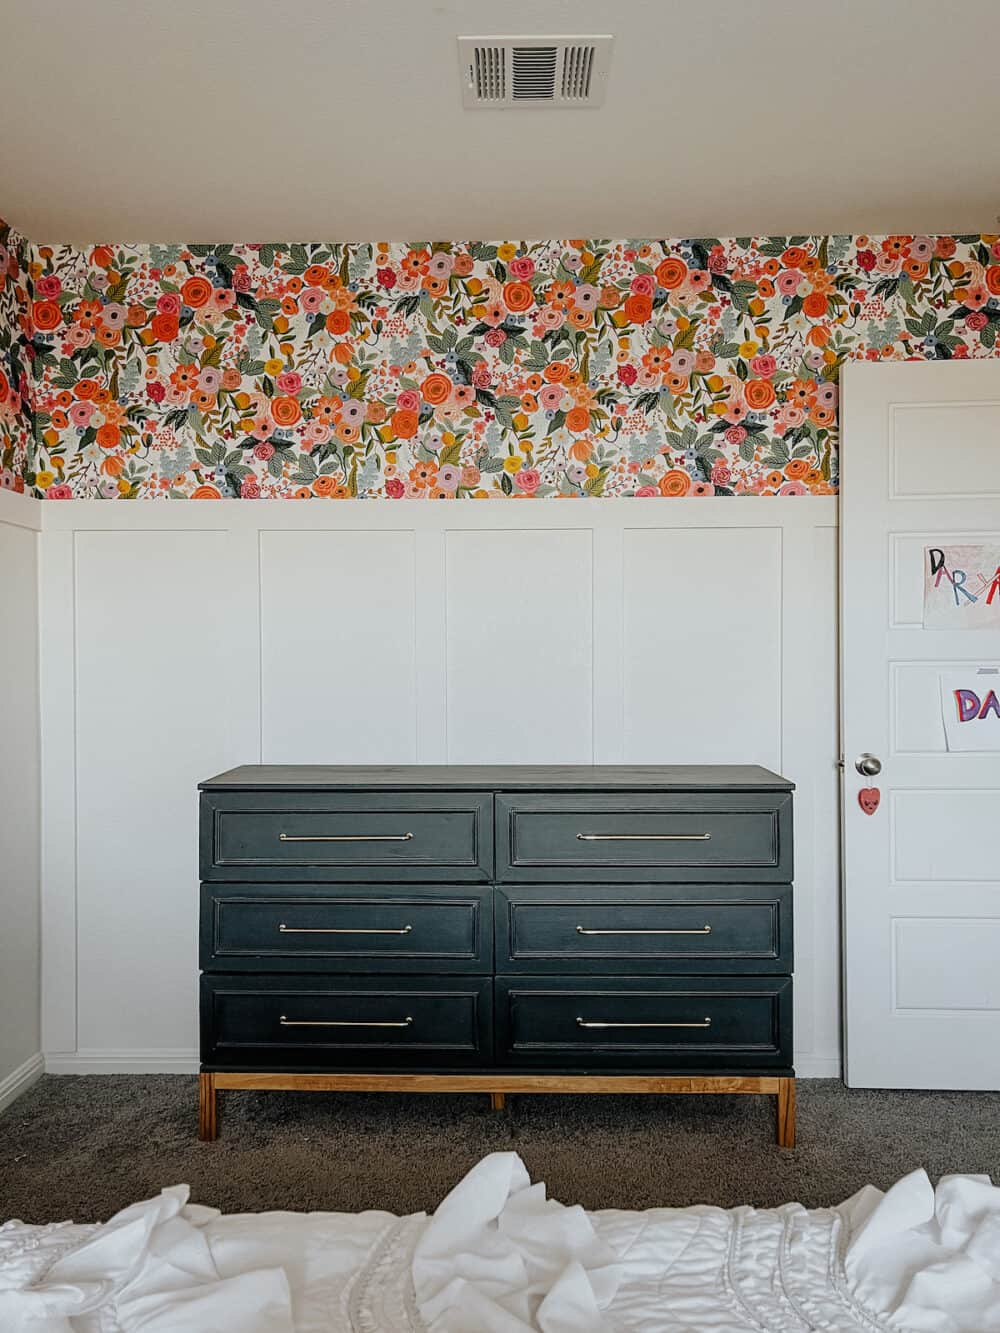
Before we dig into the new look, let me show you aaaaall the ways I’ve given the IKEA TARVA a new look over the years. It’s easily the piece of furniture I’ve transformed the most!
- See it here as a changing table.
- I added fluting to the drawers and painted it yellow here.
- Faux card table from a TARVA dresser.
- Modern TARVA hack with trim + black paint
- And here’s a HEMNES dresser hack, but the same could easily be done to a TARVA!
- See 15 gorgeous IKEA dresser makeovers here.
Our TARVA Dresser’s Third Makeover
And that brings us to today. My son loves a dark and cozy vibe in his bedroom, and he’s been asking me to paint this dresser black or dark gray. I thought the yellow actually worked great against his green walls, but it doesn’t really fit him, so it had to go!
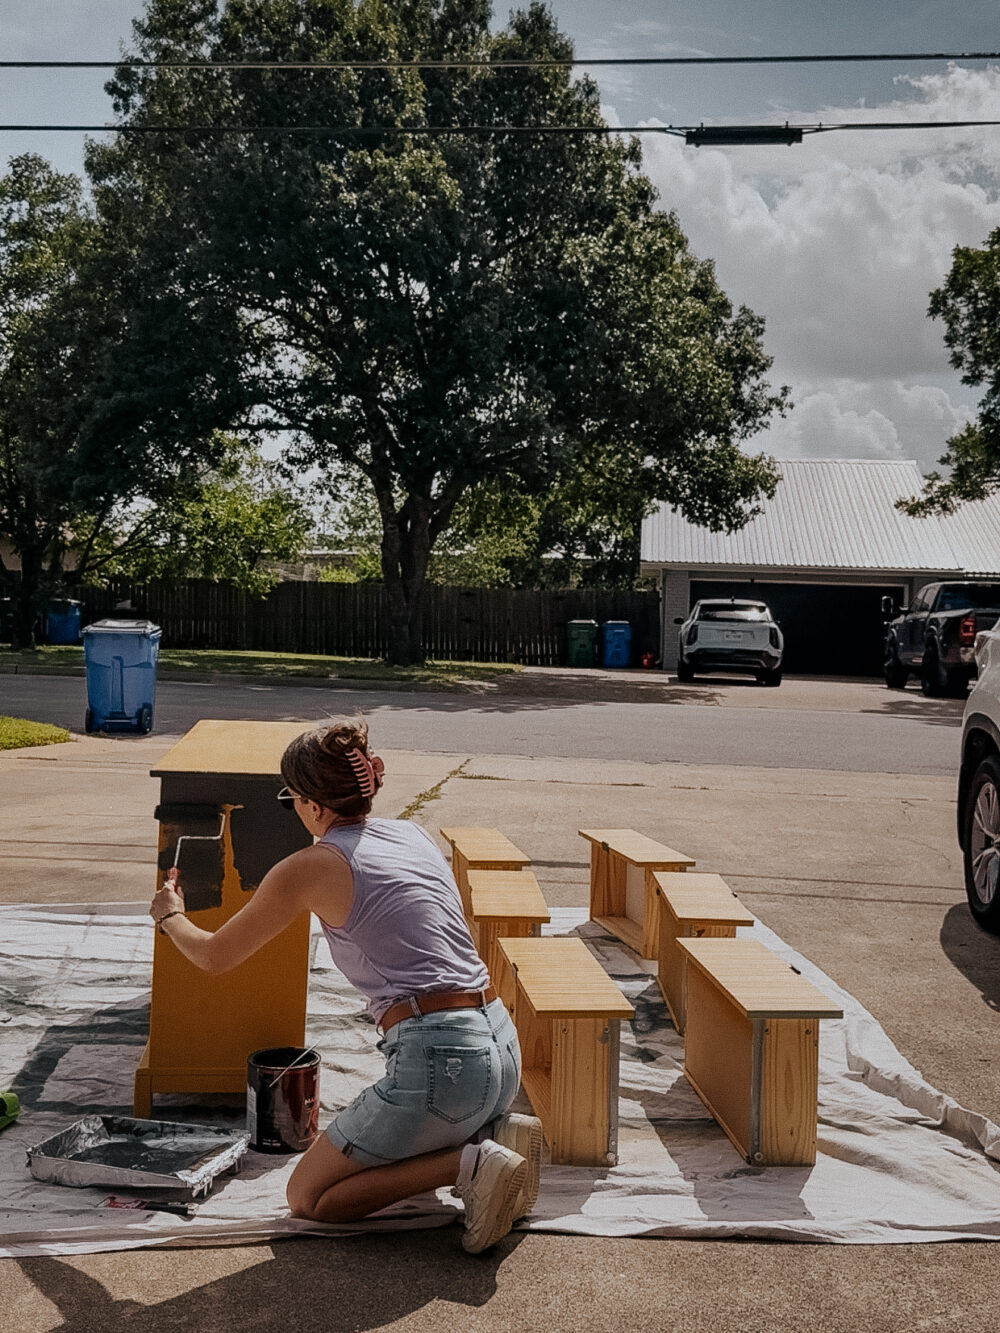
I had some Carbon Copy by Behr left over from painting our kitchen island at the last house, and I figured it would work great here. So, I pulled it out and got to work! It was a super simple afternoon project and, thanks to the Texas summer heat, it dried in record time! I pulled it out of his room when I started my work day one morning and we had it back in his room and settled before dinner.
Video Tutorial
I put together a quick video as I was working and in it I share a few simple tips and tricks for painting furniture – especially furniture like this that has already been painted! Click play below to watch the whole thing.
Tips for Painting Furniture
I’ve talked a ton about painting furniture over the years because it’s something I love to do. So, I’m going to link a few posts from the archives that could help you out, along with a few general tips and tricks:
- The Full Guide to Painting Furniture
- Tips for Painting Laminate Furniture
- My Top 10 Must-Have Painting Tools
- How to Use a Paint Sprayer
- How to Repair Wood Veneer
- The Ultimate Beginner’s Guide to DIY
Anytime I skip using my paint sprayer for a project like this I have people asking why. The simple answer here is, it was too hot! When temperatures are really high, the tiny paint particles in your paint sprayer can dry as they’re coming out of the sprayer. It makes for a really messy and difficult paint job and won’t give you great results. So, if you have to paint outside when it’s 90+ degrees, doing it by hand is the way to go.
TARVA Dresser Makeover Reveal
Annnnd here’s a peek at how things look with the dresser back in J’s room and styled exactly how he likes it.
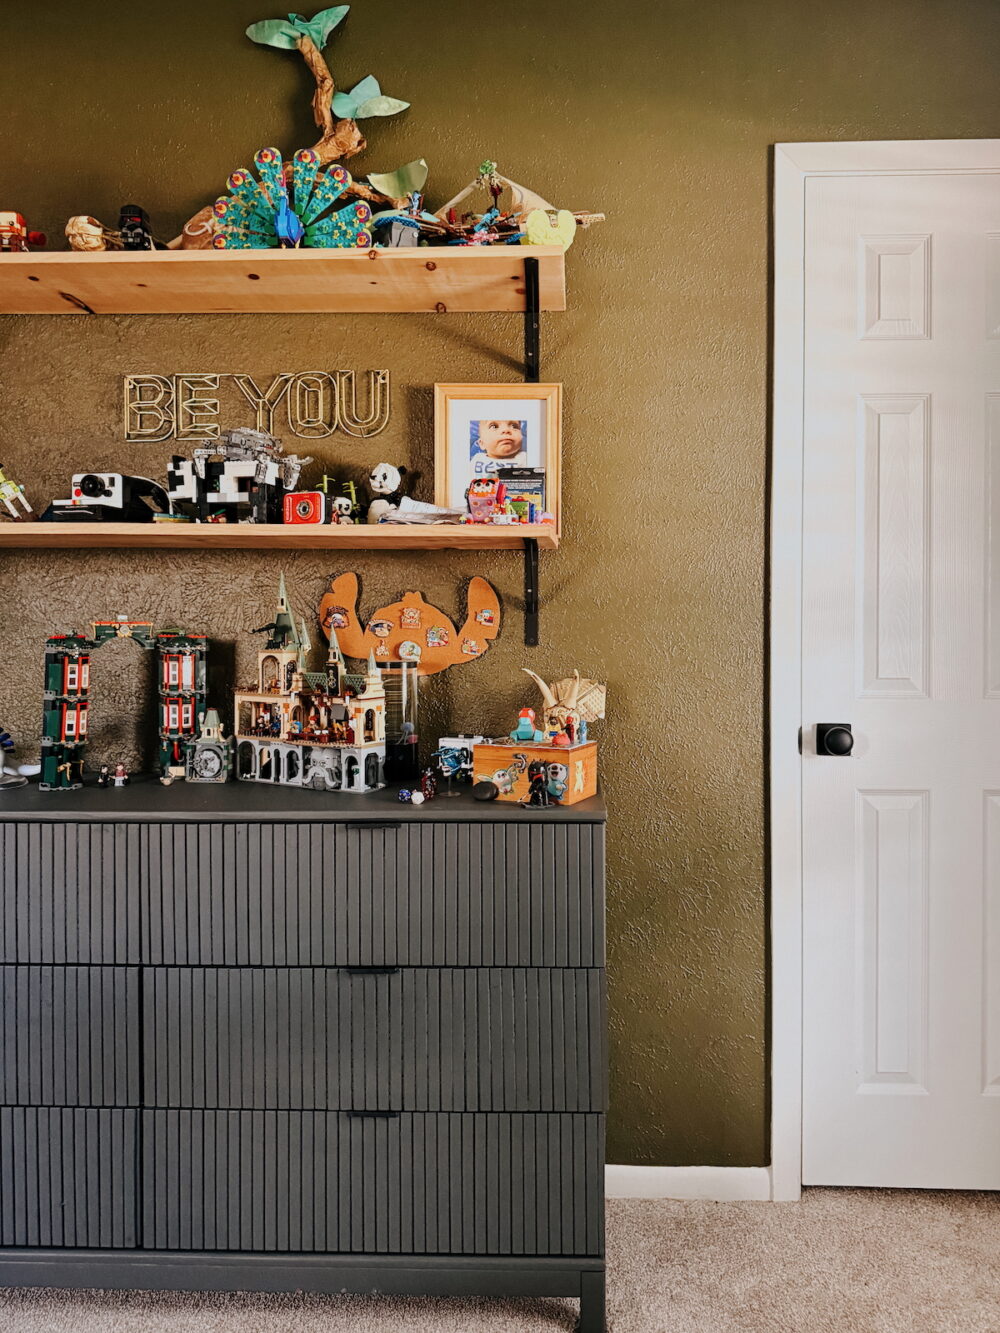
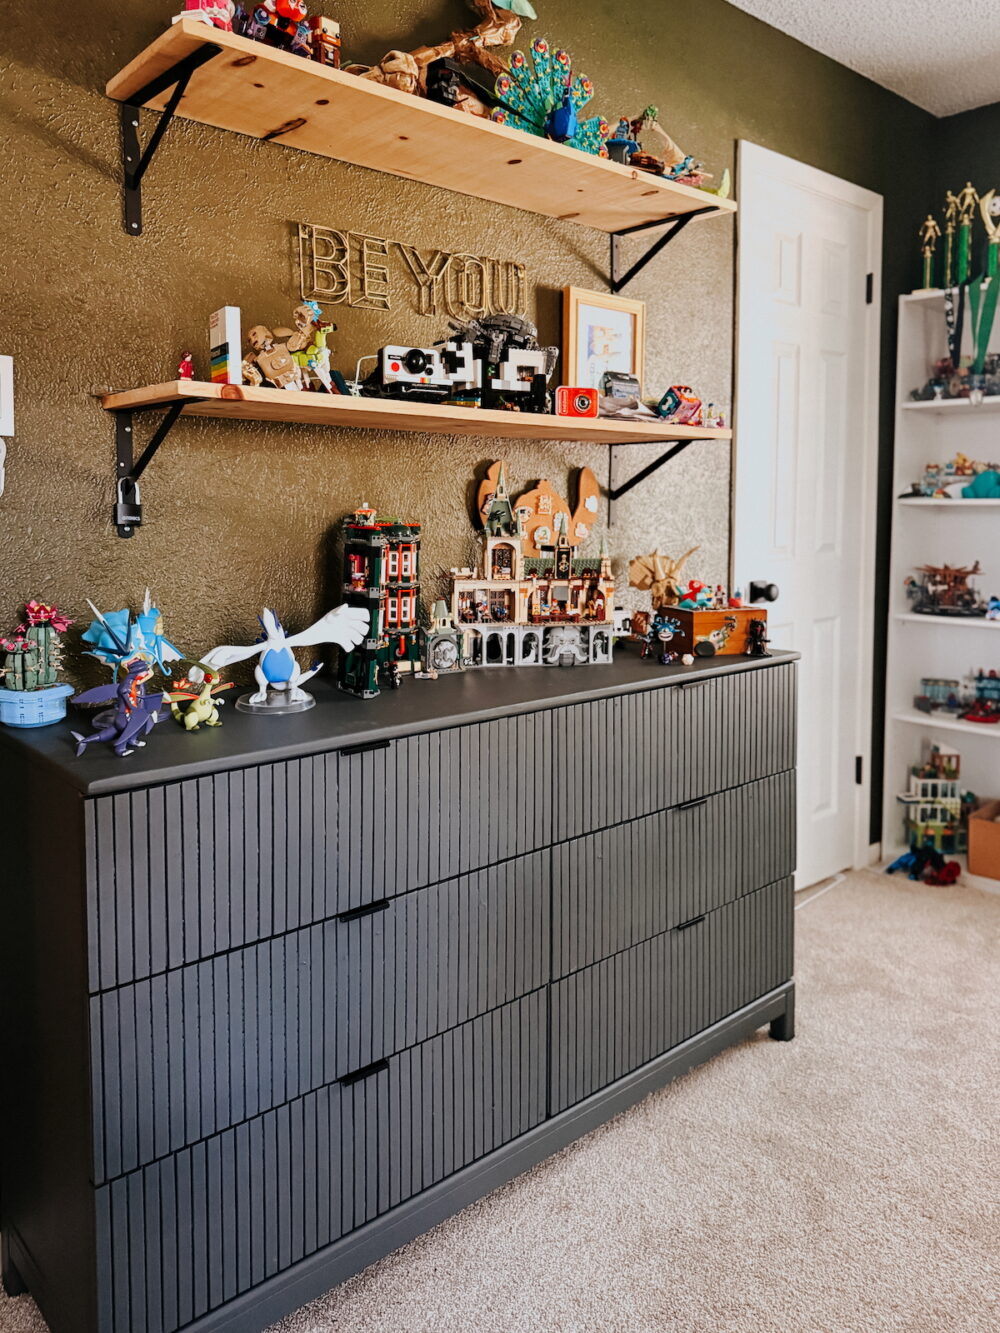
I’ve talked about this a lot before, but the longer I’m a parent the more I realize how important it is to let your kids have agency over their rooms. Is this the color I would have chosen for the dresser? Nope. Is he absolutely thrilled and thinks it is the perfect choice? Yup! And that’s all that matters!
It’s vital to me that my kids feel comfortable in their rooms and excited about making decisions for their rooms. So, if that means spending an afternoon repainting a dresser (again), I’m happy to do it. He can’t stop talking about how much he loves the new color, and it feels so much more like it fits him now.
I think this is such a great example of how simple it can be to make a piece of furniture work for you. When we move or as our kids grow we can be so quick to think we need to buy all new furniture for various spaces in our home, but often we’ve already got something that works just fine! I’m excited to see how much longer this little dresser stays with us and how many more lives it goes through over the years!