
Our Bathrooms – Before & After
Last updated on June 28th, 2024 at 10:22 am
Corey and I are currently packing up and moving into our new home. While we’re busy over the next couple of weeks, I’m sharing a look back at our first home throughout the years. You can go back and see the living room, the dining room, the kitchen, the master bedroom, and the other bedrooms.
Let’s chat bathrooms today. Our house has three (two full bathrooms and one powder room). And, when we moved in they were all in desperate need of help. One of the funny quirks about our home is that the kitchens and bathrooms all have a very strange texture on the walls. It is completely unlike the texture anywhere else in the house! We’re pretty sure it’s because these bathrooms were originally wallpapered, and when they textured over the wallpaper they just got creative.
I’m not sure why they did it, but I don’t love it.
We debating scraping the texture on these walls, but then they’d still be different than the rest of the house. Plus, it would be a lot of work. Not to mention messy. And really, is it worth it?
We quickly learned that a good coat of white paint can work wonders to make the texture less noticeable (because it didn’t help that they were all the same “oops” paint color that was everywhere else in the house), and it doesn’t bother us at all anymore.
Another fun quirk that these bathrooms all originally shared was a shell-shaped sink. In every bathroom. Two in the master. So cute.
Despite all of the annoying quirks and dated features that these bathrooms had when we moved in, we knew they all had potential. We managed to renovate all three bathrooms prior to selling our house. Though, we got the powder room done by the skin of our teeth – the sink wasn’t even connected yet when buyers were doing walkthroughs. I’m so proud of how they all turned out!
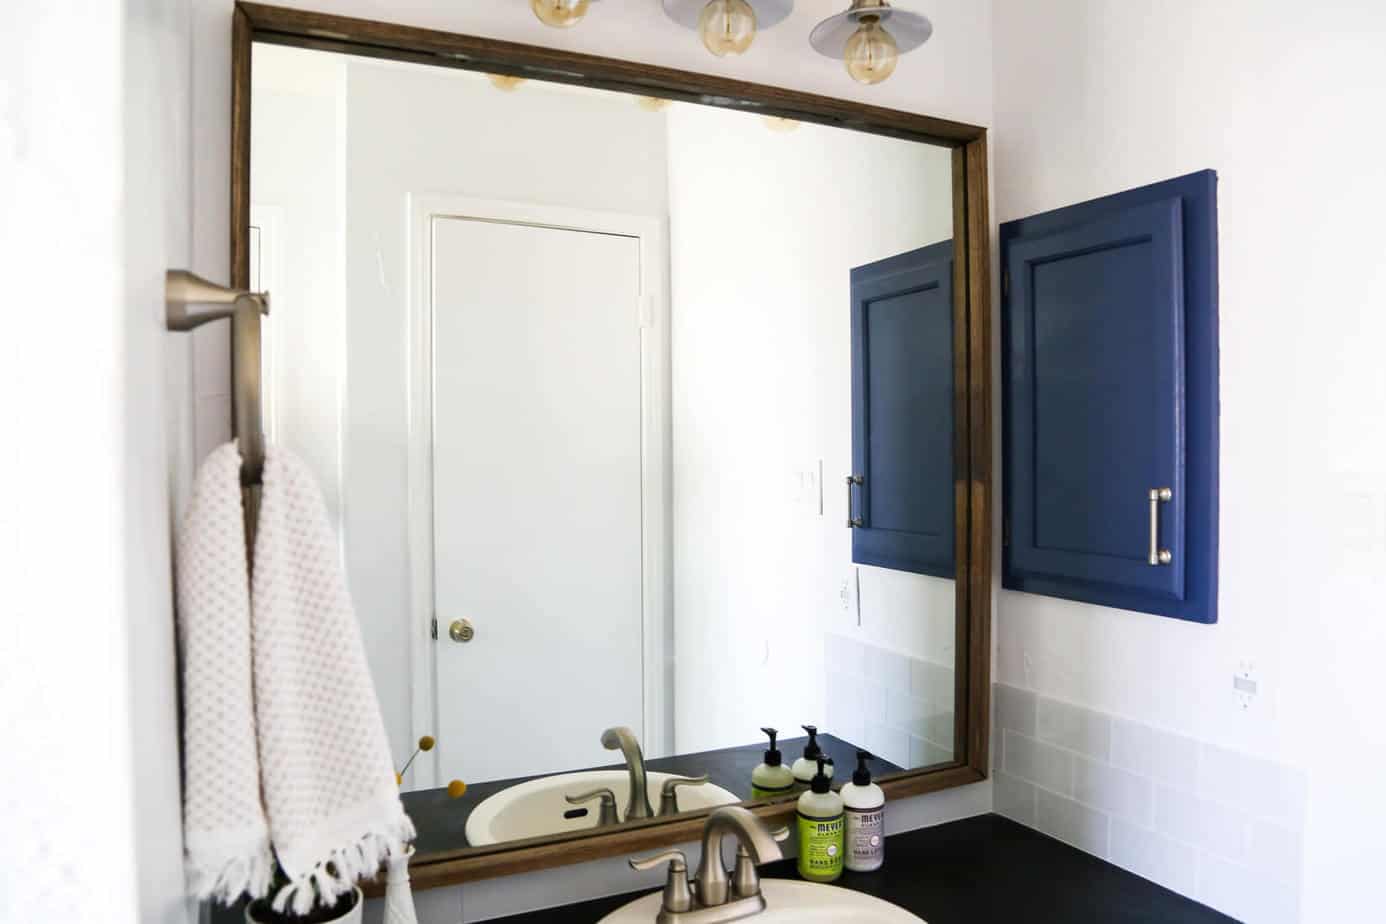
JACKSON’S BATHROOM – BEFORE & AFTER
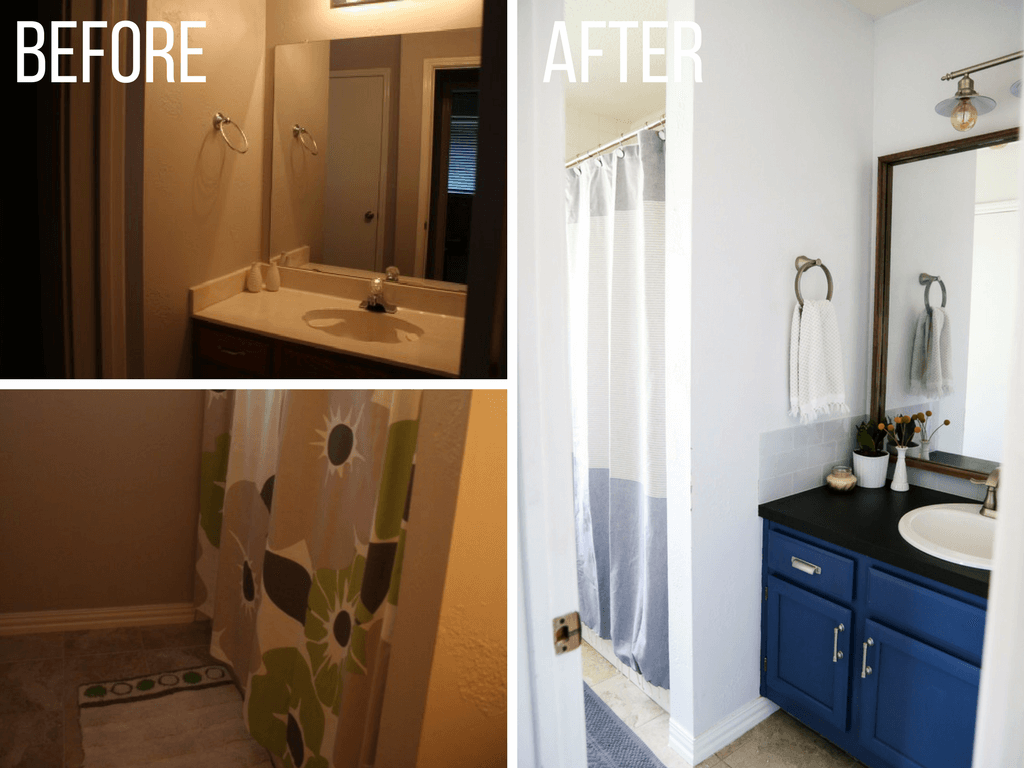
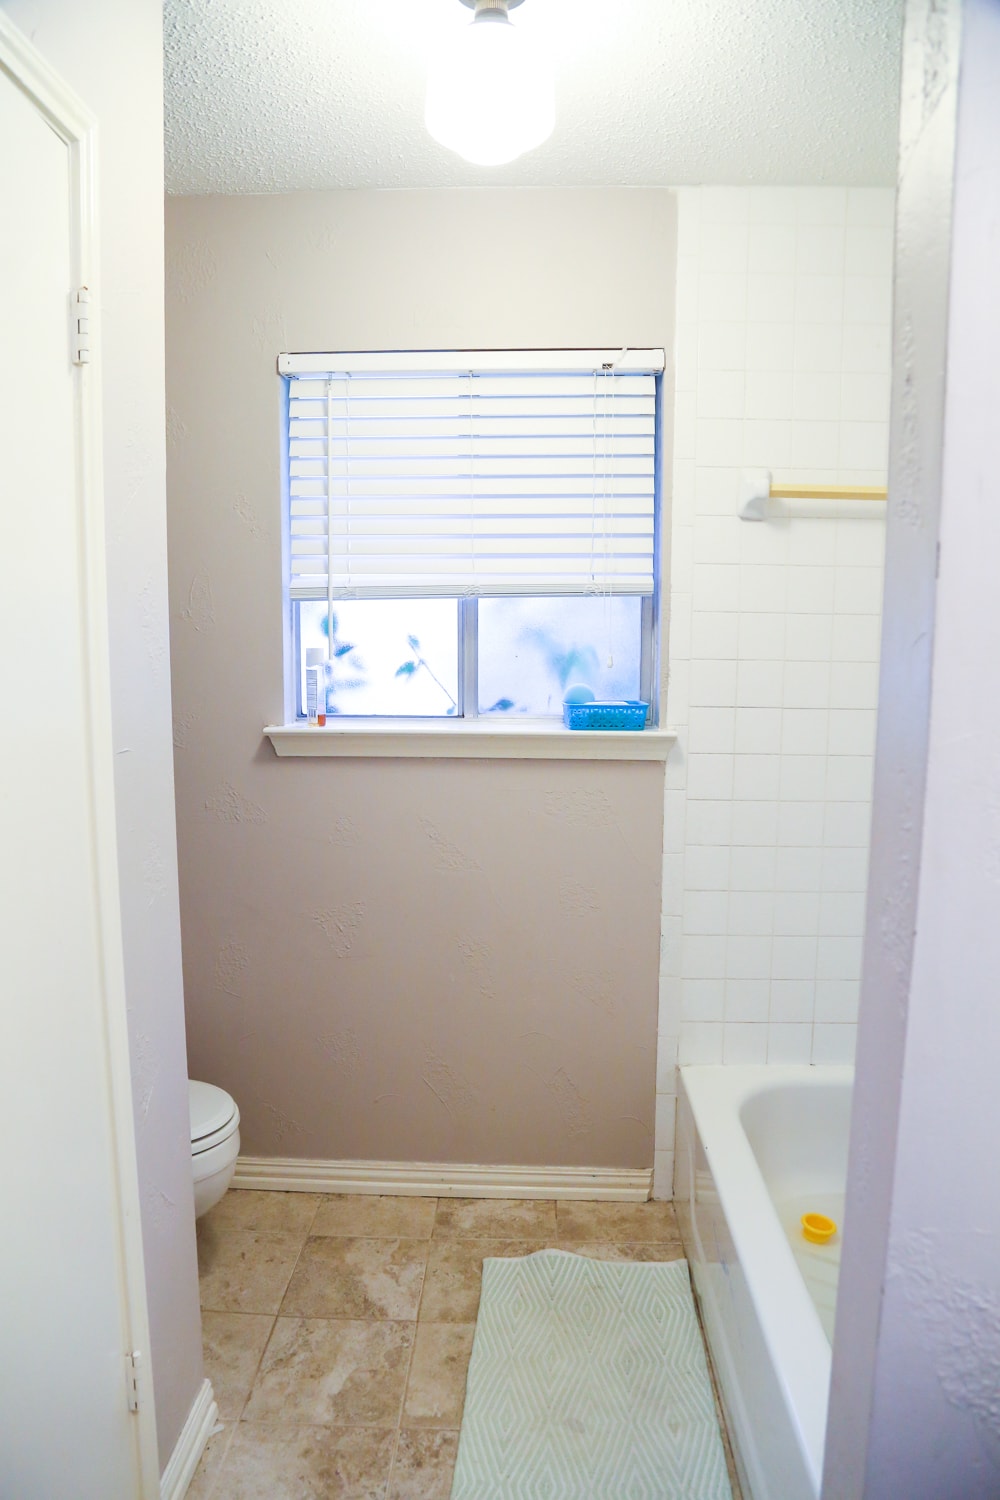
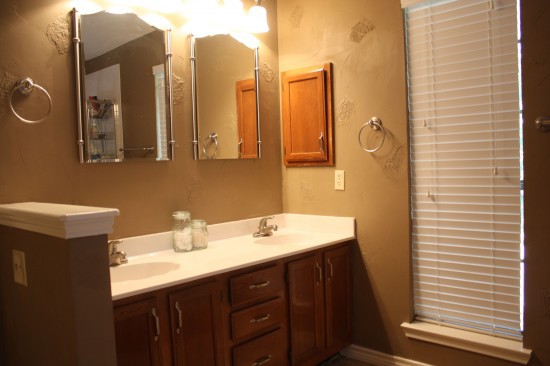
This bathroom is one that we ignored for entirely too long. We left it completely alone for most of the time that we lived here. And, when we finally got around to working on it, we were able to knock the whole renovation out in about a weekend. Here’s a peek at how the bathroom looked when we moved in:
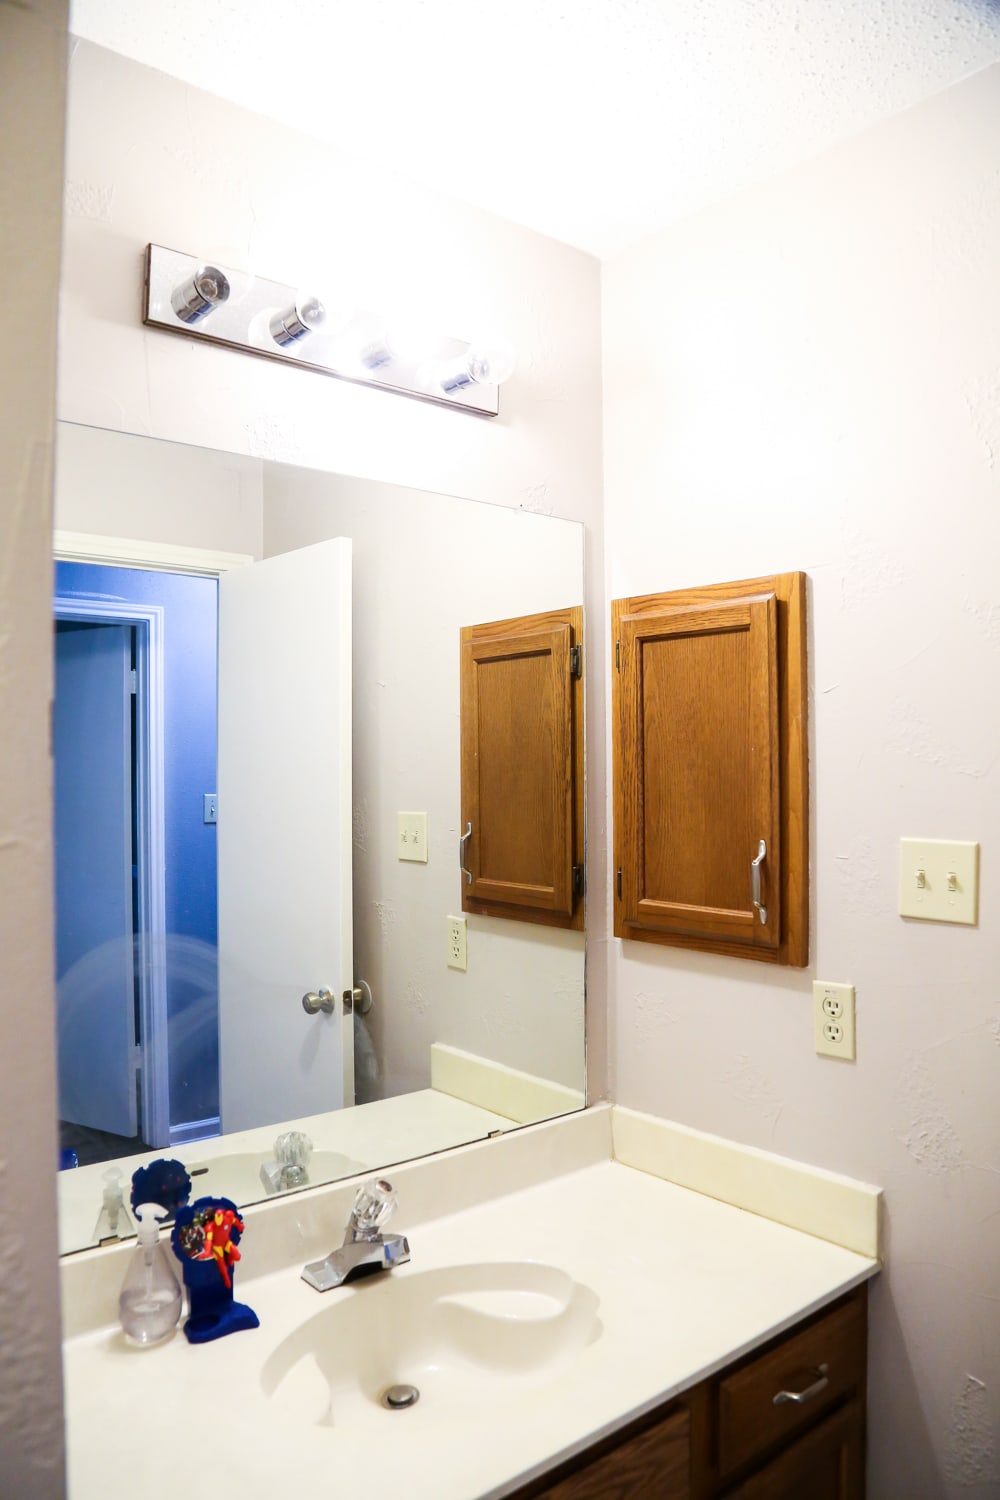
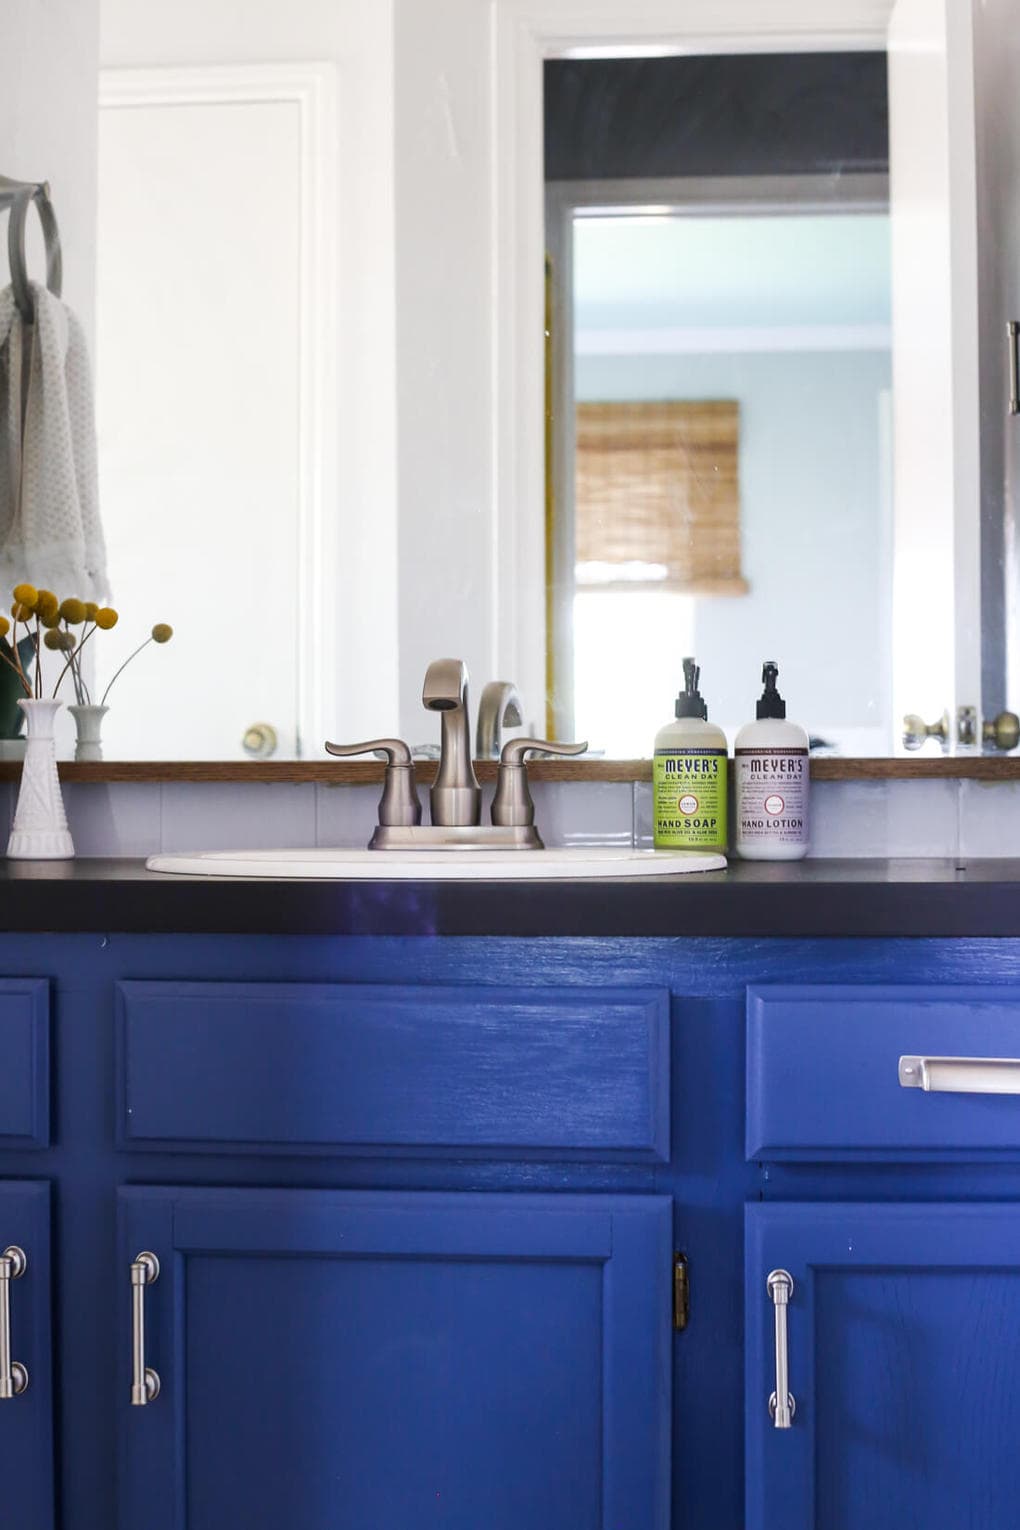
This entire transformation came together with just a few simple projects. We painted the walls, we painted the cabinets and replaced the counter, and we framed out the mirror. Other than that, it was just a little bit of accessorizing and cleaning up! We were able to work with the existing tile, which made things much easier. We didn’t do anything to the bathtub and shower other than replacing the shower curtain.
Here are a few more “after” photos of this room.
Here Are the Related Blog Posts:
- The Mood Board
- Replacing a Bathroom Counter
- Framing Out a Mirror
- Weekend Bathroom Makeover Reveal
- How to Organize Bath Toys
Next up? Another bathroom that got ignored for too long…
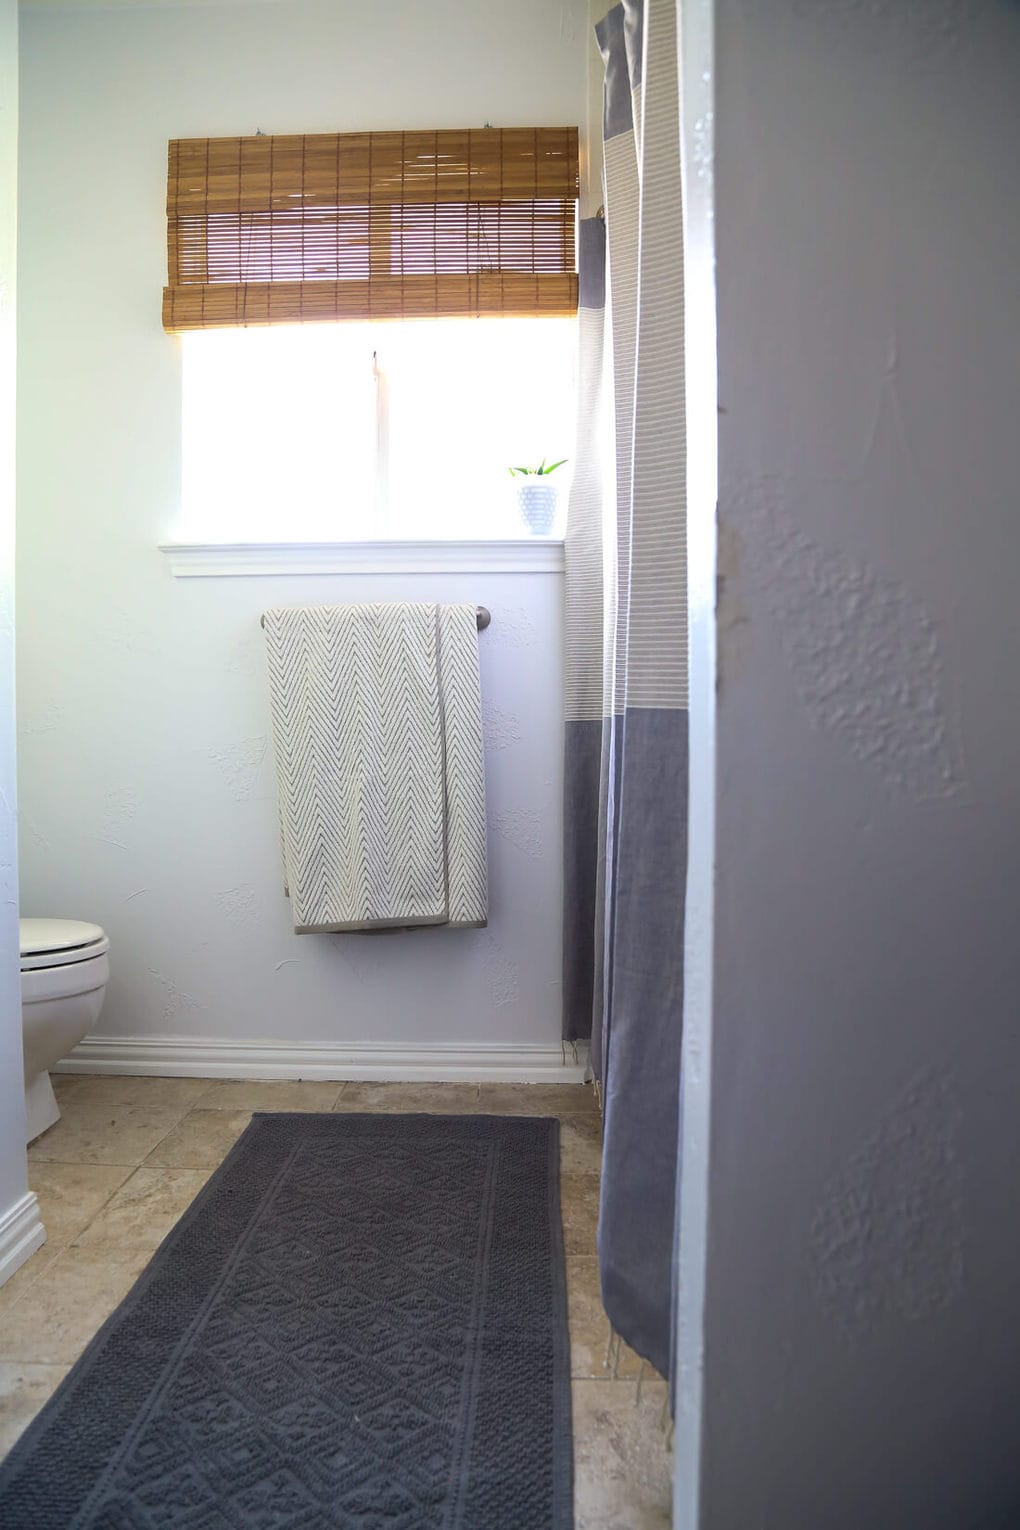
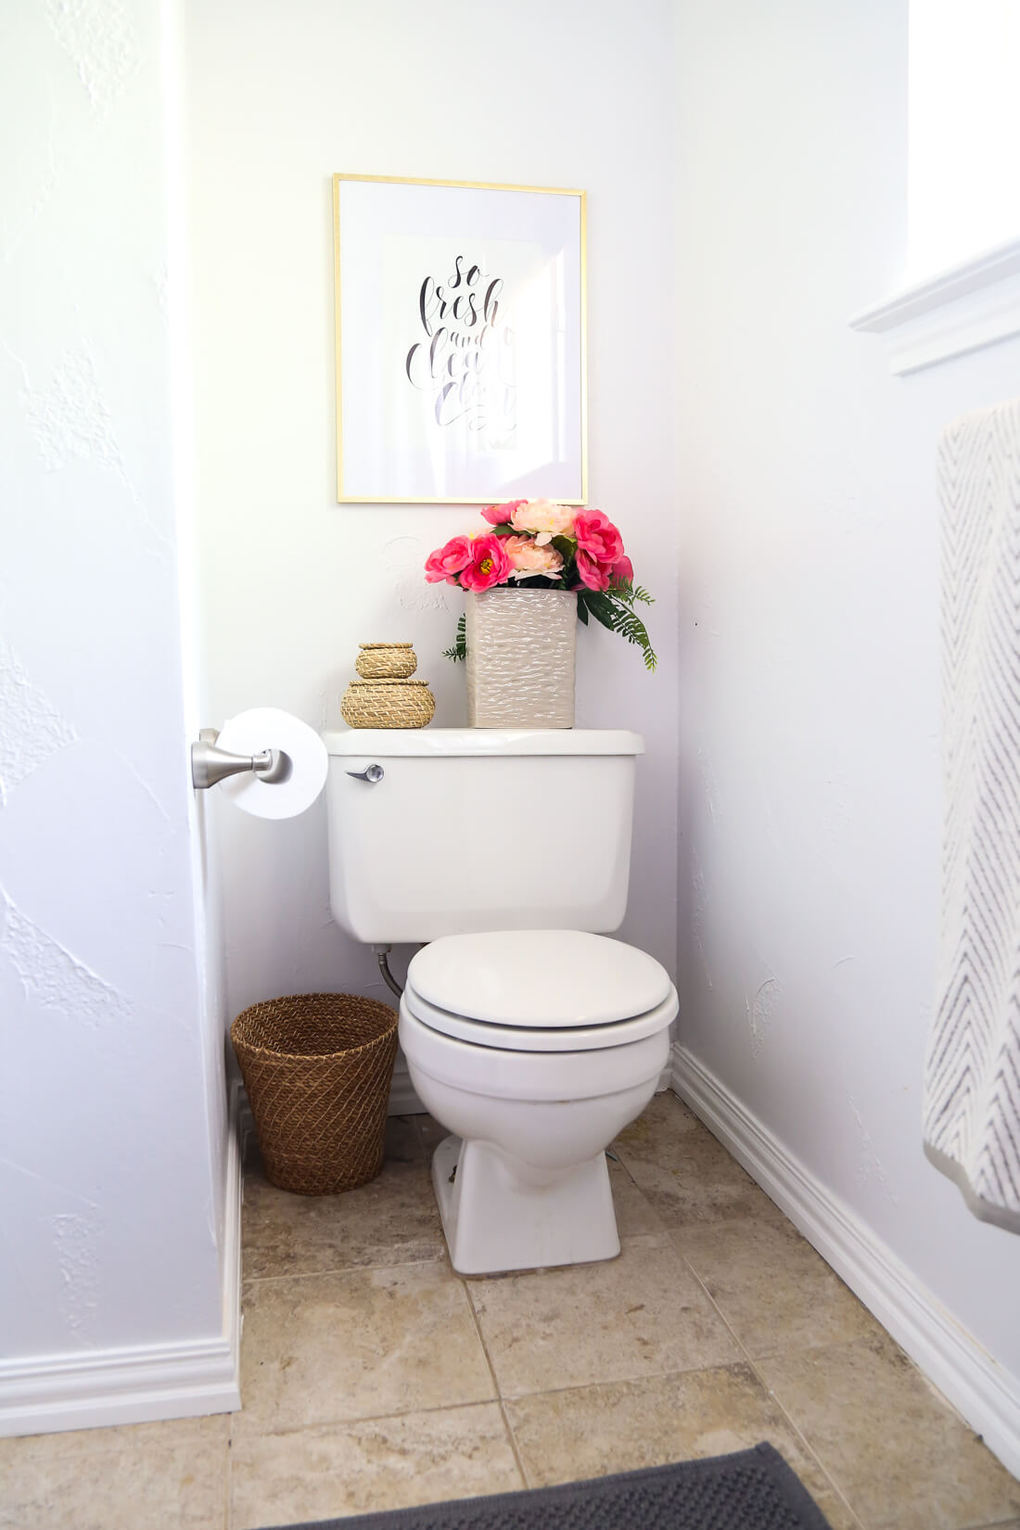
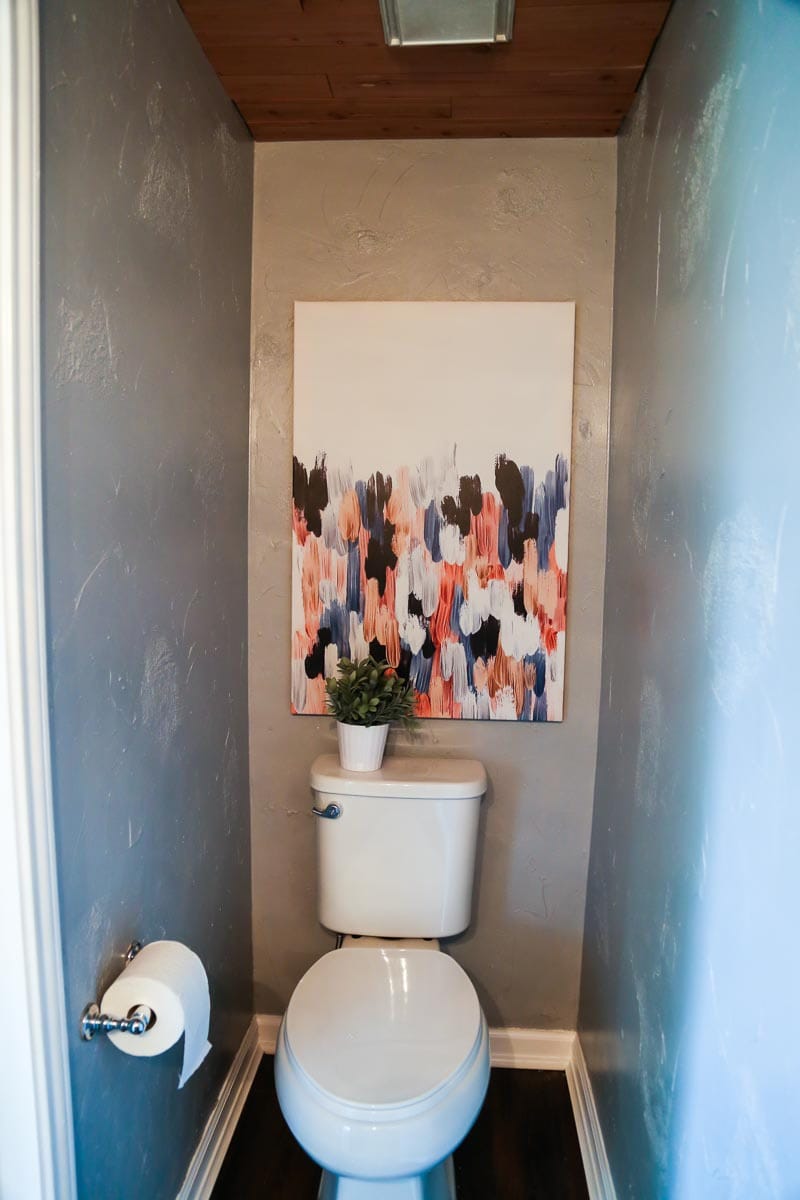
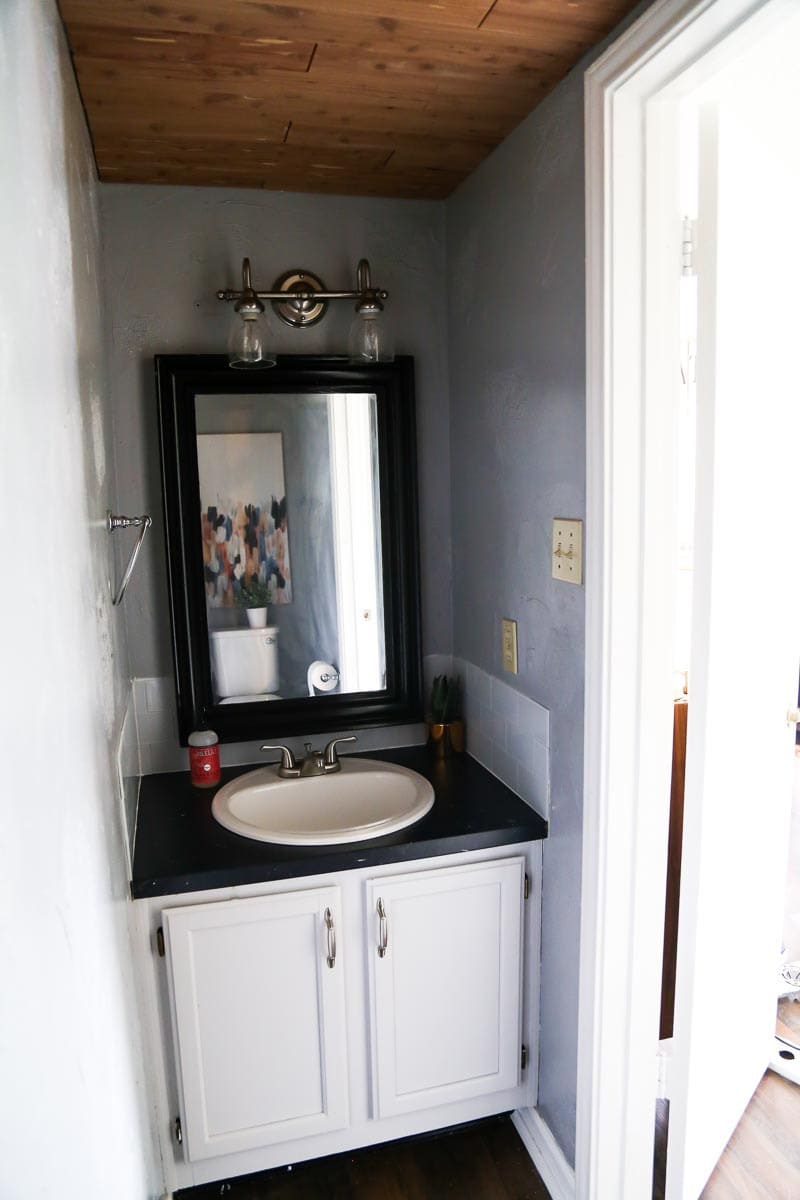
POWDER ROOM – BEFORE & AFTER
Our powder room is a tiny (and I mean tiny) bathroom right off of our kitchen. It’s the only bathroom on the first floor of our house. Oh, and it has a ceiling that’s significantly lower than the rest of the house (why?). We gave ourselves a budget of $100 and a timeline of a month to knock it out. Apparently we like limitations when it comes to our bathroom renovations. I’m so glad we did, though! The room got a nice little refresh and it looks a million times better.
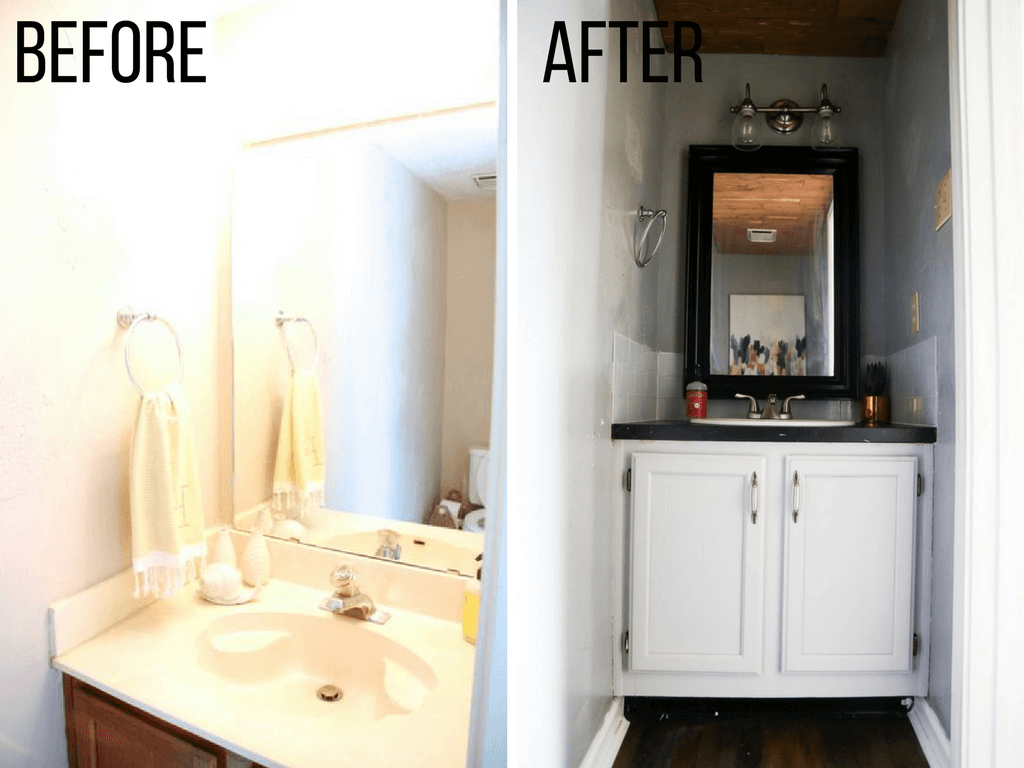
I really am a little blown away by how big of a difference it made to just paint a few things, replace the countertop and sink, and give this little bathroom a bit of love. I can’t believe we didn’t do it sooner!
Here are a few more photos of the completed powder room:
Here are the related posts:
MASTER BATHROOM – BEFORE & AFTER
And, of course, who could forget my favorite bathroom of them all?
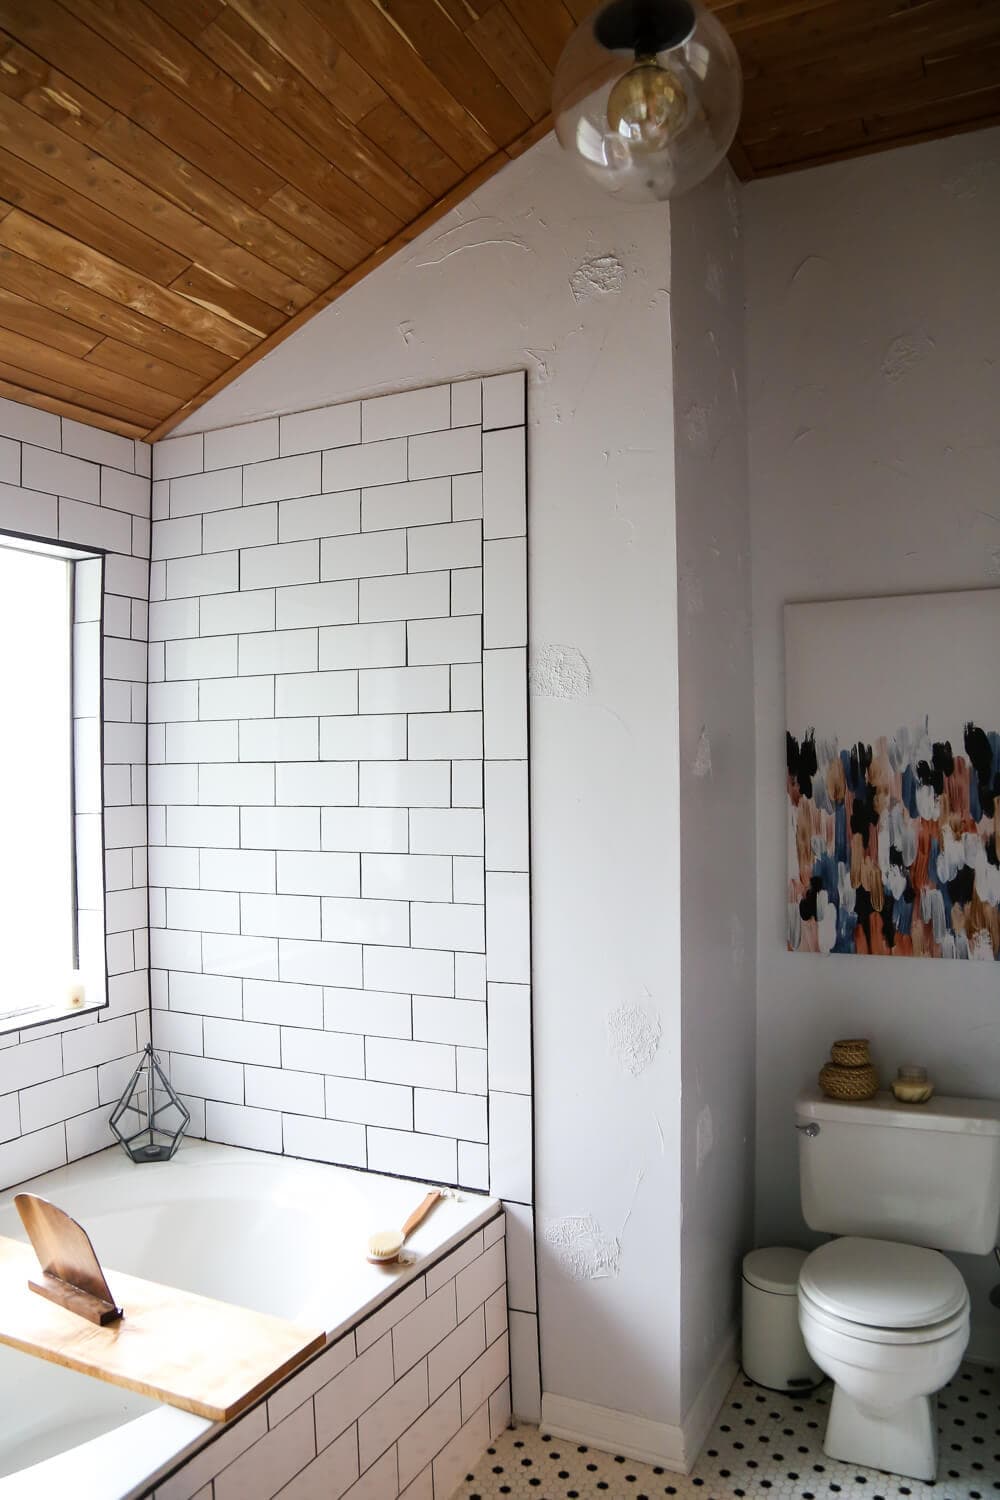
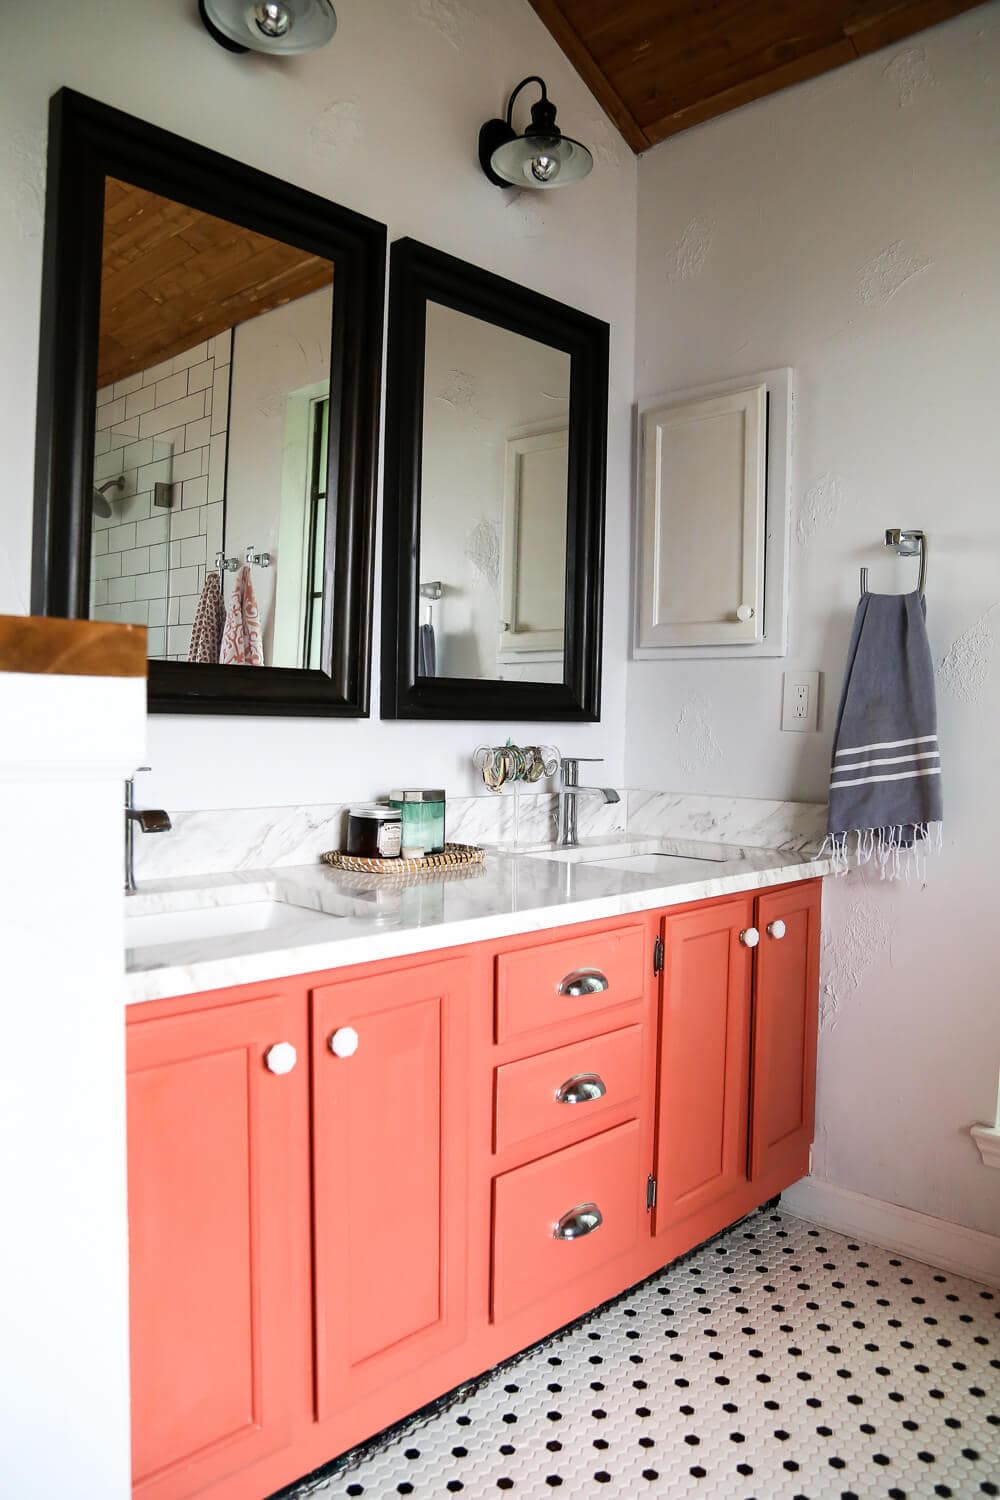
Our master bathroom is really the best room in our home. This room made my jaw drop when I saw it for the first time. Even though it was dated and brown and ugly, I knew it could eventually be amazing. The original bathroom came complete with a tiny shower, poop-colored walls (whyyyy?), two shell-shaped sinks, and a toilet spotlight. Seriously. A spotlight – pointed directly at the toilet.
Despite the strange choice of decor in this bathroom, we knew it had the potential to be something amazing. Here’s a look back at the master bathroom.
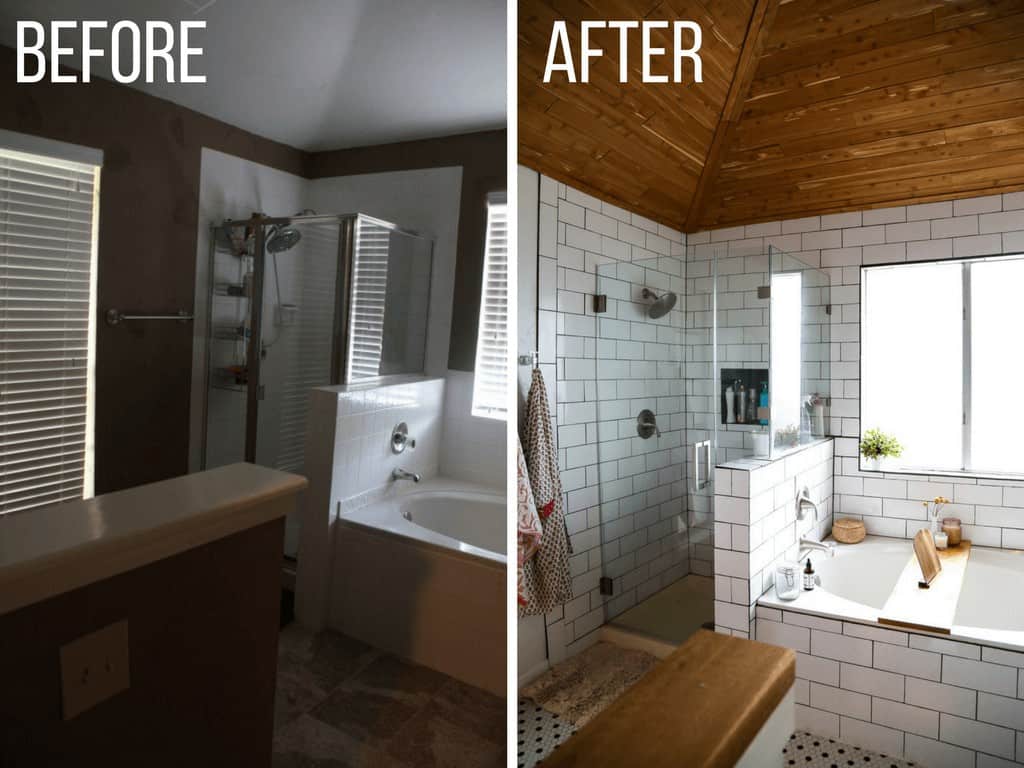
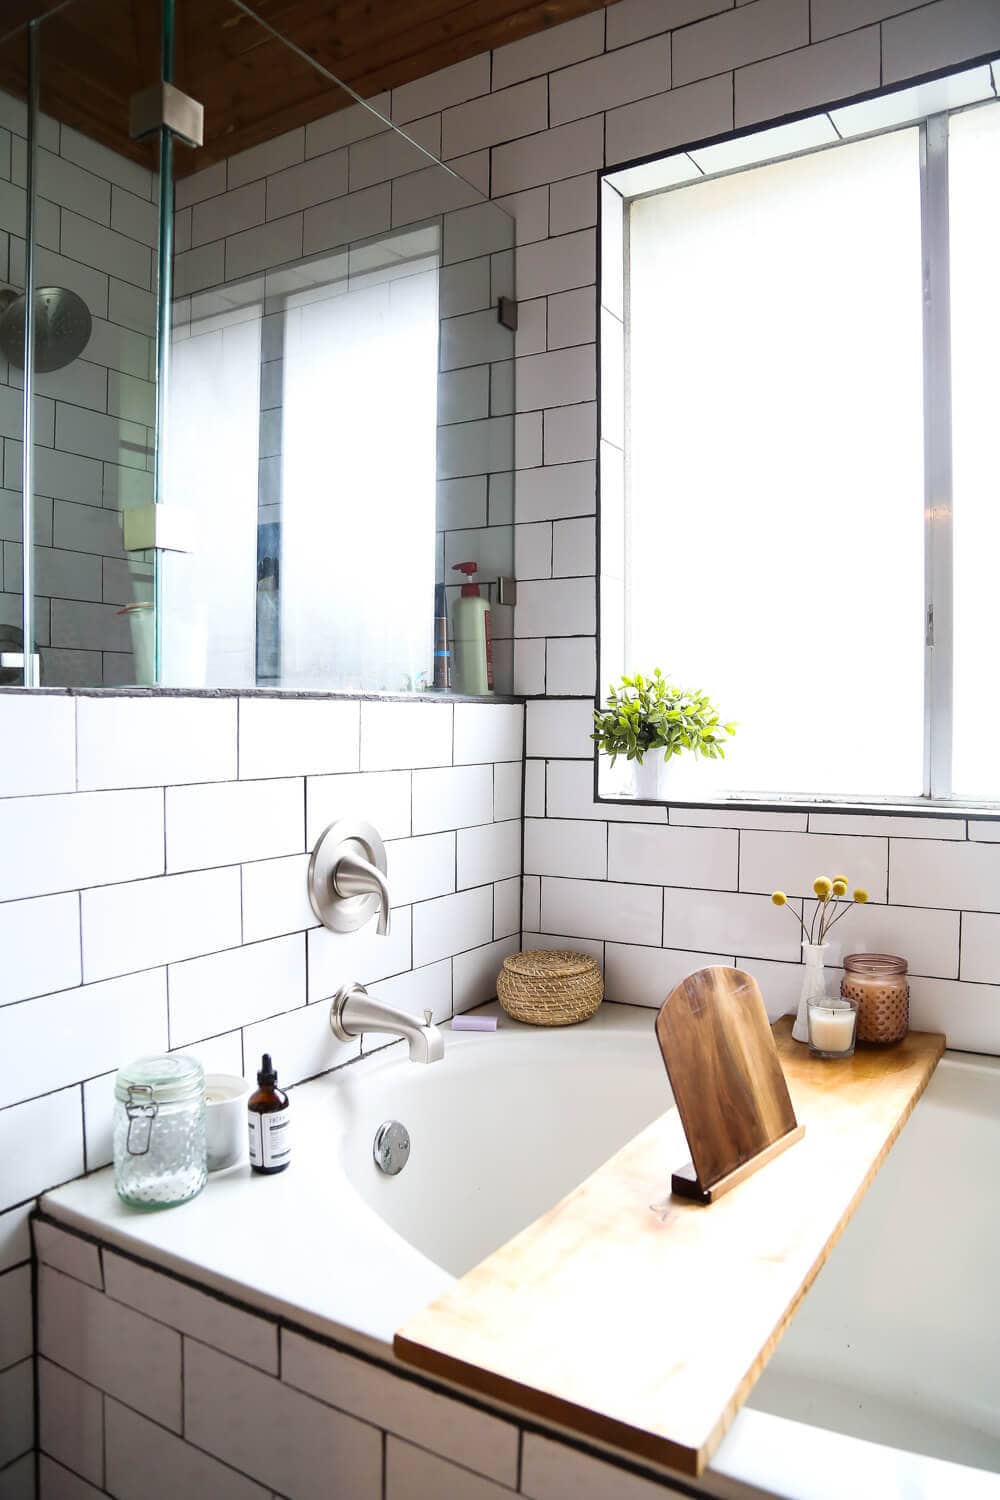
We took on this (major) bathroom renovation over the course of 6 weeks for the One Room Challenge in the fall of 2016. It was basically a complete and total gut job (though we did salvage the vanity, and kept the bathtub) and I’d be lying if I said we weren’t in way over our heads. Prior to starting this renovation, we had never really tiled anything before – and somehow we thought it was a good idea to tile an entire shower surround, bathroom walls, and bathroom floor. (It wasn’t a good idea. I don’t know how our marriage survived).
I’ll share a few more photos of the finished space (for those of you who haven’t already seen it a zillion times), but first let’s take a few more looks at this bathroom right after we moved in.
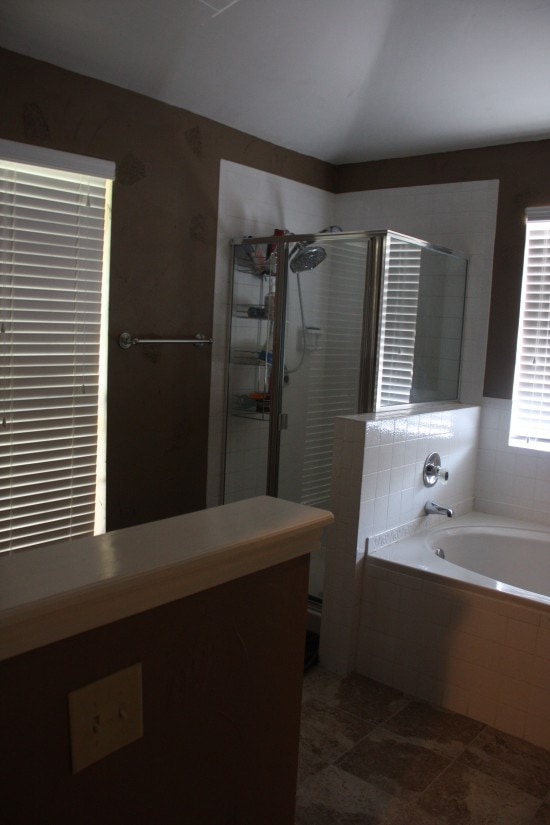

Told you there was a toilet spotlight.
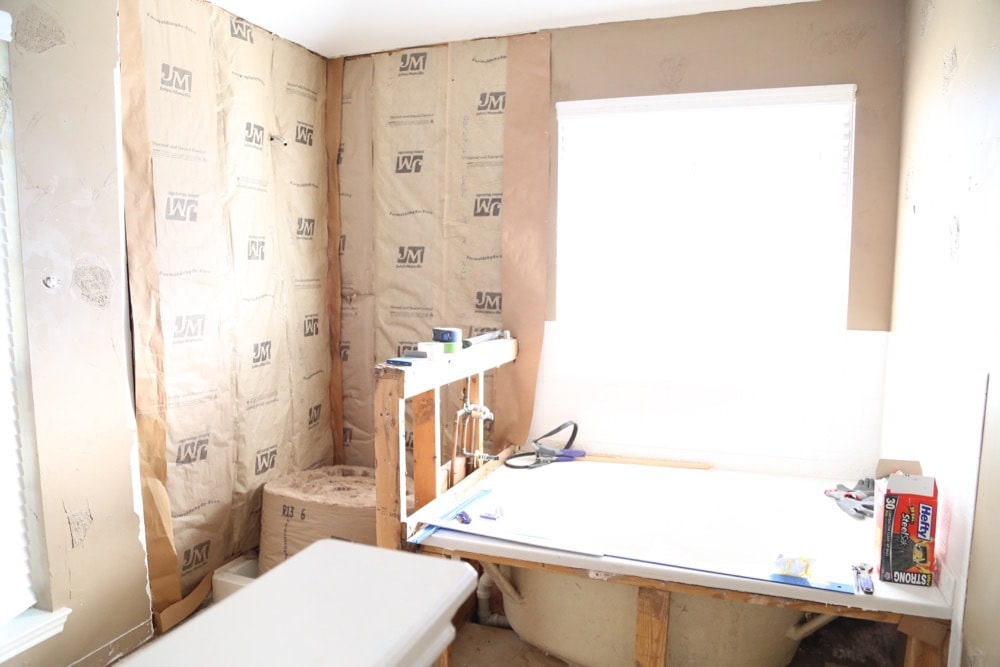
And, here’s a peek at what the bathroom looked like from the winter of 2014 until we renovated it in November of 2016. We had an issue with the shower (it was originally built with drywall instead of cement board), and ripped it out just a few weeks after Jackson was born, thinking we’d be able to fix it soon.
Hah. We had a newborn. And three dogs. And we both worked full time. Had no money. And we thought we could renovate a bathroom.
Sometimes we’re dumb.
I’m so, so proud of how this room turned out, but I still can’t believe we were crazy enough to take this project on with such a short timeline. We definitely won’t be taking on such tight restrictions when we get around to doing the bathrooms in our new house. Our new master has the potential to be just as amazing as this one (maybe even more?!), but we’ll be taking our time with that renovation.
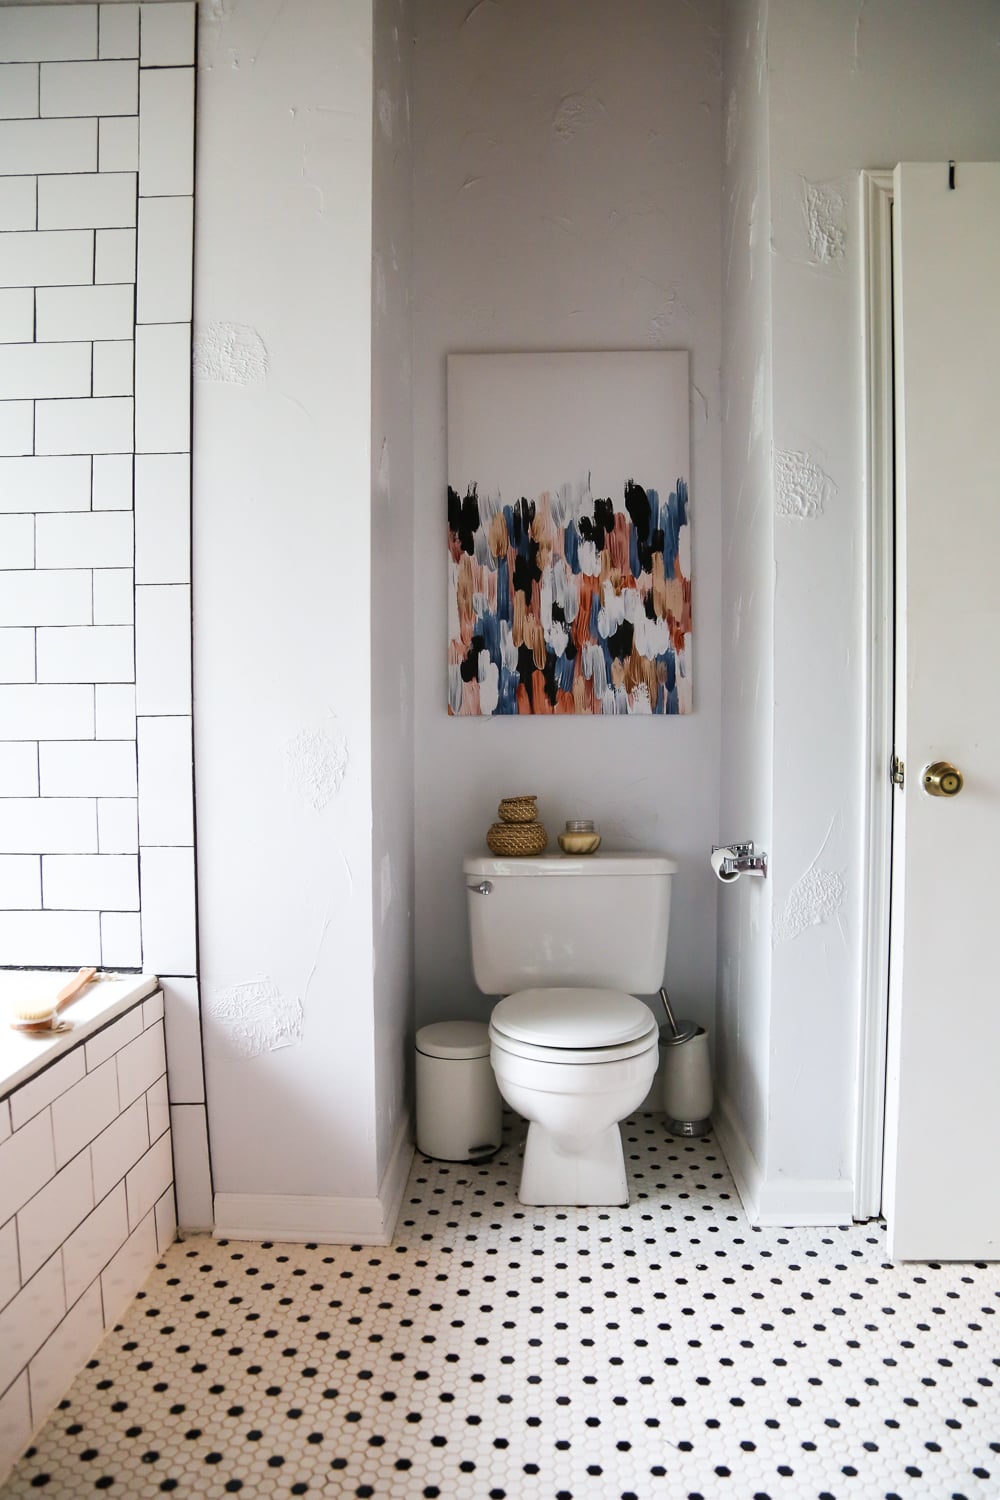
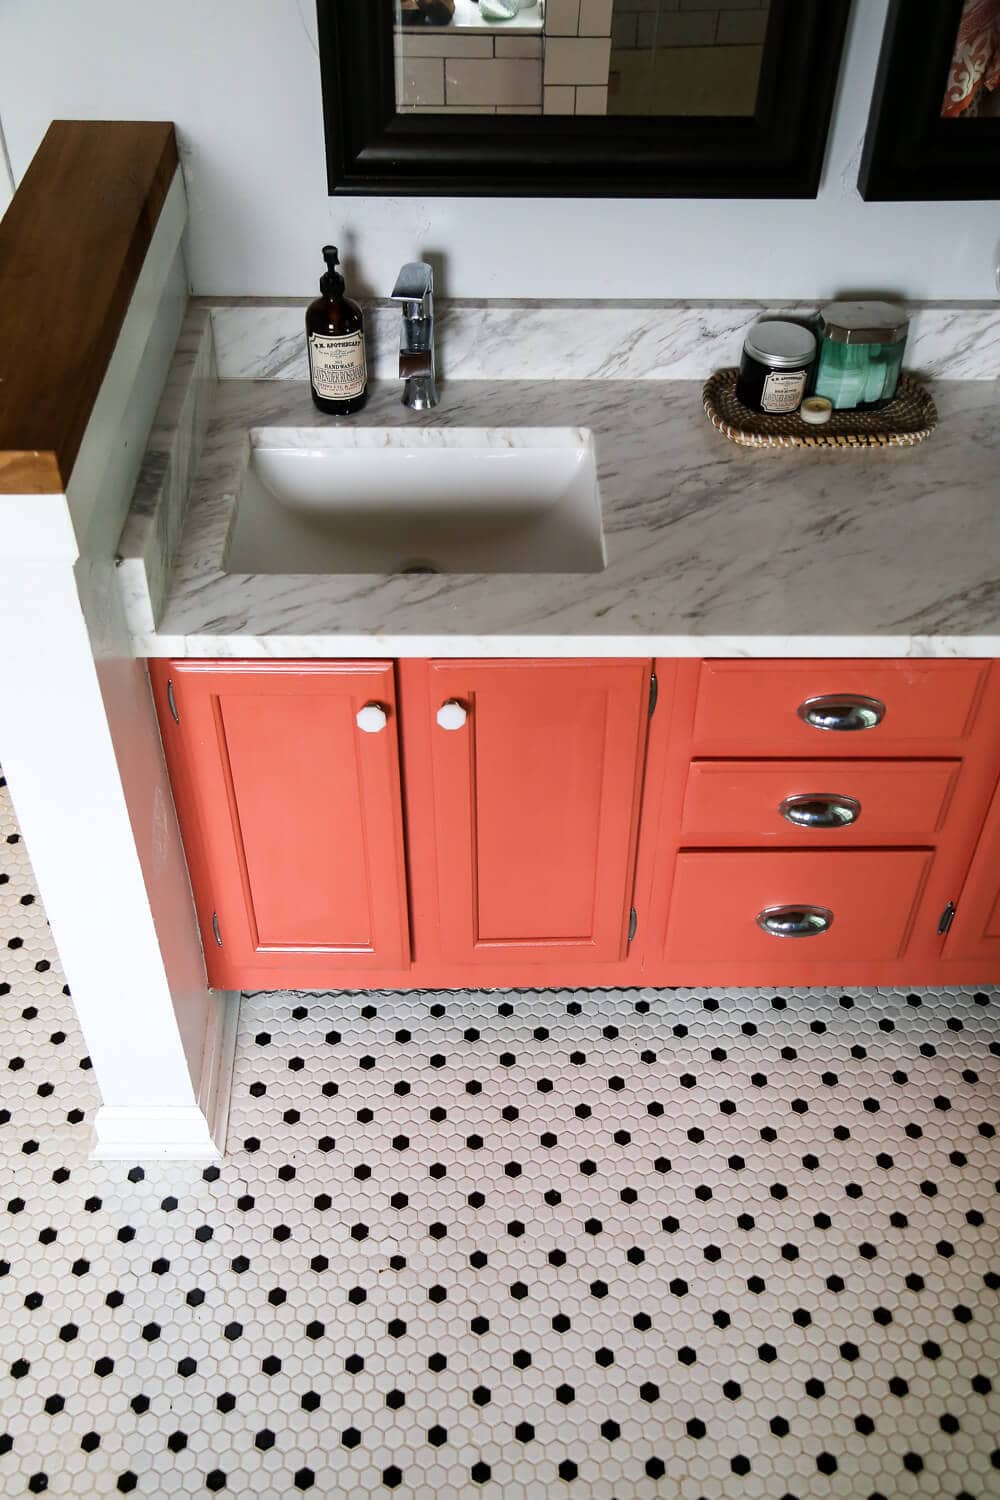
Since we all love staring at this room, let’s see a few more photos of the after, shall we?

Here are the related blog posts:
- Renovation Intro and Plans
- Choosing Tile for the Bathroom
- Demo and Painting
- Installing Tile
- DIY Cedar Planked Ceiling
- Choosing + Installing Fixtures
- Installing Shower Glass
- Bathroom Renovation Reveal
- Adding a Spa-Like Feel
- DIY Bathtub Tray
Whew. That’s a lotta bathroom. We’re almost done with this look back at our house – tomorrow I’ll be showing the garage, workshop, and exteriors of the house and after Thanksgiving, it’ll be time to see the new house!
Great post! Before-and-after transformations of bathrooms can be inspiring and impressive, as they showcase the potential of even the most outdated or neglected spaces. Seeing the difference that a well-planned and executed renovation can make can help homeowners to envision the possibilities for their own bathrooms and motivate them to take action. However, it’s important to keep in mind that every renovation is unique, and what works for one bathroom may not be the best fit for another. When planning a bathroom renovation, it’s important to consider your own needs and preferences, as well as the constraints of your space and budget, to create a personalized and functional design that you’ll love for years to come.
Nice Post.
Wow, I like the way you renovate your bathroom and they are giving an elegant look. I am also planning to renovate my bathroom and want to make some changes like a walk in bath tub for my grandpa who is unable to walk and stand. While discussing with my friend, he suggested me about https://www.spinlife.com/critpath/match.cfm?categoryID=791. If have any suggestions, please tell me.